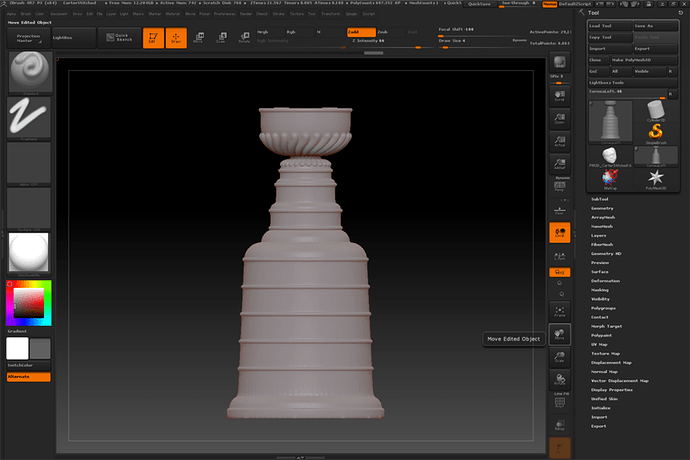
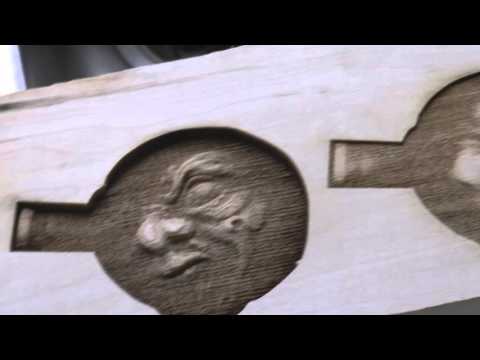
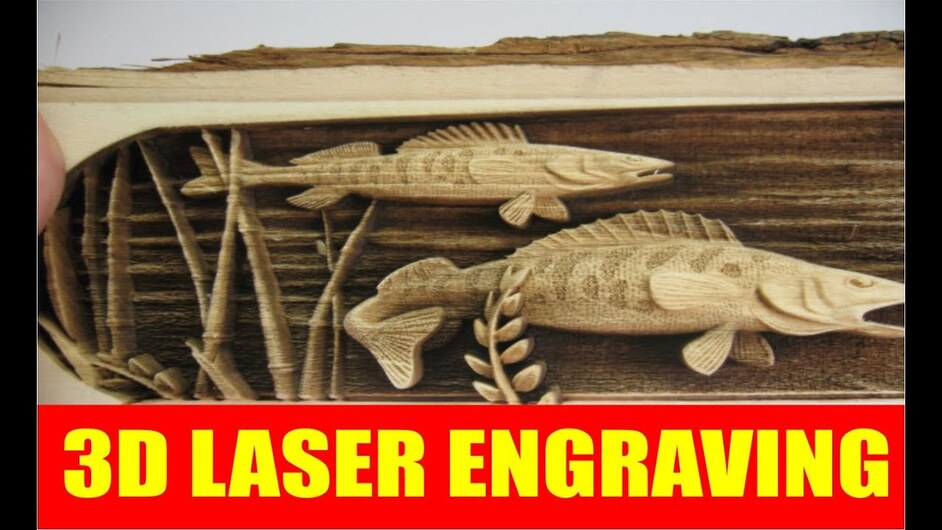
Among its litany of impressive features, creating a depth displacement map known as an alpha in ZBrush is a one-click process as shown around the 3-minute mark:
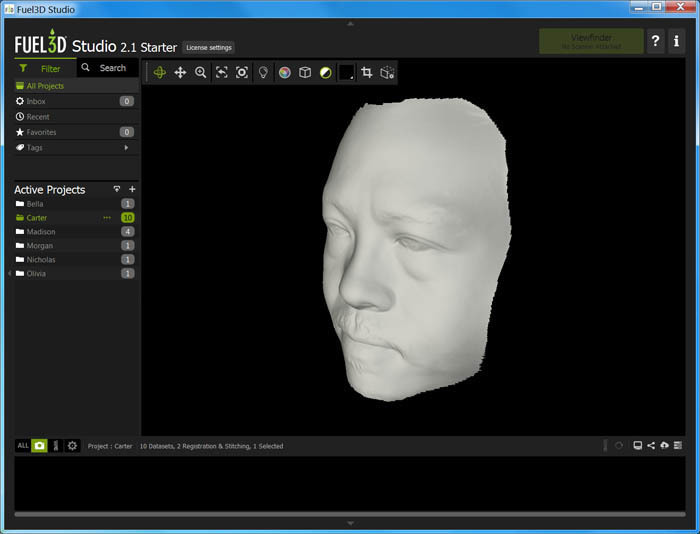
Exploring the workflow, one procedure could involve a high-res 3D scan
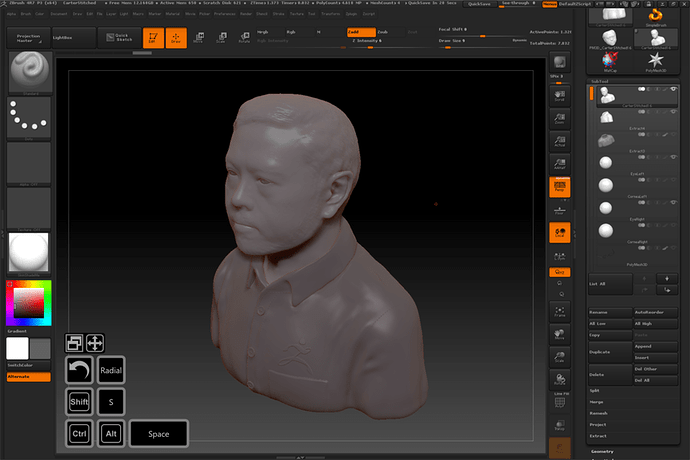
The quick’n’dirty way would be to immediately bring this mesh into ZBrush, and hit the Alpha > GrabDoc button, and export it as a 16-bit PSD or TIFF.
For assets that have been developed into a full-fledged sculpt there are further benefits…
The model can be now be positioned into whatever angle you’d want to capture in the alpha.
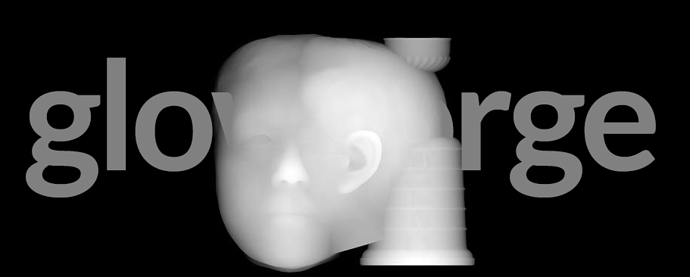
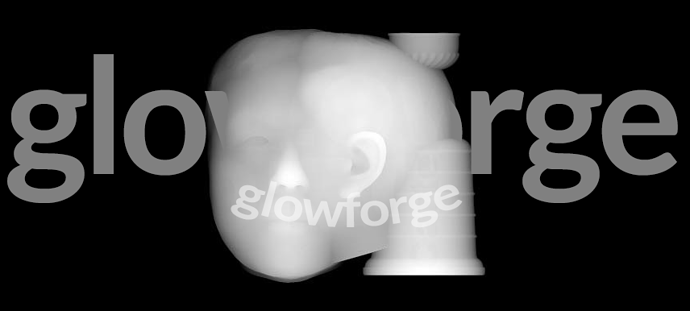
Unless @dan an indicates otherwise, we’ll go on the presumption that the Glowforge 3D engraves at 256 steps. Because of how prominent the shoulder is, only a small handful of those 256 grayscale “crayons” will be used for the face area.
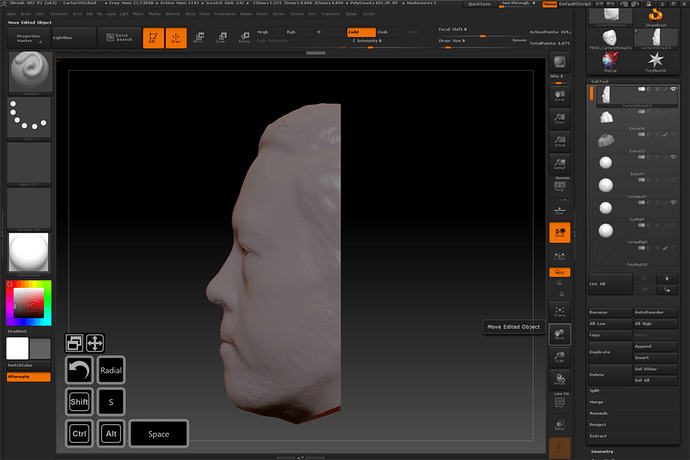
Here, the face is isolated by using ZBrush’s TrimCurve.
The ZBrush GrabDoc result?
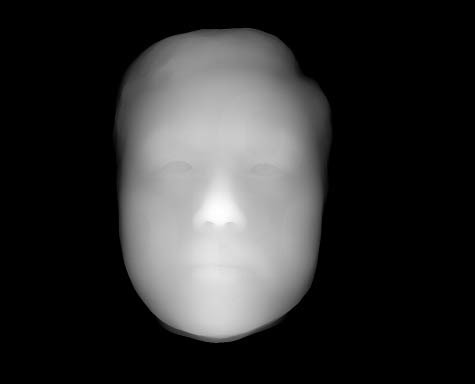
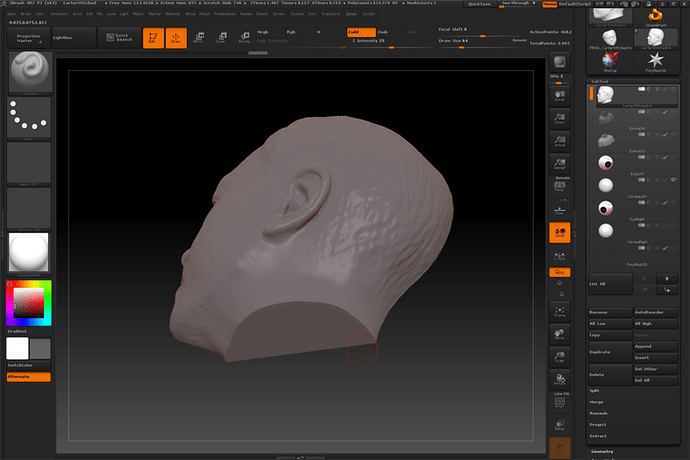
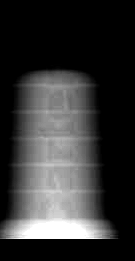
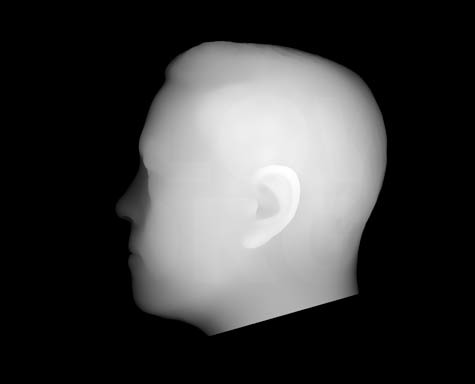
Reload the 3D asset and isolate the side…
Voila! Ready to start churning out a vault full of Glowforge Poker chips…
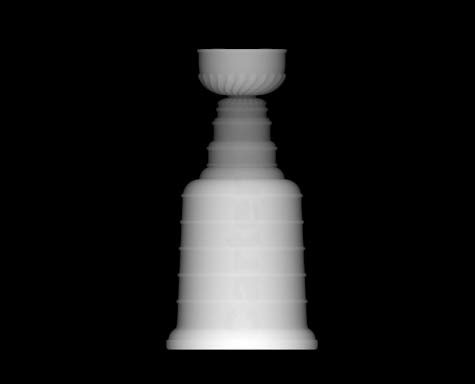
Just to demonstrate this working on “CAD” objects, something previously created in Rhino is exported as STL and brought into ZBrush…
Easy. Peasy.
I hope @dan will put into the request hopper when it comes to working with alpha displacement maps… an ability to specify that the last couple levels of black be translated by the Glowforge as a cut-through region with everything above it earmarked for engraving. This could result in the Glowforge making some interesting organic filigree with minimal effort and setup.
Toss over a beta unit and I’ll be happy to perform test-engraves on the high-rez originals (1297x1048, 16-bit) of the above alphas ![]()
