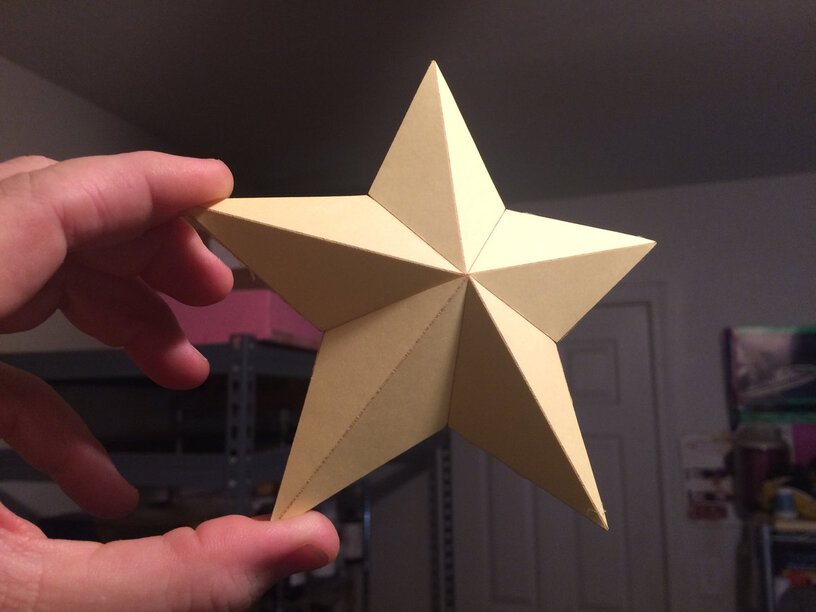
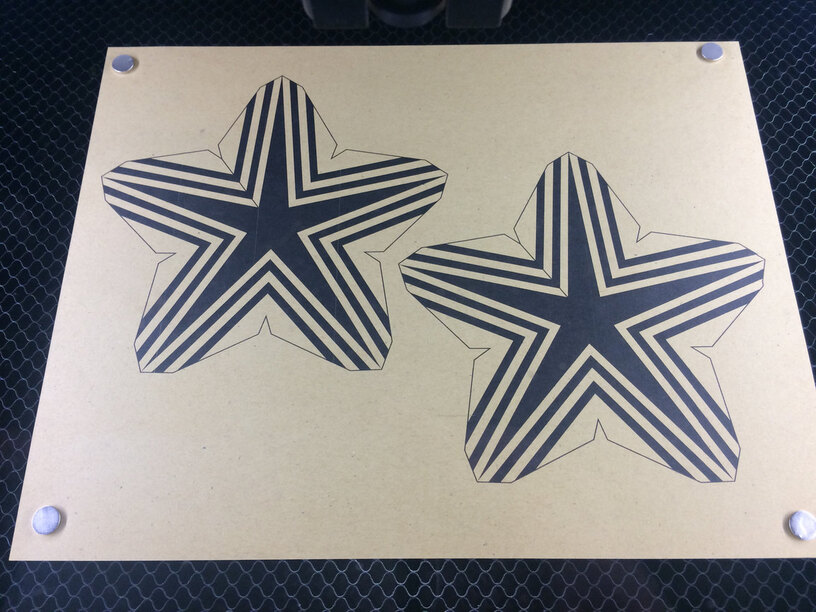
Bustin’ out some paper today…
78 Likes
Nice! Getting a jump on some Christmas ornaments? 
6 Likes
That’s some nice sewing!
5 Likes
Sweet!
2 Likes
So cool- looks great! Are the crease lines perforated or did you just use an embossing tool to get the sharp bend?
1 Like
i believe he scored them with the laser.
2 Likes
all of these paper works lately are really getting me anxious to get my GF.
3 Likes
Awesome!
1 Like
The creases are scored, and it’s a continuous score, not a dashed/perforated line. 
7 Likes
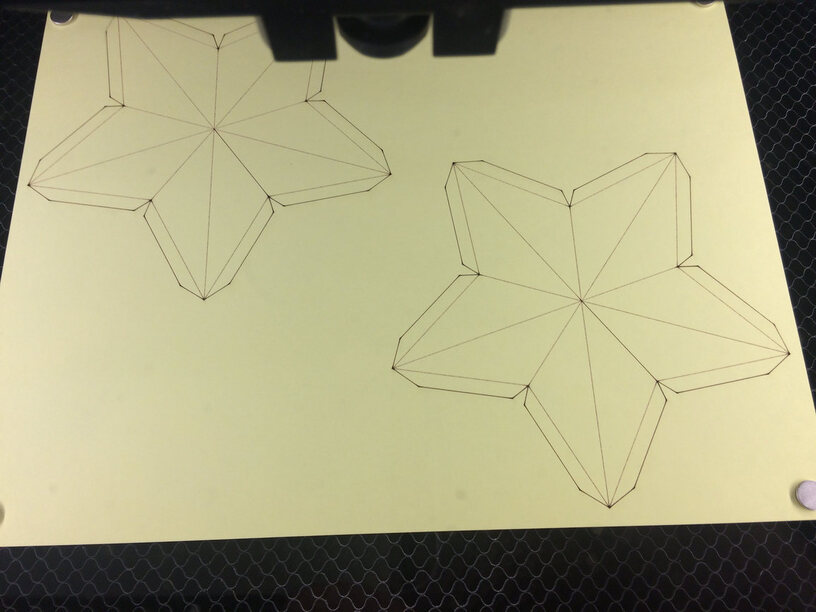
You’ve really got that dialed in for that paper, so great job. What’s the weight on that? Heavy cardstock or light chip?
Thanks!
It’s 110lb cardstock. Wasn’t too tricky to dial in, luckily paper is cheap and running tests at full size proved more advantageous than trying to conserve material with smaller pieces.
8 Likes
Very nice. I wish I had this tool in junior high when we were making geometric constructs.
3 Likes
I think that’s what excited me most about these paper projects…paper is cheap and you can make some awesome stuff out of it, as proved by you!
3 Likes
@bruceaulrich thanks! At my previous employer I used to make paper models of our structures to help visualize and validate tricky geometry I had to build in CAD. They all laughed… I caught grief from management for spending the time to do it. Then they were besides themselves when stuff actually worked on the first shot at full size.
Paper is an awesome medium!
Here’s another shot, this time I used the same SVG file and added a design to print on inkjet, then placed that into the laser for cutting and scoring.
I will say that the GF camera’s image is DEAD ON in registration with artwork. The printed design and the score/cut paths could not have lined up any more perfectly.
It’s the alignment between the laser and camera that vary, but this is getting so so close. I am getting regular improvements in alignment on my side, it’s never been this good for me.
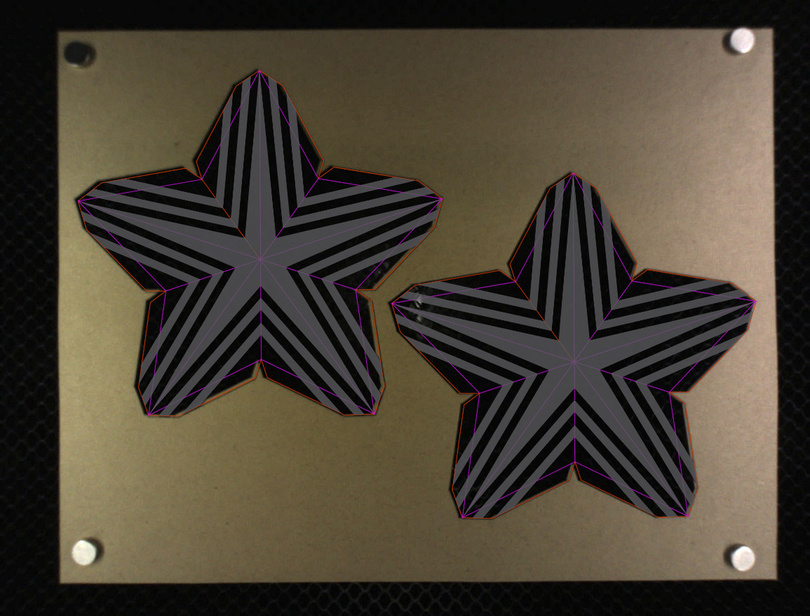
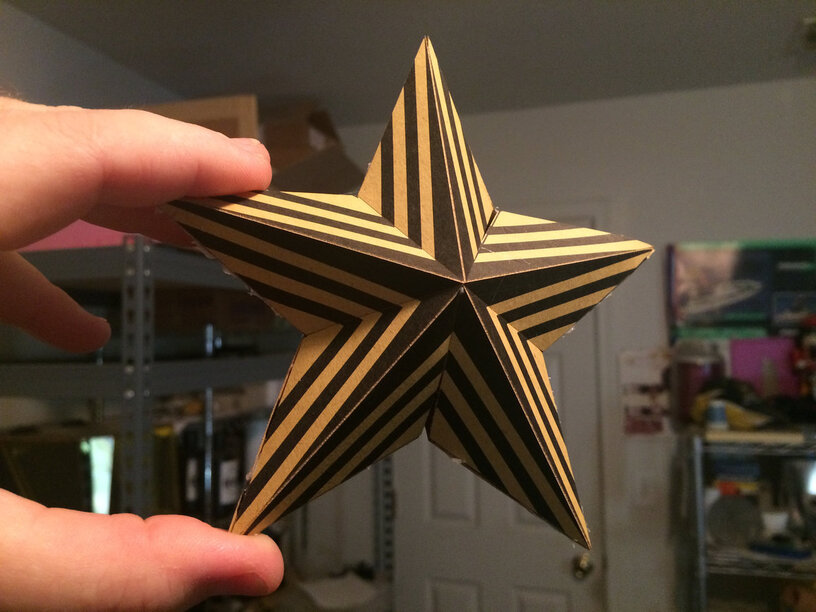
29 Likes
that looks great.
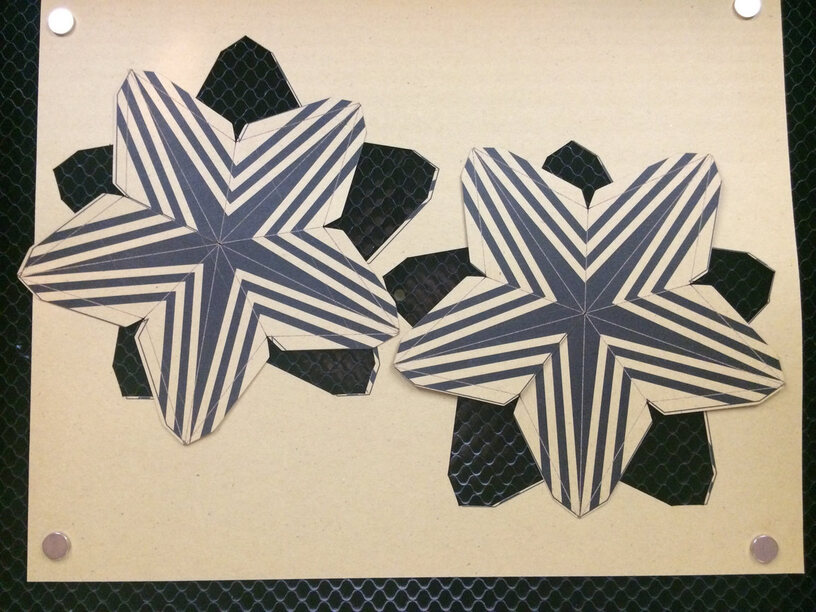
one suggestion i would make for cutting out printed pieces. create “bleed” areas over the edges where you will cut. that will help allow for the GF to be off slightly and not have “white areas” inside the cut.
obviously, not a huge deal here because all of those areas on your design were inside the folded areas, but a good practice in general.
when i print things that bleed to the edges, i generally give a .125" bleed for printers. on very large items (like huge posters/banners), i might go up to .1875 or .25".
10 Likes
excuse my excitement, but,
THIS IS EXACTLY WHAT I NEEDED TO SEE AND I AM JUST SO HAPPY THAT REGISTRATION IS THAT TIGHT!!!
Goodness, that is going to be unbelievably useful. Can’t wait to get my unit and start making stuff to drive these card collectors out of their gourds.
16 Likes
Yeah, I almost brought up discussion about bleed areas and how the GF is absolutely blowing away the printing/die cutting industry on accuracy.
Helps that I have background experience in design and print as well.
@joker YEAH! Hahaha I’m pleased as punch too. I mean, I hadn’t given much thought to papercrafting aside from maybe some unique box/packaging for candy this holiday season but I am thrilled with this!
5 Likes
Three words
Sheep poo paper

2 Likes
Oh, that’s even more mesmerizing!
I bet they felt pretty sheepish when everything worked on the first try at your old job. ha ha
2 Likes