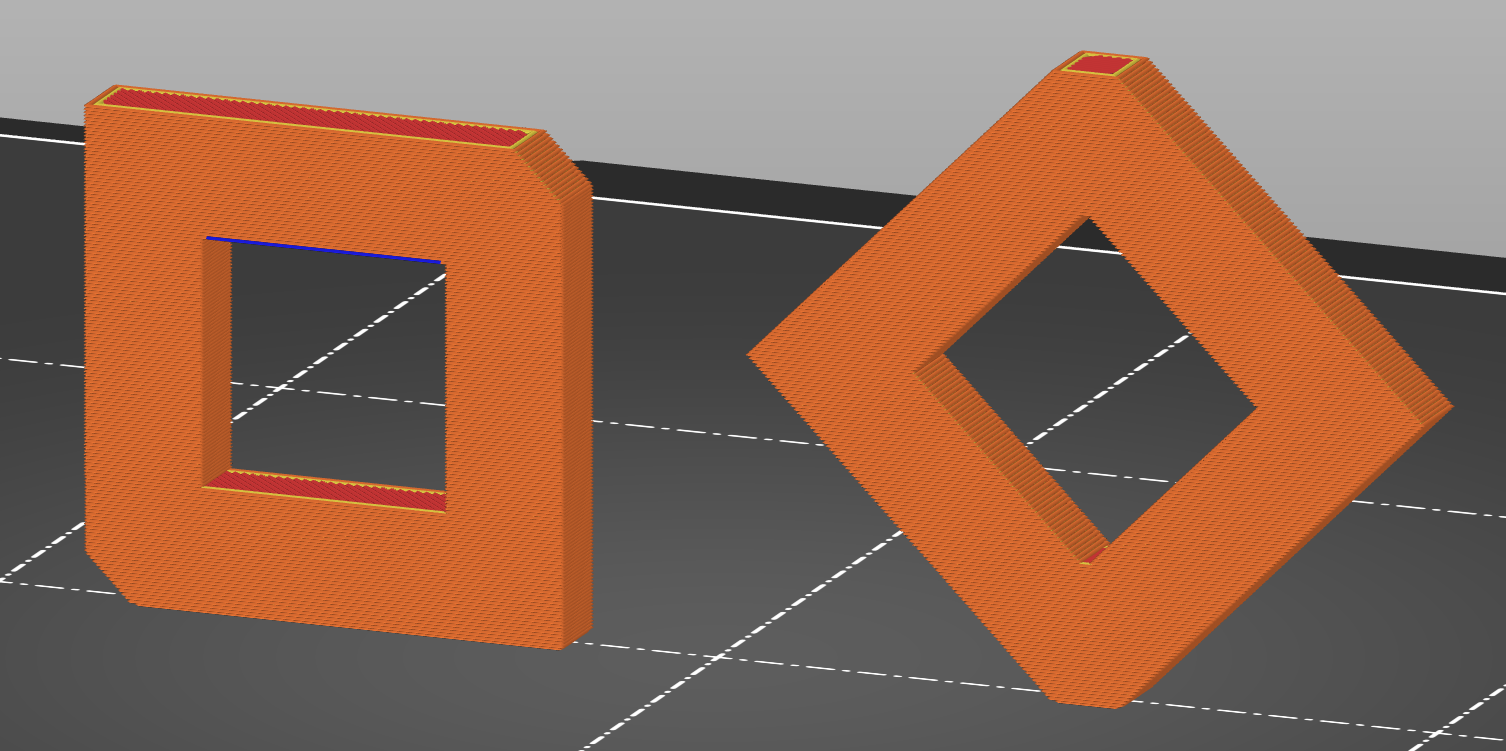
You need the supports, but you don’t have to design them yourself. All modern slicers will handle that for you. I’d love to give you a step-by-step, but I don’t have a Bamboo.
It goes basically the same in all modern slicers. Position the part how you want, enable supports, and slice. When you click Slice, it does all the hard work for you!
That is remarkably well written. I do most of those things just because, but there are a few new things I think I’ll try. especially his notes about fillets and chamfers for 3D printing.
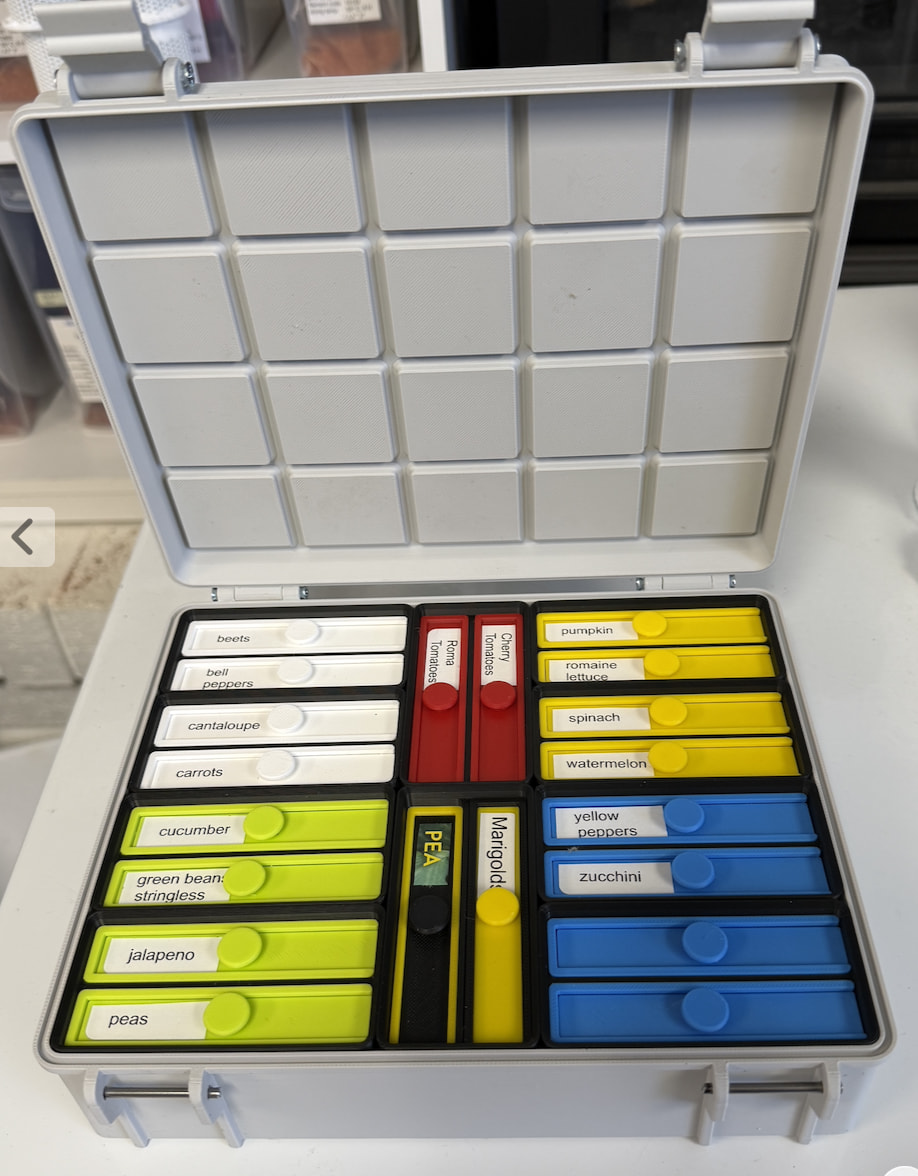
So I found this lovely little item on Makerworld for holding our garden seeds. I also used the link he had for the case. His design actually has where you can print the seed info right on the lids, but I chose to just print labels. It wasn’t until I did the peas and needed a second container for them that I thought about just cutting the info off the label, which I did afterwards, but some of them wouldn’t fit anyway because of the way they were printed on the package, so I’ll stick with my own printed labels.
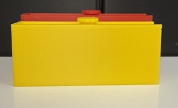
The individual boxes sit in a 1x2 gridfinity case that has a divider in the middle. But Marc had trouble grabbing the knob (he’s got bigger hands than me) as the knob was even with the divider, which is lower than the sides of the case. So I added a little height to it (the red box), and now the top of the box is even with the divider, but the knob is still below the case edge, and it made it easier to grab.
What’s great is that the lids have little notches in the middle that keep it from sliding all the way out unless you want it to, but basically they open half-way or wherever you slide it open to, and snap closed nice and tight. No more fumbling with little paper packages and trying to keep them folded and keep the seeds from spilling out. And I don’t have to worry about moisture getting to them. And they hold a LOT of seeds (except bigger ones, like peas or green beans).
The hardest part was that there was no mention of what to use for the hinges and latch. We ended up using #6x1" wood screws (#6x1/2" would’ve worked better, as Marc had to cut the screws to length) for the hinges and top of the latch, and I think he just used a piece of fencing metal for where the latch hooks.
Well that all depends on the load axis, if that was in compression in Z that would be strong.
If you are using Fusion (most CAD programs have some sort of analysis function) you can put a directional load on your model and find the stress points. In fusion it can be a static load or dynamic (If I recall the dynamic costs credits while static doesn’t)
I’d add you are discussing non-isotropic polymers (like PLA). When you flip to engineering plastics like Polycarbonate or Polyamide (Nylon) you have hydrogen bonds between the polymer chains, these are equally strong in all axes. If strength is all you need for a functional part, polymers like Tullomer (a crystalline aramid) is stronger than tool steel by unit area, and is also isotropic and actually not crazy hard to print.
Yeah, not the cheapest filament (none of the serious engineering ones like PEEK, PEKK etc are. But the properties are amazing, and that unlike those other superpolymers you can print this on normal home 3D printers (no 400C hotnend and 120C enclosure). At Rapid-TCT they showed a new version they are coming out with that will be PETG with continuous tullmomer inside it so you get the aesthetics of PETG and mechanical strength of tullomer. This performed about the same as Markforged continuous carbon fiber reinforced nylon.
You know, with nearly 68 years of using but one human spoken language, I’d be more precise. Yes, we were talking about a bending moment. Also, I probably should have used a coat hook to prime the intuition pump.
Now, the types of stress on a structural component are a morning or afternoon just at a technician level.
I’m always looking for strong filiments so I will be bookmarking this. but at over $500 a Kilo I won’t be ordering any until I have the use case where I must have it. For most things I can mill away aluminum for a lot less than that.
Oh no question, one of the examples they showed was a cleat for the deck of a boat, but it was for a stealth ship, so unlike ones on ships like the Zumwalt which have to retract into the deck (sounds fiddly) this is radiolucent, stronger than steel and can’t corrode.
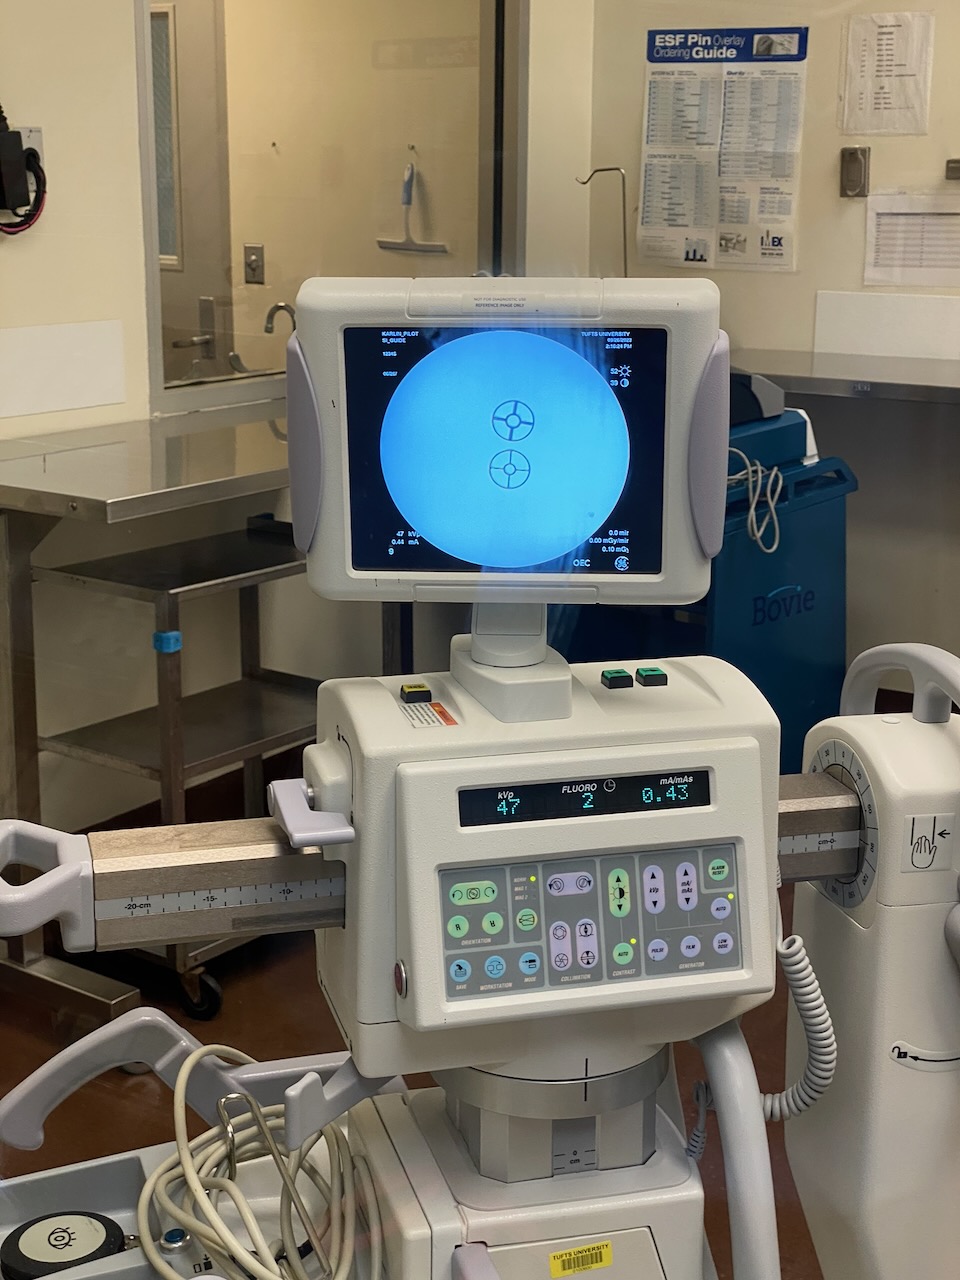
On the opposite end of the spectrum I have printed in Tungsten-PETG, which is 75% tungsten by weight (which isn’t hard since it is 1.6x dense as lead) and it is radiopaque. Used for radiation shielding applications. We made all sorts of gadgets to go in the x-ray beam, and even steel didn’t hold a candle to it for function. Unfortunately with supply chain shenanigans, the spool I have at home which was $175 way back when, is now like $1300. So not printing a benchy with that! But it’s always fun to hand someone a small plastic part and watch them almost drop it as it weighs like a pound. But I can only really print it using my diamond nozzle as tungsten will happily tear up hardened steel nozzles. For comparison the top of the x-ray picture is the tungsten-PETG and the bottom is tool-steel. The flat blades are about .4mm thick and still are totally opaque.
I’ve been wanting to be able to make stuff with a UV printer but that is not going to happen for a multitude of reasons (including sensitivites/allergies). HOWEVER there is a makerspace at a library (actually at two libraries) that I want to check out. Maybe I’ll be able to make this work out. (Later on, when I’m not dealing with reactions to medications, I can’t do it while my body is already reacting to things.)
I think it might be my dream space. Hahaha They have SO many things. I think I’ll have to go in person and do a tour of all of their machines and then work on coming up with a plan of what I want to make. (And figuring out what I need to learn to make the files for them.)
Anyway, I’ll need to start working on better understanding how to create my own files for all of these machines. I haven’t even had a chance to really learn for the 3d printer files yet. lol There is just so much going on all the time.
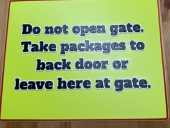
The other day we got an Amazon delivery for something we subscribe to. One out of 20 drivers actually come up our drive and come up our neighbor’s, which is on a totally different street. Anyway, Marc said we needed a sign, as the driver started to open our gate, which we’ve never had a driver do. If our dog would’ve been out in the yard, she’s so fast she would’ve escaped (or scared the driver, as she barks at all delivery trucks). So today I made a 3D printed sign. The colors I had selected were NOT the ones that printed, but when I designated which spools in the AMS to print, it changed the way it looked on screen. I had wanted the sign to be white background, red border, and red letters with black outline. I had the green in the AMS to print another project. But maybe the green worked out better, as hopefully the drivers will see it and actually read it.
Thanks. I hope so. For whatever reason, their system always shows coming up our neighbor’s drive, and even though I have written instructions on finding our driveway (on another street), very few drivers read it. What’s funny is we had another delivery the day I printed the sign (which wasn’t quite done yet), and Marc watched him as he stopped near our driveway, sat there for a couple minutes (we can’t see the end of our driveway because it curves, but we can see the road coming up to it, and the road past the other houses in front of our house), then pull into an empty field’s drive across the street, before he turned the corner and came up our neighbor’s drive. It’s all just so frustrating. Amazon is the only deliveries we ever have problems with. Anyone’s normal GPS brings them directly to OUR driveway.
 there is a makerspace at a library (actually at two libraries) that I want to check out. Maybe I’ll be able to make this work out. (Later on, when I’m not dealing with reactions to medications, I can’t do it while my body is already reacting to things.)