Some friends of ours asked if I could make an edge-lit plaque for this weekends Mothers Weekend event at WSU. There will be an auction during the weekend and they wanted to donate something interesting. They were a bit time constrained but I figured that if they got the materials and the designs, I’d give it a go. They wound up getting a nice light base and some 1/4" non-proofgrade acrylic for the project. I haven’t tried doing any 1/4" yet but figured that using the proofgrade settings would be a good starting point. I cut down the material they got so it would fit in the forge, added masking to it and sent the print the forgey. Everything was looking pretty good but when we pulled it out, there were some issues. (This is the point where I should know better than doing an hour and a half print without testing things or knowing what I’m doing.). There were some points where the masking had bubbled up and it looked as though the acrylic had sort of melted around that spot, really didn’t look great. The other thing was a bunch of little “blips” all around the edge where the cut occurred. They were pretty evenly spaced and little line/swirls like the laser had “blipped” off the cut and did a shallow engrave or something. Neat pattern but totally not what I wanted.
Later that night, I tried number 2 print without the masking. I didn’t get any bubbles in the material but still got those weird blips on the cut edge. The other problem (self induced mind you) was the atomized material from the engrave created a fog on the acrylic. I cleaned it with soap and water in the sink and a soft rag but that didn’t get rid of it. Tried hot water and soap, still no go. Tried with the dish scrubber (oversized toothbrush thing) and that didn’t help but it did do a good job of scratching it. sigh. (See previous note about my lack of patience and understanding the right ways of doing things). Needless to say, I figured this print was toast so tried a bunch of other things to no avail. I went to throw it into the scrap pile and noticed the bottle of Isopropyl alcohol sitting on the bench. I figured I’d give that a try and lo-and-behold, it took it right off. sigh. Why didn’t I start with that? (see previous notes).
So yesterday was my last opportunity to get this right as our friends were leaving today to go over to WSU. I swung by TAP Plastics on the way home to pick up a couple of sheets and then got to work with the forge. This time, I played it smart and did a LOT of small 1x1" test engraves with a bunch of different settings, a bunch of different cuts (trying to get rid of those weird edge cut blips). I finally found the engrave setting that looked really good. I also figured out what those little blips around the cut were as well. While cutting the little 1x1 squares, I would see an occasional “lightning” flash light up the acrylic. After pulling the square, I would see the blip in the same area of where the “lightning” strike occurred. It dawned on me that the laser cut through the material and hit the honeycomb behind it and heated up the honeycomb to the point that it melted a small squigley “blip” into the material. Hadn’t seen that before.
So I figured out my settings and dialed them into the machine. For this “final” piece, I now knew I wanted something thin, yet thicker than masking, under the acrylic for the cut. I wound up using a flatted soda cardboard box cut down to the size of the bed. Put in the acrylic and hit print. With the adjusted settings with more LPI, the print time went up to 3.5 hours. It was already 6pm so I knew this was going to be my one and only chance. When Forgey was done, I pulled it out and checked the edges and no blips! Beautiful clean cuts. I lightly scrubbed the engrave with a soft brush and then started working on cleaning up the “fog” with the isopropyl alcohol. I got it about 95% cleaned up when our friend came over to pick up the piece. I let her know how she could clean up the rest of it. Shouldn’t take her too long. While talking a bit with her, I printed a “WSU Mothers Weekend” acrylic picture frame insert (didn’t get a pic of that) and a smaller edge lit acrylic for her son.
It was a fun, if not slightly frustrating project. I only have myself to blame for that though. I learned a bunch but of course fell into my normal pattern of doing things wrong multiple times before stopping and testing things first. I don’t mind failing, just not multiple times on such a large piece. I keep telling myself to slow down and test things first. One of these days I might just listen!
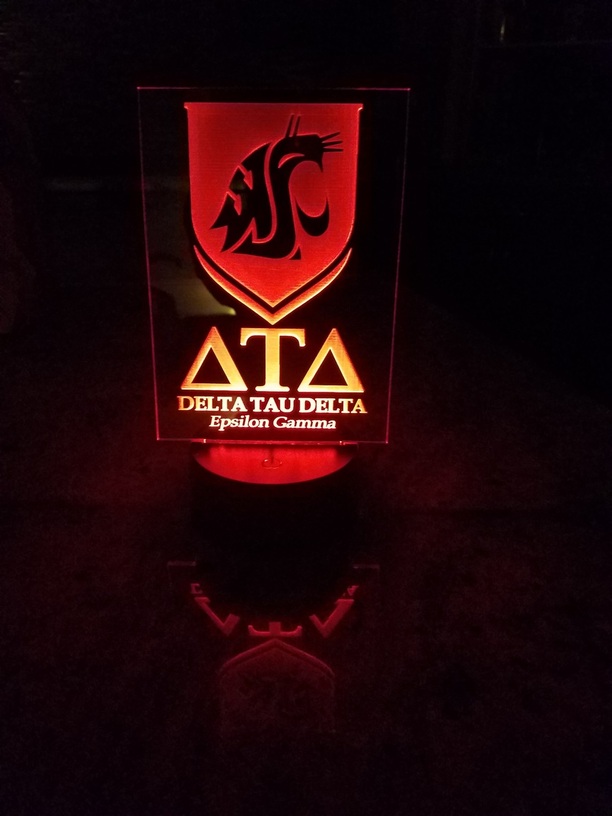
Here’s the completed 10.25x15" sign that will be at the auction. Still needs a bit of cleanup but they’ll get to it before the auction starts.
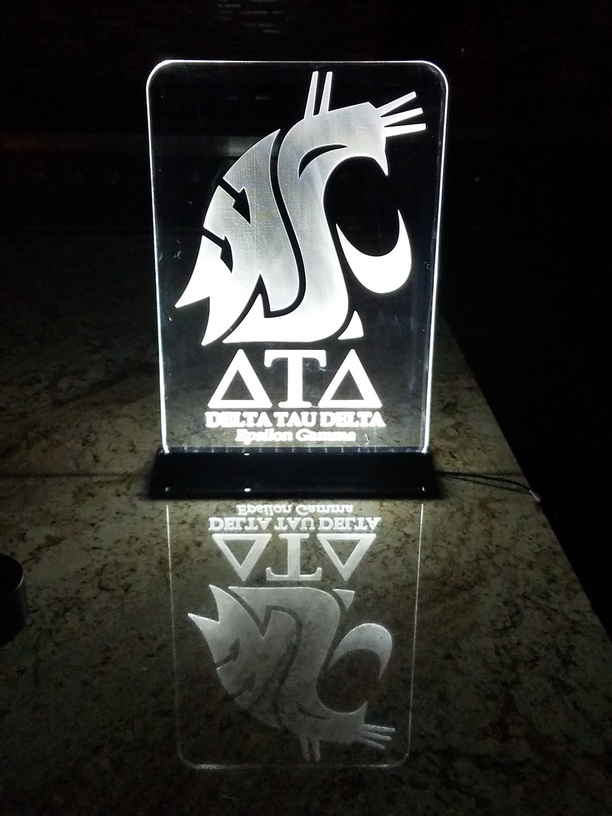
Here is the smaller one for her son.