I have a few user interface questions for those of you already using a Glowforge
I want to raster the fill of an object and also score the outline of the same object.
For other lasers, I would set the fill of the object to black and the stroke (outline) to some other color.
The laser would know that the black fill = raster and the outline = score.
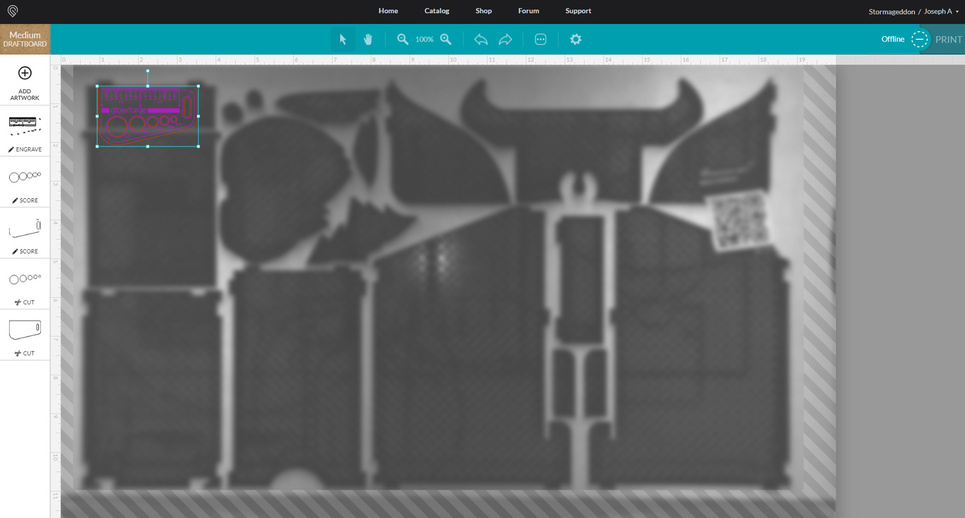
I uploaded an object into the Glowforge UI that is set up just like that.
What I see in the user interface is a single operation that I can choose raster, score OR cut.
I don’t get to pick score AND raster, etc.
I also don’t get to copy an operation so I can set one to raster and the other to score.
The UI can’t separate out a single object that has a fill AND a stroke as two separate operations?
So, am I expected to duplicate the object in Illustrator, Inkscape, Corel, etc and set each object to a different color (one as a fill and the OTHER as a stroke) so that the Glowforge UI sees two different operations?
I designed an object and upload it to the Glowforge UI for testing. The test comes out great and I now hypothetically have a laser cut trinket. Now I want to make as many trinkets as will fit within my workpiece. Can I not copy and paste an object in the Glowforge UI?
Am I supposed to move the single object around and cut one object at a time? Seems labor intensive and slow.
Am I supposed to go back to Illustrator, Inkscape, Corel to copy the object over and over and then re-upload to Glowforge? That seems painful to me because I would have to go and pick settings again for each operation. Also, if I grouped all of the similar operations together, I think I would be stuck always cutting lets say 50x trinkets. So, if I put a smaller workpiece in the machine, I would be cutting into nothing and wasting time because I would always have to cut 50x trinkets even though the new workpiece can only fit 15x.
I would load a file with 56 tokens on it and place them on a work piece too small for all of them, and just select the ones that didn’t fit and hit delete.
With the score in a different color, you should get 2 operations.
With multiple identical copies in the file, the same settings should be good for all of them. IMO setting the file up with all copies is easier and prevents you from having to place them individually in the UI.
Currently, yes you need 2 separate objects. I ran into this issue as well. It’s annoying. I’m hoping they fix it.
If you highlight the artwork, you can copy and paste it with ctrl+c and ctrl+v. You can past it as many times as you want. I even rotated some.
Edit: Another option. If you did want to have them all in Illustrator/Inkscape/Corel, I believe if you have them all the same color, it will consider it 1 step, not multiple steps. So, if you had 50 parts with a cut, score, and engrave step, you would still only have 3 steps in the GFUI, as long as you only use 3 colors. (I think).
That’s super helpful to know. Thank you.
If I upload a file with 1x object and I copy & past 39x more, can I then save the file so that next time I open it all 40x objects show up?
note that copy/paste has some issues with raster and mixed images, but works good with pure vectors. You can also gang-copy/paste: copy paste once; select both copies; copy paste; select all four copies; copy paste; select all eight copies… etc.
Ok, I’m confused. In the same file I have an engrave and a cut, in different colors. I am presented with 2 operations in the side bar - form the same file. I did it 2,000 times.
What am I missing here?
We were both referring to a single object that has a fill (raster) and a stroke (cut/score).
When I pull that object into the Glowforge UI, it shows up as a single operation that I can choose raster, cut or score. In reality, I want raster AND cut or raster AND score.
My tokens (each a separate object) had a raster and a cut. The cut was a different color, so it was a separate op - so I got a raster and a cut…
Guess I’m not understanding why it doesn’t give you that option. If your stroke is a different color than the raster it should be seen as a separate operation.
Fog is thick outside, and apparently inside too. I must need more coffee.
Yes. That’s what I do, because it’s quicker. You can run the engrave, and then convert it to a score and run the score, but that’s a huge time waster. Easier to just duplicate the shape while you are designing it, set up one as an unfilled score line, and the other as a filled shape with no stroke color assigned. (They can be the same color - but the GFUI interprets an unfilled stroke line as a cut and an unstroked fill as an engrave. If a shape has both, it usually defaults to a cut. The GFUI doesn’t split them out, because it doesn’t know what you want to do with them.)
Easiest way to get both in there at the same time.
I think the confusion here is referring to it as a raster, which might imply that you have a raster image and then a stroke around it - which would be separate objects/operations.
I believe what @Secret_Sauce is saying is that he has a vector element that he wants to engrave and score/cut. For example, he made a vector circle and that circle has both a fill and a stroke. Strokes are used for cut/score, fills are used for engraves. When he goes into the UI - it only imports as one operation, not both a cut or score operation and an engrave operation.
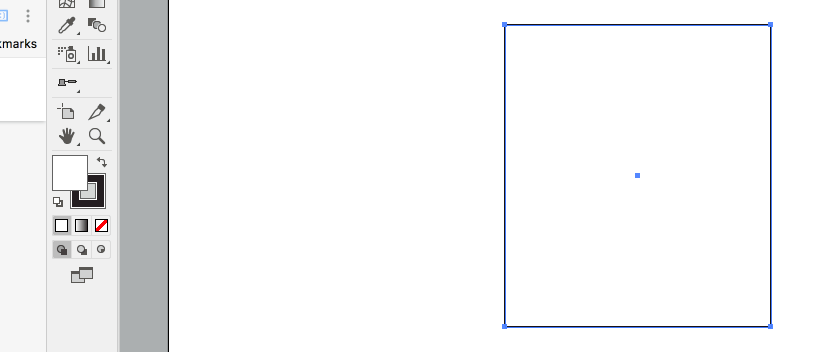
@Secret_Sauce - I get where you are coming from, I believe, in the sense of how you’re wanting it to work. People have different workflows they like but sometimes interfaces don’t accommodate those workflows. The quickest way here in Illustrator, in my thinking, would be to copy your design element (control or command-c) and then paste in front (control or command-F).
The next step can be done a few ways. Either go over and click the button to make it “no fill”. Or, you can do it all keyboard. If the “fill” indicator is on top, just hit the forward slash (/) and it will change the fill to no-fill. If the stroke is active, and you want to change the fill to none, just hit X (which switches between making fill or stroke active) and then /
It takes about 1 second to “control-c”, “control-f”, “/”
You all have been super helpful. Thank you.
One last question for you all before I close this thread down.
Can I not organize my files by folders?
Right now, everything is jumbled in the same place. My projects plus all of the freebies.
I was hoping to organize my projects and folders would be the logical way to do that.
Thanks again to everyone for your comments.
I consider this thread CLOSED.
If someone knows how to actually close it, please do so.
I figure keeping this concise is more helpful than the thread gravitating towards everyone’s favorite flavor of ice cream.