A few of these need adjustments, but overall, I’m pretty stoked about how this gift for my wife turned out. The 5" square plates are 1/8" clear acrylic on a black acrylic backer, and they’ll be slotted into a lightly finished cherry frame.
Malala Yousafzai
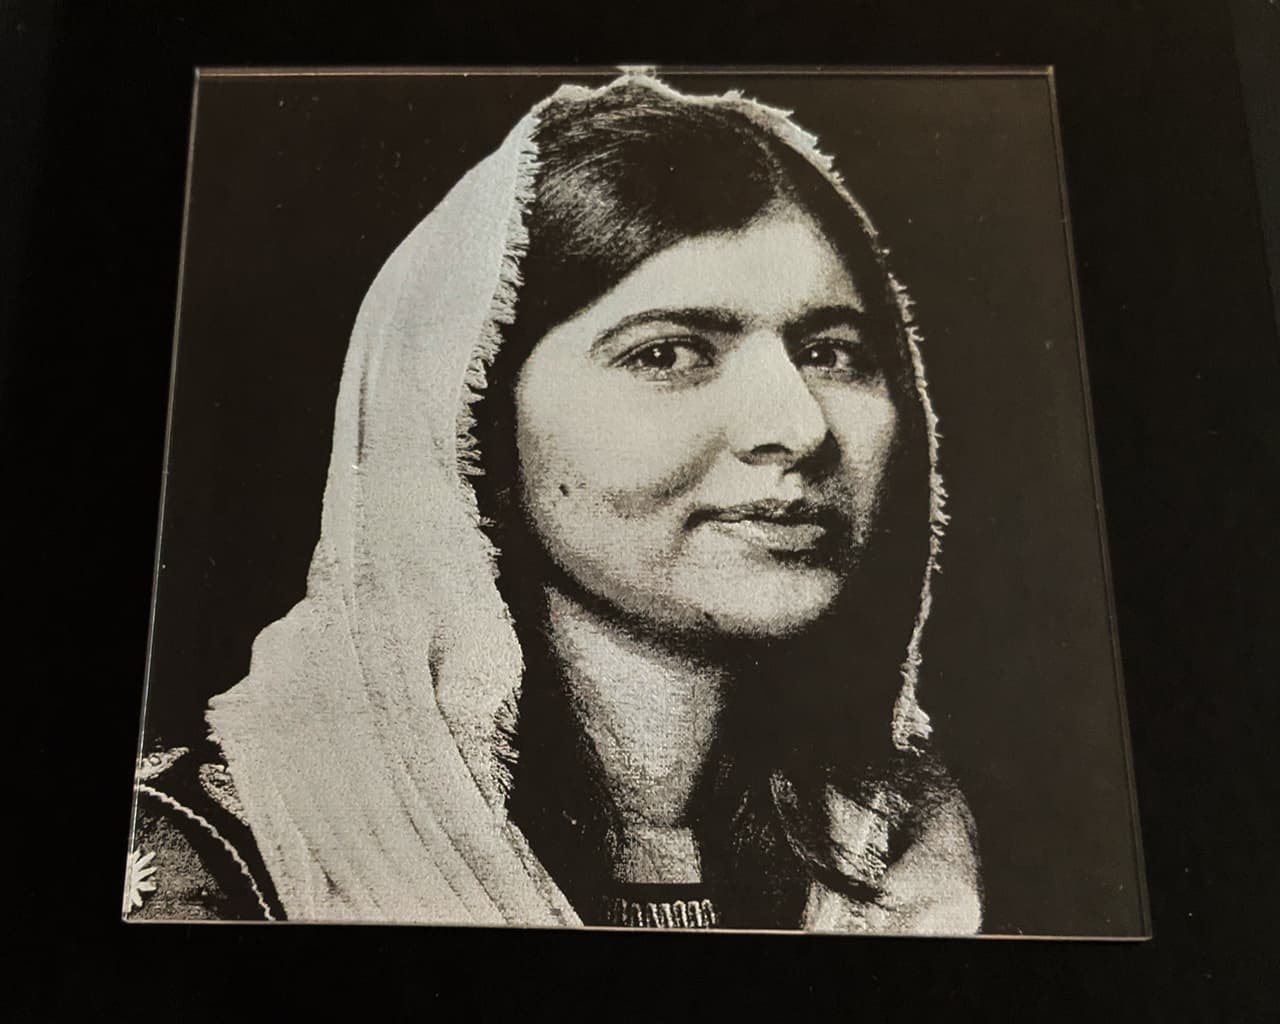
Love the detail here; this is my favorite of the series.
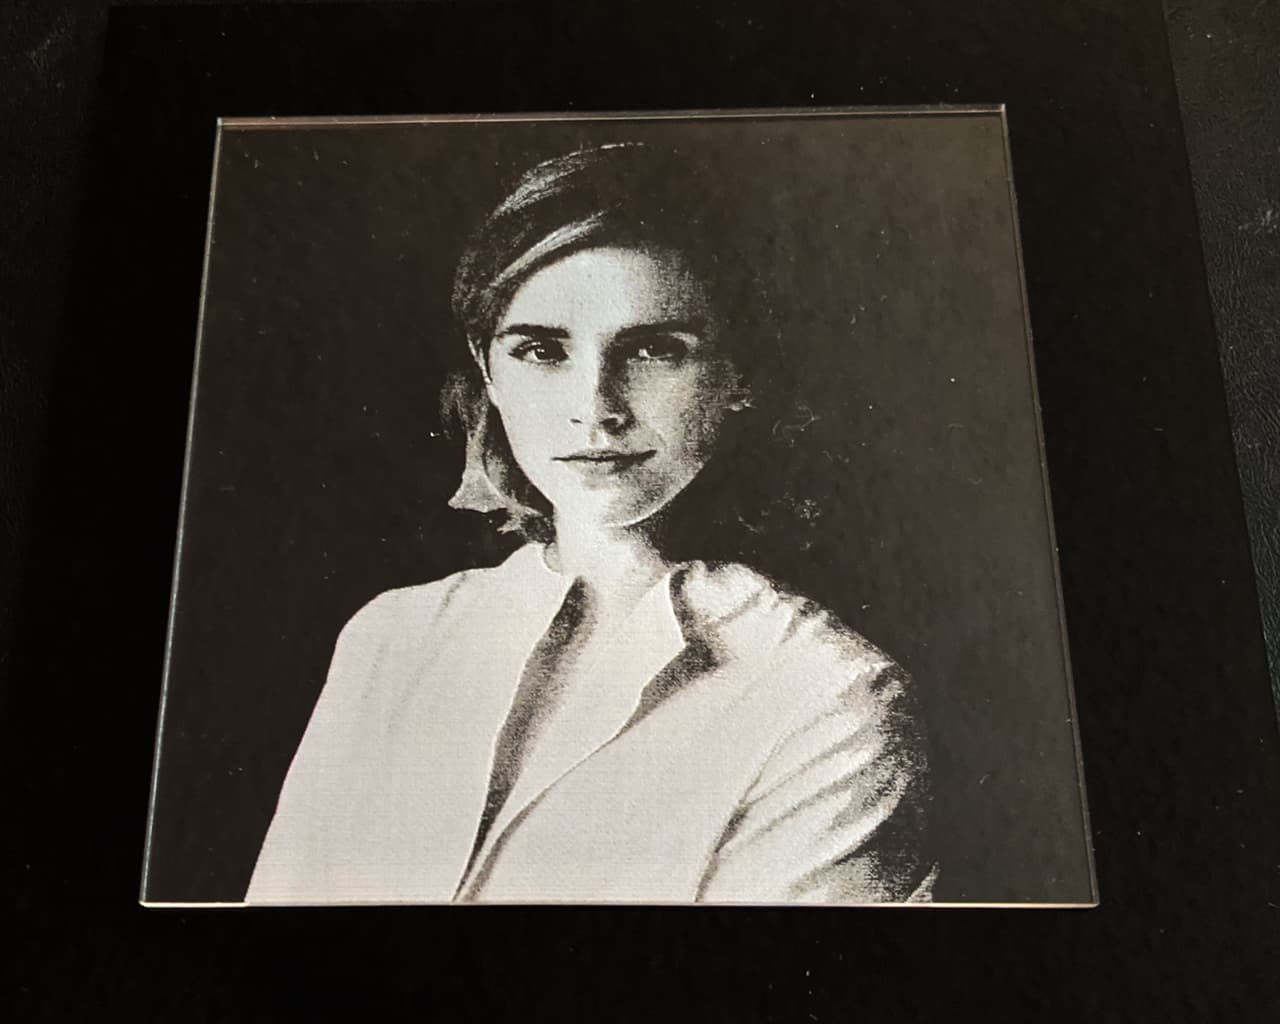
Emma Watson
Carrie Fisher
Finding a balance on this one has been challenging, but I think the next iteration will do the trick.
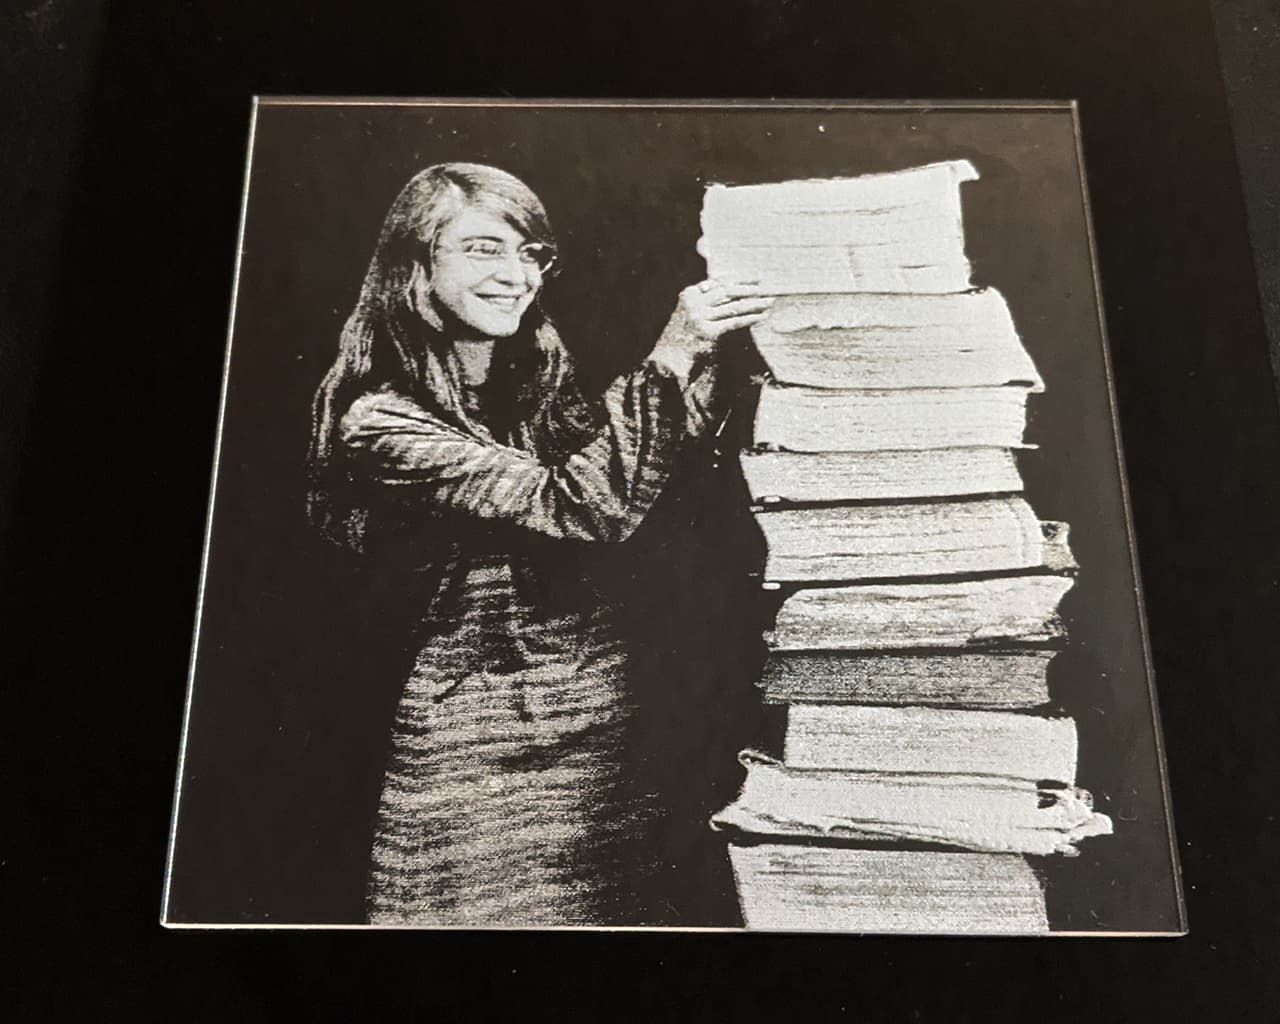
Margaret Hamilton
Rosalind Franklin

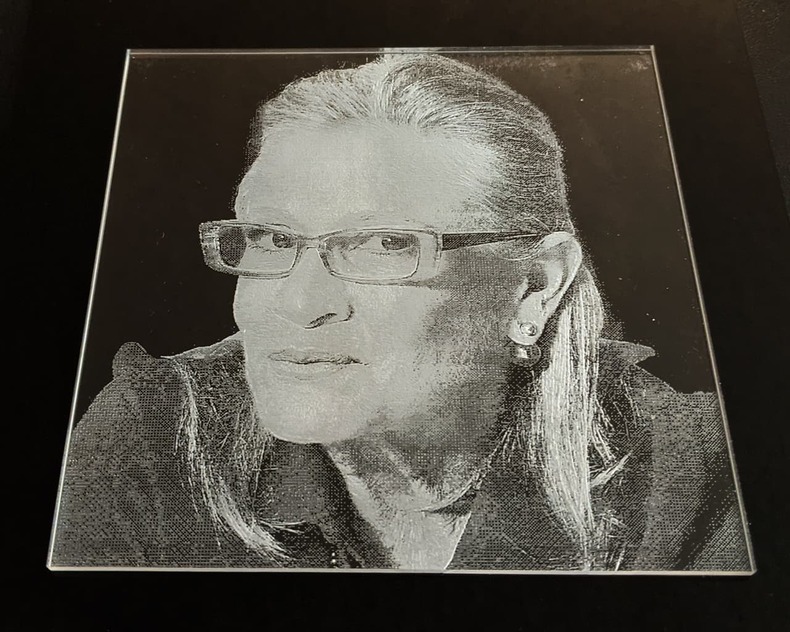
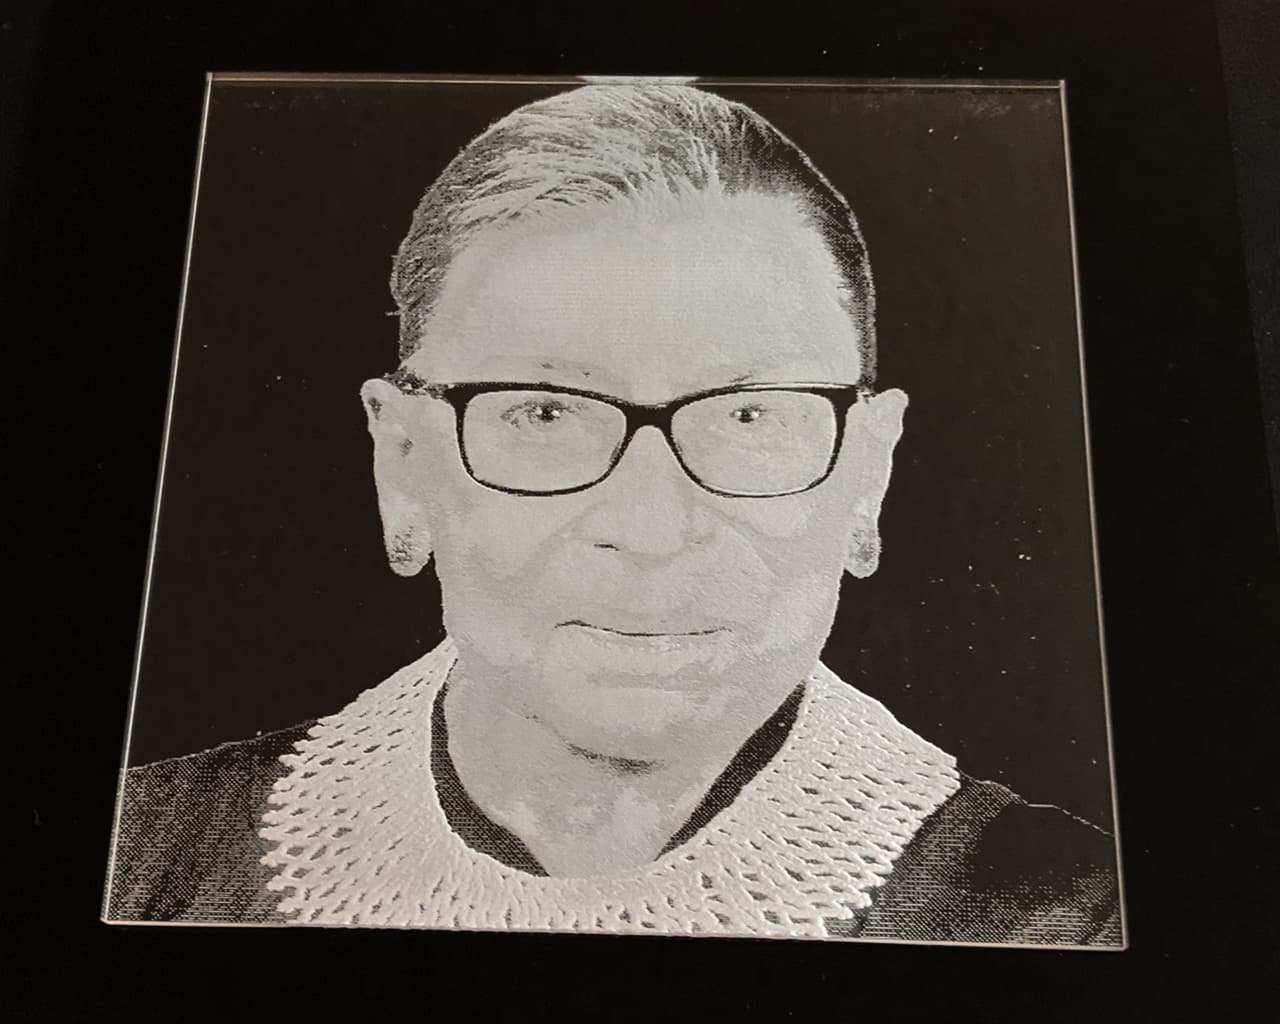
A difficult photo to work with. I think it can be improved.
Ruth Bader Ginsburg
The processed photo was too light (too dark after inverting), so this engraved much deeper than needed. I happened to catch a glimpse of it lit from below, though, and it had surprising depth and dimension when lit that way. I’m going to have to double down on that 3D engraving and experiment with lighting techniques.
I went through a lot of acrylic and time testing out various preparations in Photoshop, and settled on the following process:
- Remove the background, create a mask for it, and resize the image to the desired size at 340dpi.
- Image > Adjustments > Black and White.
- Image > Adjustments > Curves to increase contrast in the face without washing out details.
- Image > Adjustments > Brightness and Contrast to bring out contrast overall.
- Image > Adjustments > Levels to clip tonal values to between 15% brightness and 85% brightness — no pure black or white except for the background.
- Image > Mode > Greyscale
- Image > Mode > Bitmap to convert to a dithered/halftone screen. 340 dpi, then 340 lpi with a 45-degree screen angle, round dots.
- Image > Mode > Greyscale so I can save it as an uncompressed JPG.
- Invert the color and flip horizontally, as I’m engraving on the back of the acrylic.
- Import into Illustrator and add the cut lines; export as SVG.
In the GFUI, engrave at 1000/90/340lpi, Vary Power (which is actually consistent power here since the image is all black dots with the same tonal value), height set to the acrylic thickness. I removed the paper masking from the top of the acrylic and left the bottom masking alone. No need for additional masking or dishsoap.
The contrast in the original photo has been a huge factor in the final result, and older, grainy photos have been especially challenging. (I’m not including the plate of Emmeline Pankhurst, because that turn of the century photo I chose proved to be an unmitigated disaster.)
I’m going to continue to refine this method, but I feel like it’s off to a great start! Can’t wait to try it on slate and marble.
