Hello,
Ok so, I keep both ants and spiders as pets ( sorry to anyone that is grossed out by creepy crawlies) but anyways I bought my ants a formicarium that came with this awesome little lid with the tiniest little breathing holes laser cut right into the lid, and it got me thinking about my spiders and making their breathing holes the same way, mostly because the spider’s food ( crickets usually) keeps chewing their way out of the current mesh ( either window screen or bug netting) and it’s driving me crazy, if I could just cut little acrylic breathing hole windows, the crickets couldn’t chew out, making a potential spider escape hole. !
I tried figuring out how to design this myself, but got quickly frustrated with size and lining up the holes neatly. If anyone knows 1. What size to make the holes To be as small as possible, yet the laser will recognize it as a hole to cut easily, and 2. How to get them lined up neatly using Inkscape, I would be super happy
(Hopefully this is the right category and my photos worked, it’s my first post)
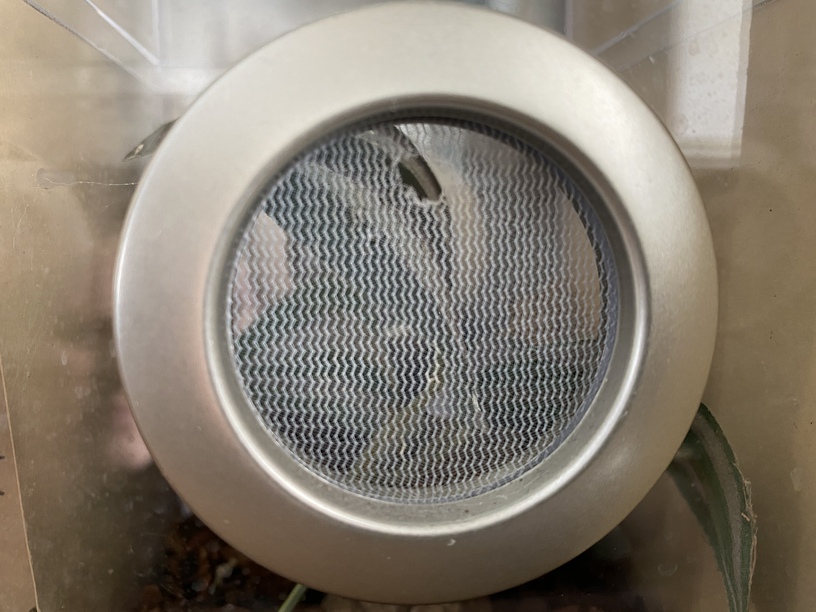
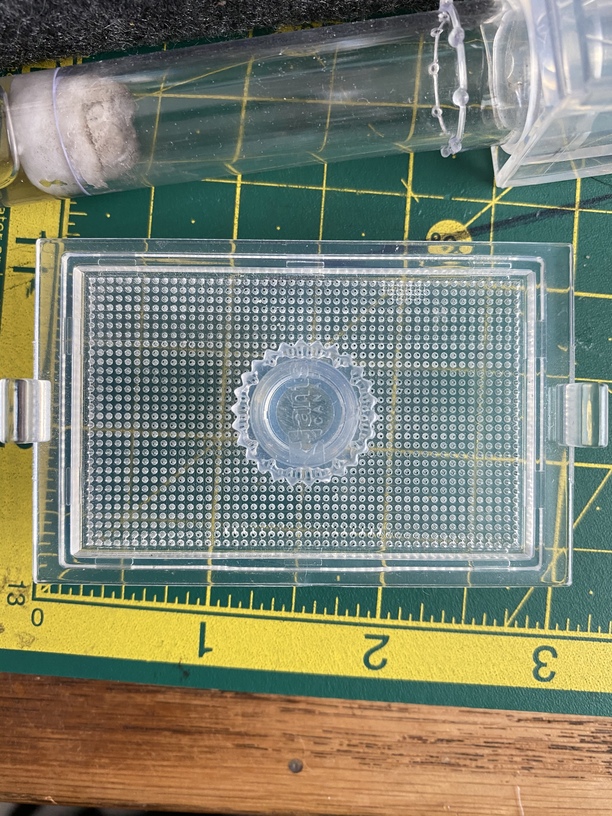
Below should be a picture of the purchased acrylic lid I’m trying to make, and a photo of my current ( failing) breathing holes, ideally the idea is to make the one for the spiders about a 2” circle with the grid of breathing holes in it, then it would fit the holes I already drilled for the window screen mesh. image|375x500
Also I am super new to Inkscape and designing my own files in general haha so everything I’ve made so far was trial and error and all figured out by just clicking random options in Inkscape until it worked.
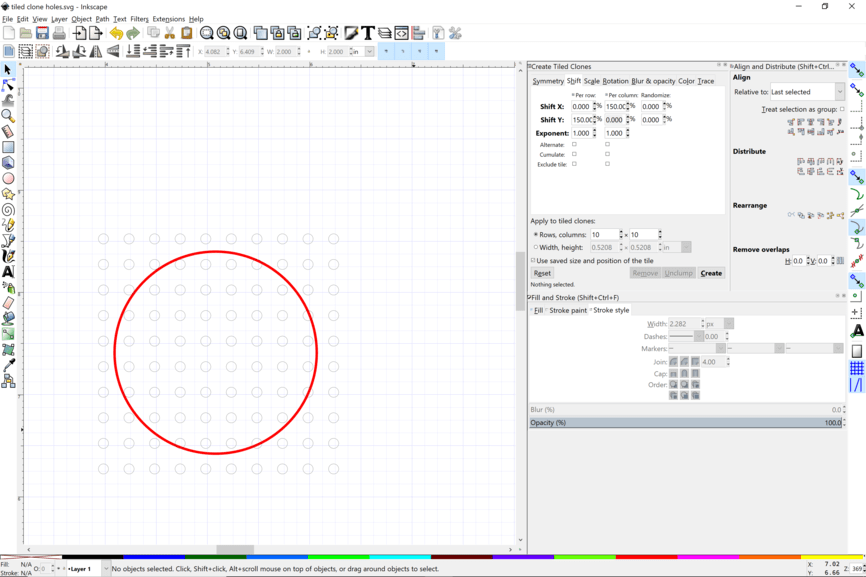
The function you are looking for in Inkscape is the clone and tile. You would make a circle as small or large as you need and then do rows and columns in the spacing and pattern you want. Here is an example of how it works:
Edit > Clone > Create Tiled Clone
Choose the shift tab. Make your small circle. Then Shift X 150% per column and shift Y 150% per row as a starter. Do 10 rows and 10 columns.
Don’t forget to delete the copied clone over the original or the first one will cut twice. Play with the size of the circle. Here is an SVG of the result for you to play with. The one in the file is .1" What is cool is that you only need to resize the original and all the other clones will resize too. Check the bottom info bar to see if you are clicked on the original path circle or a clone. Right click and save as.
To edit this file and change the size and spacing of the holes, delete all the cloned circles. The top left circle is the original. You can change the size of this circle by change the height and width up in the dimensions tool bar.
Then select it and apply the tiled clone operation. You might be able to just click on the original in the top left and then do the tiled cloned operations and that will change all the linked ones without having to delete anything. Try that first.
If doing in acrylics be very careful and watch like a hawk. As multiple engraves from different sides it could leave a ridge in the middle to help as well.
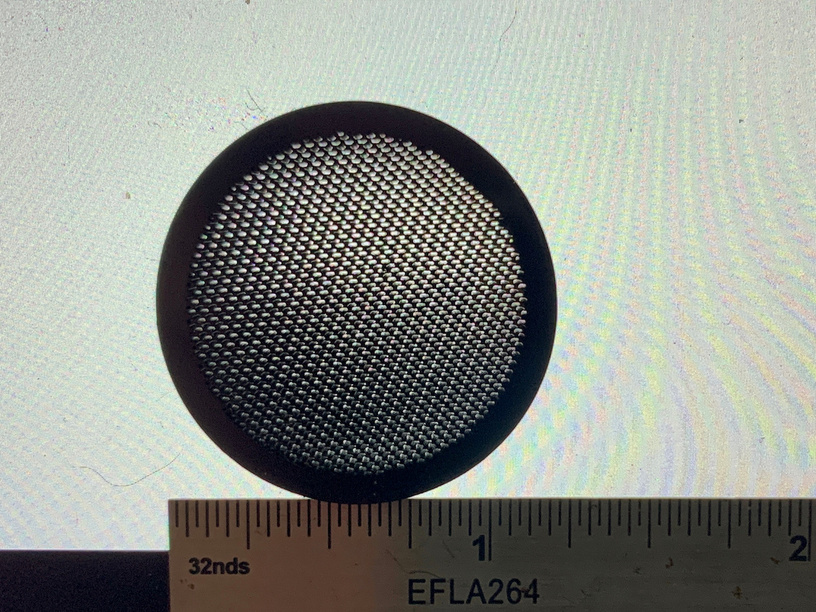
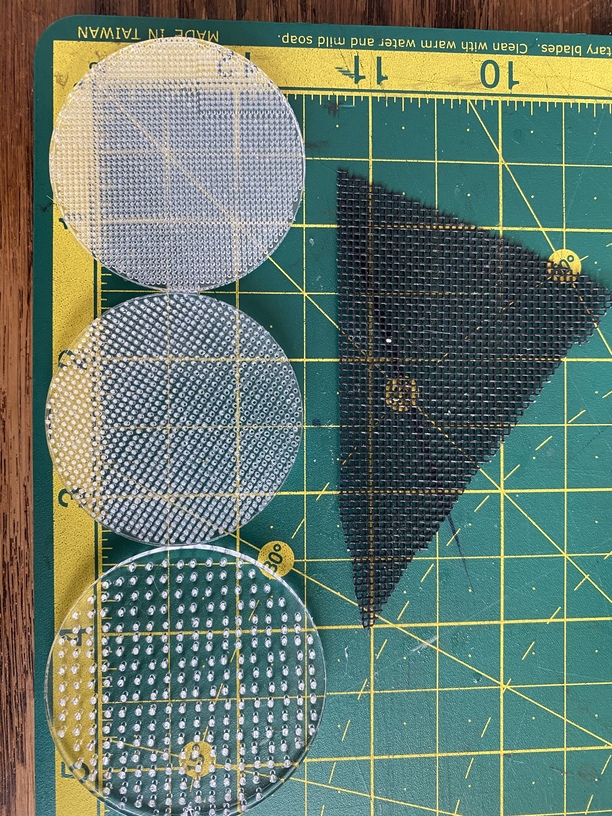
The “mesh” is 1" around, there are 35 holes per inch in both directions. This took 3 minutes to print. I can breathe thru it.
(I love little challenges like this…)
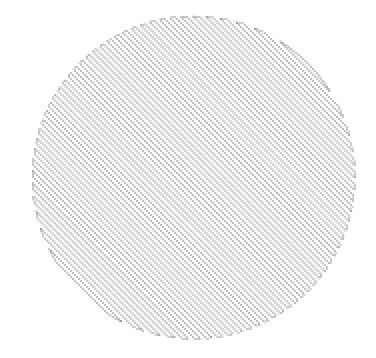
It’s made with parallel rectangles rotated 45º to give an alternating pattern, and engraved at the matching LPI. So in this case, I distributed 38 0.013" wide 1" tall rectangles across an inch, cropped them out of a 1" circle, rotated by 45º, then Engraved at 150/FULL(Pro)/75LPI.
Here’s a 35LPI version (on left) - honestly no reason to go there, because I had to slow the beam down to widen the holes in the Y direction at that DPI, so the print actually took longer and flareup is much worse. Airflow is no better. I won’t share those settings.
Reading your post again, I see you were looking for a 2" circle. Here’s the same 75LPI design at 2" - to be clear, this part needs to be Engraved, NOT cut, on “Medium Proofgrade” acrylic (any 3mm will work) at 150 speed, FULL Pro power, and 75 LPI. You MUST watch it the entire time it is printing. This one does not flare up like the 35 LPI one I posted above, but acrylic should always be watched.
If you do not have a pro, let me know and I can see if I can figure out the correct speed to use.
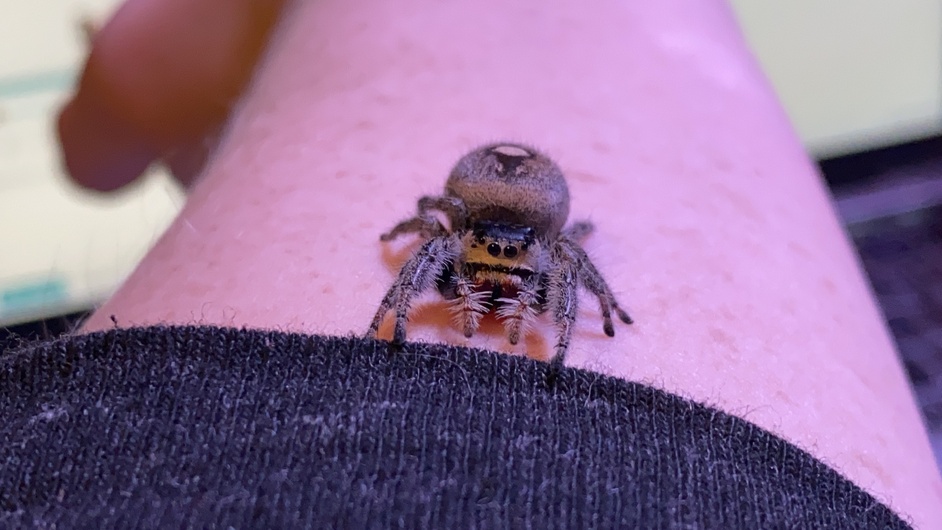
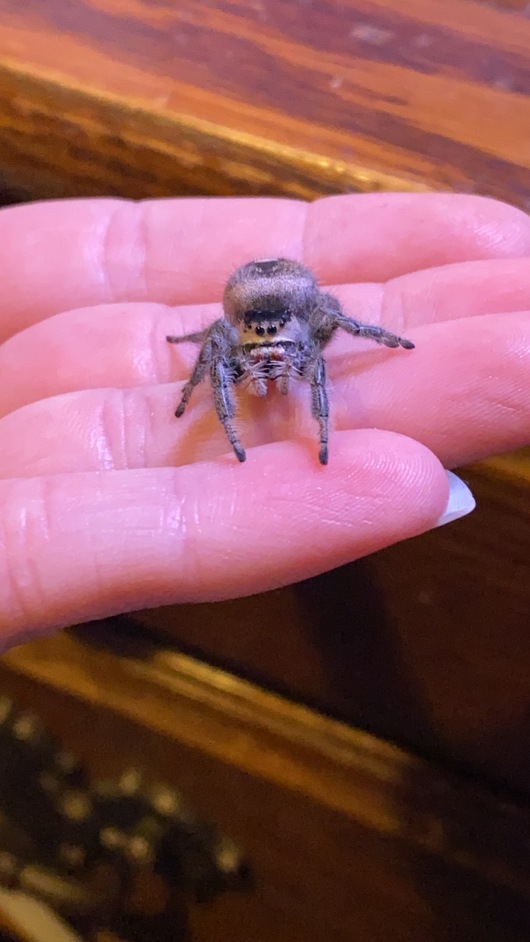
Different types of Jumping spiders, they seem to have a very curious and inquisitive personality. They are easily handled and love to look up at you so I really enjoy them. (If the pictures load) this is my big regal female, super friendly and big enough to have out without too much fear of loosing her.!
I also have a purple tree spider ( who is actually a tarantula) but it is essentially a pet hole in the dirt haha, it’s still young and just hides all the time, once it’s older it should be arboreal and I should get to see it more often.
Thanks everyone! I’m definitely going to try those all out! I did figure out something in Inkscape, but it was just “ok” haha and probably the most steps possible, just made a 2mm circle, copied it a bunch and eventually found the “arrange” button that let me pick how far apart and such to put them, after fiddling around with that for a while I made a circle that was just shy of 2" (1.87 apparently is the perfect fit) and then put that circle on top of my tiny circles, then tediously erased all the circles that touched or went past the big circle. then tried it again. with 1mm and some other sizes I forget… to see which I liked best…it worked haha but was sure there was an easier way.
whoops I meant this to post under the comment asking about which spiders I kept, but I am still new to how this forum works and I think it just posted as a recent comment, sorry if anyone didn’t want to see spider pictures


