I don’t see any free, basic designs here for US flags. So in honor of Independence Day, I am posting three designs. One that might be more appropriate to just cut/score for masking and then you can paint the flag, starting with a white surface and then painting the red stripes and blue background of the stars by removing masking strategically.
Right click and save the SVG. Two other versions of this file that are set up for engraving follow in this post, just in case you don’t read through the rest.
First a word about making stars in Inkscape:
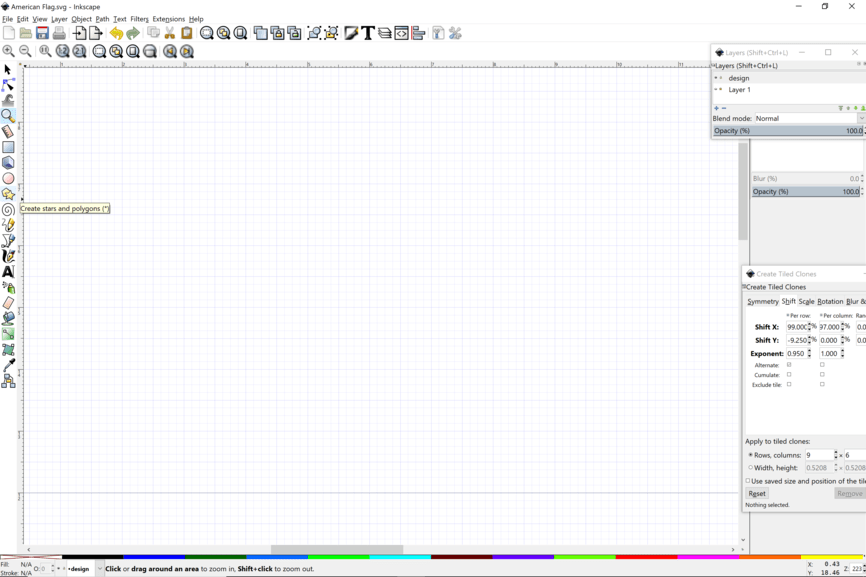
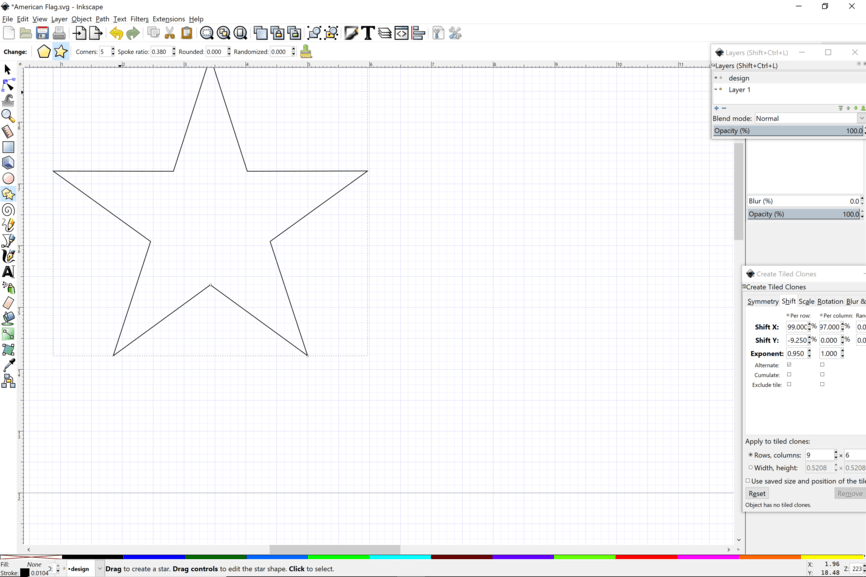
Choose the stars and polygons shape tool and draw the star.
If it isn’t five points, put that in the upper field definition box for number of corners for the polygon, then do the spoke radius of 0.38. That gives you the classic star shape with the horizontal shoulders.
Size the star as you need. Then convert Object to Path. Now we will clone this to make the field of stars.
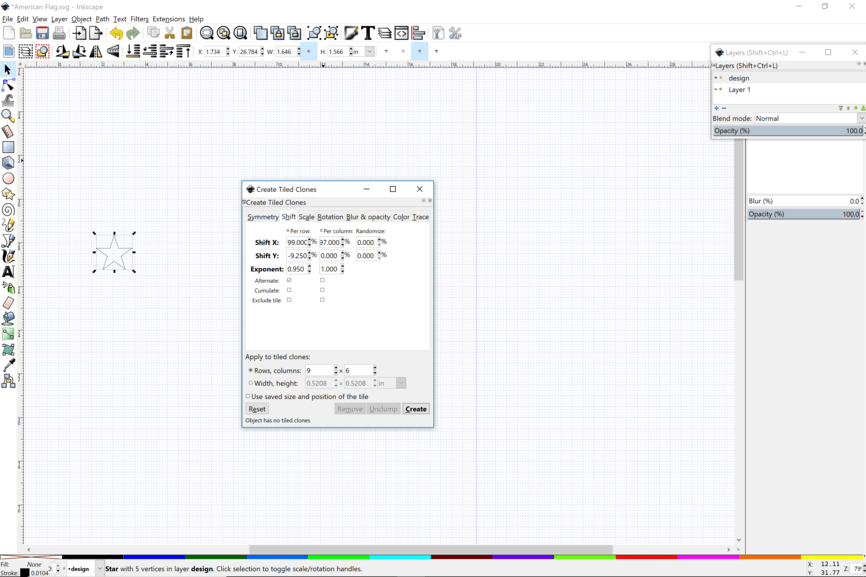
Click on your star, then Edit > Clone > Create Tiled Clone.
Use these settings in the Shift tab of the clone dialogue box. The Shift X per row and per column are slightly less thatn 100% because of the way Inkscape measures objects for clones and uses a percentage of the bounding box. I’m sure there are some vexillologists who can explain the proper spacing of the stars in the field of blue, but this works ok.
The Shift Y per row is -9.25 (that is a minus sign for a negative number) to get stars to space out correctly. Then with Alternate per row check box clicked, you put a 0.95 exponent. This allows you to do alternating rows.
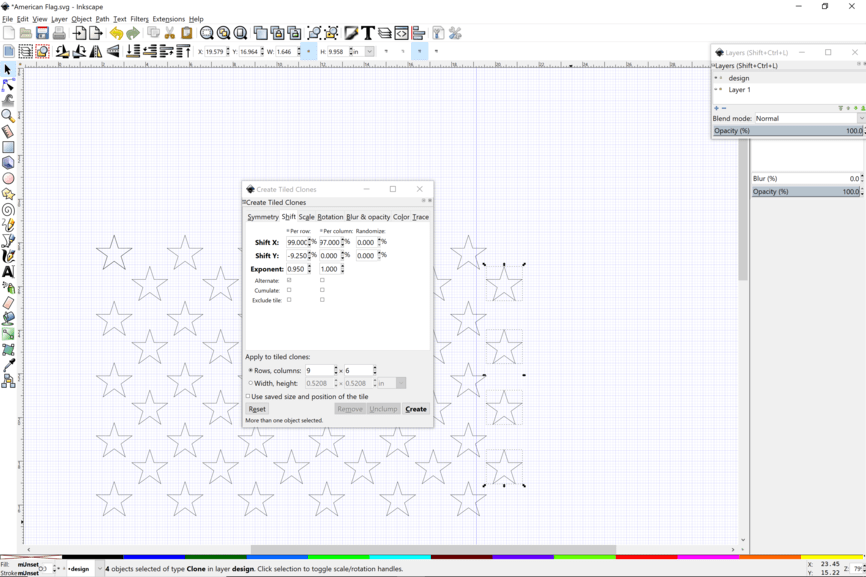
Make it 9 x 5 and then delete the extra four stars on the right.
Don’t forget to delete the clone that is placed over the original object star, otherwise you will have two operations stacked. I usually unlink the clones before printing a file, but it’s good to keep them linked until then because editing the original for stroke and fill does all of them. However, when you are ready to do path operations like booleans, the shape and the clones need to be unlinked and all paths.
Right click and save the SVG.
This one is for an engrave. You can engrave the red lighter and the blue darker. It leaves the stars as ungraved white islands in the darker field.
As always, use as you wish. Open to suggestions, corrections or workflow improvements.
Have a great day! Always feel like I’m celebrating a holiday with my Glowfolks. You are all right there with me. Especially as everything I will do today could be improved with a laser!
And finally an engrave version you may want to use that allows you to engrave what is normally white.
Right click to save the SVG.
For example, if you were doing an acrylic LED light. I usually flip these designs and engrave on the back if I’m doing an edge lit. Anyway, you’ll figure it out how to use it.


