Hey everyone!! I recently picked up a roll of High tack transfer tape for doing store installations. I’m having a heck of a time trying to get the tape on the back of the acrylic without it bubbling or going crooked. Anyone have any suggestions or tips and tricks?
Depending on the kind of tape, you can float it on. Lay the glass/acrylic/whatever down flat on a table and put a thin film of water on it. Lay the tape down on top of that, adhesive side down, shift it into position (it gives you a little working time) and then squeegee the water out from the center to the edges. Let it dry for a couple of days.
6 Likes
I apply a film to plates for use on 3D printers. To get a bubble-free application, I start with one edge or one corner and only unmask a small amount at a time, working that amount against the surface with a cloth or stiff scraper. Then pull off a small mount of backing and work that exposed adhesive down again. The stiffer your applied material is the easier this gets, but by using a stiff plastic scraper, I would use nylon with a rounded edge, you can get a bubble-free application of nearly any thin-film adhesive. If you have foam as the carrier agent that will be harder, but should still work.
3 Likes
I made this post a while back about applying transfer tape to vinyl decals. a tape dispenser and a good squeegee are the tricks:
Now, with vinyl, since it is so thin, any bubbles or creases in the tape can mean bubbles or creases in the vinyl when it is installed. But with acrylic I would think you could get away with some bubbles and creases… if you are using the tape in the way I am imagining; holding elements together as you move them from a workspace to the installation point, after which the tape is removed.
if you are using it as laser-masking, bubbles and crease lines can trap smoke and soot and lead to little bits of staining, a lot like when paint seeps under the edges of masking tape
6 Likes
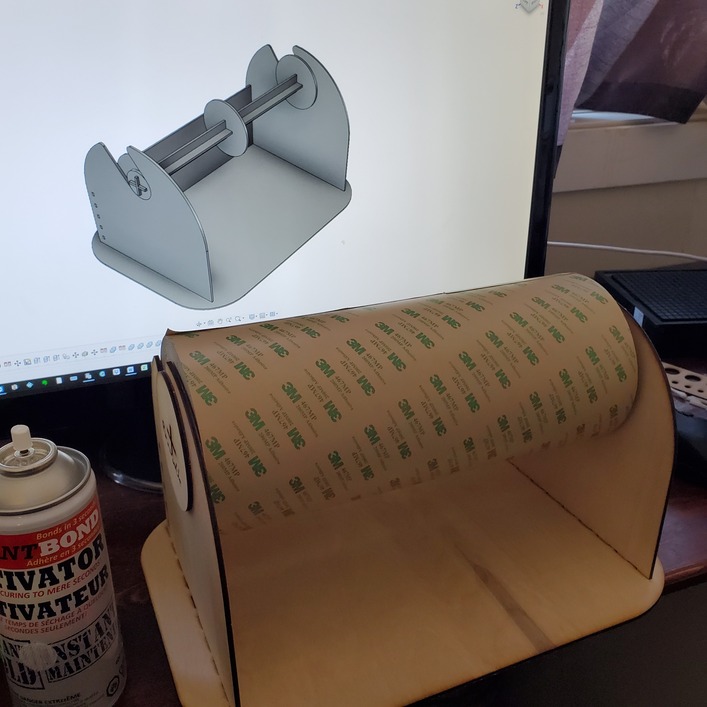
Putting the roll of tape on a holder/dispenser that’s elevated above the table surface will allow you to squeegee the tape down starting at the far end and working towards the roll. Elevating the roll keeps it from touching the acrylic before you squeegee it into place thus reducing wrinkles and helping keep it straight. Probably doesnt matter much though for acrylic, the wrinkles arent going to transfer to the finished product.
Sign makers have a good way for larger stuff: Make a paper pattern of the design, use a pounce wheel to punch little perforations along the pattern, then pat chalk through the pattern onto the surface. You can then align the pieces of the acrylic to the chalk pattern and wipe the chalk away when done.
6 Likes
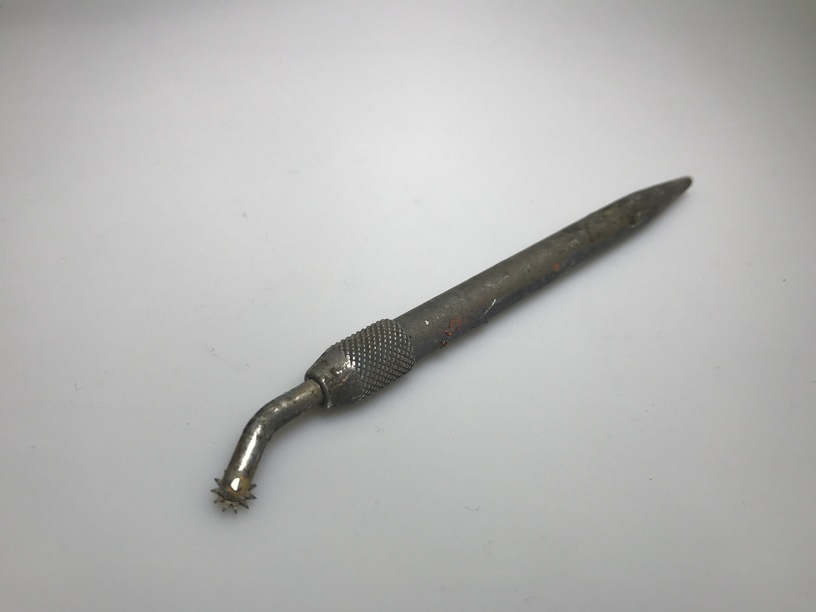
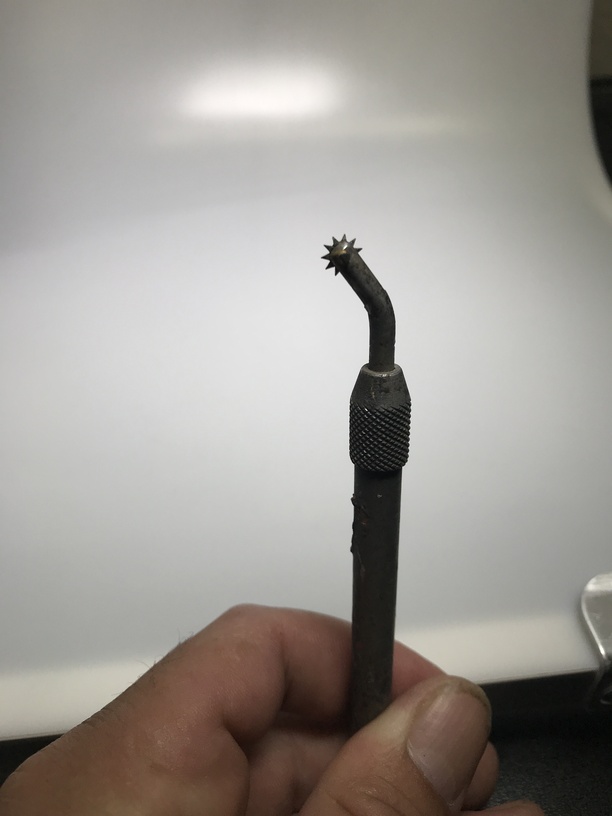
It’s interesting how medieval torture instruments can be repurposed for modern day usage.
8 Likes
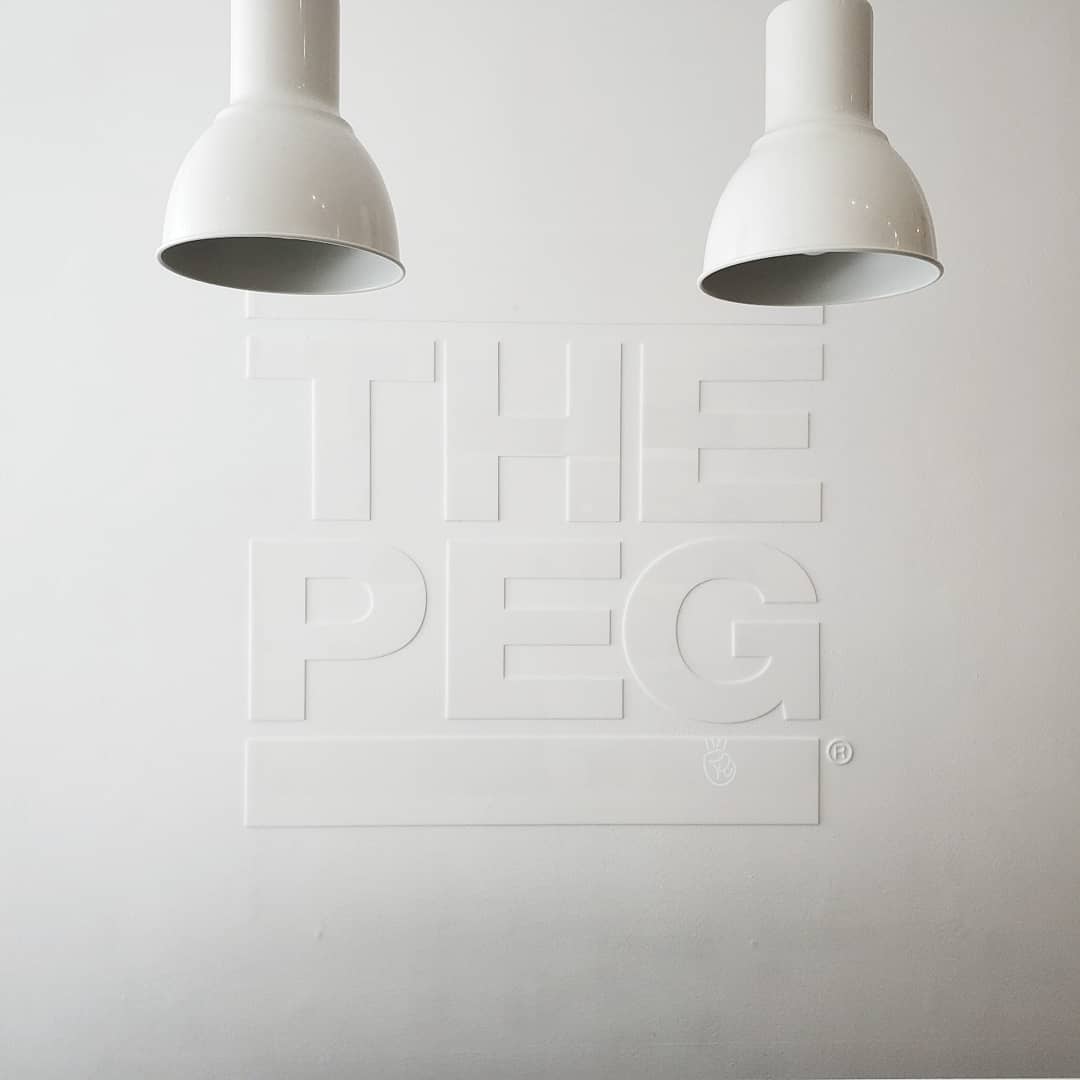
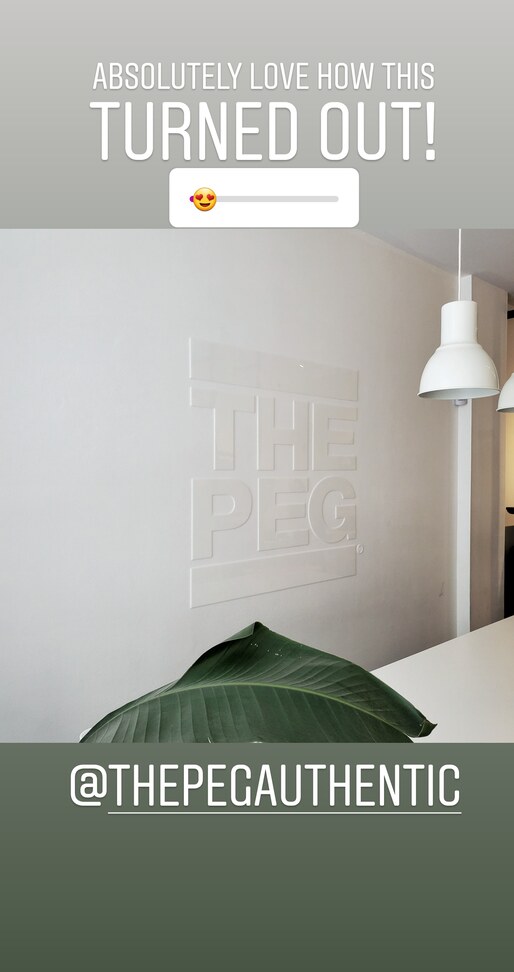
Thanks everyone! I managed to get it to work this time around but will definitely need to invest in/make a dispenser!
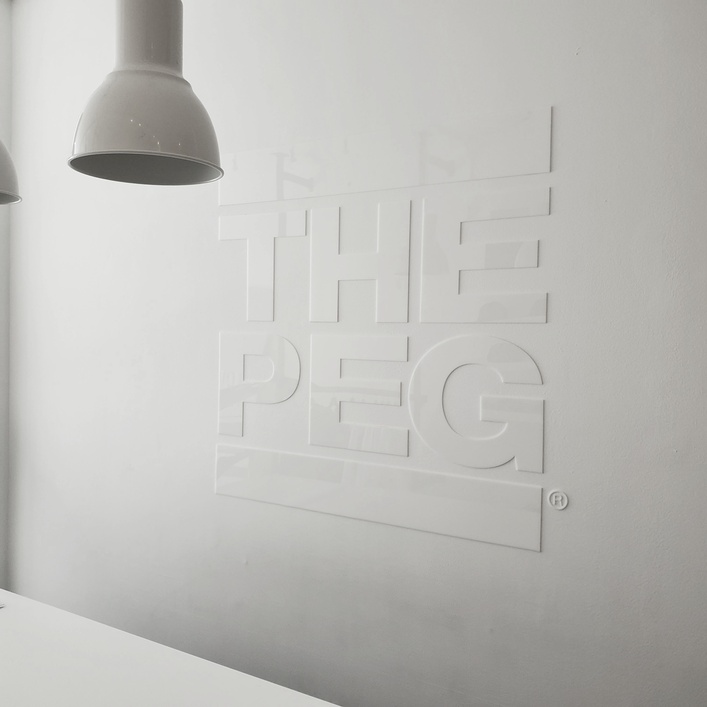
This is what I did with it. ![]()
![]()
9 Likes