If you are going to do a lot of masking, consider making a dispenser system. You can spend a lot on a fancy one, some of which are made with a CNC and might be able to serve as inspiration for what you could make with a glowforge (and clamps) or you can make a simple one for cheap. I used products from the plumbing aisle at Home Depot for mine.
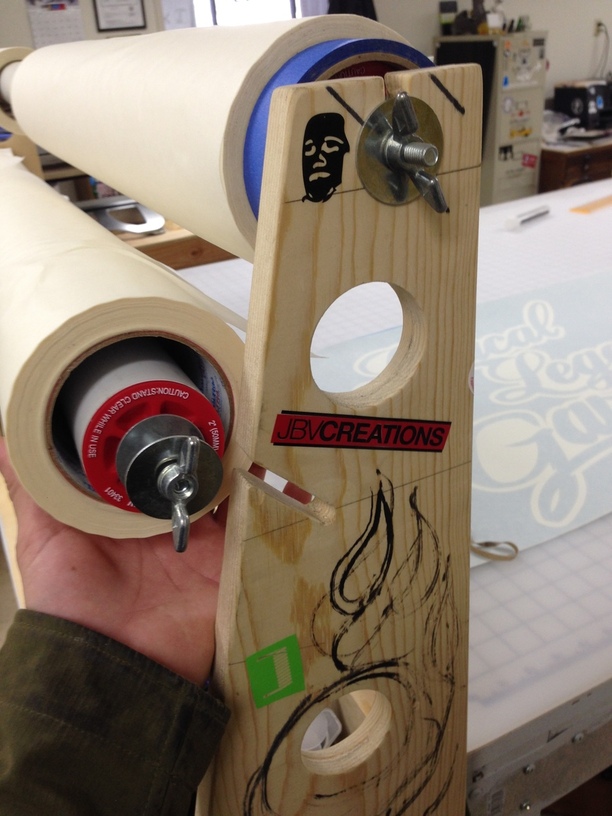
My initial design had the bars going through the round holes, but I spaced them poorly, and the bars were difficult to remove for swapping rolls. The slots allow me to lift one end out very easily.
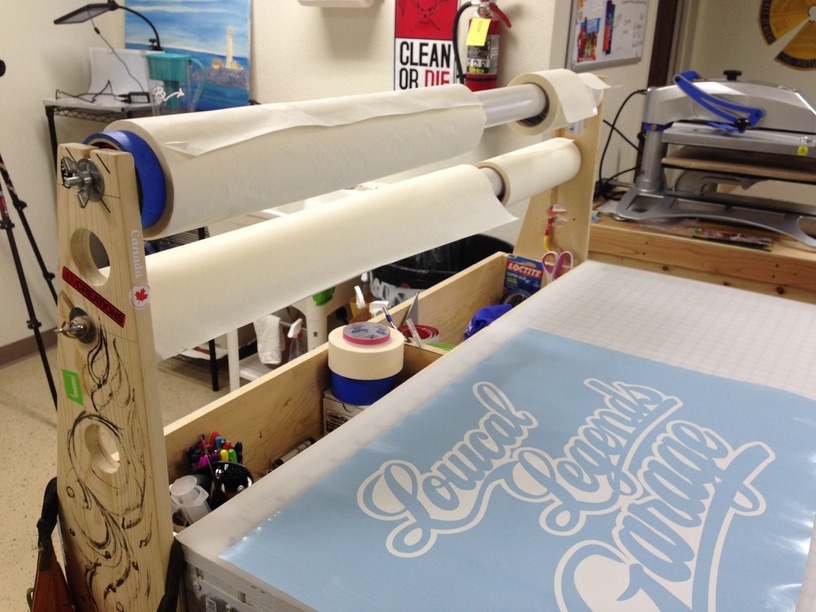
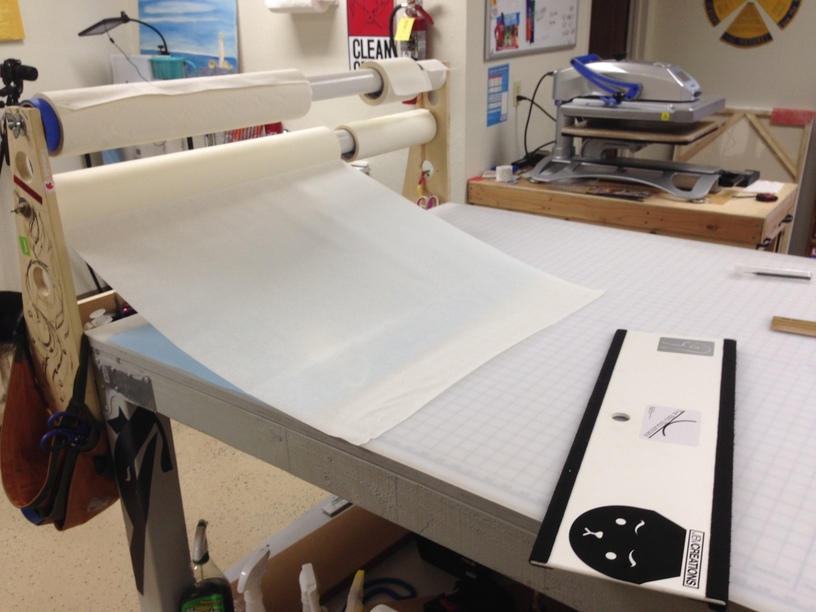
At the moment I have 24", 6", and 4" rolls of transfer paper on the upper bar, and the lower bar has a 30" and a 14" roll. There is a 2" roll in the shelf for freehanding little bits.
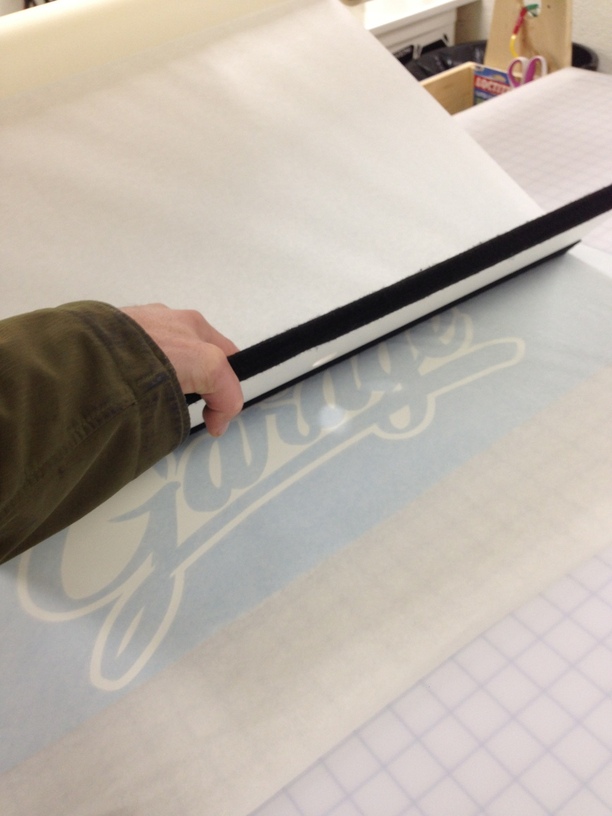
I am a fan of TheBigSqueegee products. This is the “Dent & Rivet” tool, which works great for initially laying down masking/transfer tape without wrinkles. I go back afterwards pressing firmly with a gold 3m squeegee to fully activate the adhesive.
I replaced the carriage bolt that was part of this test-cap assembly with a longer one, and added the washers. It is the same on the other side.
That would be it for pre-masking materials for the glowforge. If you were masking a decal you would continue…
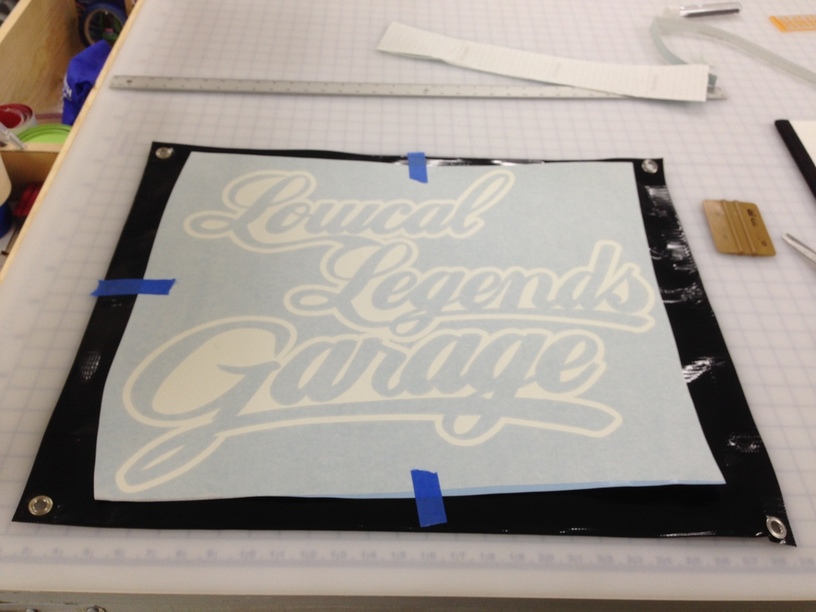
Three pieces of tape and a centerpoint ruler for alignment to the substrate, in this case banner material.
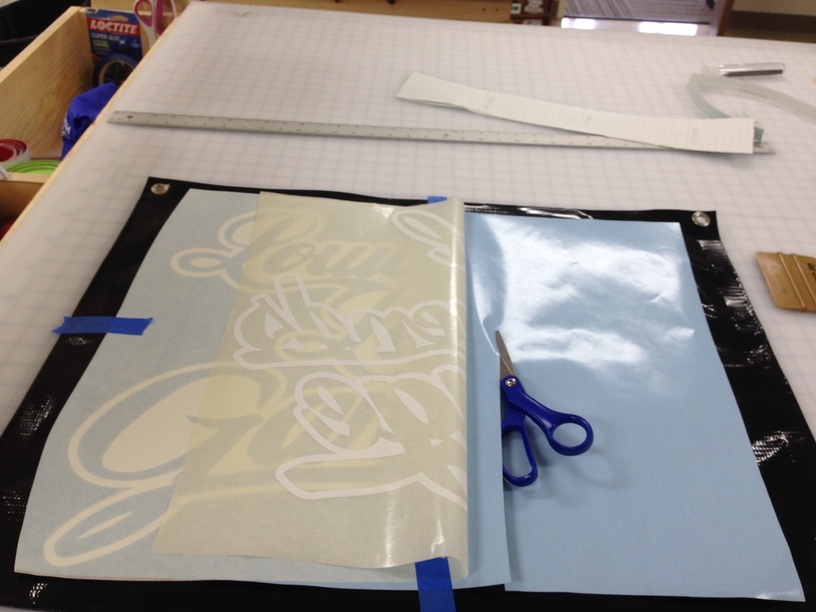
Flip the unsecured side over, peel the backing away from the decals (not the other way around!) and slice it off.
Holding the loose end up, squeegee from the center out, in ‘waves’, to avoid trapping air bubbles. Don’t drop the loose end!
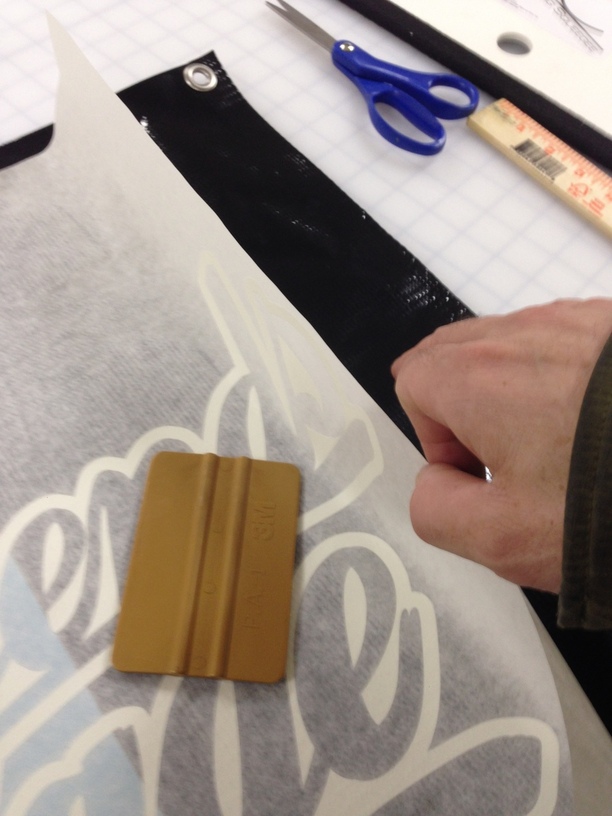
Now you can remove the alignment tape and flip the other side over, and peel the backing away from the decal. If the decal comes away from the transfer sheet and stays on the backing just go back a bit and re-squeegee or burnish from the back.

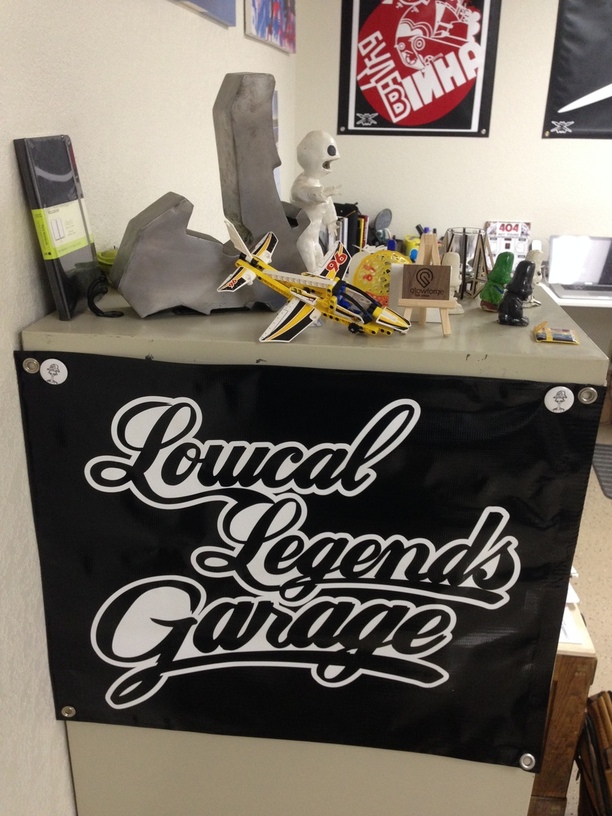
Peel off your transfer tape, and hang your banner!