This is a DM that I am turning into a public post, because it turned out to be a fairly complex version of this question: “How do I cut out the outline of a shape that I downloaded?”
Here’s the DM that started it all:
Fast forward, it turns out that we had a SVG of this file and now it was time to manipulate it. Apologies to the reader here, this is long and conversational, but stick with it, it’s got some good info. With that, @hpaschal7, here we go.
OK the good news is that you had it in vector, it makes your process a little simpler.
Definitely google or forum search for “vector vs raster”. You will also get a lot out of the matrix:
especially this from the matrix:
So back to the question at hand, what to do with all your eggs:
A quick note to the more experienced users who will come at this. There are ways to make this go faster and save some steps. The problem is that using all those tricks is something that is only easy to understand once you are really good at the basics. This process is boiled down to its basic steps for that reason, these are the things that need to get done and are fairly easily understood.
The basic concept is that you want to take all the eggs and join them into one megapath. Before you do that though, since we’re lasering and materials aren’t cheap, let’s do some additional massaging to get the most out of things.
First things first, it’s a downloaded SVG and I don’t trust downloaded SVGs. They can have all sorts of jankiness in them. My first step is almost always to copy and paste the design into a new inkscape document. This is definitely optional in most cases, but if you get in the habit, that 10% of SVGs that have weird scaling issues will never bother you.
- Open the eggs, select all, copy. Open a new document in inkscape. Paste. Save.
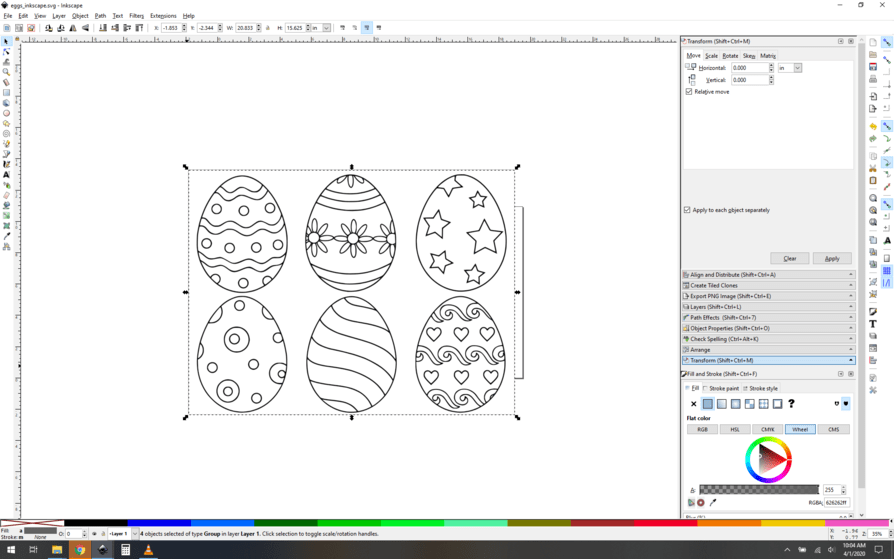
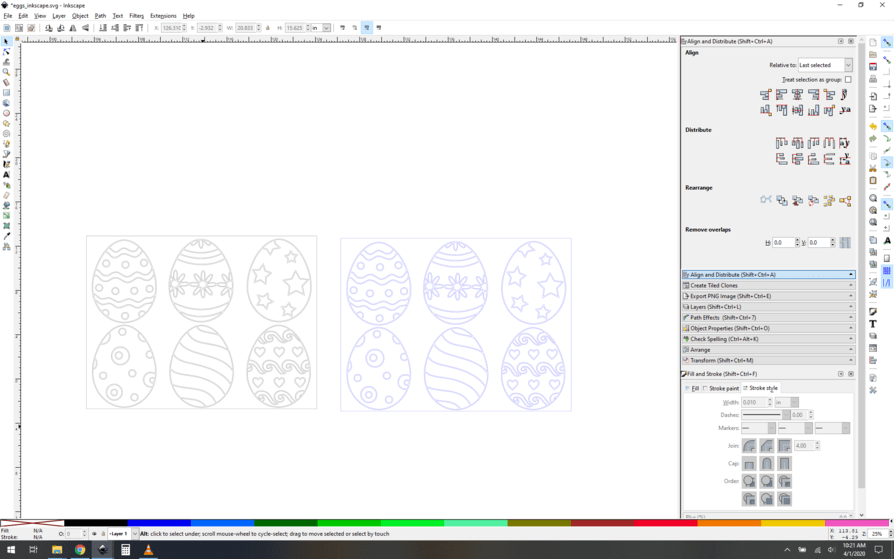
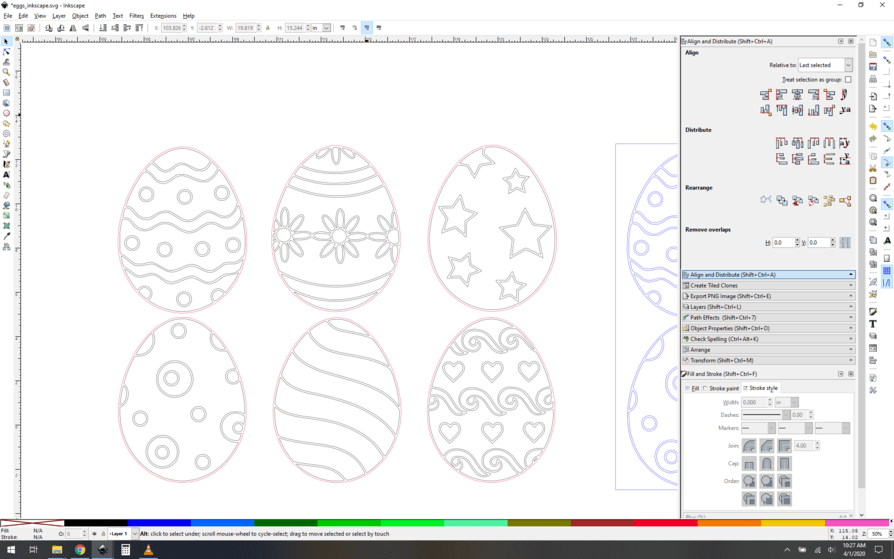
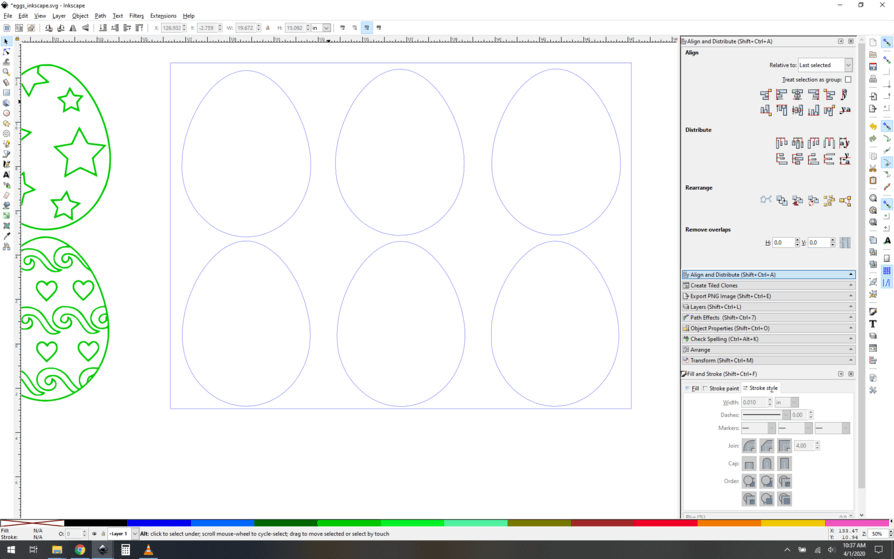
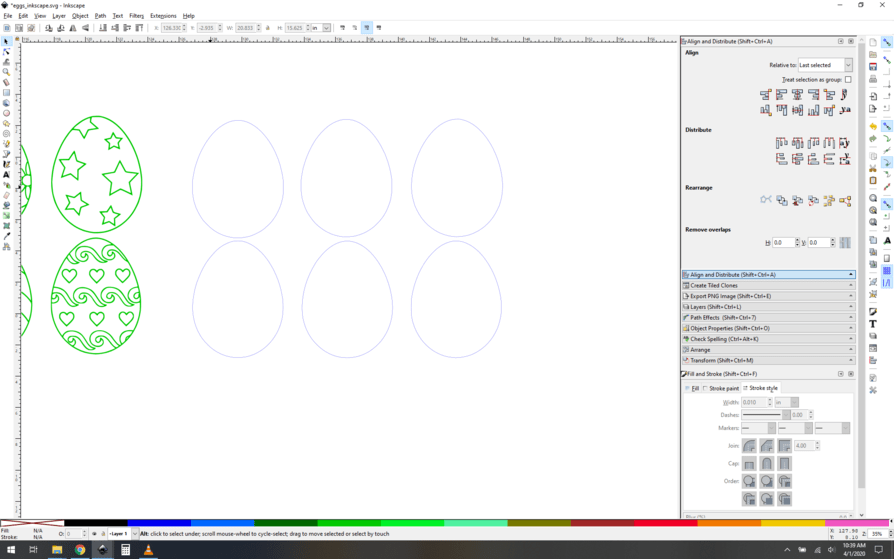
Now we want to see what we have here. Selecting all and looking at the bottom of the screen, it’s a set of 4 groups. I moved them around, and got these 4 groups. This is really weird, you don’t usually see designs set up like this.
- Here are all the groups laid out to look at. The one that looks like a blank space is actually a white on white copy of the eggs. The black one is just a black rectangle. At first glance this seems really weird, but I see what they were up to.
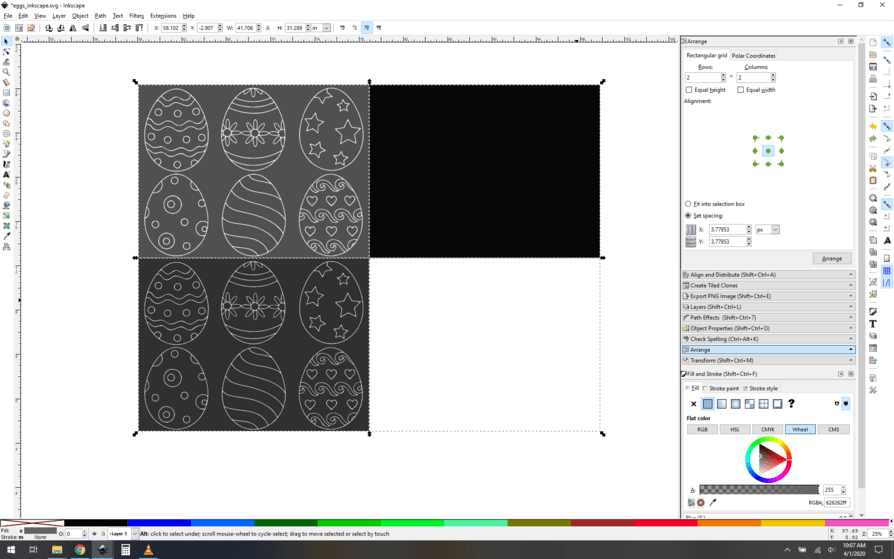
OK so realigning them and looking very closely, we can see why they did it this way, as an attempt to get some “shading”.
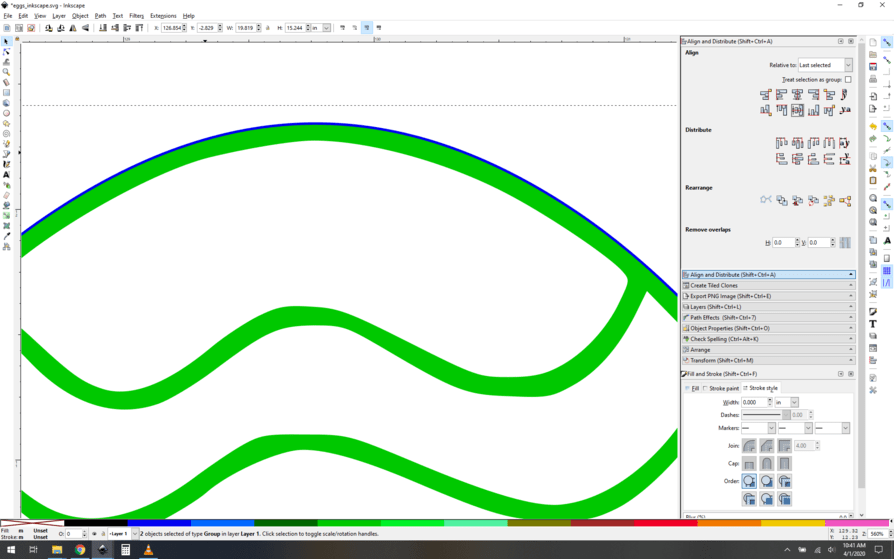
- Zoom way in and take a look, you can see shades of grey:
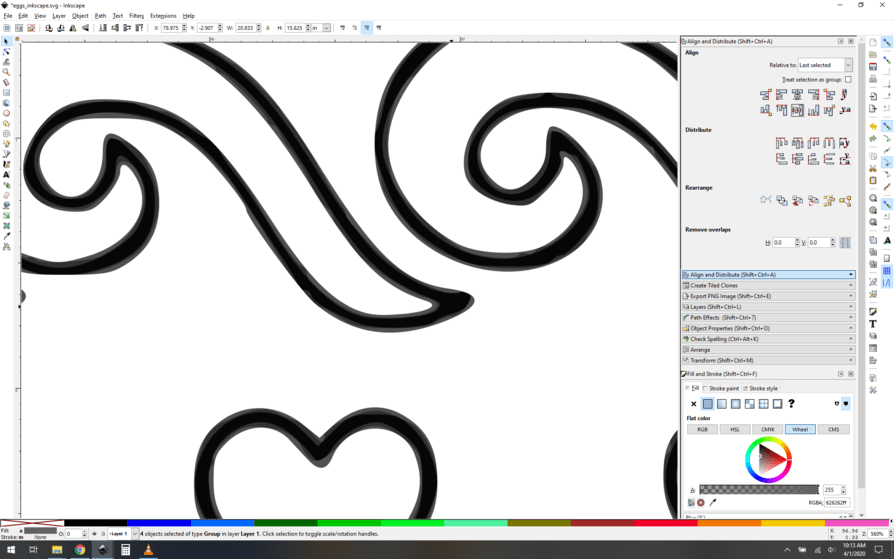
Well, now you have choices to make. Is the shading important to you? If you did it as a 3d engrave/vary power, you might actually see some differences, but only at large scale prints. I’m going to take a guess and say no. So now since we don’t care about the shades of grey inside the lines, what I want to do is take the smoothest/biggest of the paths in question, which is the white one.
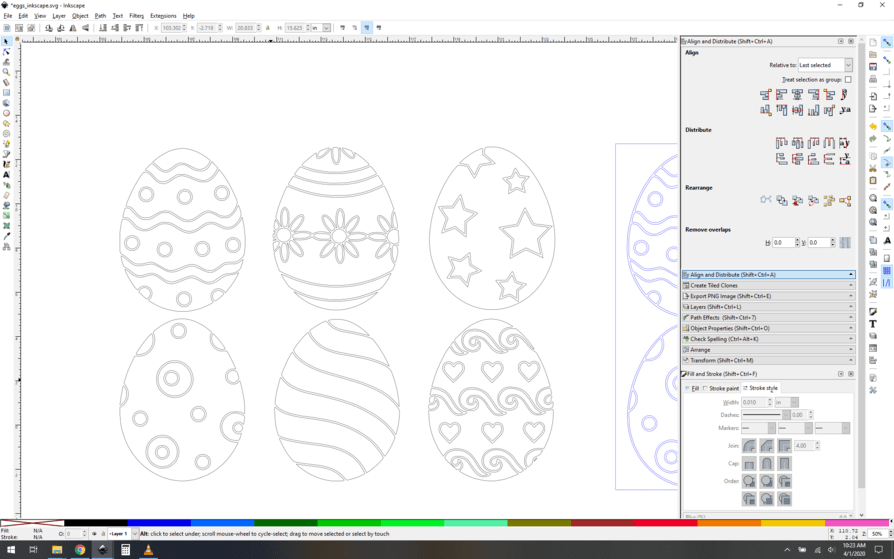
- Grab the white on white and give it a thin stroke
Now we see the structure of the thing. We want to do some manipulation, so lets dig in deeper. This is listed as a group of 105 objects on the bottom left, let’s ungroup them.
- Ungroup the white/white (now black/white) group.
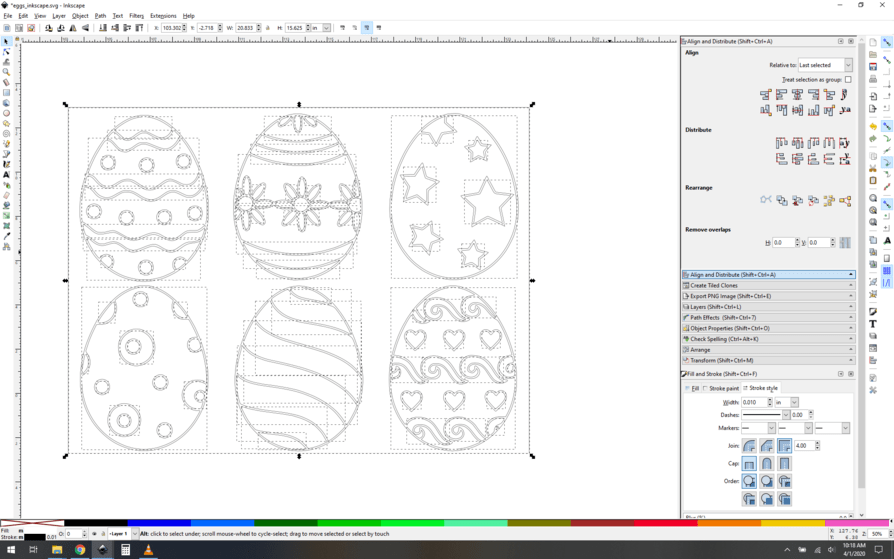
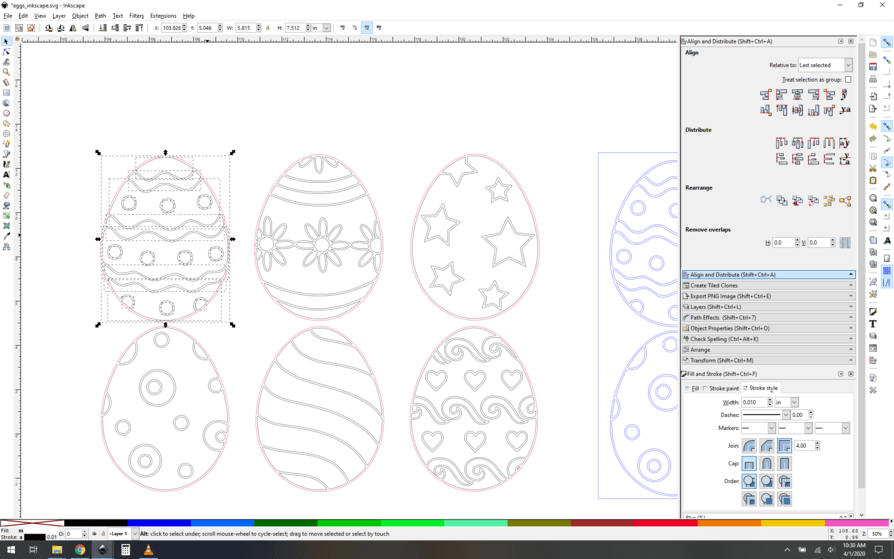
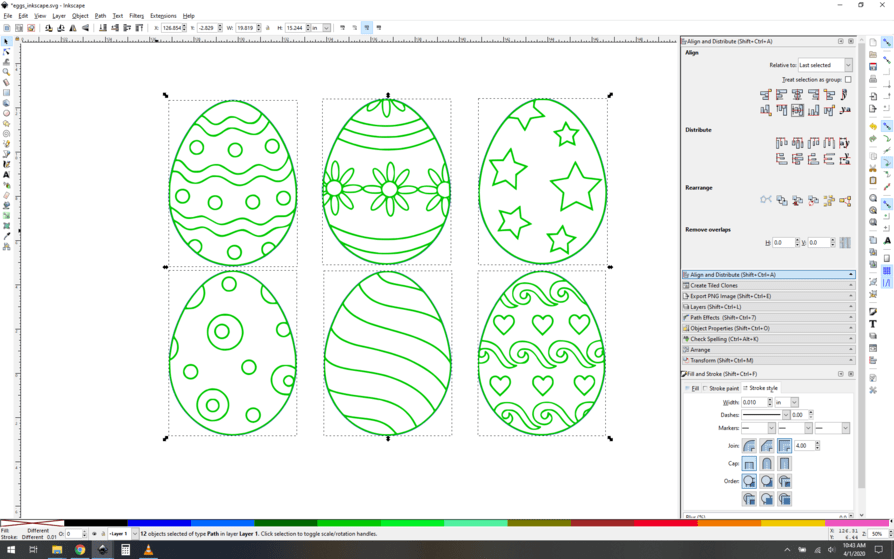
This breaks it up into a lot of path objects (100+). This is actually a good thing, since we were going to want to get at all the parts anyway – we want to recombine things in a sensible way. We have two tasks: let’s combine the eggs into single egg paths, and then lets grab the egg outlines. Since we have two tasks, let’s work on two copies.
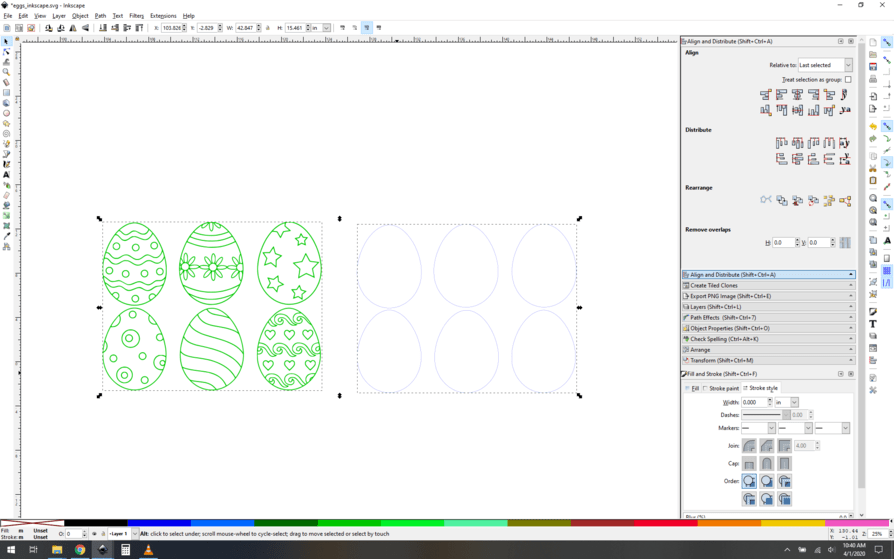
- Make two copies so we can dig into this in two separate stages. I color coded them now to make it easier to see what we’re doing.
First up, lets unify the eggs. We don’t care about the rectangular border, so let’s kill that right away. Oh no! that actually takes away the egg outlines too. That’s because the rectangle and egg borders are actually a single path.
- Deleting the border of the box also kills the egg outlines, this is bad.
OK so hit undo. Your border snaps back. What now?
- Color coding this will show you exactly what I mean:
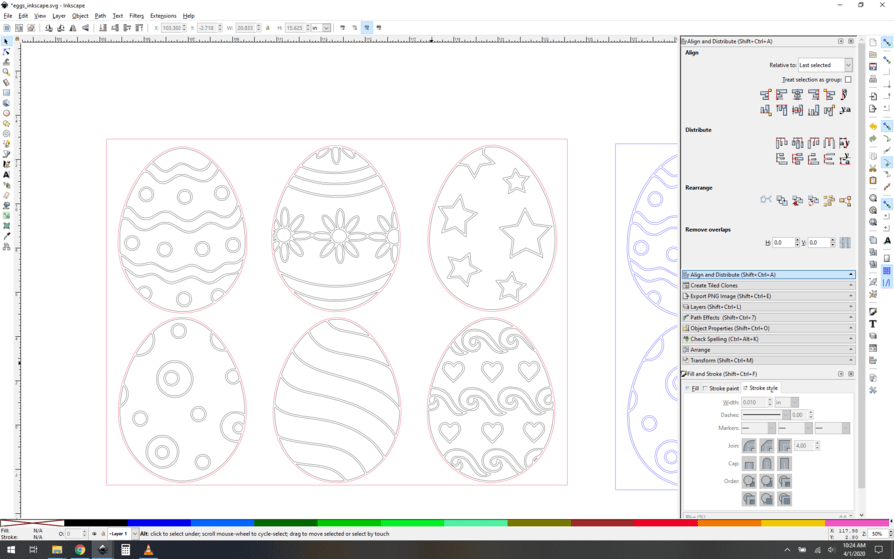
You can see the outer egg border and the rectangle are one big path. We have to do a specific path action here: break apart. (Path->break apart). Select the outline, and hit it. It will separate all the path parts into separate paths.
- Break apart makes these separate paths
Now we can select and delete the outer rectangle.
- Delete the outer rectangle.
Great, now we have the eggs with no outer rectangle.
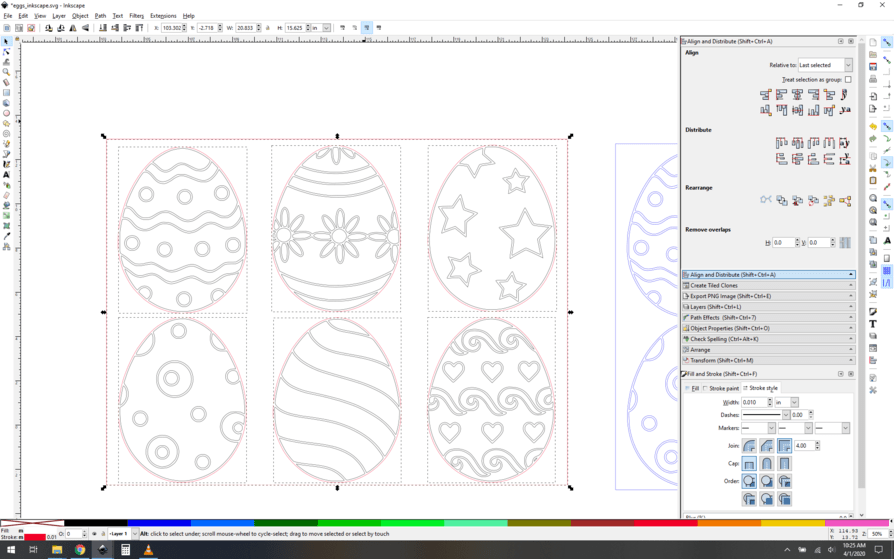
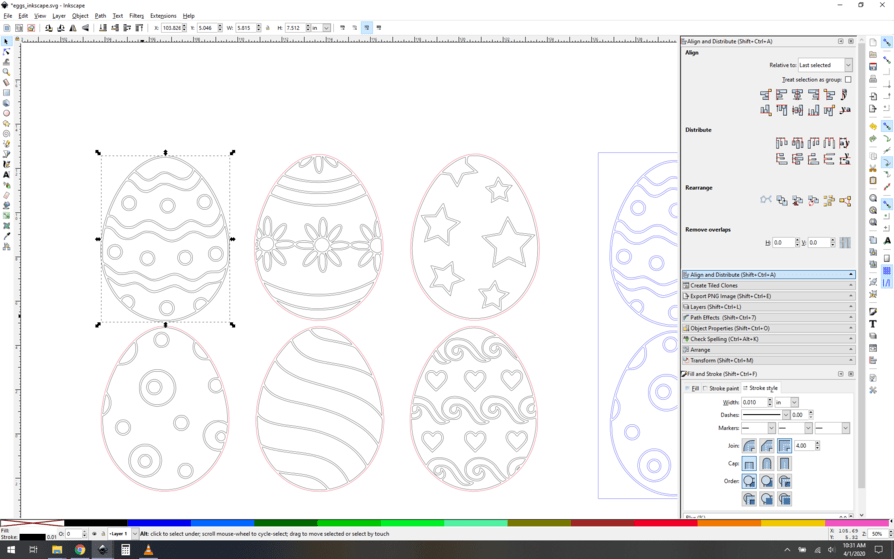
Now what we want to do is combine the eggs into single paths. First, select one egg entirely.
- Select one egg by itself, including the (now red) outline.
Now use the combine command to join every path in that egg as a single path. (Path->combine)
- Use combine to join them into one path
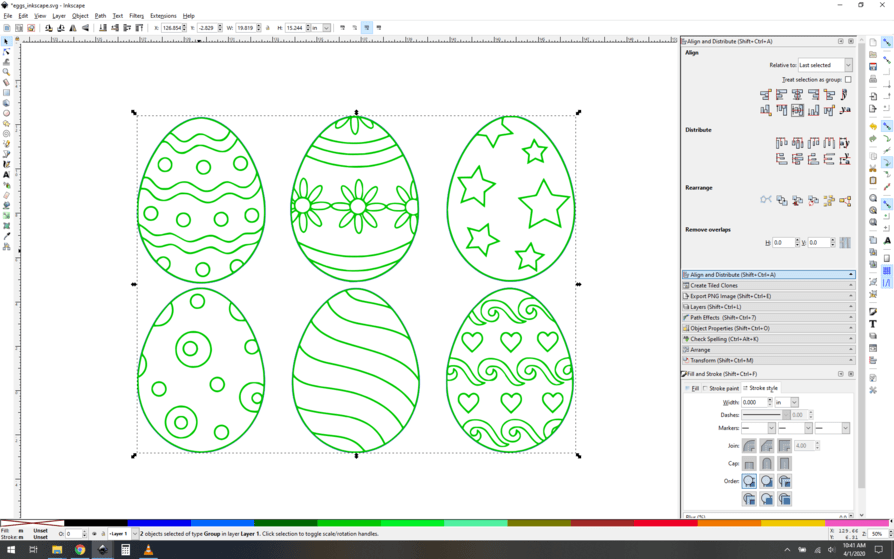
Now’s a good time to sanity check. The best way to see if your egg is what you expect is to give it a fill. Whatever color you want is fine here, we’re just checking to see if it’s what you are looking for.
- Sanity check! Turn off stroke and turn on fill, does it look right?
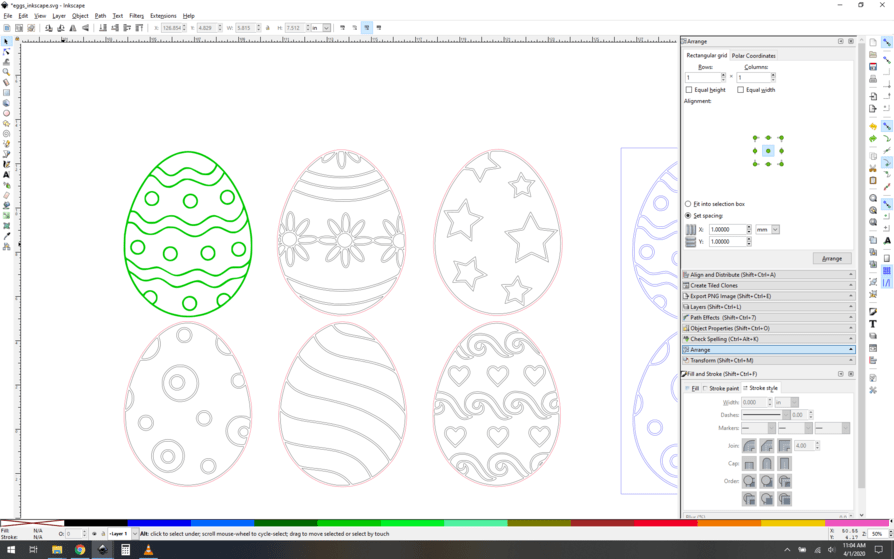
Lookin’ good. Now repeat that process for each egg.
- Repeat 5 more times.

OK! Eggs are set. Let’s worry about the outlines. Phase two!
- ungroup the other eggs, this should seem familiar.

We don’t care about the inside of the eggs, so let’s delete everything but the outer rectangle/egg outline path we wrangled before.
- Isolate the rectangle/outline
Now let’s break them apart, and delete the outer rectangle…
- Delete the rectangle, leaving only the egg outlines.
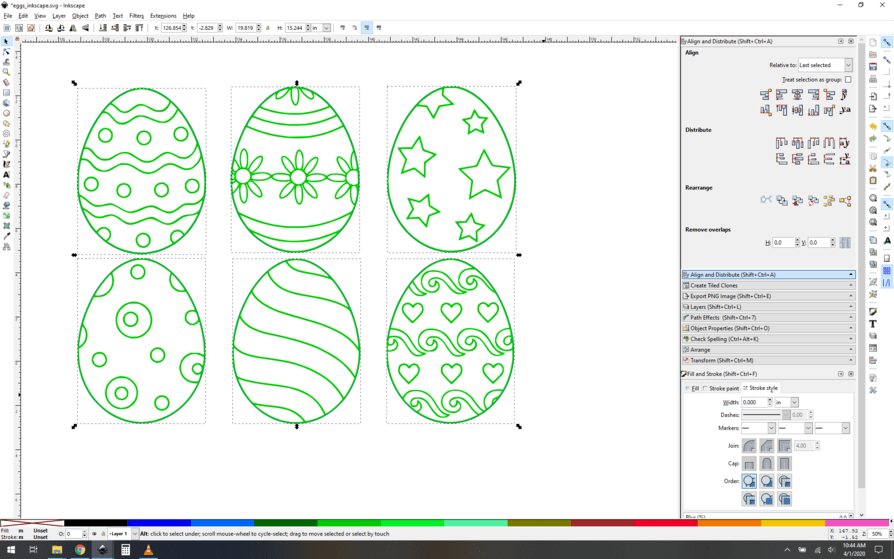
So now all we have to do is align things. We don’t want the eggs or the outlines to move around on each other, so now let’s group the eggs, then group the outlines.
- make two groups of the two parts.
Use the alignment tools to center then vertically and horizontally
- Align the outlines to the innards.
Zoom way in to ensure it’s all good.
- Inspect carefully.
Lookin’ good!
Now, let’s save some materials. Ungroup everything. Select all, and hit ungroup. It should say “12 items of type path selected” at the bottom left.
- Ungroup everything.
Now group each egg with its outline. Do this for all the eggs. When you’re done you should have 6 groups.
- Group each egg with its outline.
Now use the arrange tool to tighten everything up and save some materials. I like 1mm separations.
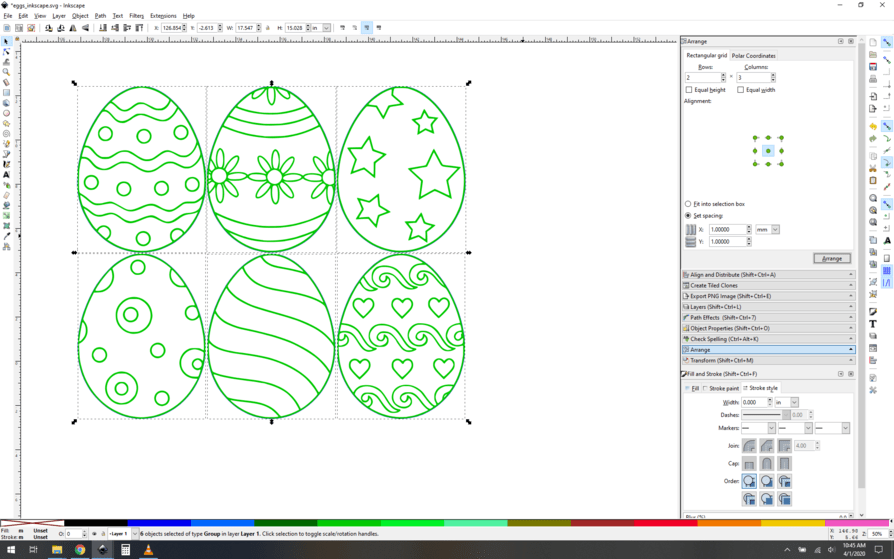
Finally, scale it to whatever size you want them to be. Right now, they’re kind of big (about 7.5" tall), but that may be what you want, that’s up to you. If you do scale them, you might want to re-run the arrange tool to ensure that the gaps stay about 1mm. How wide of a gap you will want is up to you and what material you’re using.
That’s it! Simple right? This is a pretty extreme example of the strange inner workings of some downloaded SVGs you’ll find. The good news is that if you really take the time to learn these steps and other path manipulation techniques, this is a very fast process. For kicks I started over and timed myself, it took me 2 minutes and 15 seconds, end to end. Now granted, I knew exactly what I was dealing with at that point, so in reality it would take longer than that – but with practice, I would expect this to take no more than 10-15 mins even with discovery and decisions about design.
Optional pro tips:
- Laying the eggs on their sides will speed up the engrave marginally, generally wider is better.
- If your material is an odd size, measure it and draw it in your svg, then arrange/scale your eggs to fit. Delete the drawn shape later, or use it to cut a jig for really tight material placement.

