Advice on Photo engraving

Alright… this is insanely annoying. I sat down to do a test on Proofgrade before submitting a formal bug report/help request. But… I cannot replicate what I did on Proofgrade with Proofgrade settings, because Proofgrade doesn’t seem to have any photo engrave options.

Yet again, tons of deadspace waiting on upload. And the upload fails.

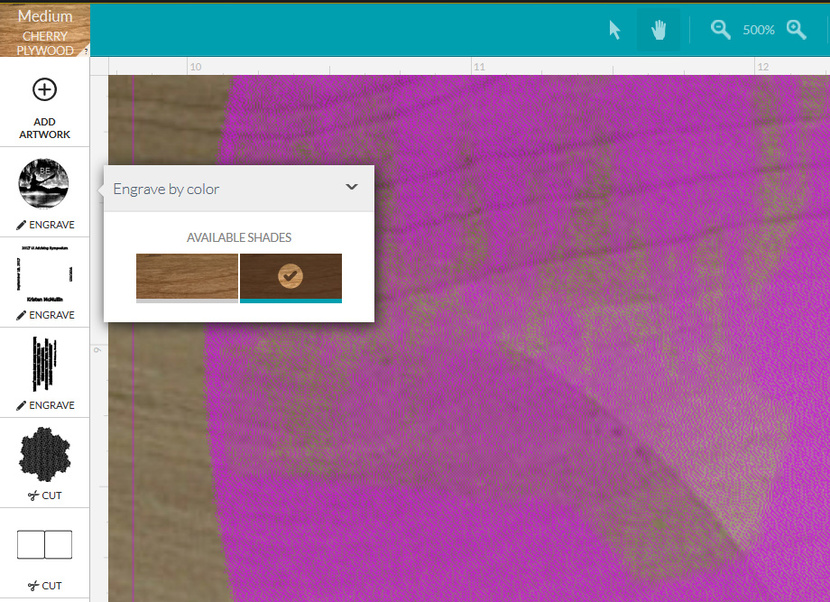
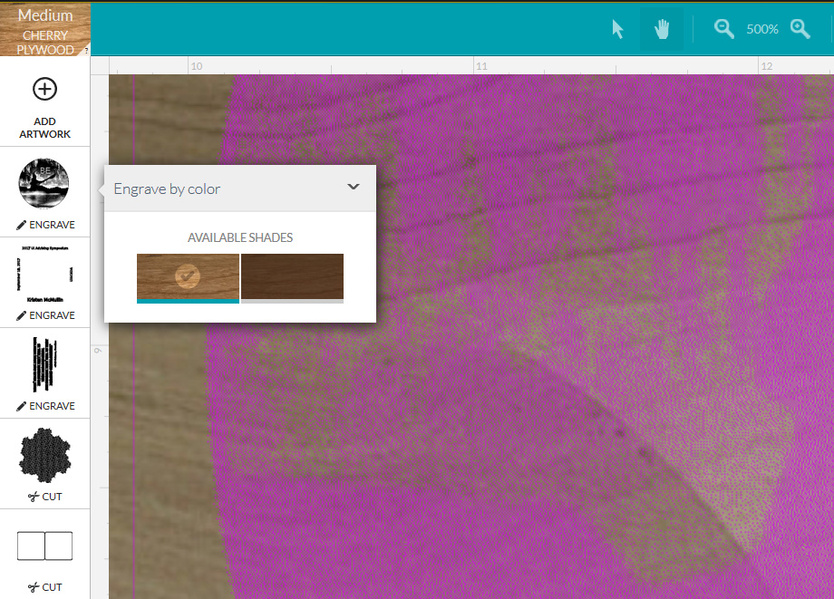
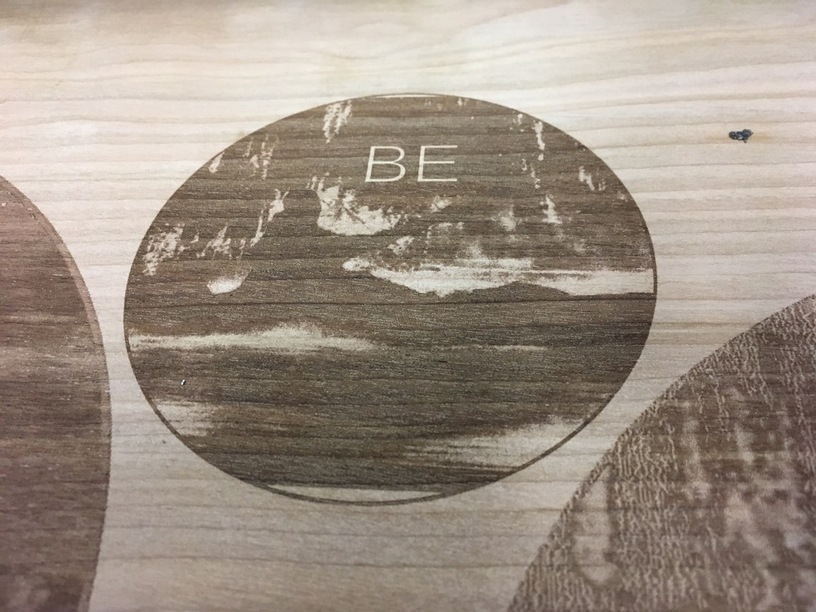
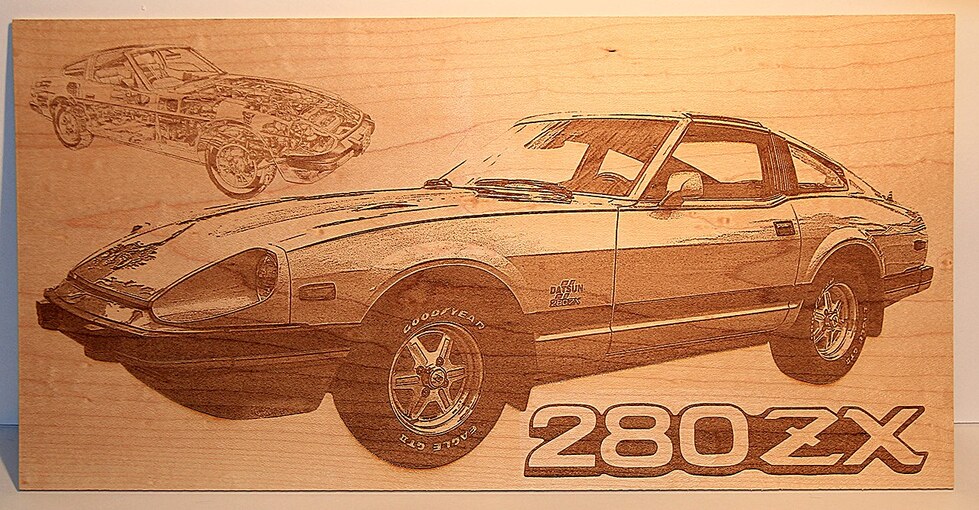
I did notice that my pink preview of what will cut was drastically altered on the Proofgrade “Engrave by color” option than it was on my own Photo Engrave options. So after the recording I swapped to manual engrave and attempted to get the same red preview pattern.

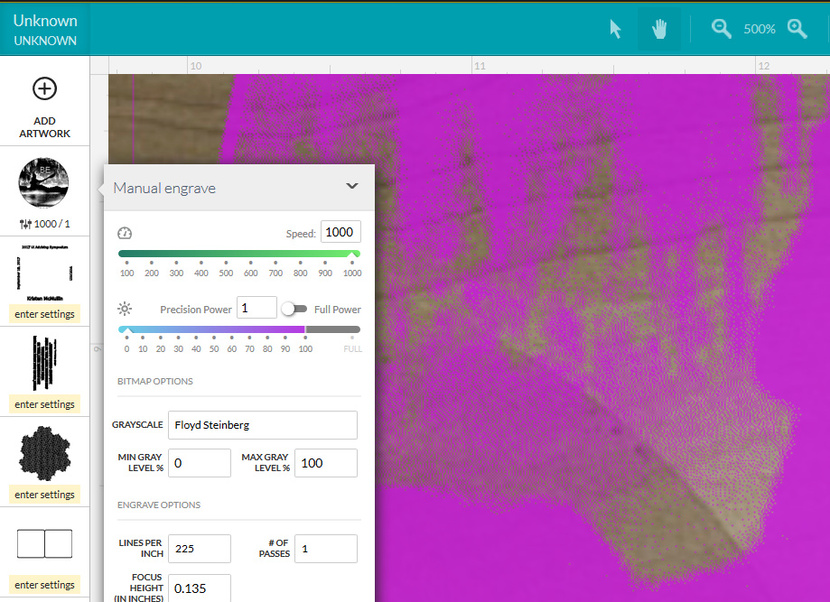
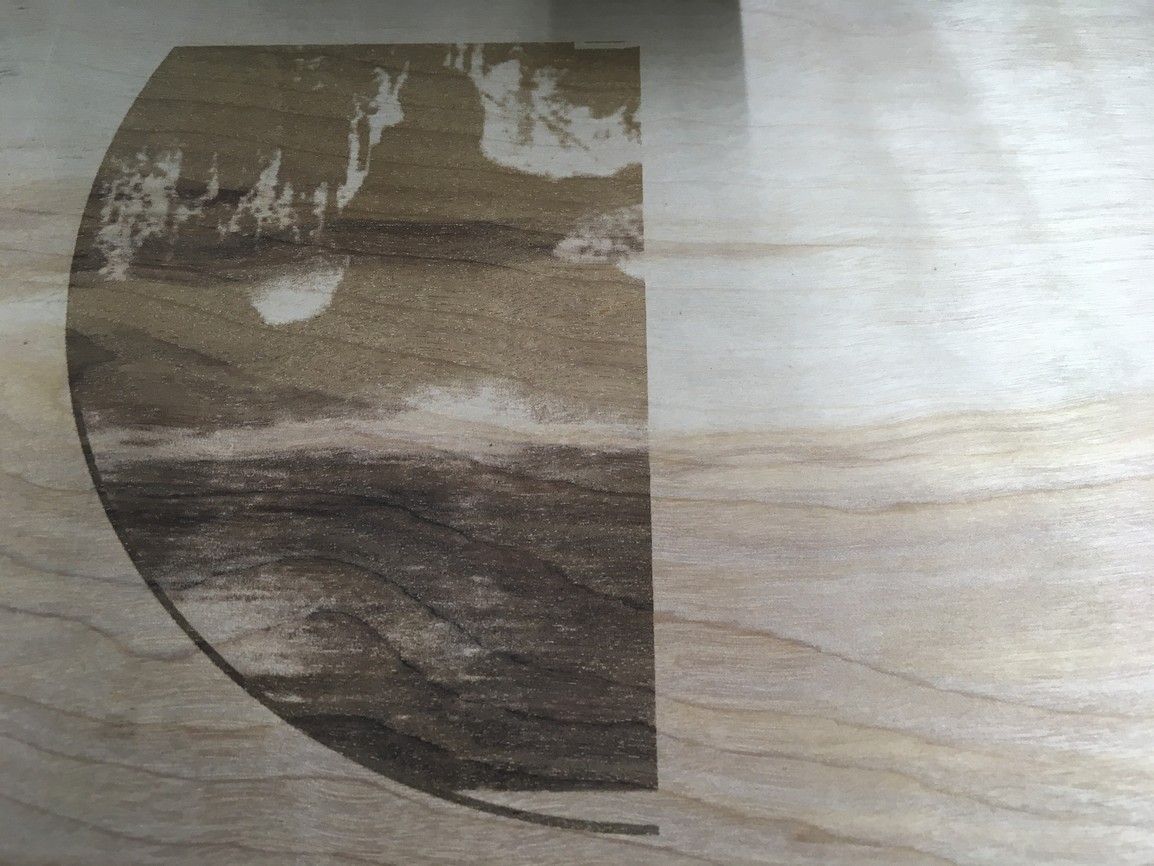
Moving away from the 0->100 did get me far closer to the same preview appearance (with a 50->100 Floyd), but I could never get quite the same pattern of swirls.

Whatever the settings are for Proofgrade… I WANT TO BE ABLE TO SEE THOSE. First off, so that I can tweak them slightly (and maybe get this job small enough to upload), but also so that on similar wood I can attempt to replicate them. I have no idea which of the three engrave styles is being used, or if there is yet another style which is employed only on Proofgrade (if there is… don’t do that), I want to know the LPI, and the min/max grey levels.

At this point… I still have no clue at all what the min/max grey actualy MEAN in Ordered Dither and Floyd Steinberg. I was sticking to a min grey level of 0, because to my mind this setting was “What power of laser do you want us to employ when the grey level is minimal - aka, white?” But since setting this value to 50 made it appear to engrave LESS of the image… I am guessing that it actually means “At what degree of full black do you want us to use zero power?” instead. If I set both min and max to 50, it appeared to want to do a full coloring of the image area in a uniform pattern. So this is my new working definition.

Now… my memory is horrible, so I want to consult the manual and check if maybe it had a section that went in to detail about the settings available to us, and maybe even what settings are used in Proofgrade. I do not remember seeing such a thing, but at the time I did read the manual, would have skimmed it, since doing a photo engrave was WAY out on my list of plans.

That brings up another problem… why is there not a link to the manual in the SUPPORT link from app.glowforge.com?

6 Likes

If you first select a Proofgrade setting, and then go back in and switch it to Manual, the settings populated within Manual are carried over from the PG setting. You can experiment with this by selecting the PG “light” setting then check the manual settings, then select the PG Dark setting then check the manual settings, they should be different after selecting the Light/Dark options.

5 Likes

Unfortunately that doesn’t seem to be the case for photo engrave settings:
Dark engrave by Proofgrade, note the pattern in the engrave.


Now I swap to uncertified 0.135 wood:

Now we check out light engrave with Proofgrade:


And back to 0.135 uncertified:

So, the Proofgrade and Uncertified materials show clearly different preview dithering/patterns, darker in some spots, lighter in the others.

The two proofgrade have different looks (dark vs light), but the two uncertified do not look different, nor have different settings.

1 Like

Try keeping the proofgrade material selected instead of switching to uncertified.

2 Likes

If that happens on Proofgrade material using manual settings, we’d like to hear about it.

Non-PG materials sometimes fail to engrave (looking like the laser never fired, even though it did) for reasons that are entirely due to the material and not our system, which is why we want to be sure the problem occurs on a material with known performance capabilities.

Switch to manual mode - the default manual settings are whatever your most recent PG settings are.

1 Like

doh! That makes sense. Glad I did screenshots to reveal what I wasn’t even thinking of.

So, 20->90 Floyd Steinberg 340 LPI for dark, and 31->96 with LPI 240 for light.

3 Likes

In this case it is the dark parts of the image that fail. The light parts engrave, so it can’t be a property of the material.

Okay, so I did one at the size I ultimately want to have, using the Proofgrade Dark 20->90, but at 225 LPI so it will actually upload and run.

Then I did a test on a smaller spot with the 31-96, but bumping up the LPI considerably to 450. Finally good results! Now to try and get that at full size.

So, ultimately I can see that something about the inside of the kayak and rider is considered different. Cannot tell what it is though, as those pixels are pure black, just like the outline. But even the lower range Floyd treated the inside differently.

Anyhow, complete resolution is… I split the image into quadrants so I could run at 450 LPI, and I am getting the size and results I want (Kayak rider is different color here, but that is because of the shift in color of the wood itself)

IMG_0950

7 Likes

I have had some success with photo engraving, I generally use the HD Graphic setting to get deeper engraves - But, as mentioned before the key is having a properly set-up image to start with.

13 Likes

The Porsche (18x 11) was actually burned as SD Graphic, no mask and took 1:45hr. The Others were done as HD Graphic with no mask - The finer details don’t seem to make it through the mask. The 12x6" engraves took 3.5hrs each!

1 Like

Hi,
Have you successfully printed & cut Porsche image on your Glowforge? Thanks.