Although I’ve resigned myself to just setting the annoying clipping paths to ignore…(and yes, it all works just fine)…I’m really beginning to get annoyed that I can’t create some thing without a darned clip path in there. I just used a png image in AD, added a box/line around it to be engraved, then a second box for either a cut line or to use in placement. Every danged time it shows up with a clip path…I assume created when I add the black engrave line around the image. It’s so ridiculous…and most likely totally a fault of AD, but if anyone out there has an idea of another way to add an engraving line around the image without creating a clip path…I’d love to hear it. 
4 Likes
I haven’t run into clip paths when doing something like this in AD. (Lots of other things in AD to require them, though.) I just tried again now, dropping a PNG into AD and drawing a rectangle around it. There’s no clip path in the resulting file.
I’m not sure what you meant by “black engrave line” … how are you making this? Are you using “Expand Stroke” on a stroke to make a shape suitable for engraving? Are you making two rectangles then using Geometry->Subtract to cut one out of the other? Both of those work fine for me, no clipping paths in sight.
Are you saving as PDF or SVG? Note that in a PDF any embedded PNGs will end up with a “mask” (which is how PDF handles transparency in images). The GF used to give you an error about clipping paths with those. Just recently they changed it to show an error about masks instead. Aside from the error being slightly more informative the result is still the same; you get a black rectangle around your image wherever it should have been transparent
SVGs don’t have this problem as GF knows how to handle the alpha channel used for transparency in SVGs.
1 Like
I totally agree that having to avoid clipping paths is a real issue.
2 Likes
I’m going to try your idea of the two rectangles and using Boolean. There’s gotta be a way. Thanks so much for your insight and ideas.
When you engrave that doesn’t it fill the whole rectangle? It should. Unless you’ve set the stroke to be inside or outside the path, in which case I think AD may do an implicit Expand Stroke when exporting to SVG. (Not sure about that though and I’m not in front my computer right now.)
Expand Stroke in the Layer menu. It takes a stroked path and turns it into a filled shape.
For example, you can make a circle with the circle tool and set it to have a stroke (with whatever width and other options you want) and no fill. The choose Layer->Expand Stoke and it will turn it into a nice donut (with full and no stroke) suitable for engraving. (Or if you set it to cut then it will cut two concentric circles.)
I can post screenshots tomorrow when I’m at my computer but I’m sure you can find examples online. The help file for Affinity Designer ought to talk about it, too.
1 Like
Very cool!
I will try it out. That sounds like fun, actually!
BTW, I just tried the other idea…making two filled rectangles, then subtracting one from the other. It still threw me a clip path error.

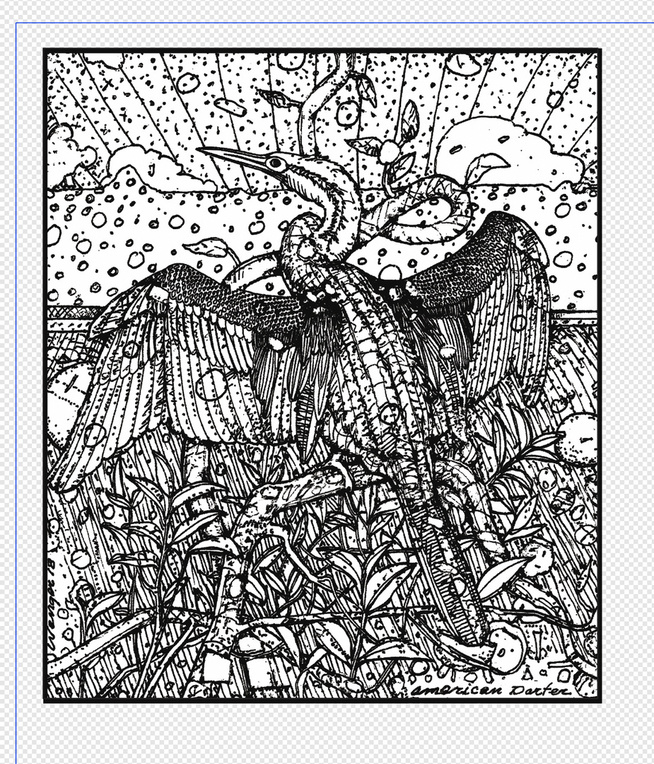
This is the image with the border around it.
Thank you
1 Like
I wonder if the inset/outset strokes generate clipping paths when exported to SVG. I thought they got turned unto filled shapes but I might be remembering wrong.
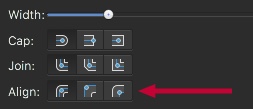
Check that the stroke alignment is set to be centered on the path rather than inside or outside.
1 Like
I checked that…and made sure by clicking on the first option…to center it. It still gave me a clipping error. I appreciate your time to work on this with me. It’s just my personality that things like this bug the heck out of me. Not really a big deal, since I can work around it. Hopefully though, someday, AD will figure out something that will make this work as it should.
1 Like
I’m using AD and did not realize that ‘expand stroke’ was an option. Great info!
I tried it and it worked perfectly.
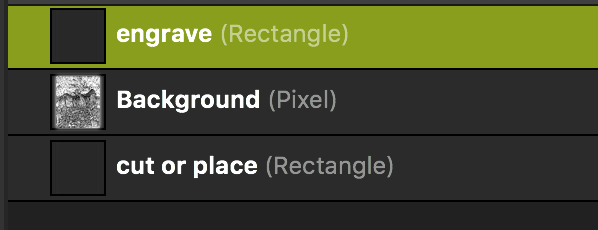
1-I put a square around a black and white JPG picture and then another larger square around that.
2-I then did the expand stroke on the first square. The stroke was set as 5 pt before the expand.
3-Loaded it all onto the GFUI.
4-The JPG loaded as engrave, the expanded square loaded as an engrave of just the outline and the outer square was set to cut.
Just as a test, I set the stroke to .1 before the expand and there was some cliping issues. So I assume that the stroke size before the expand may play an important part in the process.
Xabbess, if you can share your AD file maybe we can see what you are doing differently.
2 Likes
I did some more testing and found that when using the JPG image it worked fine but if I rasterized the image and turned it into a pixel then I was able to see the issue as you described.
So the workaround is to ensure that you are not using a pixel format in AD for the image but use the original image file.
Hope that helps
1 Like
Not really sure I’m clear on what you’re saying here, but I opened an original PNG of the image (it’s my brother’s black and white drawing, scanned in) I wanted to use, copied it, pasted it into my new document, created the border, then the cut line (rectangle). I prefer to use PNGs whenever possible, but perhaps I’m missing a step somewhere? I can upload my file, but it will have to wait until later.
Yes…that was an exciting tip about using ‘expand stroke’…I look forward to utilizing that now.
Thanks for your input.
In the list of layers does the image show up as “(Image)” or “(Pixel)”? It looks like if it’s listed as “(Pixel)” then it will have a clip path.
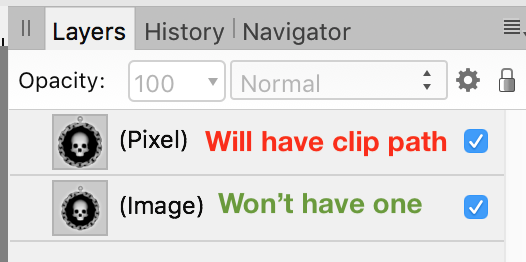
If you drag and drop a PNG file directly into your Affinity Designer document, it shows up as “(Image)” and won’t clip. But it looks like copying/pasting can make it show up as “(Pixel)” instead, which does seem to have a clip path. (Why the difference? I have no idea.)
3 Likes
Wow! It sounds like you might have hit on the problem/solution! This is great news! That is what mine looks like.
I’ve been told by others more knowledgeable than myself, to open my image separately then place it into my file. Could be though, that doesn’t necessarily work with Affinity? I’m going to try your idea out. I am excited to think this might take care of the problem. Thank you so much
1 Like
Update;
@tim1724 finally hit upon what’s throwing clipping paths into Affinity SVGs…(and BTW, happy cakeday, Tim!) I just finished redoing 3 files that had finally pushed me over the edge with this issue. Special shout out to @dwardio who was also puzzled with this.
To avoid getting clip paths, it’s actually a bit longer operation (for me, anyway) than the way I had been doing it, but I am delighted to go the extra mile to resolve this. Instead of opening/copying/ pasting my PNG image into my design (which placed it as a pixel image), I now drag it directly into the workspace, where it then shows as an image and not a pixel thing. And the black rectangles that I was placing around the drawings that I wanted engraved were also showing up as clip paths… until I tried my newly-learned thing with expanding the stroke (turning the rectangle to curves) before exporting as an SVG. Every time I read someone use the term expand the stroke, I had no idea that it even existed in AD. I am thrilled to have found the source of this long-time annoyance…so thank you so much, Tim!
Now my files look bare-boned clean again and I don’t have to guess about weird stuff.
4 Likes
Great jumpin’ horny toads!!! I would never have found that. Enjoy your cake, @tim1724 !
3 Likes
Yay! I’m glad we got that figured out. I hadn’t run across this problem before because I always drag & drop my image files into AD.
I have no idea why AD has two separate ways of representing images and why one gets an unnecessary clip path. I should write up a bug report about it at some point on the Serif forum.
3 Likes
Good idea! I’m so tickled about this…speaking of bugs, this has been bugging me for a very long time!