Alright, I’m making some time today before I completely forget everything that went into this airship.
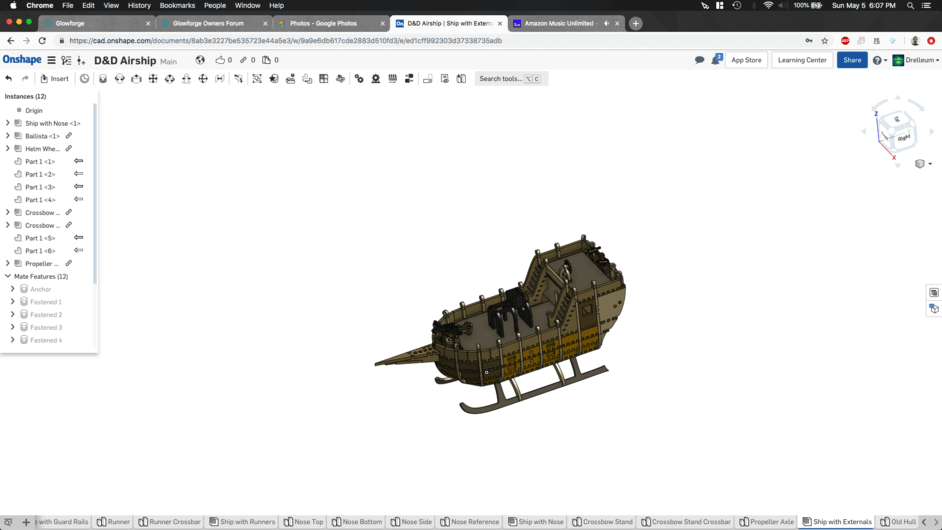
To begin with I knew I wanted to use some sort of ribbing design, so I make a little mock-up of that as best I could figure out how to. I’m an engineer by trait doing firmware coding mostly, but with enough knowledge of solid modeling to be dangerous. So I designed the whole ship in Onshape. The original start was this:
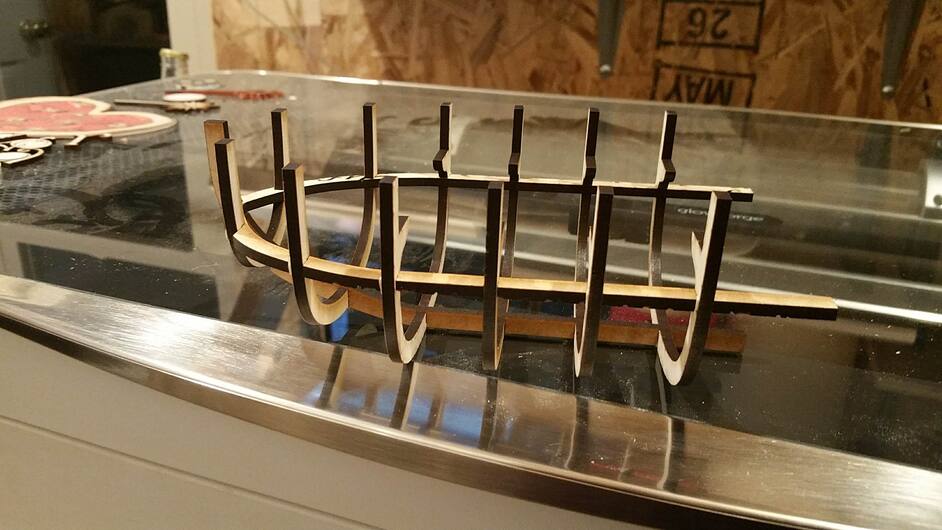
Now this was fine and all, but I didn’t like the way the front ribbing wasn’t normal to the outside curvature. So I talked to one of the Mechanical Engineers at work and he showed me how to use some better features to get everything to line up nicely. about a month later, I had what was pretty close to the final design.
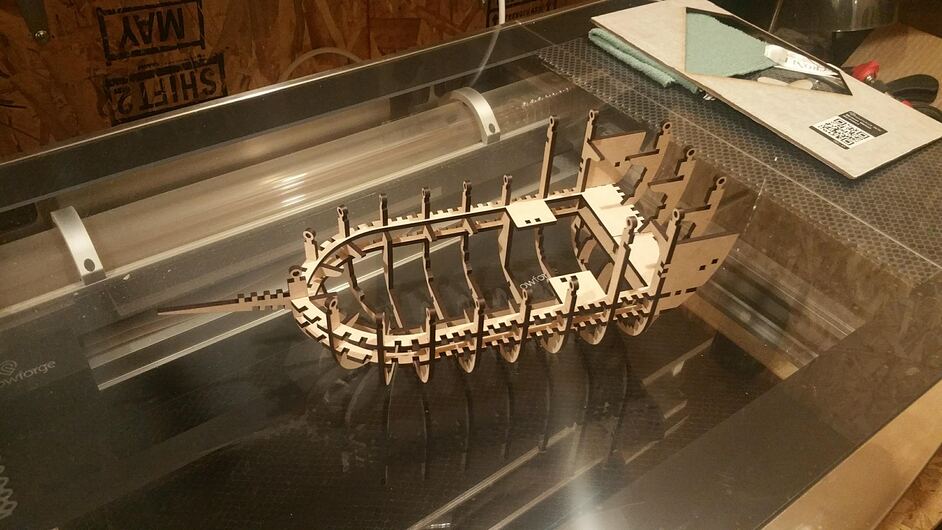
From here it was all printing and smooth sailing right? Well, as it turns out I printed the whole ribbing and then realized something: it looked pretty boring without any texture.
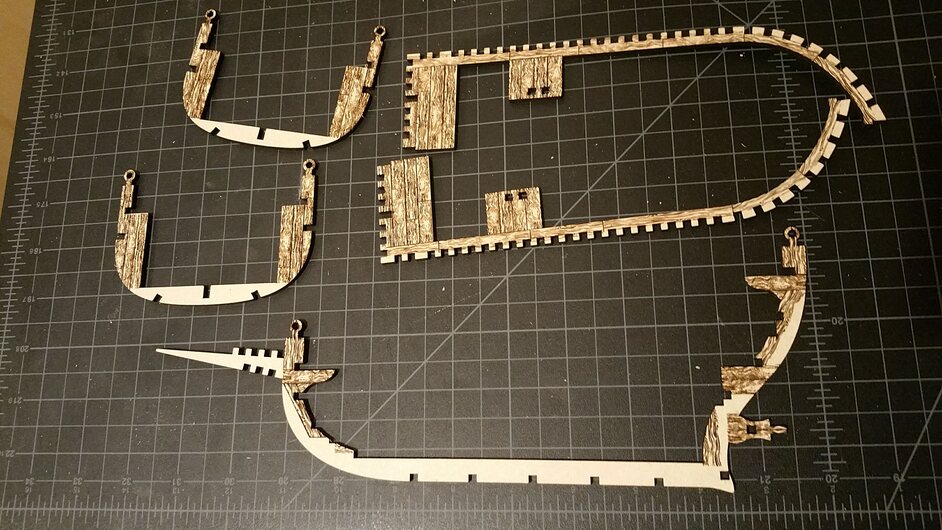
So naturally instead of just being able to print each piece after downloading it (more on that later), I had to also add some wood texture to it. Adding the texture in a way that wasn’t terrible added a lot of time to the project, but I’d say it was really worth it. Now, since I’m the type to find the way to do the least amount of work and still make a good product, I decide to only add texture where it will be visible on the final product.
As luck would have it, I didn’t think about the settings for the texture, and after looking at this full set of ribbing put together I decided to do it all over again. I’m sure you all can relate to that feeling ![]()
Lighter grain, more distinct lines between the boards, and the ribbing looked a lot better than it did before. The dark grain really make it look like plastic fake wood, and that simply would not do. Thankfully I had the presence of mind to think about which pieces needed to go together in what order. Even so, getting that base board into the ribbing was a really pain, but noting broke so I’m counting it as a win. From there it was mostly just adding pieces as I had time:
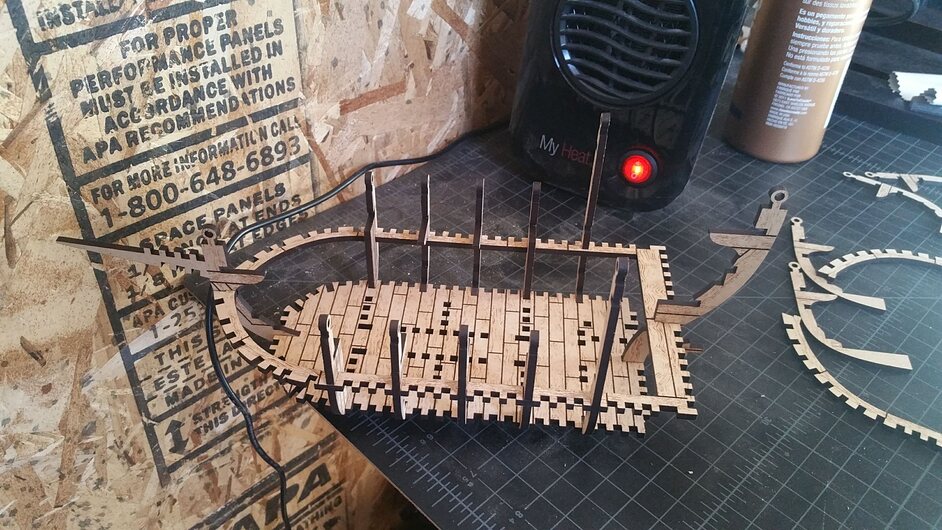
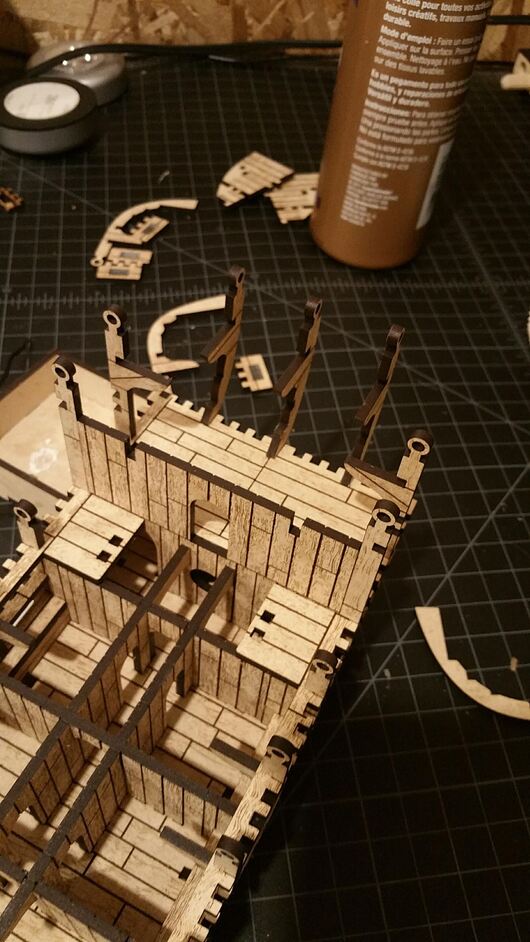
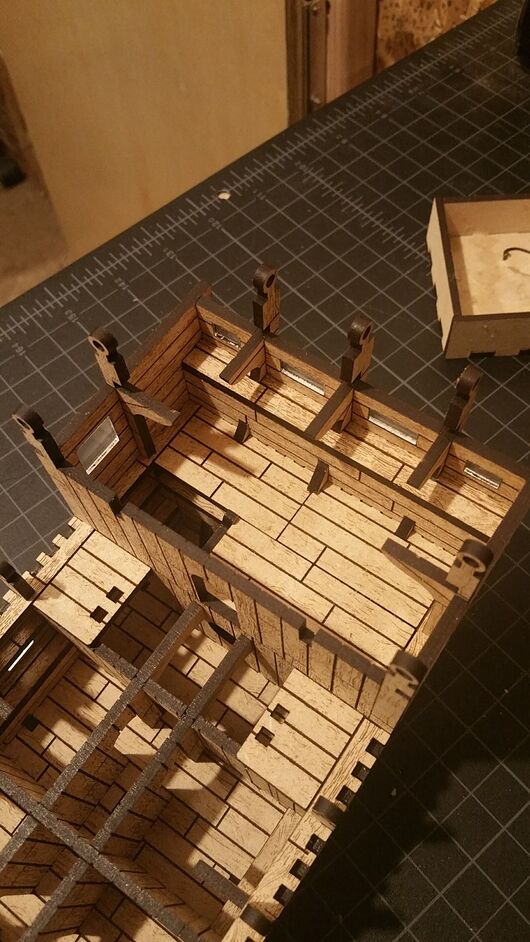
Adding exterior walls to the lower level.
Walls to separate different rooms below deck.
Main wall finally up and inside deck placed.
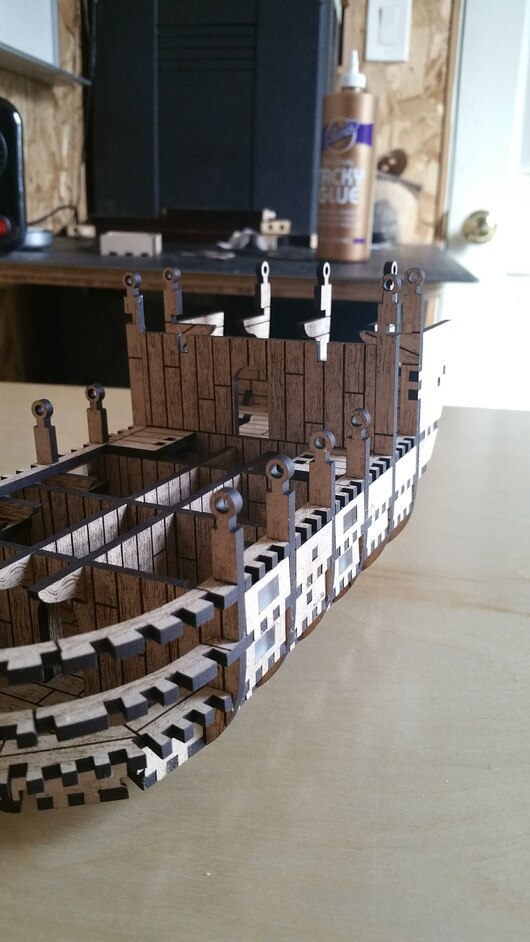
I press-fit acrylic into the outside windows on the ship.
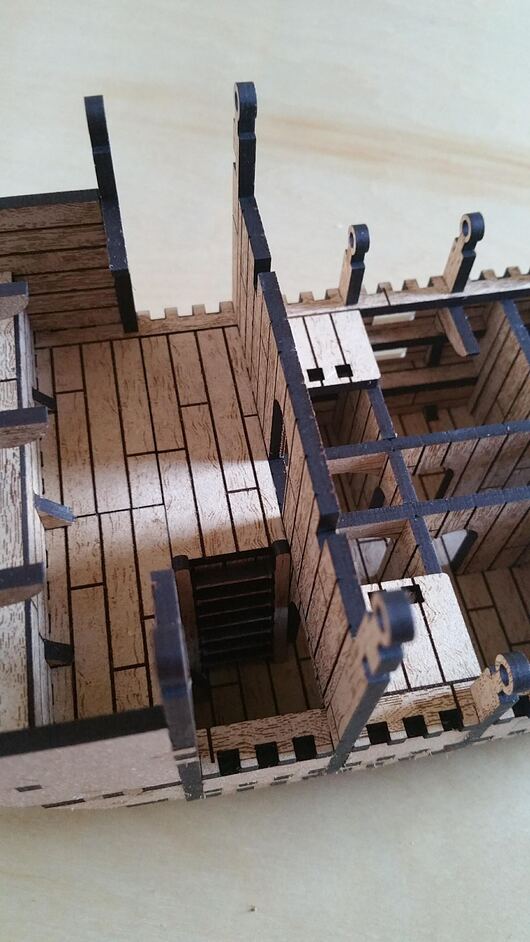
Tiny little ladder to below deck!
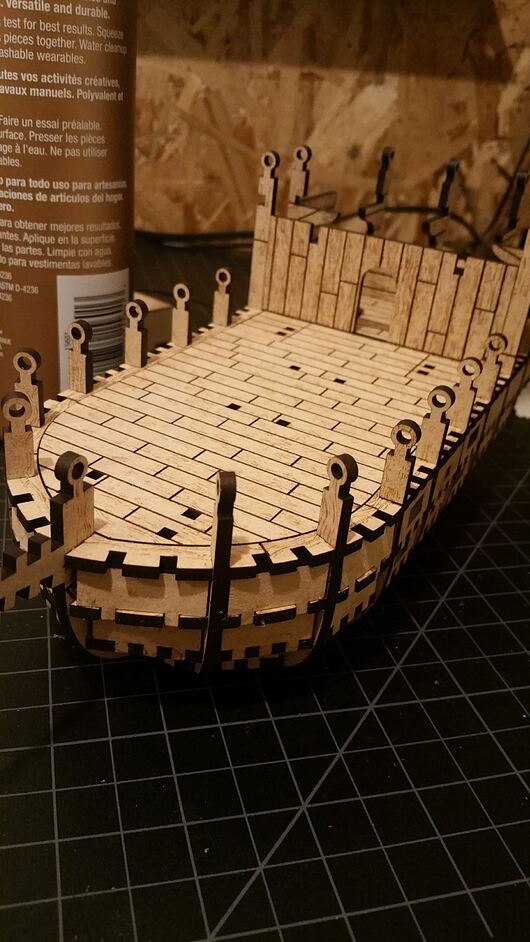
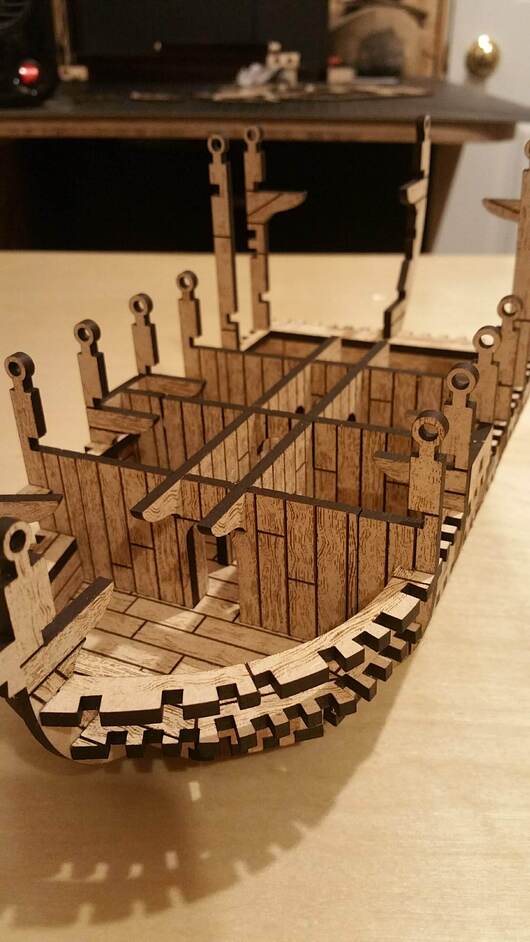
Main deck loaded on the ship. This piece is actually removable so the players can access the inside of the ship.
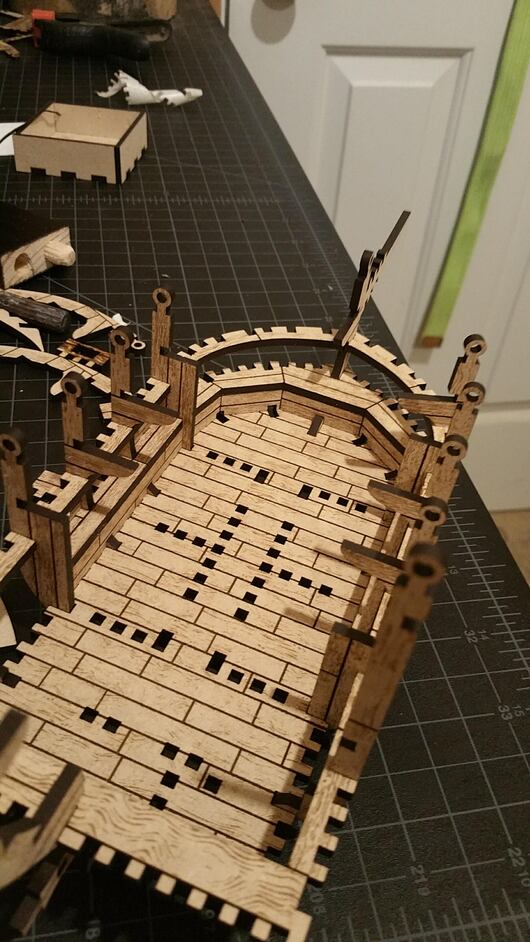
More exterior walls added. If I were to make this ship again, I would add ribbing for this section later because I ended up having to break two of the tops to get a piece in down the line.
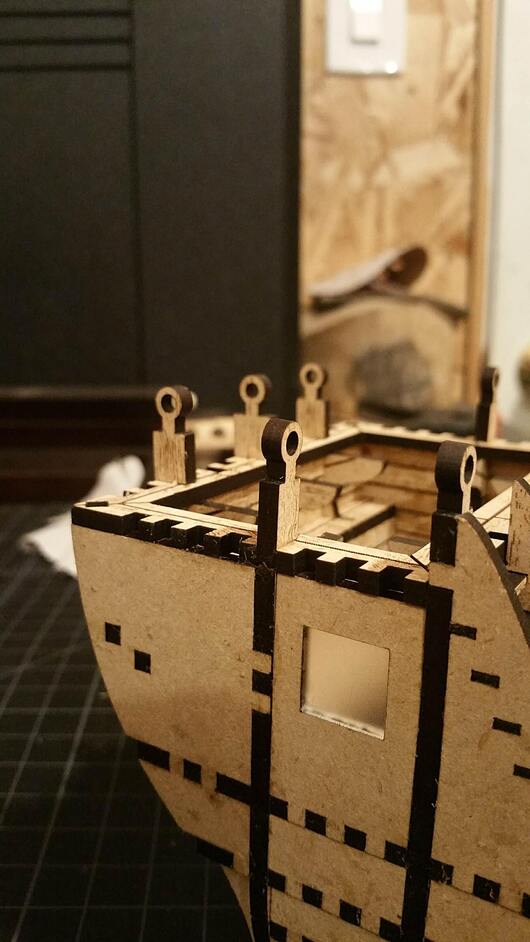
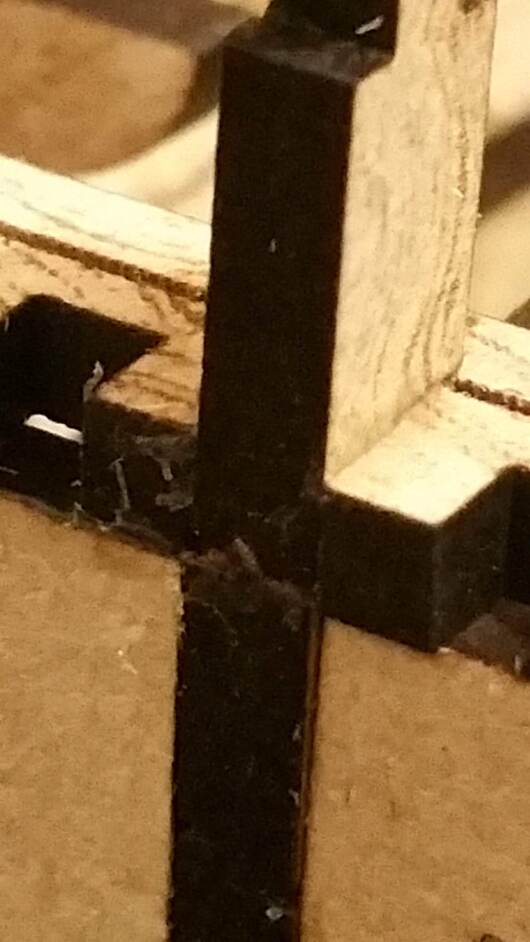
In order to get a rim around the top there I had to break this one piece (on both sides of the ship). It wouldn’t quite bend far enough, so I broke it in a controlled manner and glued it back together after getting the piece in. This piece of ribbing is actually designed such that it could have gone in after the rim was in place, so that was a real bummer to find out.
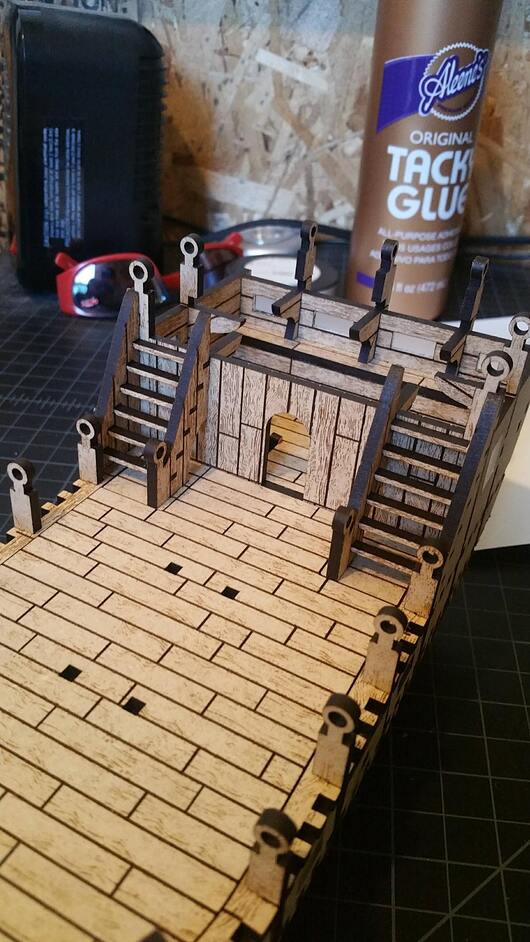
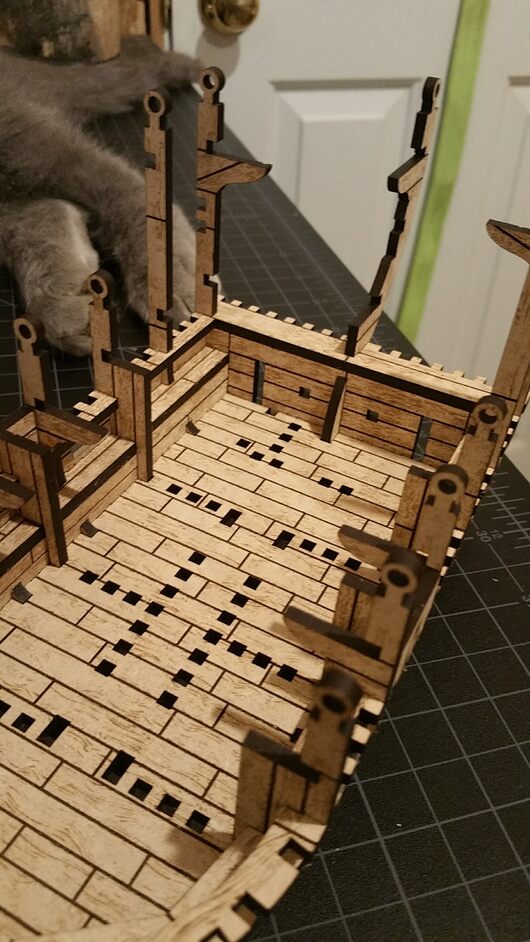
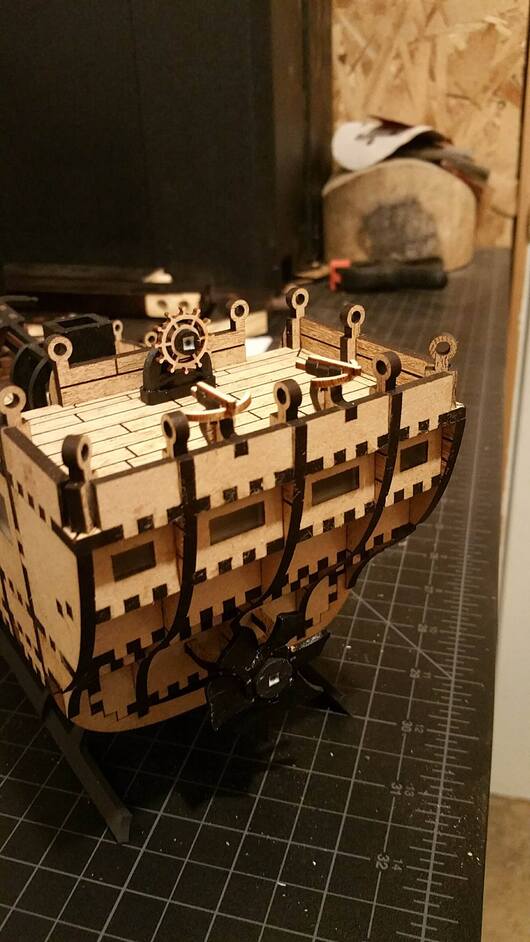
Added the stairs to the upper deck.
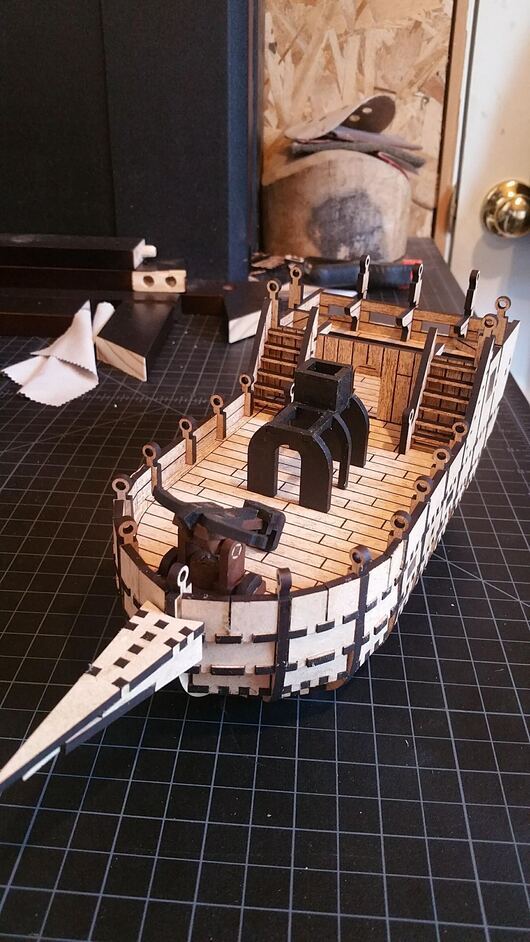
I decided to paint the ballista and the frame for the fire-elemental hut since those felt like they would be made out of more than just wood.
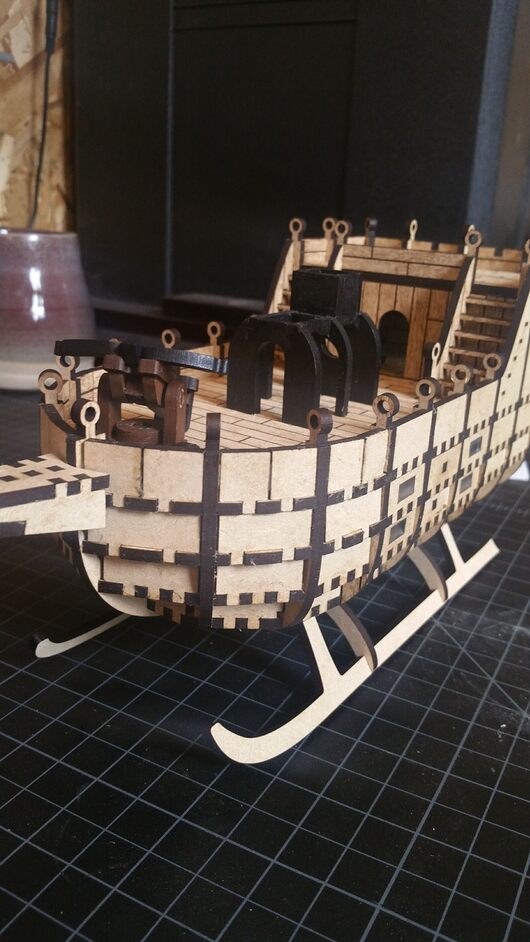
Added some skis for the airship to land on. I eventually painted these to, for the same reasons as the ballista.
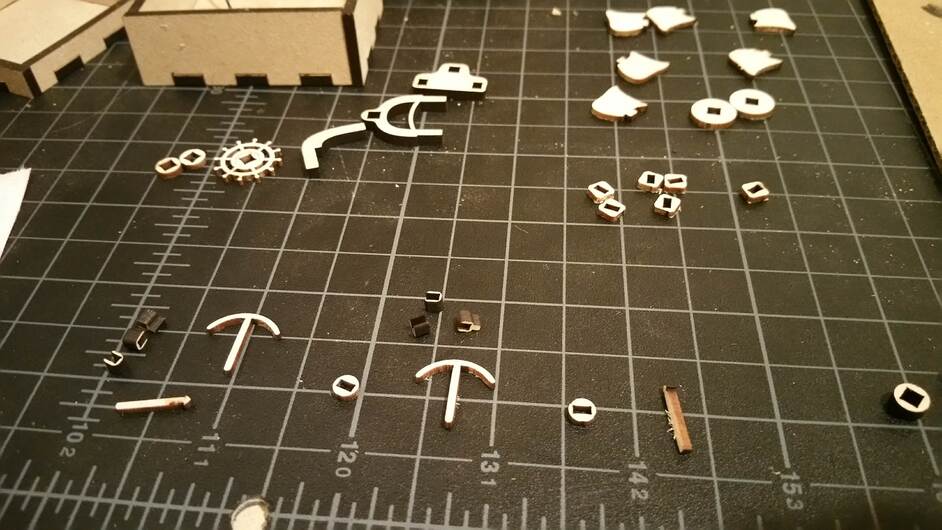
From there all of the big stuff was done and it was time to put together the small detail. The two crossbows are almost entirely 1/16 maple. Sorry there’s no banana in this photo, but I have a much worse scale that will have to do…

All put together!
I included a link to the original design on Onshape earlier in the post, but here it is again if you missed it. I’m planning to compile the svg files I actually used in case anyone wants to try their hand at this spectacular mess I’ve designed. I’m not sure I could make a coherent step-by-step process though, so it’ll likely be just the files and answering questions. If you want to modify the design go right ahead. I made this for myself and my friends, so it has already fulfilled its purpose. I was originally planning on wrapping the ship with veneer, which is why I didn’t engrave the outside of the ship parts, but my brother says he likes it this way so I’ll probably leave it as is for a while.
About downloading the files from Onshape: I downloaded them as dxf files and used Inkscape to convert them to svg. The easiest way I found to do this was by importing the file, selecting the whole thing, doing a “combine” command, and then selecting all the nodes and doing a “join node” command. This joined all the nodes into one path as best I can tell. If anyone has a better method, I would love to hear it.
Thanks for all the support and friendship.

