Okay…here’s what I think might have happened in your case…
After you send a job to print, the head moves out to where the design is and it shoots a red laser focusing beam for just a fraction of a second. First…that dot has to land on the material and not fall off into the grid. When you are working on something small like the dog tag, it can miss and land off to the side. Then it gives a bad reading, and the design placement is affected.
To avoid having that happen, put a sheet of scrap plywood, or thick white posterboard, underneath the dog tag. (Tape the dogtag down so it doesn’t move.)
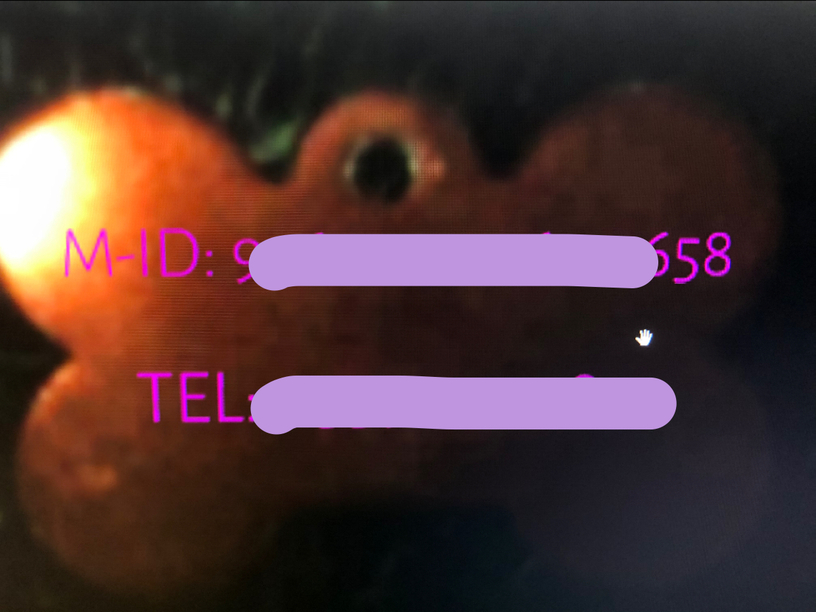
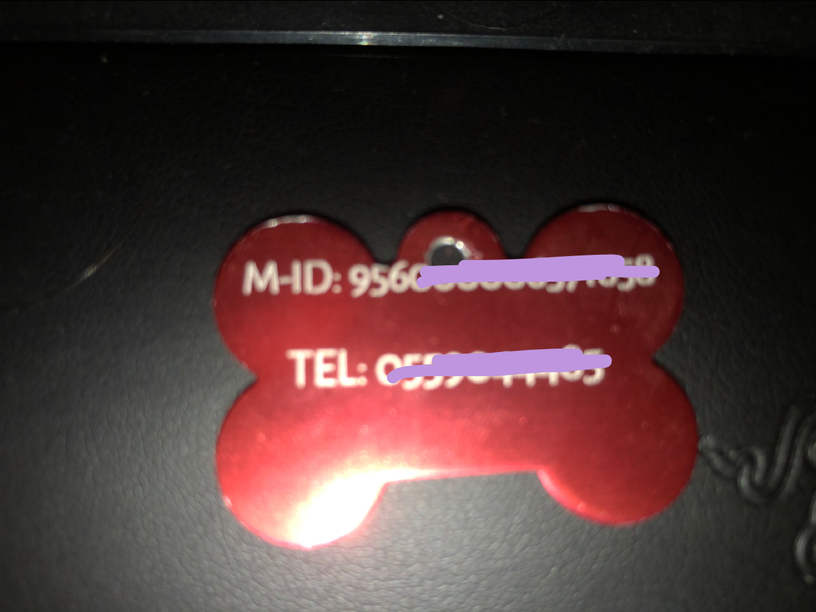
Second possible problem…it’s a red dogtag. It’s going to be hard for the camera to pick up a red dot on a red dogtag. Cover the dogtag with a white paper masking tape and it should make it a lot easier to differentiate the dot.
Give those techniques a try and see if it improves. If not, you might need to run the Calibration again.
One extra thought, cut the dogtag out f some scrap and leave the hole. If you can, fix the location of the scrap with tiles (one tile up and one across and use that corner) then fix it in place so you can do the same place every time.
When you cut the dogbone, note the precision location from the pop out (on the lower left) and write that down. Now whenever you want to engrave a new tag you can move the design to those numbers you wrote down. The numbers will remain correct even if the view does not look like it.
I was thinking of trying that but i was worried it would misplace the engravement more, I’ll see what i can do about what the other guy said and I’ll update the thread.
I’m so sorry to hear that you’ve been running into trouble! I appreciate you providing images of your print results.
I see that @Jules and @rbtdanforth provided some AMAZING steps forward to help narrow down the snag, and allow for the designs to be better aligned. Please let us know if you happen to run into the same behavior after working through these steps. I’ll make sure we keep this thread open until we’ve heard back.
I do a lot of dog tags and have experienced what your are going through.
First off, place the tag directly under the camera, not off to the side.
Cover with a light colored masking.
Zoom in to 1000% and do a manual focus on the tag (slightly up and to the left of center… at least on my machine).
Increase power or slow speed to compensate for the masking.
Engrave.
Sometimes its hard to pinpoint where the laser will measure but if you will watch it closely as it is focusing you can get a feel for where the laser points compared to what you selected in the GFUI, that’s why the zooming helps.
I also made a little jig to hold different tags and collars. I then reuse the same file just changing the text in the GFUI so I can repeat results.
It’s been a little while since I’ve seen any replies on this thread so I’m going to close it. If you still need help with this please either start a new thread or email support@glowforge.com.