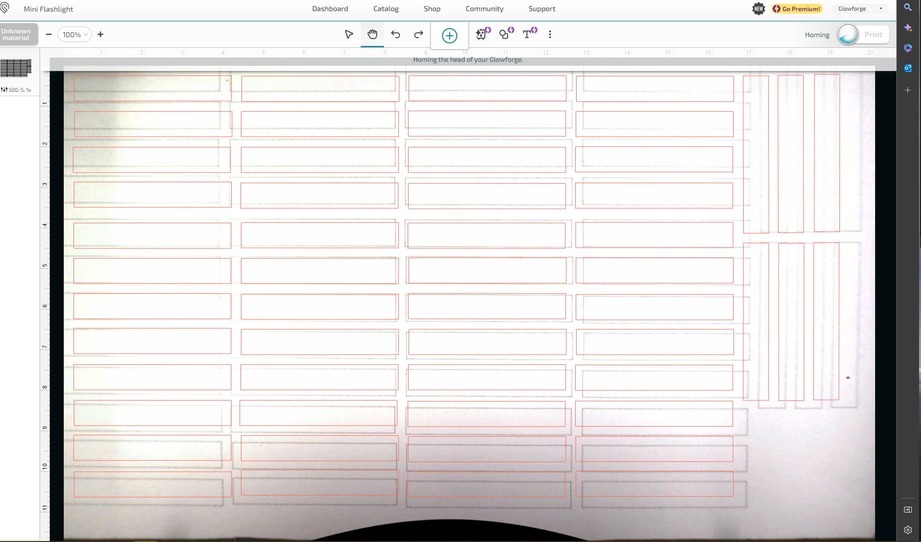
I laid out 54 rectangular cuts to create a jig so I can engrave 170 flashlights. Just to verify, I ran it at Speed: 500, Power: 5, Single Pass and the layout was perfect. Everything was right where I wanted it.
I went back to the App (not in same room unfortunately) and this was the result. You can see where the lines are that I want to cut, they should align to the test, but they are way off. Need need this to hold alignment so I don’t have to create new files for each print.
Edited to add: Nothing was changed, the lid wasn’t opened, power not cycled, and I didn’t change any settings.
1 Like
Welcome to the forum.
The Glowforge camera is accurate for placing designs to within 1/4", so it is important that you create a jig as you have done. Did you use the set focus tool prior to placing your artwork?
3 Likes
I ended up refreshing the bed mage and resetting the focus and got close to where I wanted to cut.
I’m guessing that I’ll have to adjust each image to get the 54 right where I want them.
1 Like
You will need to pay attention to the different focus heights once you place the flashlights in your jig. Also, make sure your text is in the same file as the outlines of the jig.
3 Likes
Without set focus, where it says it will cut will not be where it will actually cut. If it is still off then recalibration is called for.
Or if you know the number of the bottom right number as displayed by the units display and you set that bottom right right number exactly the same then the cut will be in exactly the same place on the crumb tray anyway. If you put the material in exactly the same place, you will cut in exactly the same place.

This is based on the center, but I prefer the lower right corner as I can see better where that is. All four numbers have to be the same for the cut to be the same.
3 Likes
You might find this alternative placement technique useful:
3 Likes
Not at all. If you do not move the artwork or the jig, it will cut in exactly the same place each time.
2 Likes
THIS - the way a jig works is it does not matter what the desktop looks like - just align your art to the jig lines (even if they look off) and click print and they will be exactly where your jig printed. It’s best if you already have your artwork in the same file, but even with this - presuming you haven’t moved anything, you can still add your art (using the big + at the top to upload) and line it up to the red dotted lines of the jig (because you’ll mark the jig cutlines to ignore)
1 Like
Even if the camera’s focus is wonky, causing the image in the UI to be off, a second cut with the same settings should still cut in exactly the same place. For me this works pretty reliably, as long as nothing is touched and you don’t reboot it*, which is why I always trust the jig and not the camera.
- Once I observed Glowforge recalibrating itself, without my having rebooted it, for no obvious reason. This caused a small unexpected offset of less than 1mm.
2 Likes
This topic was automatically closed 30 days after the last reply. New replies are no longer allowed.