Boy, I’m so frustrated with alignment on this device. I cannot figure out how to do any kind of multi-pass cut/engrave that works well.
Today, I forgot to engrave a layer.
Started out with the right depth for the material and tried to center the design over an area that had been painted. It shifted about a half inch left of target to begin with. Engrave/cut complete and realized a layer hadn’t been engraved. No problem, right? Just set the parameters, hit ignore on what was cut and hit print.
Nope, the engrave shifted again (nothing was touched otherwise in the design, this was all loaded), this time down and to the right by 1/4" from expected location / relative to rest of design.
Any advice on this? I don’t understand why X/Y cannot simply be absolute so that if i cut something from one file, or one part of a file and then do it again at the same location I cannot get consistent results.
This is the same problem I have with creating any kind of jig to work reliably. I feel like I’m missing something fundamental because it shouldn’t be this difficult to align to a jig/material outline or in this case to the exact same file.
Appreciate any hints
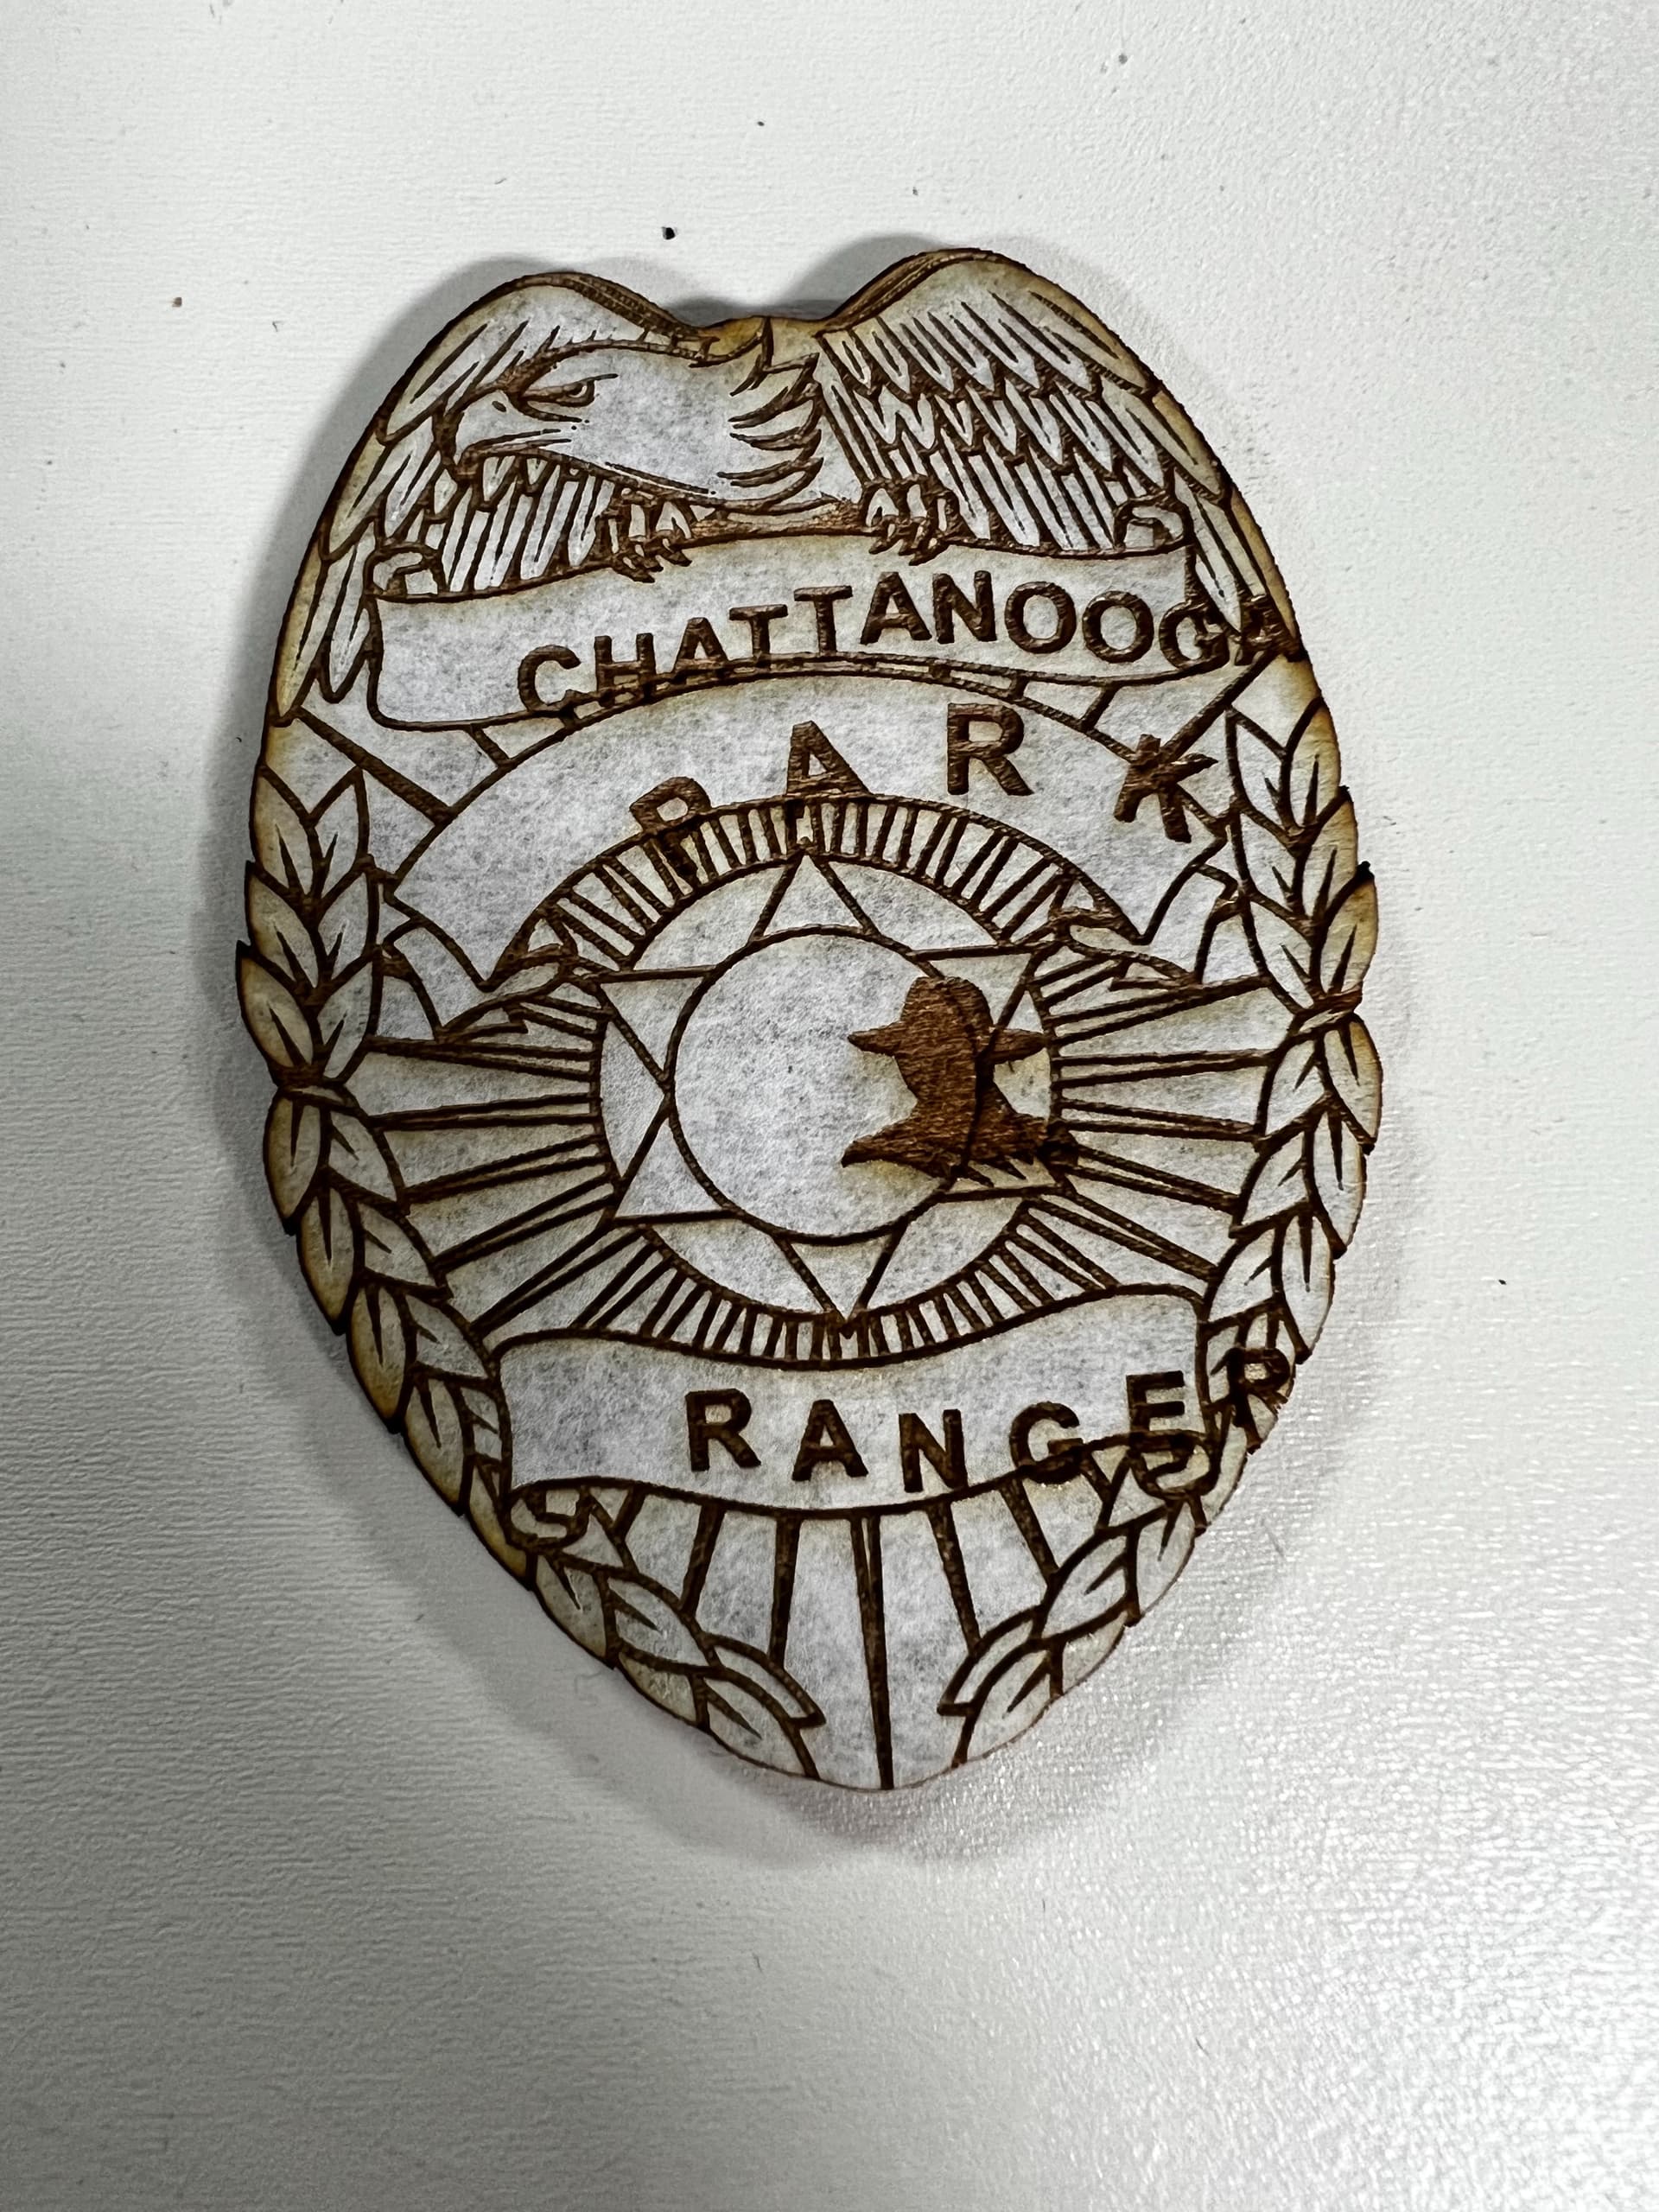
Here you can see how far off actual and target cuts were. You can also see that the layer I forgot (the text and center icon) is aligned to the other objects.
If you use the set focus tool prior to placing your design you should see a great improvement. If you need precise placement, you will need to use a jig or use the placement coordinates. Jigs work every time, but the outline and the design must be in the jig file. Also, make sure you never move the printhead with the machine turned on.
I can appreciate that set focus could help with the initial targeting against the painted area, but I still don’t understand the shift on the second pass. The design and material were all loaded on the first pass and didn’t move.
What do you mean by “placement coordinates” - that sounds very attractive.
As for the jig, are you saying “keep the jig outline in your design file and use that to align, but ignore on cut?”. I guess with the pre-focus that might work better than the results that I’ve had.
You put both the design and the outline in the jig file. Cut the outline and remove the jig material. Put your items in the cutout area. Set focus and ignore the camera view for the engrave. As for the placement coordinates, if you don’t move anything aligning to the coordinates works perfectly.
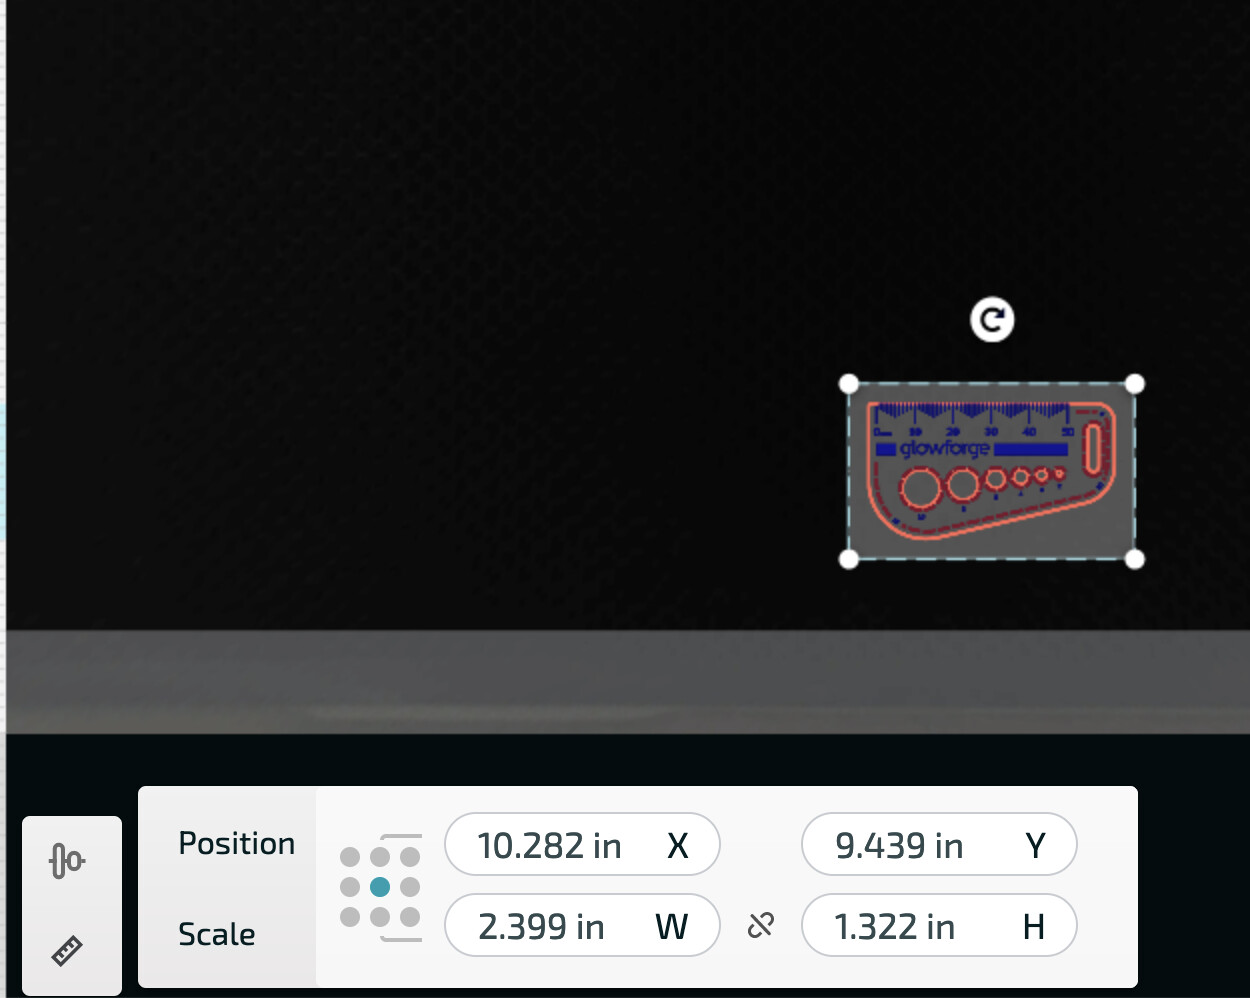
If, before cutting and after using the set focus, you take a look at the lower left corner when your piece is highlighted it will give you the precise location and size.
If after that you have not moved the material it will cut at exactly the same location, The image on the screen may not align as there is a lot of math to show you an image where you will actually cut, but the numbers on the widget are exactly where it will cut. If the materials are not moved, and the numbers on the widget are the same, then the cut will be the same place.
I did that for a while, and even built-in rulers, but found two things, It could not be used on new standard sheets and as I have a pro, it did not work with 18x24 sheets or bigger either.
I got the impression from your text that even when you use. Jig you get different results from print to print. If that’s the case the. It sounds like you have either slipping, too think material and it’s bumbling something, or ??? You said you’re careful to not bump or move the head so they can’t be it.
Here is the method I use to align parts I’m working on.
Hope you can get a cent or so of value from my 2 cents.