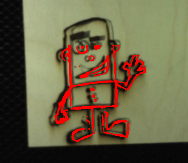
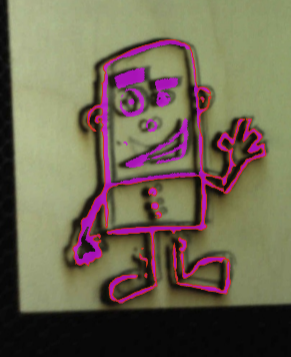
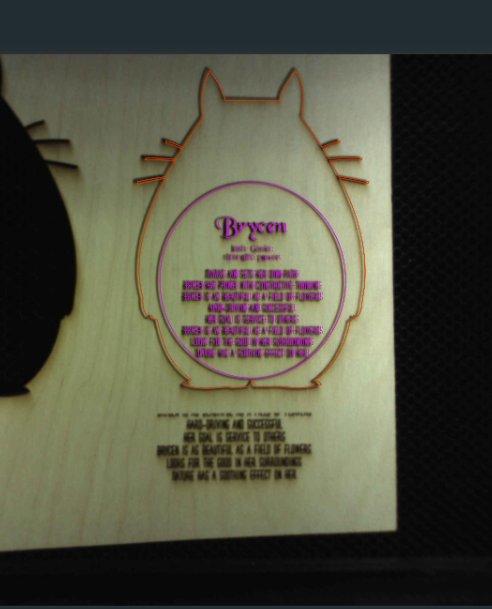
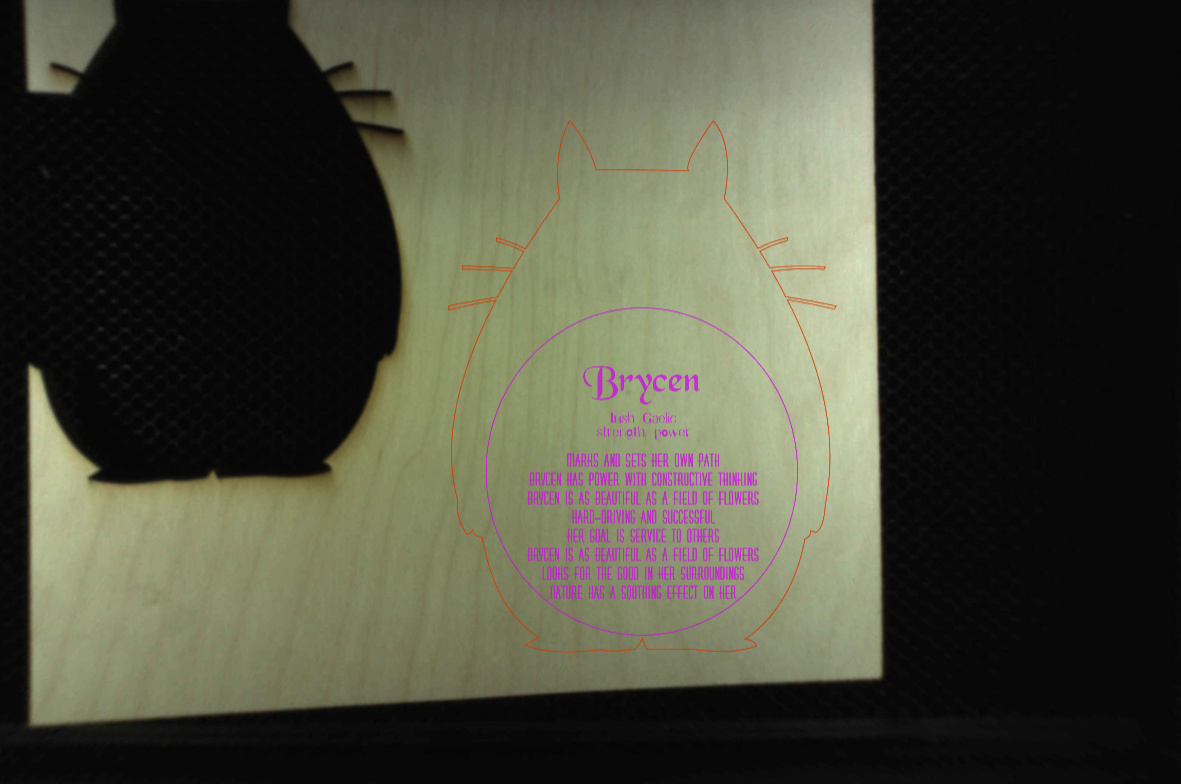
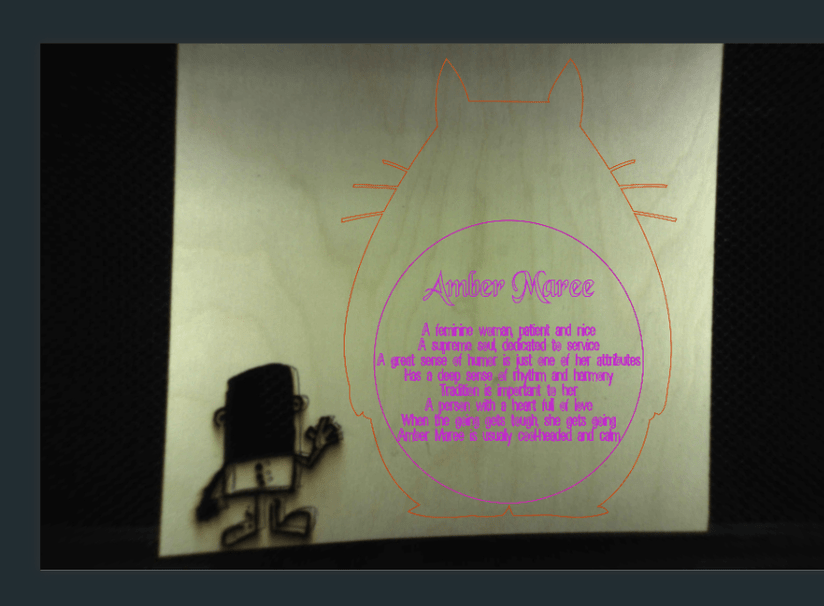
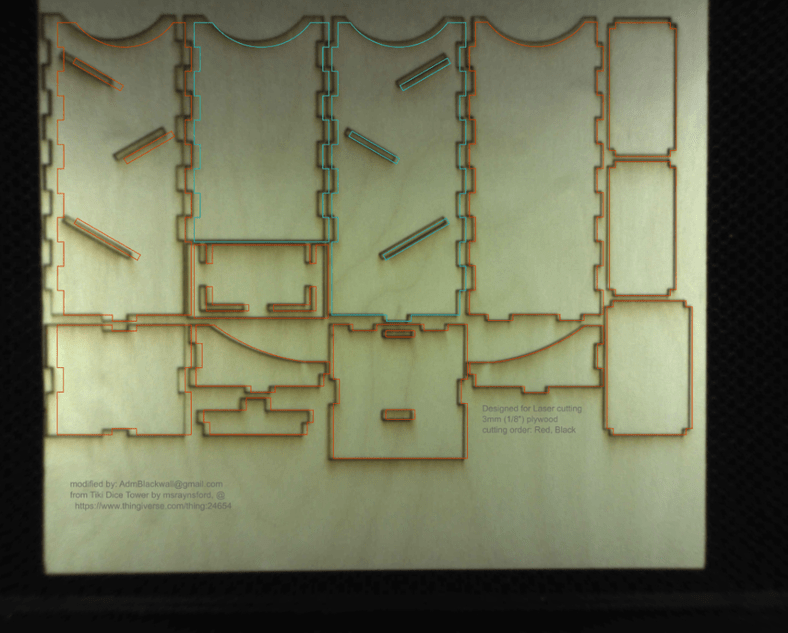
Trace feature seems to be way off like about a 1/4 of an inch. Been noticing when we do cuts and engraves now that we are about a 1/4 off too. Been trying to gather as many images as we can to show. Also if you notice the corners of the wood look distorted. We are using a 1/8" thick 12"x12" sheet of Birch plywood with little to no warping.
As for the “distortion”, it’s because the camera is a wide angle “fish eye”, so edges will increase in amount of distortion. If I can’t cut/etch in the center area under the camera, which has the least shift between image and actual, I’ve gotten used to setting up based on which way I know the shift will occur.
And use pins/magnets to not only keep the material flat, but to keep the material from moving–lighter weight material can be affected by the blower. And be sure order is etching and only cut last–certain jobs will be impacted more than others by order…
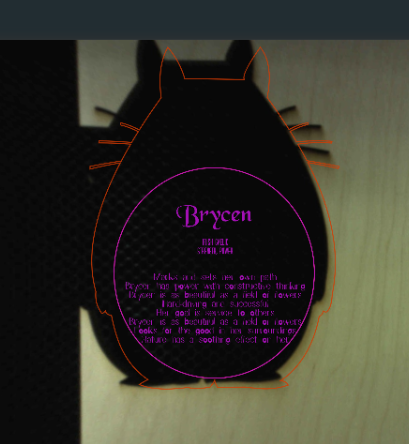
Make sure you’re measuring and entering your material height for non-PG materials. Pretty sure the size discrepancy on that one cat cutout is from it having the wrong focal height.
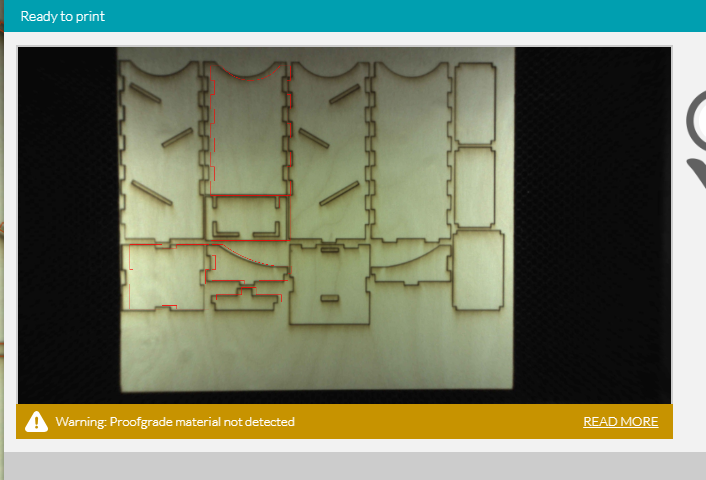
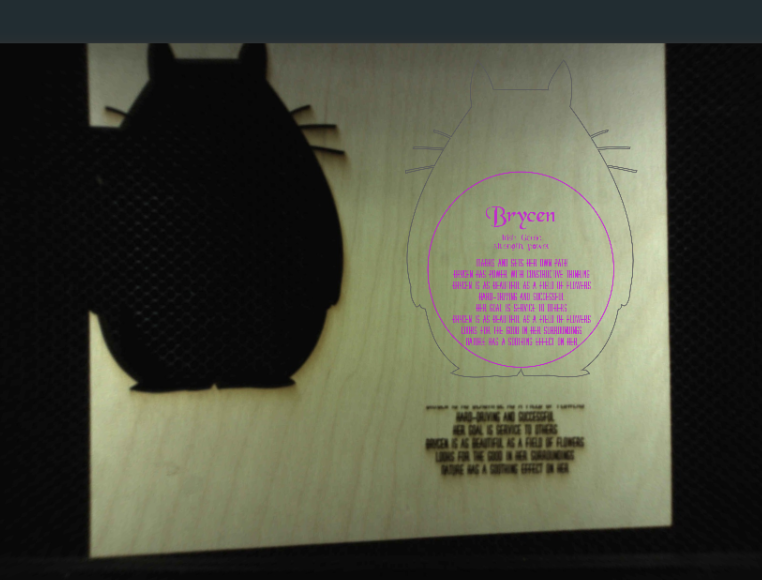
The last print we did was almost 1/2" off of where we placed it. We always try to over shoot the edges when we do photos so the image takes up whatever we are engraving on. But when it shifted 1/2" to the left, it causes issues we would rather not face. Also if we were to try and re-cut the lines we just made (without moving anything) the laser won’t cut exactly where it was just at.
The software on your Glowforge is responsible for ensuring that the print lands on the material in the same place as the preview. When you’re done with a print, let a new image load. If the print appears on screen far from where it was supposed to go, you may have an alignment problem.
Most alignment problems come from the material being closer or farther from the camera than expected. While the software is still improving, you can take these steps for the most accurate alignment results:
Use Proofgrade™ materials.
If you don’t use Proofgrade materials, use a precision set of calipers to measure your material, and enter the thickness in the “uncertified materials” dialog.
Use material that is not warped or tilted.
Place your design near the center of the bed.
Clean the area underneath your crumb tray, particularly the four indentations on the floor.
Reboot the machine. Alignment can drift over time, particularly if you bump the head of your Glowforge while removing material.
Should you finish all of these steps, and find that you have an alignment error of more than 1/4", we’d like to have you try a few troubleshooting steps for us:
Turn off your Glowforge.
Check for small pieces of debris or dust.
Check the lower door to make sure it closes all the way. It may require some force to open, but open it, wipe any dust off the edges, and close it all the way.
Remove the tray and clean any dust or debris from the surface underneath. Pay careful attention to remove all debris from the four dimples where the tray rests.
Check the lid to make sure it closes all the way. Small particles of material, such as dust or debris, can prevent it from closing completely.
Check the surface your Glowforge is on to make sure it’s flat. Ensure it is not twisted slightly and that there is no debris propping up one side of the machine.
Turn your Glowforge back on.
We included an extra piece of Proofgrade Draftboard with your materials shipment for troubleshooting. Place the Proofgrade Draftboard in the center of the bed and print the Gift of Good Measure using the default settings.
When the print finishes, leave the lid closed and wait until the fans stop and the picture updates. Without moving your artwork or your material, take a screenshot of the Workspace to show us the difference between the artwork placement and the actual print placement. Make sure to include the rulers in your screenshot and show as much of the bed as possible.
Mac: Press Shift-Command-4 and click and drag a box around your image. You’ll find the screenshot file saved on your desktop.
Windows: Click on the Start Menu and type “snipping tool”. Open the Snipping Tool > New then click and drag a box around your image. Click the Save icon and name and save your file.
Send us the screenshot along with the date and time of the print, and we’ll investigate.
It’s been a little while since I’ve seen any replies on this thread so I’m going to close it. If you still need help with this please either start a new thread or email support@glowforge.com.