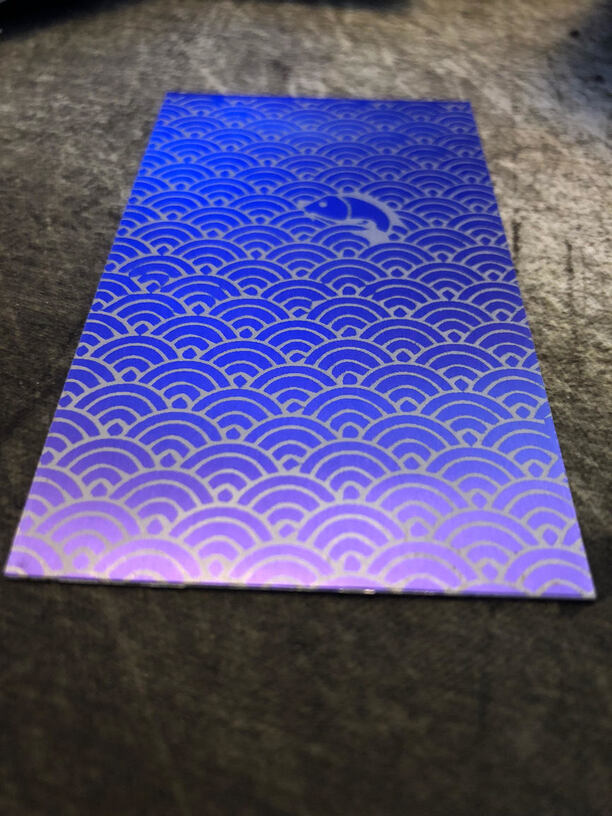
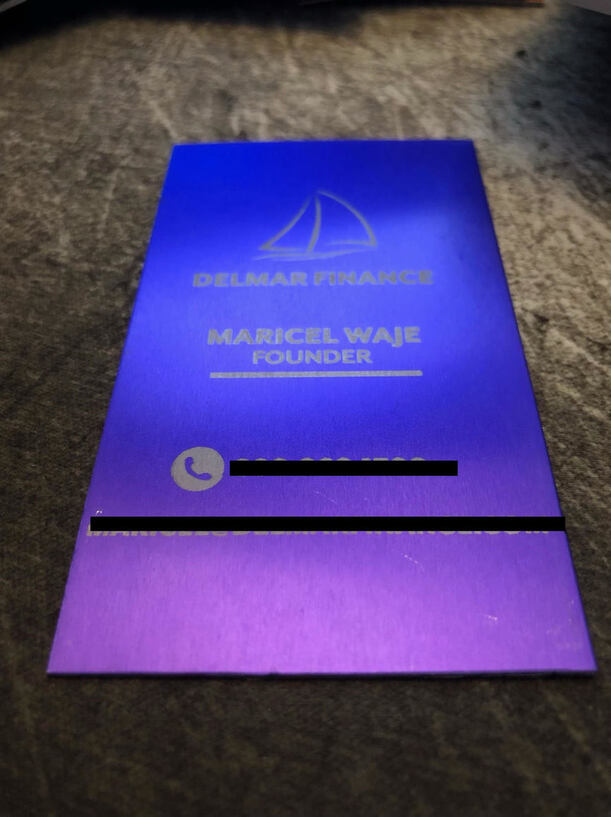
Business cards are becoming a hobby of mine. I made some veneer cards (Business Cards (Redesign)) and had a great response. After seeing some projects on the forum using aluminum, I decided to try ordering some blanks from www.theringlord.com
The cards look amazing, but there are a few issues.
Some of the cards had burrs or sharp edges. I have ordered a deburring tool from Amazon: https://amzn.to/2Nw6zHQ It hasn’t come yet, so I will update this later on how well it works.
The corner is a bit sharp and when testing the card, people often commented they felt like they might poke someone when they shared the card. I contacted Ringlord and they offered to round the corners for $10 extra per bundle.
I thought that was a bit expensive and after asking in a couple groups on Facebook, someone suggested this tool: https://www.youtube.com/watch?v=JeQldk6CVYw&feature=youtu.be It’s a big expense at $300 with the cutter head, but that ends up being 30 bundles.
So if you are going to be making a lot of cards, its worth it, otherwise just pay for the rounded corners.
I need to play with the settings and see if I can take off a partial layer of the coating. Right now it’s either on or off with the iPhone 7 PG settings.
Overall I am very happy with the results and will be trying some other ideas.
cutting the rad after the fact also never looks as good as doing it when you cut the edges. When we design punches at work to cut a rad like that cutter does you always end up with a rad that isn’t quite tangent (you can see it in the video). That is on purpose so that you dont have to worry about it notching the straight edge but it doesn’t look as good. finding ones punched with the rad will look the best
I have one of those Cornermate punches, it works incredibly well to compliment a metal shear (or a paper shear, for that matter). I have never found the need to de-burr afterwards.
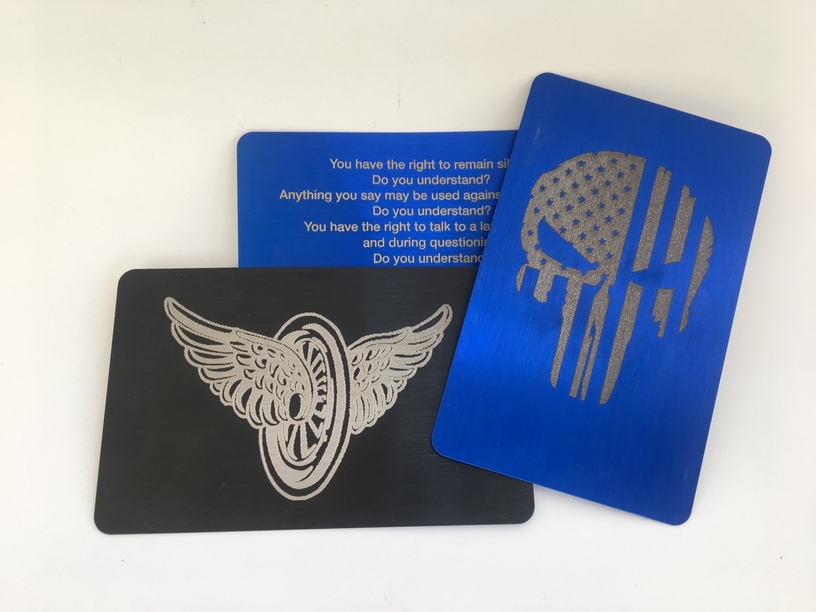
I bought some anodized aluminum blanks from Johnson’s Plastics Plus (NUS028) which would work good for this purpose but appear to be way more expensive.
Question i have is how do you get them aligned to engrave in the correct location? The only way I can do it is to make templates for the card outlines in another color, tape paer or cardboard to the bed and cut them out of paper or cardboard in a first cut while ignoring the part to engrave. Then I remove the cut pieces from the bed, place the card in the cutout locations, then remove ‘ignore’ from the engraving and re-print.
Basically you need to create a new jig out of paper or cardboard if you power down the machine or navigate out of the design view.
I so wish that these machines had homing and absolute positioning. This is a pretty ridiculous workflow.
it is annoying but not so terrible considering how cheap the machine is (the basic at least) I just build it into my templates so it doesn’t take too long and I have a large stash of thick craft paper I use as template material for all my anodized aluminum
No need for new jigs. Look up the crumbtray rulers, put a 12x20 piece of material in aligned to zero of the ruler, cut your jig, use, reuse whenever. I reuse jigs all the time.
Are you saying that position repeatability between power up/down of the machine is much better than the 1/4" placement accuracy claimed when using the camera/screen?
I will try myself to confirm, but i have my doubts.
Doubts or not, I’ve done it for nearly a year with zero issue. Repeatability between recalibrations is spot on. Run a job. Shut the machine off. Turn it on. Run the job again. It will run it perfectly.
The only thing that will make a slight difference is removing the crumbtray, and you’re still within a mm tolerance at that point.
Agree that camera precision is one of the biggest problems with this machine. Mine has a pronounced fisheye affect farther away from the center that really frustrates me.
I read that there’s a precision calibration update that may be in the works but I’m not holding my breath for it
Nothing official on any sort of calibration process. They have said that the intent is to improve the alignment. It’s a direct path between some sort of calibration process and the official statements in my mind.