Ok, here are some results, and a useful photo processing technique to improve results.
This photo is my baseline:
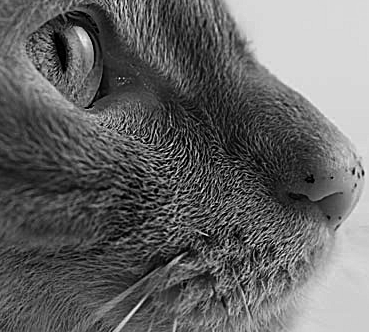
From the original, it has been converveted to grayscale and sharpened to bring out detail. I did three engraves based on this:
- Default proofgrade settings.
- Optimal settings determined from my analysis at the top of the thread.This was Speed: 600, LPI: 450, “Power”: 30%, Grayscale: “Convert to Dots”, Pattern Density: [0 - 60].
- Optimal settings, but with an additional adjustment to the photo (describe below).
Here are those results:
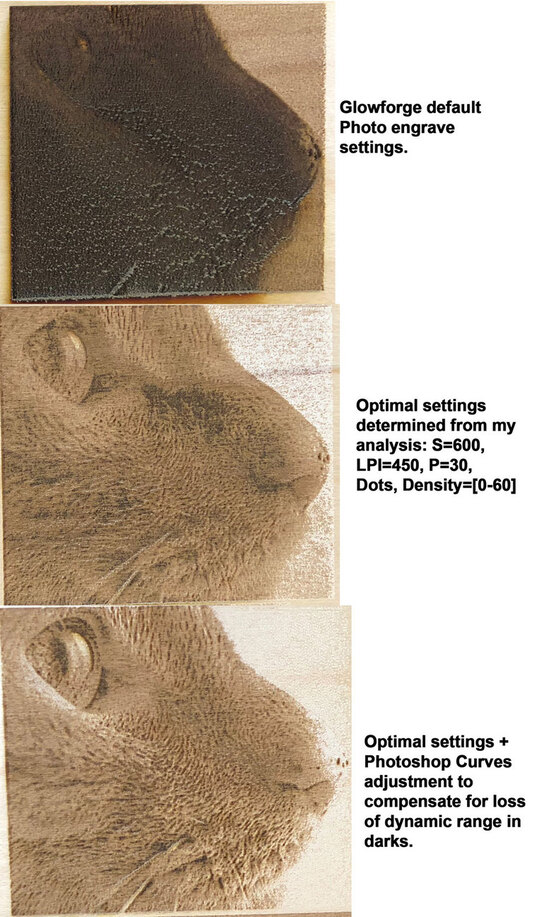
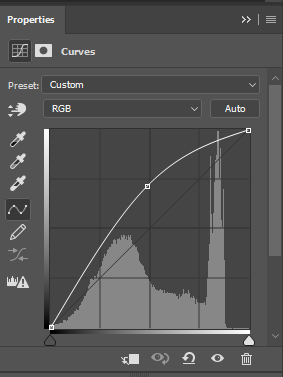
I think you will agree that the 3rd engraving is the best, and much closer to the original photo. The detail in the eye and whiskers area, is much better, and the overall engraving is more natural looking and with an exposure matching the original. Given the determination that there is less dynamic range in the darks, I used Photoshop’s Curves feature to compensate for that. Here is a screenshot of the Curves adjustment panel:
So, I’m off to use this technique and re-print some previously botched engravings.