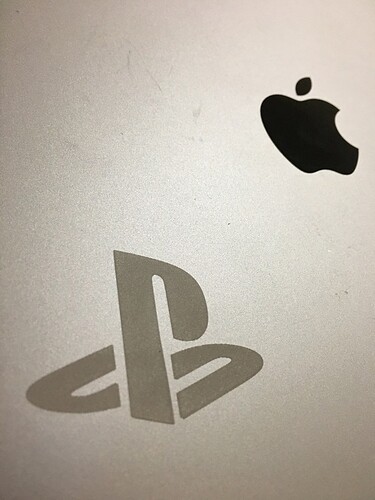
100%, 200 in/min, 2 passes
Neat! (And very brave!) 

Excellent. Thanks for sharing!
I like!
A buddy of mine wants to do something like this. What settings did you use? How did you “test” to find the settings?
Cool! Brave!
2 passes @ 100%, eh? Tough stuff!
Sweet run! But now I’m confused at who made it 
Cool, thanks for testing this out. I have had a few people ask about engraving their iPads but i really had nothing i was willing to test settings on.
I have a couple HP laptops I want to do, but I have no idea at all what the material is. Looks like plastic.
Thanks for adding the settings!
Nice!
Yeah, 2 passes at 100%, that is tuff! Think I read that increasing LPI can effectively increase power?
I have an old 1st gen iPad I dont use and 2 anodized iPods laying around, I’ll test with them and share after I get my GF unit.
The tricky thing about anodizing is different vendors will likely require different settings. I would expect Apple products to be fairly consistent with each other but anodized material from other sources will vary.
Inventables has small pieces of anodized aluminum that are inexpensive enough to play with, although the setting may or may not transfer well to anything else.
Grab a knife and try scraping along the surface in an inconspicuous spot. I have an ASUS notebook that looks like it could be anodized but after a scrape, it’s definitely plastic.
That’s true. Even different products in the Apple line have different settings needed. I laser engrave (mark) our company ipads and iphones. I log the settings but depending on the current engraving, it sometimes changes from month to month. What I do make sure happens is I do not remove the device from the laser until after I look to see if it’s okay. If not I re-run the job. Since it’s still in the same position the 2nd pass is correctly aligned. Try to get into the habit of not just reaching in and pulling the piece out when it’s done just in case you need to run it again. ![]()
Great tip
Solid advice!
I thought Apple might have tighter acceptable ranges but I guess it makes sense that aesthetics are priority in their QA over thickness and corrosion resistance, although a dyed/colored anodizing is typically thicker than “clear” anyway.
In my limited testing it seemed like there is an upper limit to how much the anodize layer can be marked. Like, running the job once might change the color by “75%”, and then running the job a second time would bump it up to “100%”, but subsequent runs wouldn’t have any impact on the marking. Similarly, engraving twice at 200 IPM might be perfect, but if you were to do two passes at 100 IPM you might end up with a very similar mark.
I will second what @jamesdhatch said, if you don’t move it you usually have the option to run it again. And a second (or third, etc.) run might fix some peoblems, especially when marking anodized aluminum.
It was an old ipad2 that a friend of mine let me whack away at. I did around five tests starting at 1% full speed one pass to what worked for me. I did see a slight change on the second pass as well.
Isn’t it just the case that you need enough energy density to go through the oxide layer and that is it? I.e. once you hit the aluminium nothing else happens so you can’t really have too much power?
That’s the impression I get. (up to realistic limits, of course)
That makes sense to me 
Interesting. When I did the iPad last year I opted for lower power and low speed but high LPI (340 I believe). Pretty much got the same result. But this was from a PRU. Things may have changed since then.
