(All I had to test was an old dollar store ink pad)
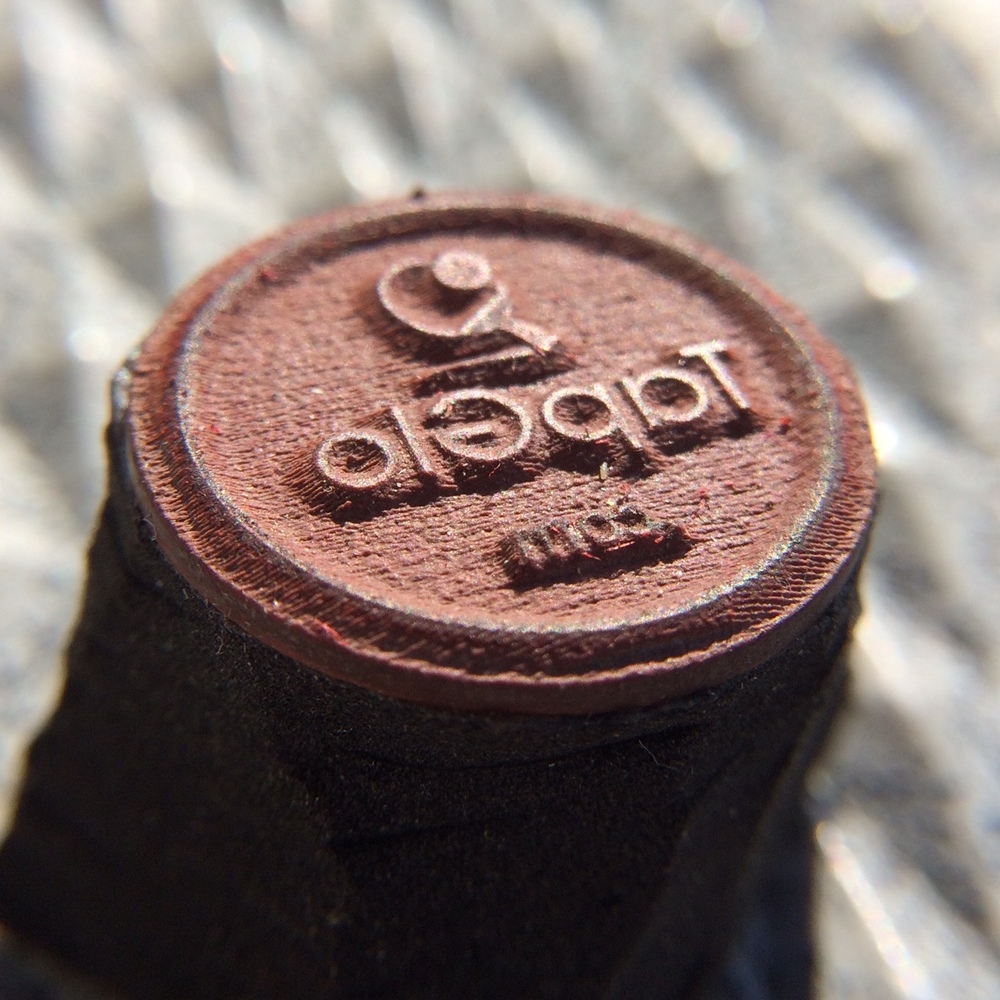
Stamp is .75" across, the letter width in the “.com” is .010" ! The rubber I used was .060" thick and is a medium to hard durometer(I had it laying around)
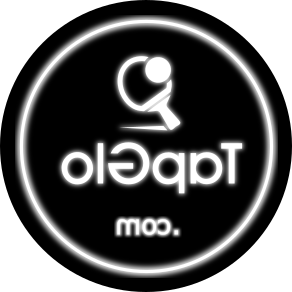
I prepared the file in InkScape. I brought in my logo, changed it to white and put it on a black background, then I duplicated it (Cntl +D). Next I increased the stroke width and upped the Blur. I just played with it until it looked right, You don’t need much of a glow for support, here is what I ended up with
Then I resized it to close to what I wanted as a final output, mirrored it and exported it as a .png at 300dpi.
In the UI I mapped grays to power, min 0, max 70, 2 passes and 340 LPI Cut time was ~6min
Looks good. Thanks for sharing the details! A logo stamp and maybe return address stamp are high on my list of projects. I bookmarked this to review when I get to it.
That’s cool. I never wanted to do stamps before, but now I have a laser… is there a specific kind of stamp that’s laser-safe or known to work well? I need to add yet another item to my drawer full of things to vaporize eventually.
Being a cardmaker … I’m very excited to try my hand at some stamps. I could have bought a basic Glowforge for what I invested in card supplies in the last 1-1/2 years. Scary!
Hey@ptodd, I don’t know if you saw this, that I did back in May:
I used art stamp laser polymer (link is farther down in the thread), but the settings are no longer valid as that was before the low power settings.
I’m going to have to revisit all that soon. I suspect it will work a lot better, not only due to the better settings but also due to my having more experience.
An Inkscape user! Bless you! Why did you duplicate it and where/how do I create the blur? I am trying to make a 1 inch stamp with small text and need to support it. What settings did you use to cut the outer edge? I’m not quite sure what settings you changed in the UI when you say "mapped grays to power. Forgive my lack of knowledge…newbie here!