Ever since I began learning how to design for the Glowforge, there have been two things that have intimidated me to the point of not trying to do them at all. The first one, was creating finger joints. I’m not particularly fond of the way they look, but it was a challenge to me to learn. Even if I never used it again, I wanted to learn how to do it. The other…and the most intimidating thing and the hardest for me to ‘get’ was adjusting for kerf. I understood the concept, I just wasn’t very good at the math.
Because I have been lately such a huge fan of the thick PG thick green glass acrylic, I decided to design a very small box using that and the two new processes that I learned. I used the scrap area on one of my oh-so-precious sheets. I have some offcuts…mistakes…but I finally got it down.
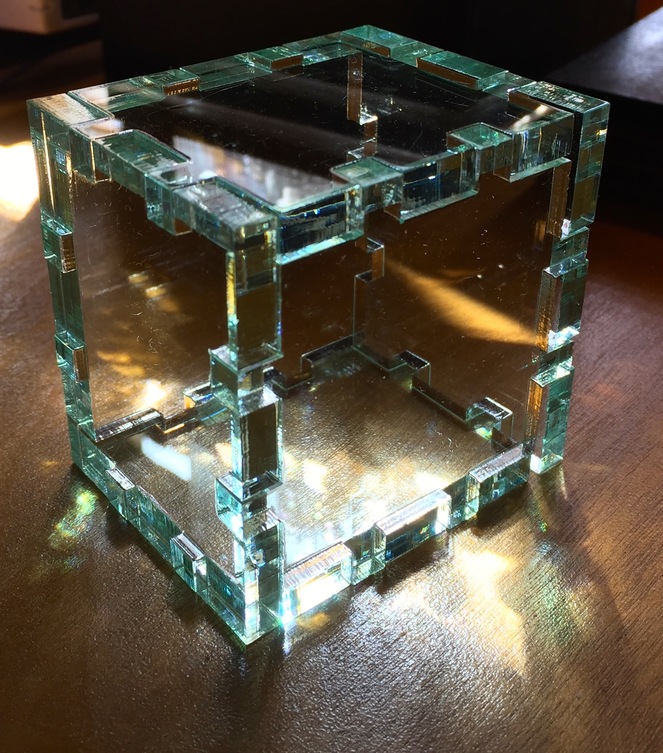
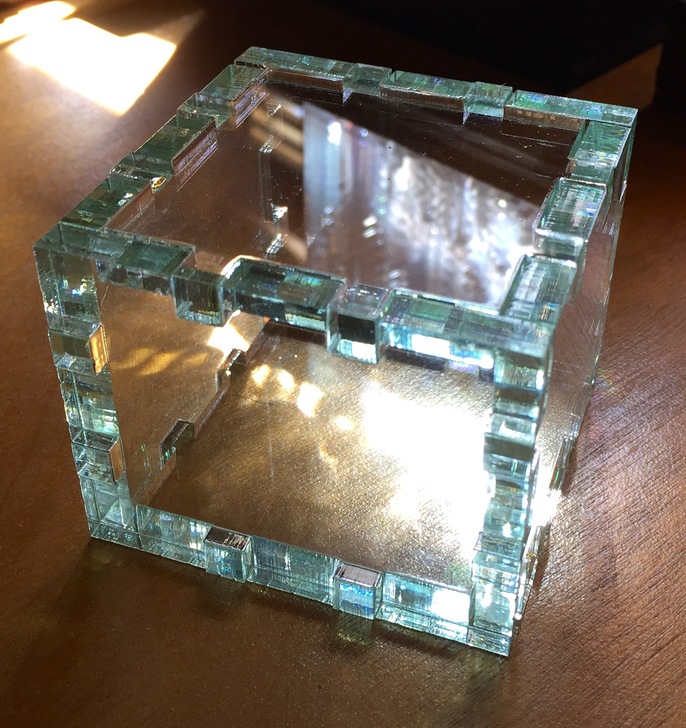
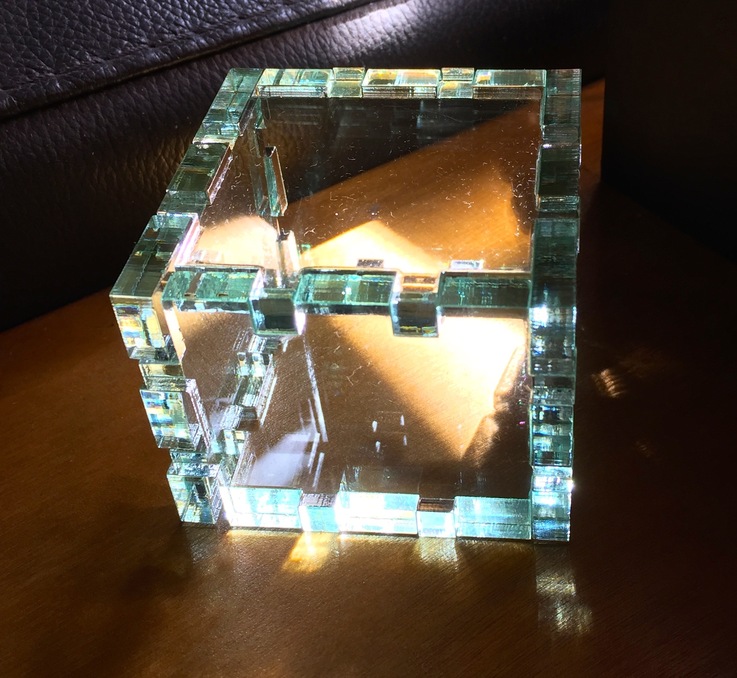
The box is 2" x 2" x 2.5"…completely enclosed. It wasn’t made to be functional as a box, but something that just looks really beautiful…especially in the sunlight. It’s now a given that my experience and new-found knowledge will certainly translate into other things.
I love looking at this thing and I love feeling it…feeling how all the seams are smooth and all snapped so tightly together.
In an age of new and different ideas…this tiny box is not one. But, to me it’s huge.
Lovely. I forgot to mention that you inspired me to order some of that acrylic. I don’t know what I’m going to make it with it, but I know it will look great!
I’m glad you are getting some…apparently it’s out of stock again, already…so hoard your supply! I’ll look forward to seeing what you make. I am completely infatuated with the stuff. I think you’ll love it, too.
So for the rest of us kerf-issued folk which method finally worked for you? I know you have to recalculate for every piece of material, but I tire of cutting things over and over again to get what I need :-/
That turned out really great! I share your love of the glass green acrylic. There is just something about it that makes it demand to be held and admired. Can’t wait to see your other projects now that you have mastered kerf and finger joints.
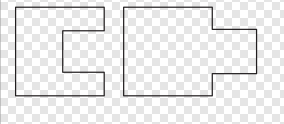
Boy howdy…I hear you there. Even with this project though, I still had to redesign one or two parts because I had measured wrong for them…not the kerf, but just the actual part. I think the main thing that helped me is first to figure out the kerf, then do a very small test like this. Actually, I cut three ‘holes’…each one a different size, just to make sure. This example was my last iteration.
I’m not sure if I do it the right way, but I deal only with the whole kerf number, not 1/2 like many do. The finger joints; the part going INto the slot was 1/4", so I made the associated space to receive the piece 1/4" minus the whole kerf number. In this case, the slot to receive a piece measured at .234" instead of .250. The kerf on the 1/4" acrylic is .016.
I don’t know if I’ve explained it very well, but I hope on some level I’ve been of some help. Keep at it…make lots of small tests.
So for kerf was there some reason why the basic “stroke to path” or offset methods didn’t work? They’re generally pretty trivial to do for shapes like fingerjointed boxes, but maybe there was some additional factor at work here?
Probably the additional factor is that I don’t know what the heck you’re talking about. I use Affinity, and if there is such a process, I don’t know what it is. Yet.
Thank you, Peggy! The weather is ‘glowrious’ today…Spring has finally arrived. Keeping a project on the small side prevents bigger waste of material, that’s for sure.
If you do a stroke to path operation wouldn’t you need to account for the kerf in the depth of the fingers too? Or would it magically work out because there are two surfaces both being moved forward by one-kerf?
The latter. There are other threads that talk about the process, but basically if you want to cut the outline of a shape and add a kerf compensation you need to offset the path by half a kerf “out”. The simplest way to do it is to use either an offset function or to set the stroke to be a kerf width and then convert the stroke to a path.