Building on the great vacuum table design that evansd2 created ( Vacuum tray replacement for cutting lightweight materials ), I took a swing at it with a slightly different approach.
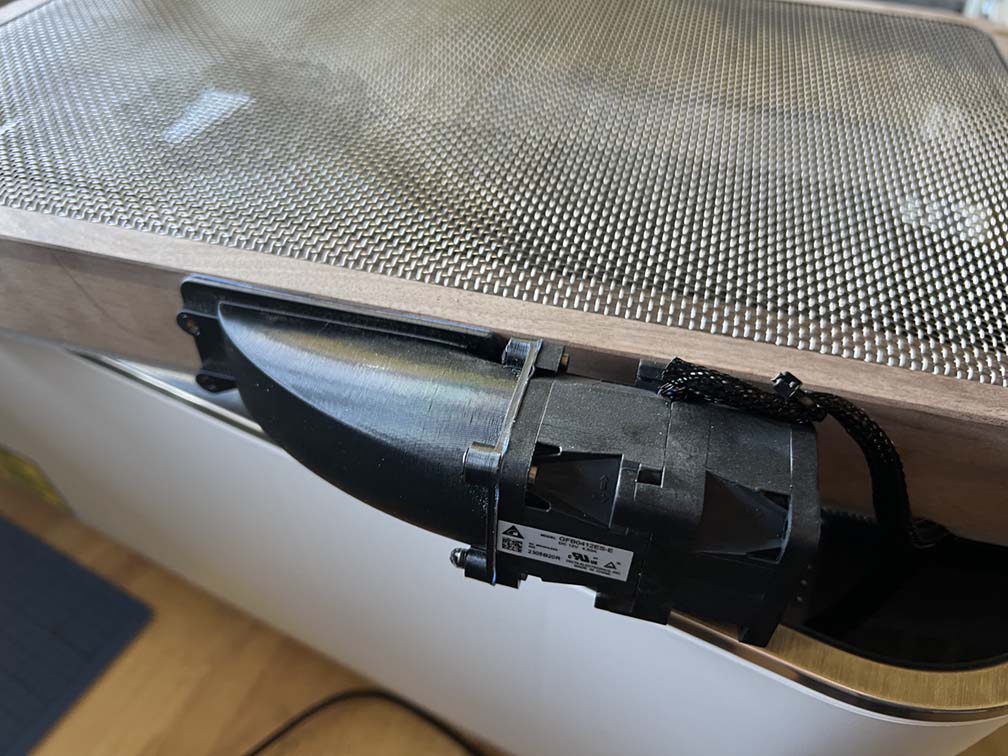
I used almost the same fan he recommended, purchased from DigiKey: 603-GFB0412ES-E-ND, and the same SS screen that evansd2 sourced from Amazon (see his great write-up and links)
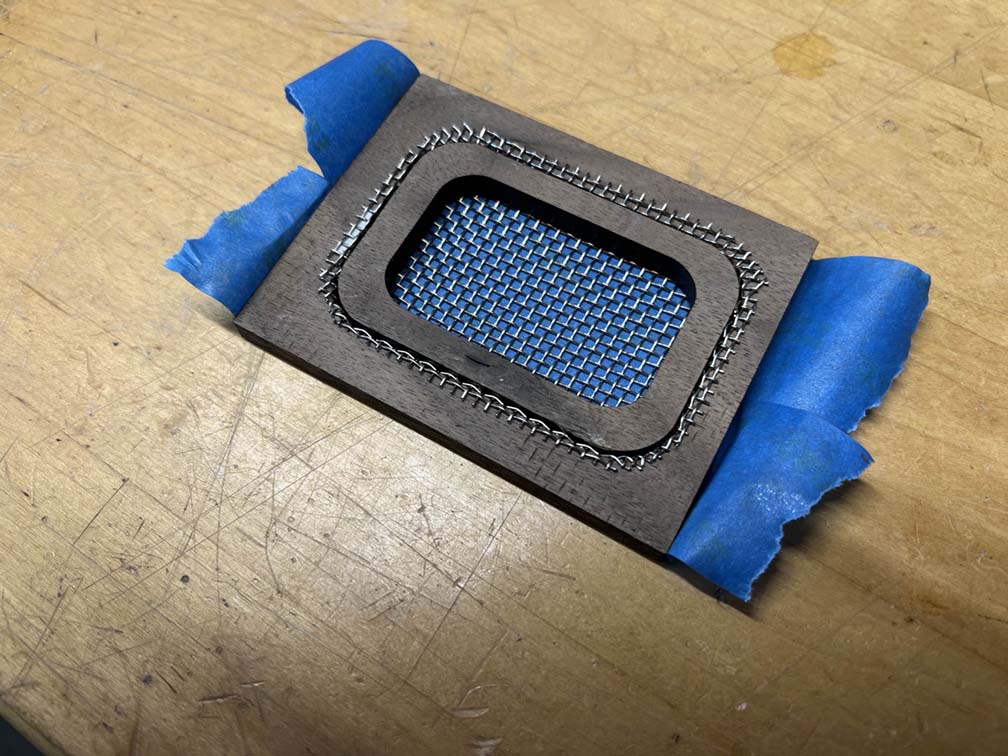
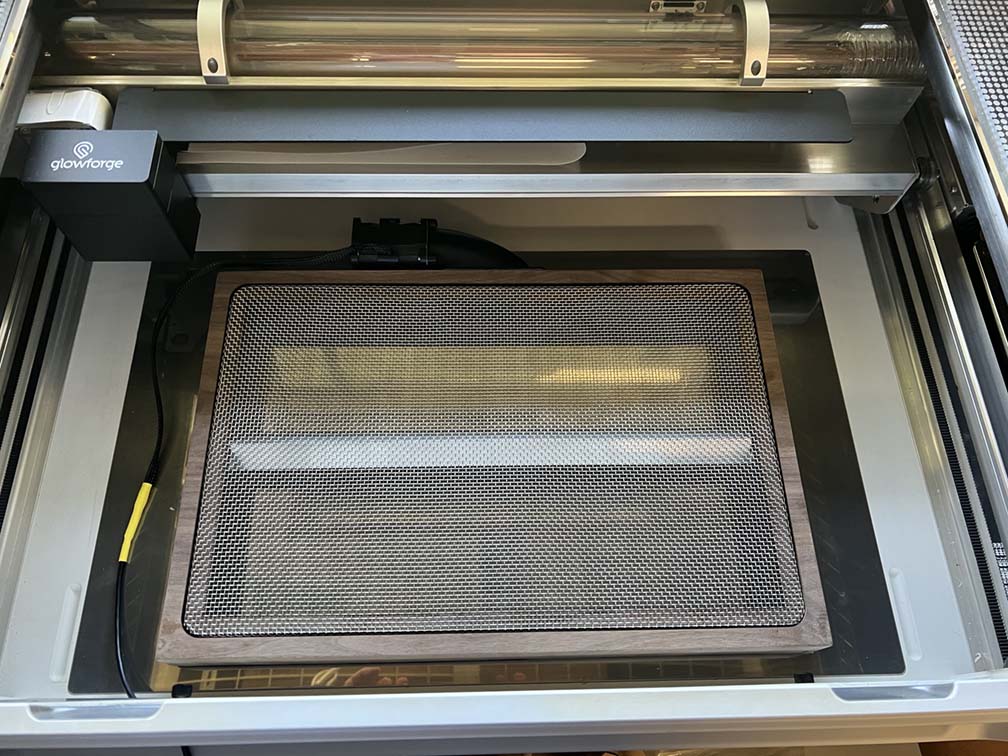
I decided to try an open bottom version of the vacuum box, that uses the SS plate under the tray as the beam stop. The open bottom design is easy to clean, and the plate stops the laser without any marks or discoloration after use. The vacuum table just rests on the SS plate with weather stripping around the bottom perimeter to make an airtight seal and keep the table from sliding around
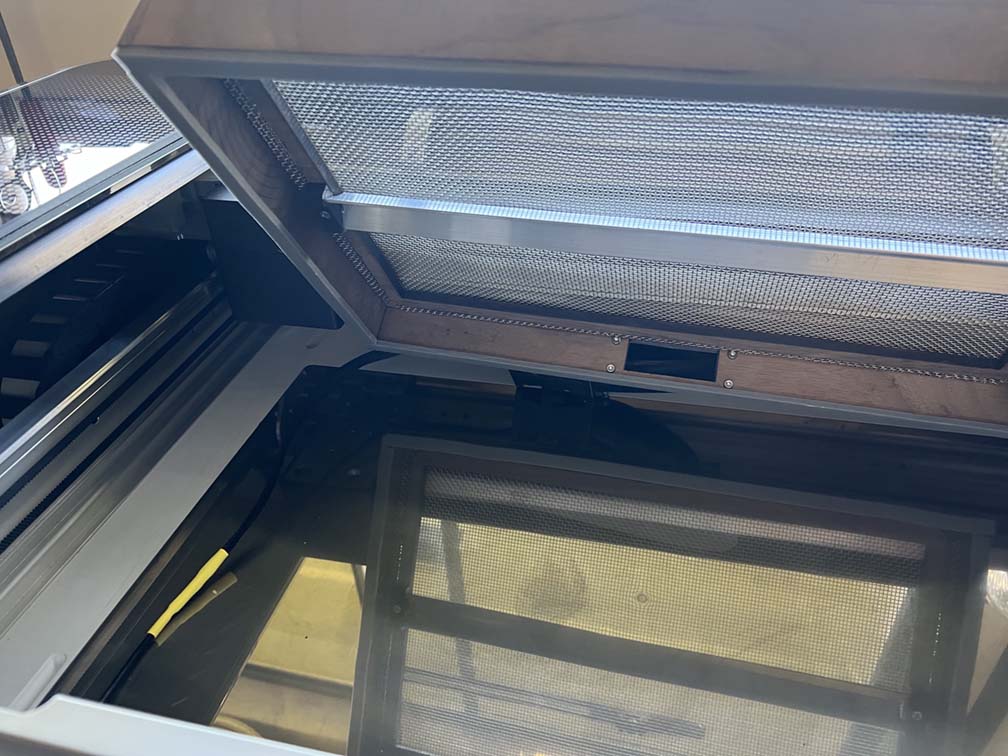
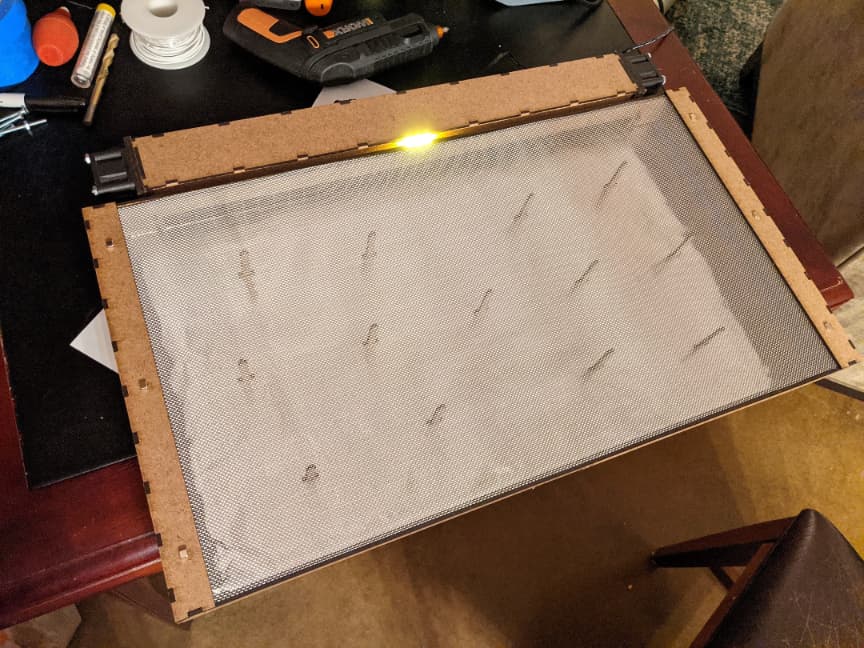
I also wanted the SS screen flush with the tray top so that I could use paper bigger than the tray and it would lay flat. This is also convenient for masking open areas on the screen by just laying sheets of paper around the perimeter of smaller work pieces without the need to fit into the “well” of the screen area. However I don’t recommend the method I used to achieve this. I forced the screen into the hole in the top of the tray by pounding an inner ring into place (see pix) It worked, but it was a pain and the walnut cracked in a few places due to the stress. I am sure someone here will figure out a better way…
The frame is hardwood walnut, cut with the laser and glued together with Titebond III wood glue, and is very strong.
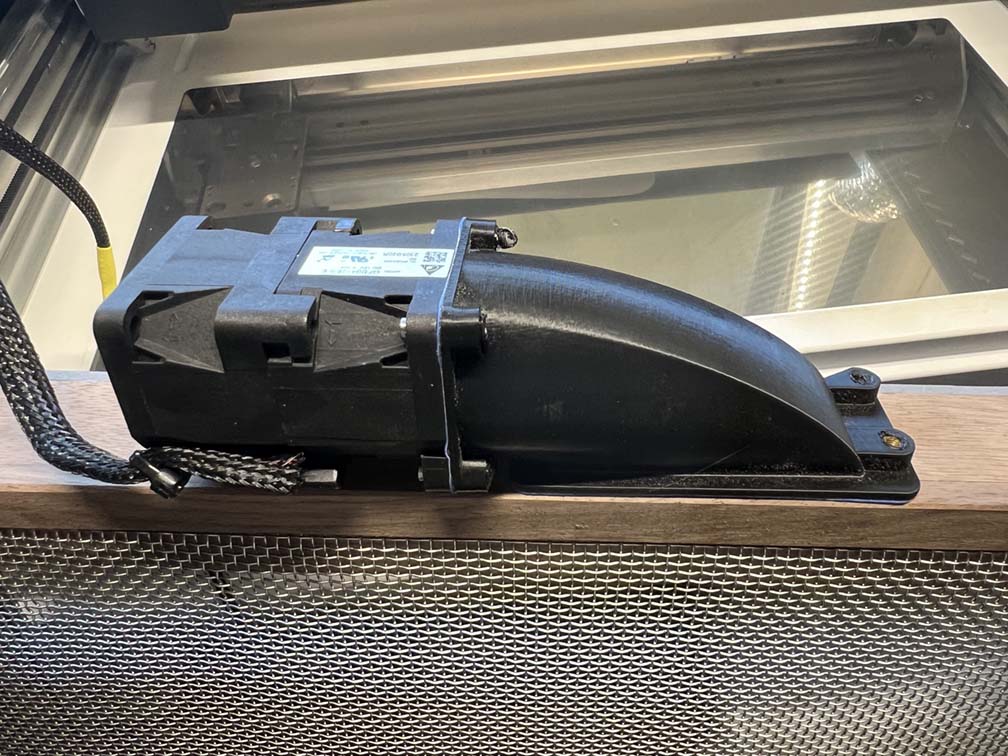
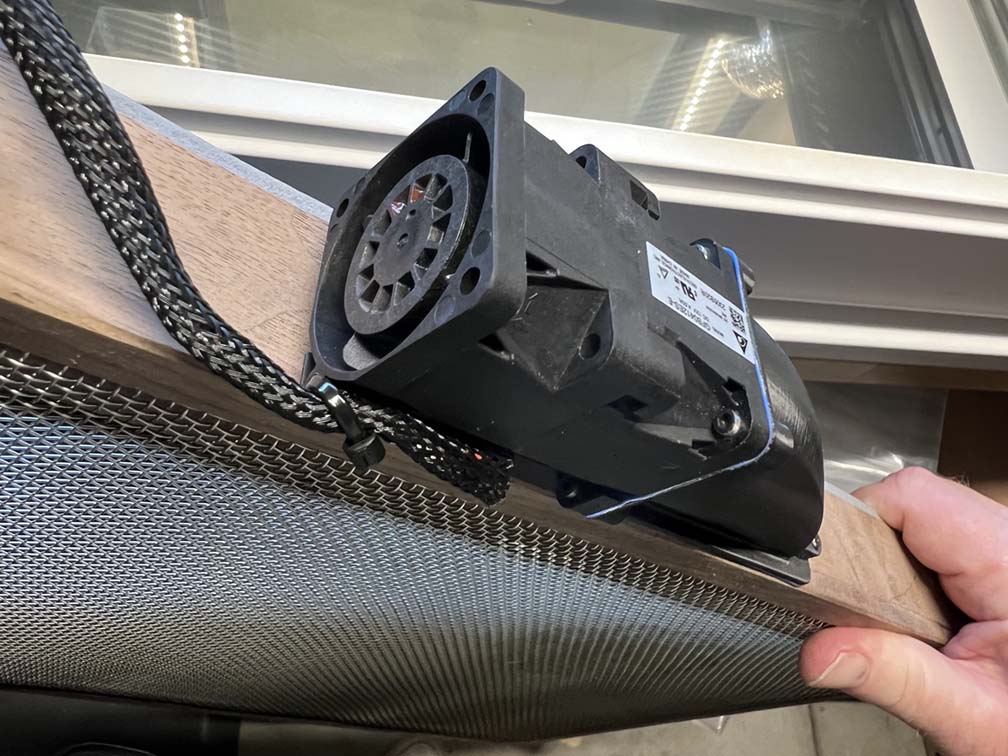
I built a cowling for the fan in CAD and 3D printed the part. It worked well, but beware that this fan doesn’t have enough head clearance for the bolts behind it’s mounting flange for some reason. I melted threaded inserts into the cowling for mounting to the fan and frame.
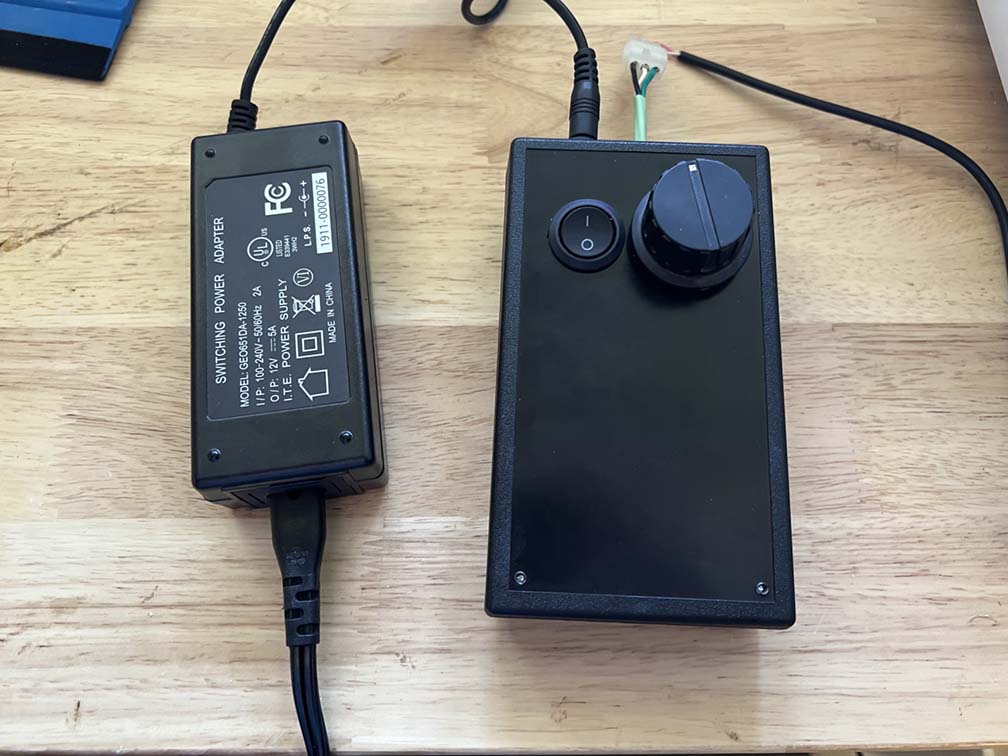
This fan has a PWM speed control capability built in, and so I used an Arduino UNO (the UNO can run on 12vdc) to create a signal that would regulate the speed of the fan. I used a pot (the knob) to control the desired PWM. I was able to pass the cable from the motor through the front pass through slot of the Glowforge by loosening the two thumb screws, removing the cover plate, and then re-installing the plate loosely on one side. Having the fan control outside the Glowforge was convenient, and I could adjust the fan speed during a cut as needed.
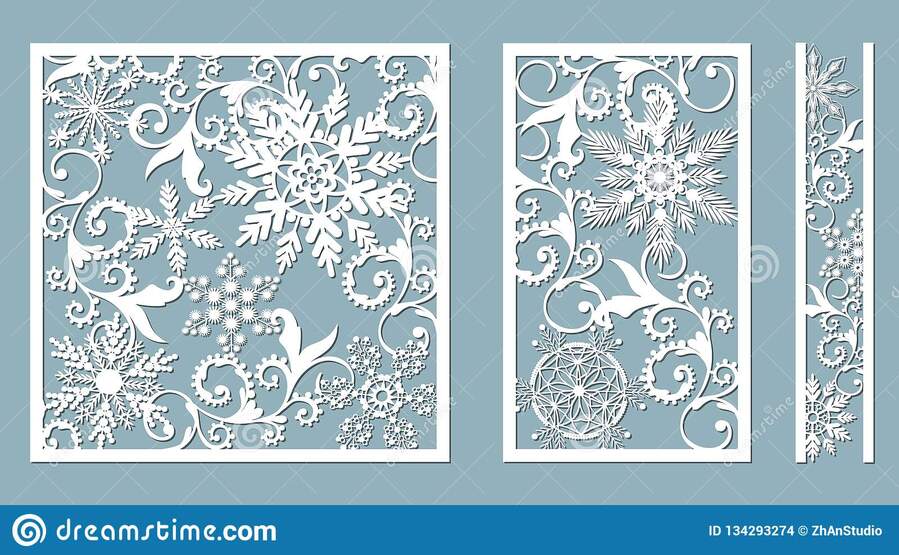
Initial testing created lots of vacuum, and beautifully detailed cuts on vellum. All cut-outs stayed in place without blowing around. it worked well, even at lower fan speeds, so such a powerful fan might not be needed.
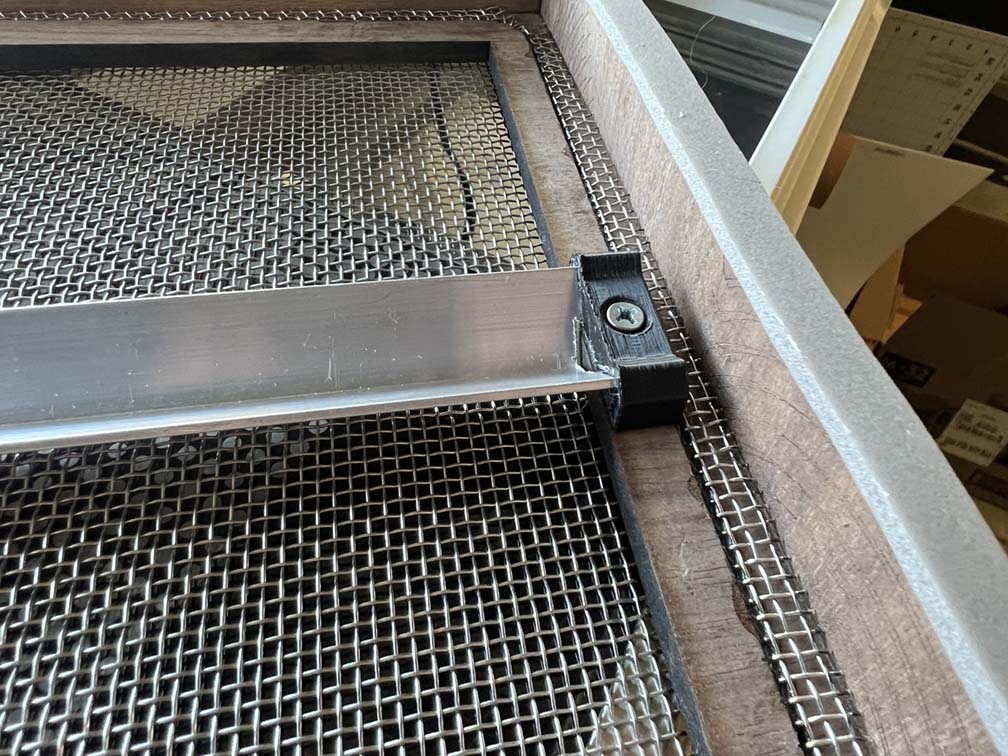
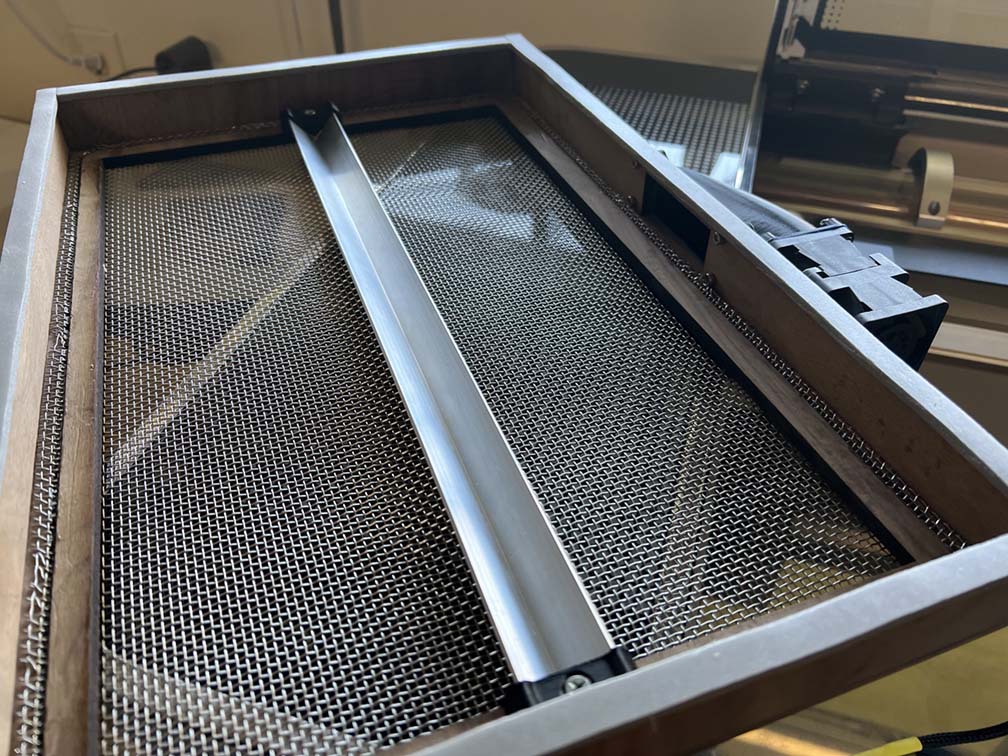
At full speed, I started to see the screen bend inward (with paper covering it) and then start oscillating up and down! I ended up adding a piece of angle aluminum under the screen to support it and stop the oscillations. Only the very edge of the angle touched the screen so I still had good vacuum everywhere. Any laser beam reflections were directed to the sides from the aluminum.
That’s about it. You can see more in the pix. I am happy to go into more detail if folks have questions.
Cheers,
Matt