Vacuum tray replacement for cutting lightweight materials

The chase:

So I made a fullsize tray replacement vacuum table. The idea is that it allows me to cut very lightweight materials without worrying about flyaways.

A quick disclaimer: It’s possible that this is a fire risk, airflow and contained spaces and all. I feel as though it isn’t, but I’m just a dude with a laser who thinks he’s got decent risk assessment skills. Use your noodle if you try something like this :slight_smile:

Say you wanted to cut some rolled trace paper:

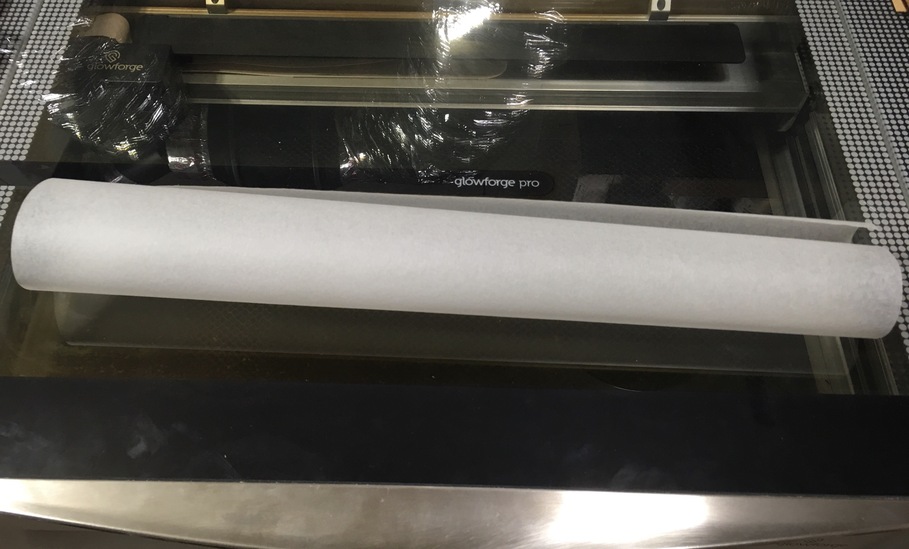
When you cut it you would worry about the air assist picking it up and ruining your job or perhaps starting a fire. The typical advice is “get a seklema mat”, but as an old Cricut guy, I learned to really dislike sticky mat cutting solutions, and really wanted a better solution.

Enter the vacuum table project. Like most of my bigger projects I’ve been thinking about doing this for literally years, and only now getting to it. Check it:

Tahdah, secured, and ready to cut.
The vacuum is provided courtesy a small fan (very similar to the air assist part):

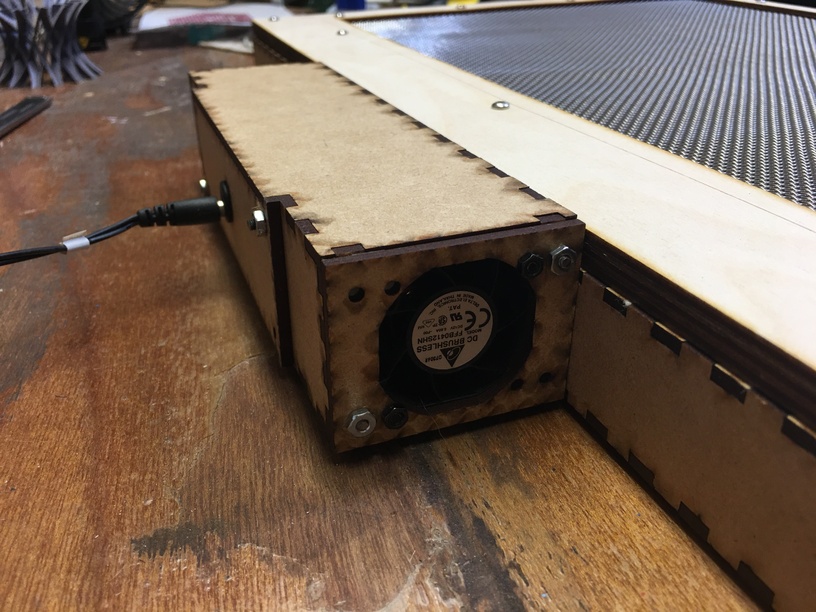
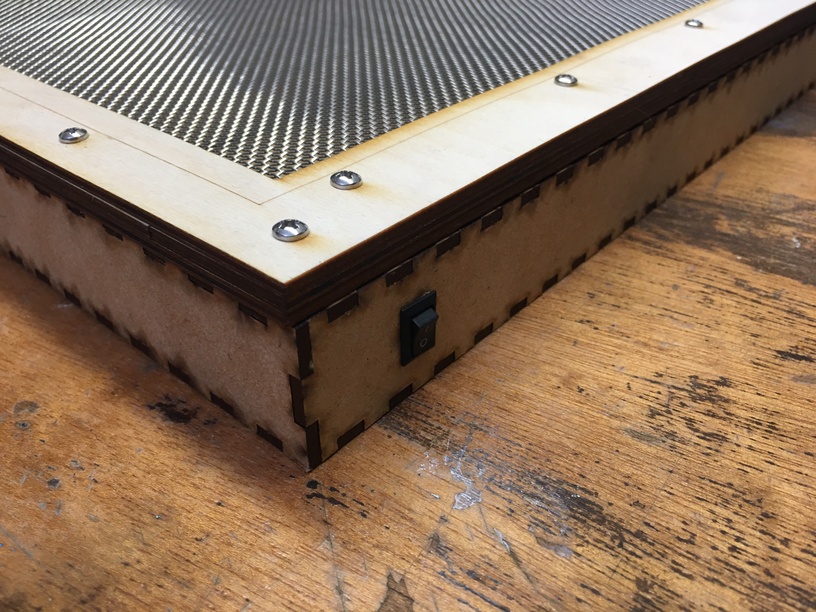
Power enters in the rear, so I ran wires up to the front corner switch to make powering on and off easier when the vacuum tray is in place. The screen is a 3 layer Baltic Birch ply construction with a heavy duty stainless steel mesh:

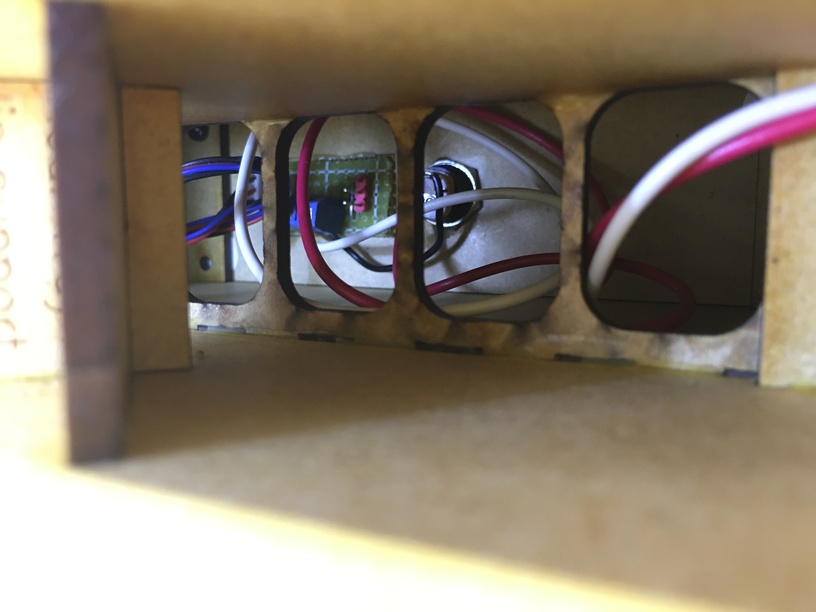
I didn’t take pictures before I assembled things, but I made a power distribution board inside the case so that I could add a second fan later. All I’d have to do is plug it right in to the extra red header on the board. Apologies for the terrible picture, but if you’re the sort of person who is thinking “huh I should do this”, chances are you know what you’re looking at.

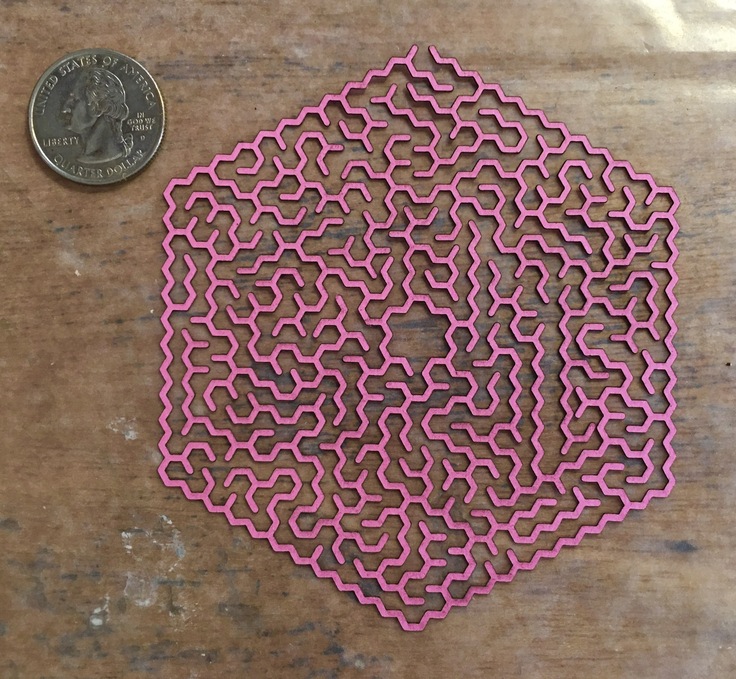
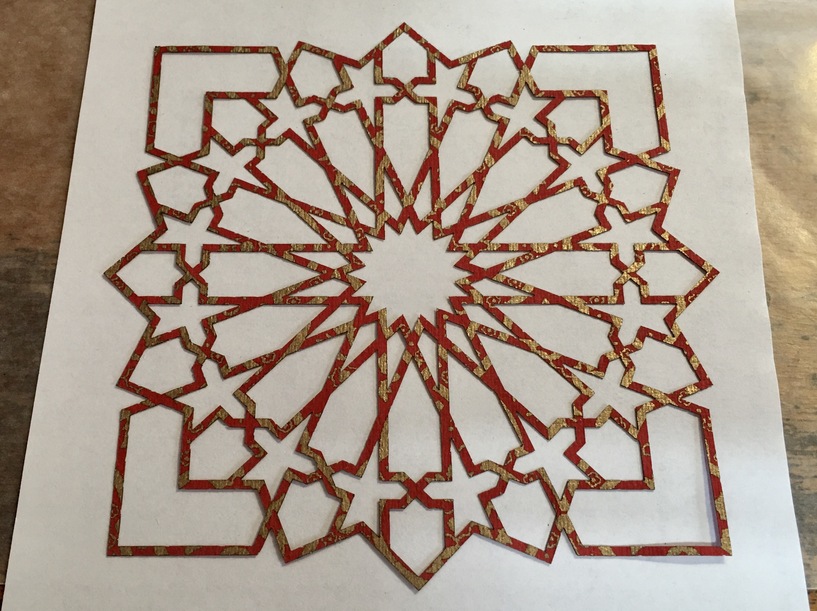
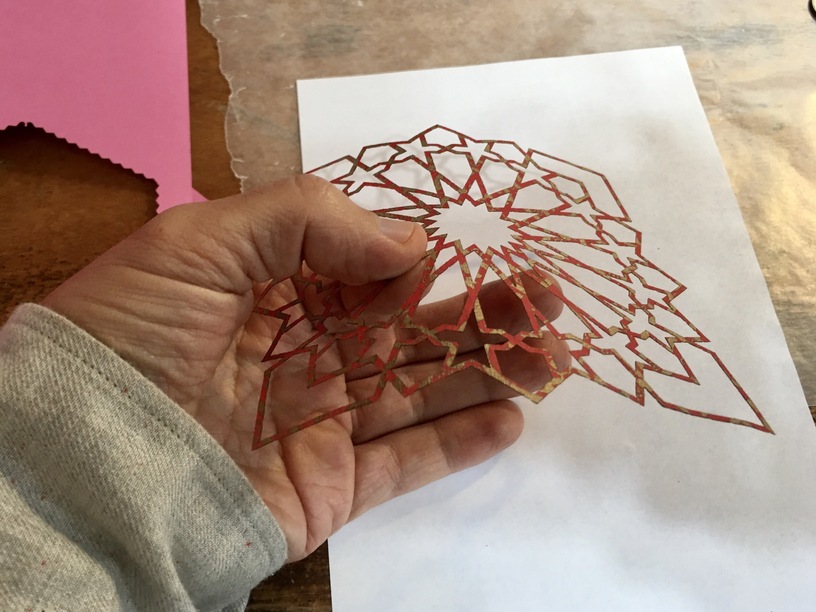
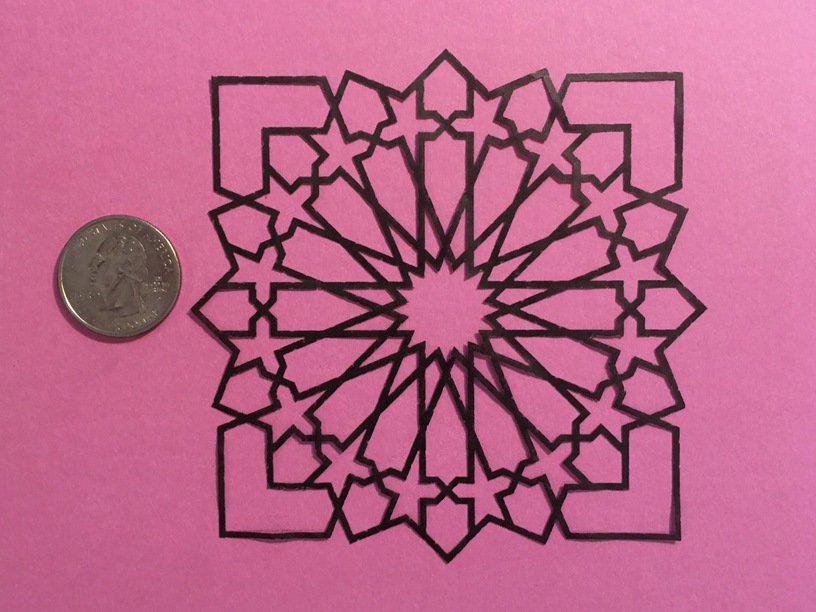
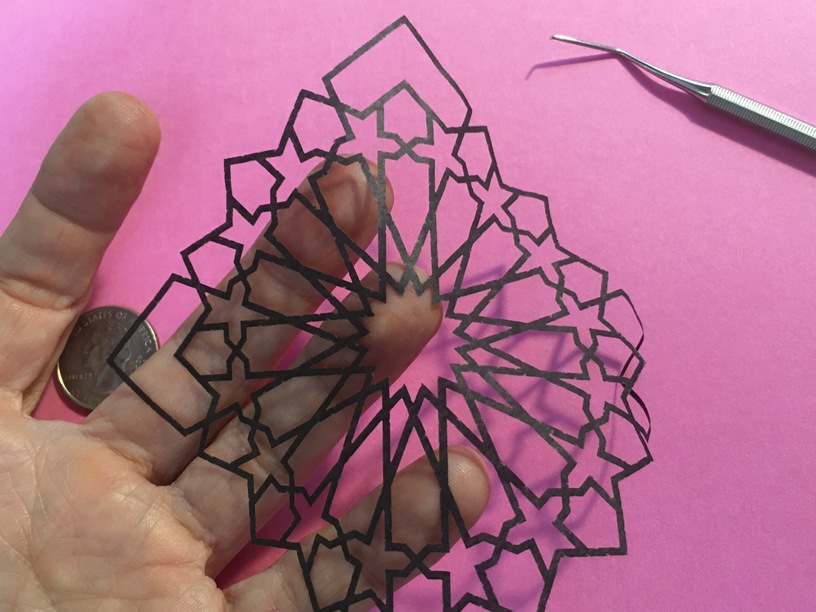
And finally, a few things I cut as part of testing:


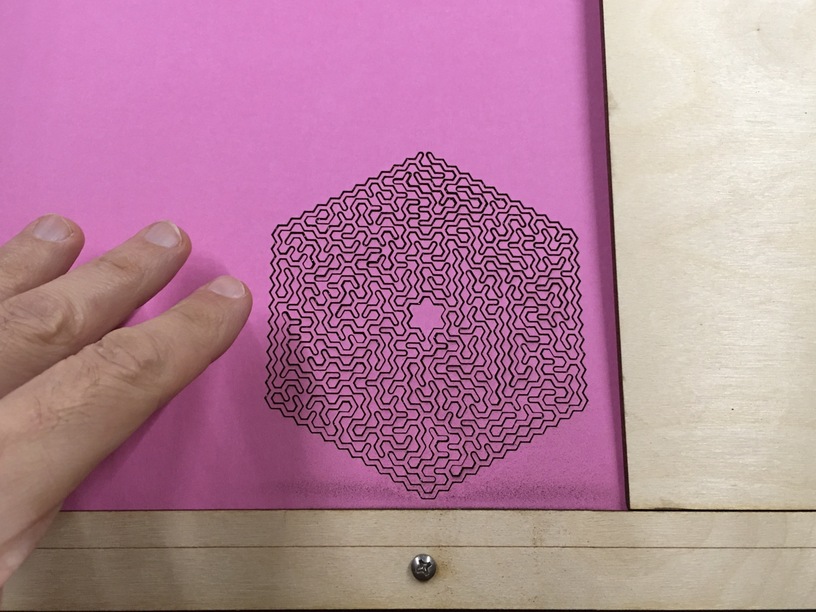
(Cardstock, maybe 80lb? Fairly heavy.)

(Washi paper, much lighter.)

(Tissue gift wrap paper. Flimsiest stuff… it cut flawlessly, zero flyaways.)

Anyway, I have a lot more to say about it but I won’t bore you here, I’ll reply to what people want to know instead.

133 Likes

That is absolutely amazing! and much cleaner than me taping down the edges on my materials. I don’t have a pro, so feeding the power cables through the machine would require cutting some holes I think. Wow. That is really cool though, I’d buy that…I hate pulling materials off sticky mats, they always roll up afterwards.

7 Likes

I’m trying to understand where the exhaust from the table goes…?

2 Likes

It’s a standard 12v power cable, which are pretty fine. I bet you could slip it in the gap and close the lid. Lemme go try it, I’ll see if I can close my front door with the cable jammed in there.

Yup. It’s tight, but it fit without any issue.

In the case of a cut like that Islamic pattern, you can’t really tape it down effectively. The inner cuts would fly all over the place, and you’re in Seklema mat territory. This has all the pluses of a Seklema without the glaring negatives (consumable, sticky)

10 Likes

To the left, currently :slight_smile:

The entire system is contained in the glowforge, so there’s no special ingress or exhaust of the table air, it just swirls around in the cabinet like anything else.

13 Likes

I’m still super impressed. I haven’t cut anything lighter than thick cardstock just because I don’t want flyaways. I made a sticky mat using draftboard and adhesive, but I hate using that too…mostly because I made it too sticky. And I tried to make it less sticky by putting my hands all over it and putting a towel on it. I still need a scraper to get things off of it, and I’ve only been using thin acrylic. It would destroy paper. This is probably the first GF mod that screams “I want that” to me.

16 Likes

I’ll take that as quite a compliment :slight_smile:
What I like about it is that it’s completely non-destructive, you just swap out the crumb tray for it and you’re in business.

19 Likes

Did you look into stealing power from one of the GF’s connections (piggy backing off the power feed to one of the fans perhaps)?

4 Likes

Ingenious. The Seklema mat is kind of clunky in comparison.

4 Likes

As a matter of fact I have the exhaust fan I removed available, with a tailored power connection.

Nice work Dave. Perfect solution for the paper crafters out there.

11 Likes

Not seriously. It’s 12v and not much power draw but I didn’t want to overload anything or fool with the power supply. Like I said this is completely nondestructive, which was one of my goals.

5 Likes

perfect. You’ll need to turn the “fan” back on. I don’t think the GF monitors that fan’s speed as people’s fans get pretty crapped before they realize it.

Even those folks with the fan still in place (but using an external fan) could do the same by using the same power connector.

4 Likes

I had removed the fan before the ability to control the fan appeared, so It’s been “on” ever since.

1 Like

Seems like there is a way to do something like this using the stock crumb tray. There’s that 3" wide plastic end-cap along the whole back edge. Can’t imagine there’s anything under the plastic that matters, I’d guess it’s just open space. That’d be a perfect place to install some fans. Would just need to seal up the front edge where the crumbs spill out…

10 Likes

i like the way you think. :+1:
All of a sudden I find myself in need of a 3D printer…

3 Likes

There is, but when I considered that I ran into a few problems.

One is that the honeycomb goes down pretty far, which could impinge airflow.

Another is that the supports that run through the comb block vertical rows of the holes.

Lastly the holes in the comb are larger than I wanted, the mesh is much finer than that (about 1mm square). Better support for really fine cuts.

In the end this felt like the right move.

12 Likes

I’ve never looked at the crumb tray very closely. Will have to check it out…

All of a sudden I find myself in need of a 3D printer…

You don’t have one already? I’ve got 3. Plus a 4 axis milling machine and a 3-axis gantry-style router. I run in to stuff all the time that one machine can’t really make. You gotta have options. :slight_smile:

9 Likes

Oh wow - there are a number of things I’ve walked away from doing because my choices were either engraving (time) or dealing with fly aways (risk) so I went with neither.

So the switch is on the front and visible before you shut the :glowforge: front door - and the power comes in the back…where? You comment somewhere about removing your fan - but isn’t there still an exhaust hose covering that opening? I also see your comment about the cable being able to go under the lid - I’m just curious what your solution is.

I’m also thinking that tiny fan could easily be run off a battery - and there’s plenty of space in the back where the laser can’t reach for one of those.

4 Likes

This is another moment when I smack myself on the forehead - this is such an obvious and brilliant add-on. Well done for being the first one to do this - I bet there are going to be lots of versions of this made now. It’s kind of like being the Jimi Hendrix of bright ideas.

I bought my GF mostly for cutting card and paper and found quickly that it didn’t do the job I wanted in a way I wanted, now seeing this I might change my mind entirely!

5 Likes

You can see it here:

And the interior view here, the round black bit in the middle right:

I have a pro so I snake the power in from the rear, it’d be a simple thing to slip it in the front and close the door, but you need a fairly thin power cable for that.

Not I, my fan is still in place. No modifications have been made to my GF.

12v @ about 0,6A per fan, it’s definitely possible via battery. I considered it, getting something like:

Amazon.com

But I ultimately passed on it for a few reasons, like I’d want something with replaceable 18650 cells and the fact that I already had the 12v power cable on hand. Can’t beat free!

9 Likes