Does he have the snapmark facility on his pro ?
He does. 
1 Like
Blurry video but it will tell you all you need to know. Its all about scaling
")
3 Likes
Ahhh, brings back memories of obsessing over pencil sharpening and line widths and drawing perfection and professors who graded with the aid of a magnifying glass…the joys of pre-CAD drafting!!!
6 Likes
Off to do the chores, then down to creating some outlines.

2 Likes
You might get a kick out of this. Its an old piece of kit from my industry. Used for calculating mass flow and volumes. This is my dads one he gave me.

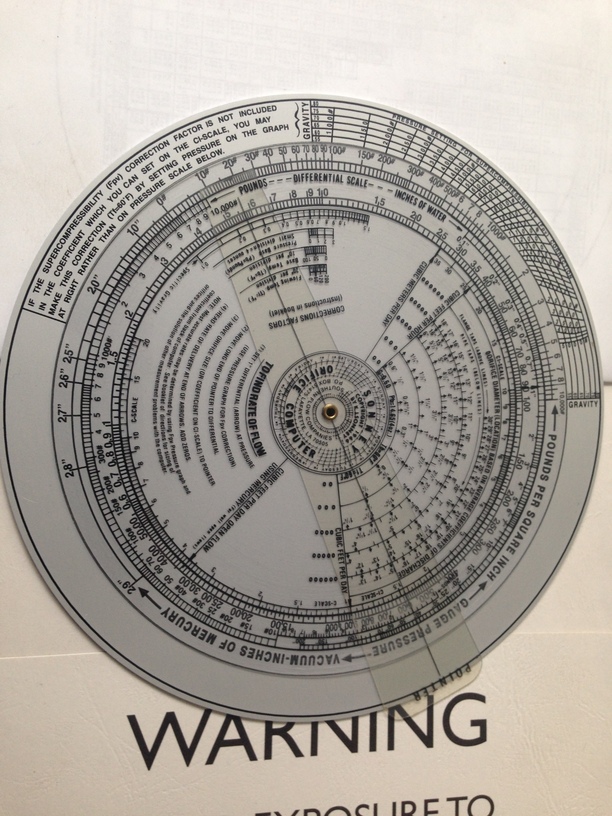
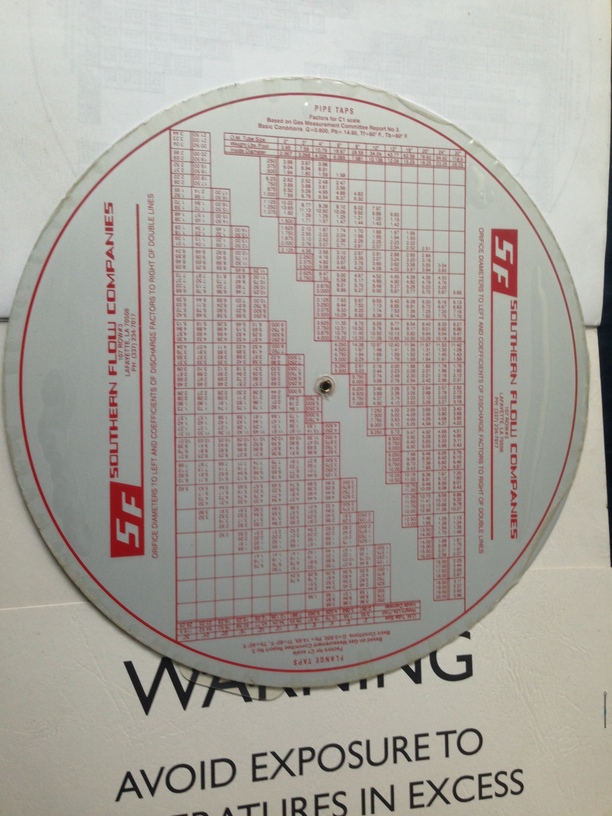
7 Likes
Cool. Reminds me of Smith charts!
2 Likes
(frantically googles smith charts) Those are really cool i had no idea they existed thx
2 Likes
Similar to old flight computers, used in soaring to calculate airspeed and distances given current altitude, wind, etc.
5 Likes
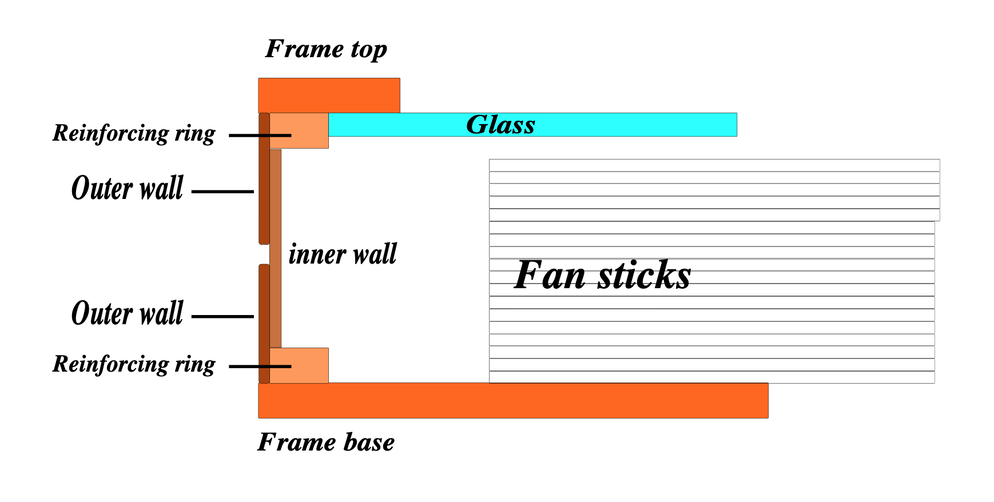
I’ve drawn up a cross section of the frame, hopefully showing the basic construction.
All the flat sections I make from 3mm hardboard, and the wall from 1.5mm microply.
FrameSection|20x12
1 Like
The outlines, from which I make the cutting choices, are all made from the original fan outline, by repeating the following path.
I start by making the inner line of the frame reinforcing rings 25mm out from the fan.
Select outline of fan/duplicate/change stroke to 50mm/stroke to path/break apart/delete the inner path.
Remove fill/stroke to 0.5mm.
For this thread I’m using a 0.5mm stroke so that I can see it in the ‘Normal’ view in Inkscape, though I generally work in 0.1px in ‘Outline’ view.
I would then create each of the required lines using the same technique, altering the stroke width to suit each jump in size.
The exception is in creating the innermost edge of the frame top, as I favour curved inner corners. This gives more strength at the corner joints, more cover for the glass (more anon), and I think a softer look to the frame, in keeping with the object in the frame.
FrameSection.zip (18.3 KB)
2 Likes
Thanks, I obviously haven’t yet got the hang of this. It says I can upload svg, which they are, but when I upload it just shows a link.
Should there be an exclamation point before and after the link in the preview window?
John
Argh, hang on…
Okay…this code:
Makes this image:

Except I added a couple of zeroes to the first two numbers to keep it from being microscopic.
3 Likes
I just finished MY chores, so I’m cutting the (first) SVG in half so I can cut it out on my basic and check the fit.
There are 4 more lines outside the black one above. Do you see them ?
I’ve just searched, and found people having problems in December. I wonder if I’ve got something similar ?
I see them.

I hope that pairing the two images I’ve loaded starts to make some sense of my method.
John
Fan1.zip (8.1 KB)
Perhaps this works ?
It works in Inkscape at my end.
Could peeps check out their software, please ?
I think I’m following you. (The zipped image works for me, too.)