I had a friend who wanted to do a special engraving on his wife’s AR. Before anyone gets bent, he has his gunsmith license, and he pushed the button for the final engrave. The engrave came out good, although the quality of the image left something to be desired.
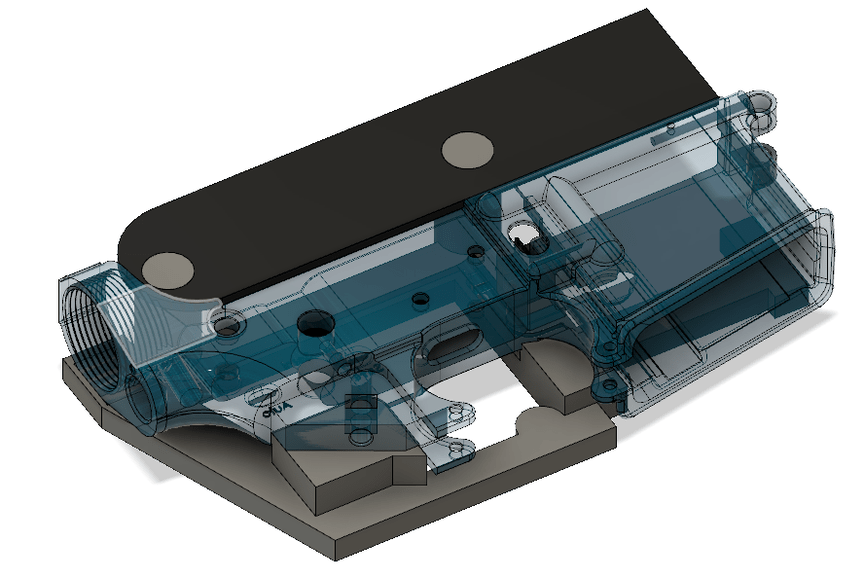
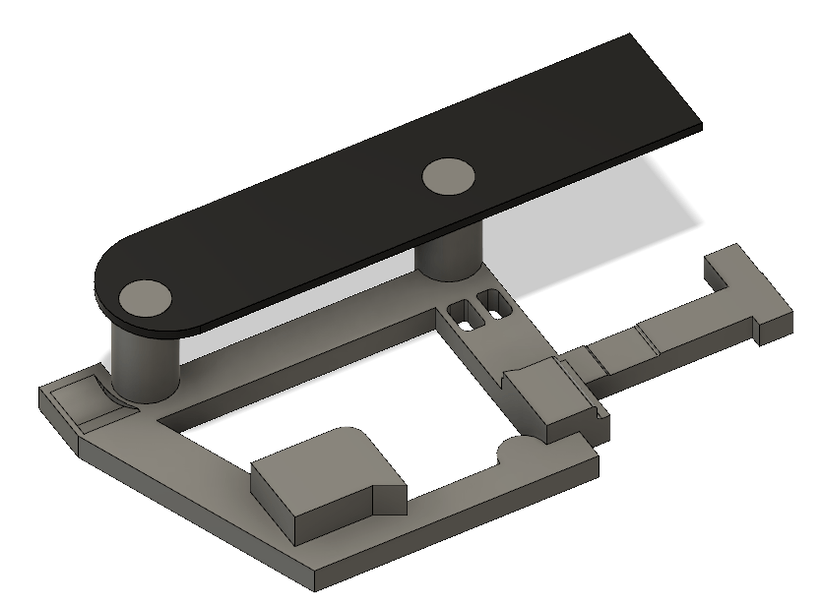
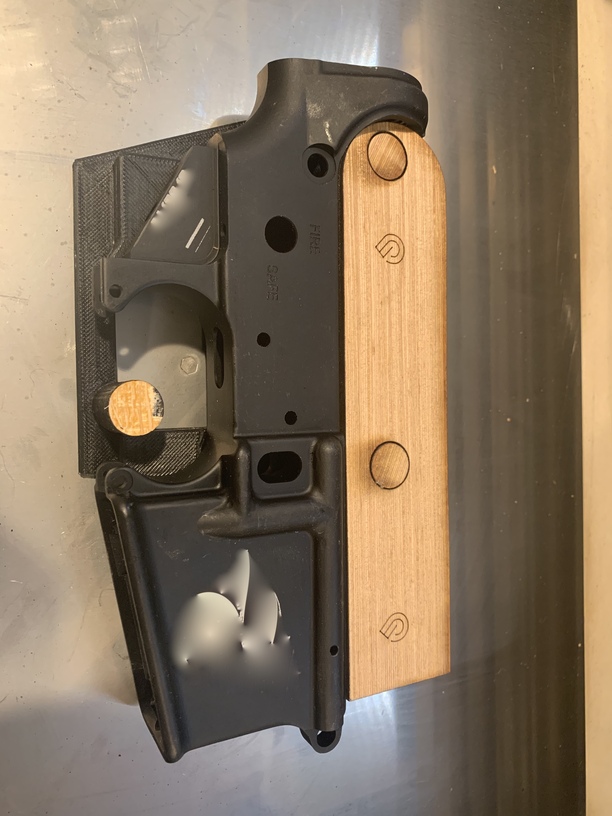
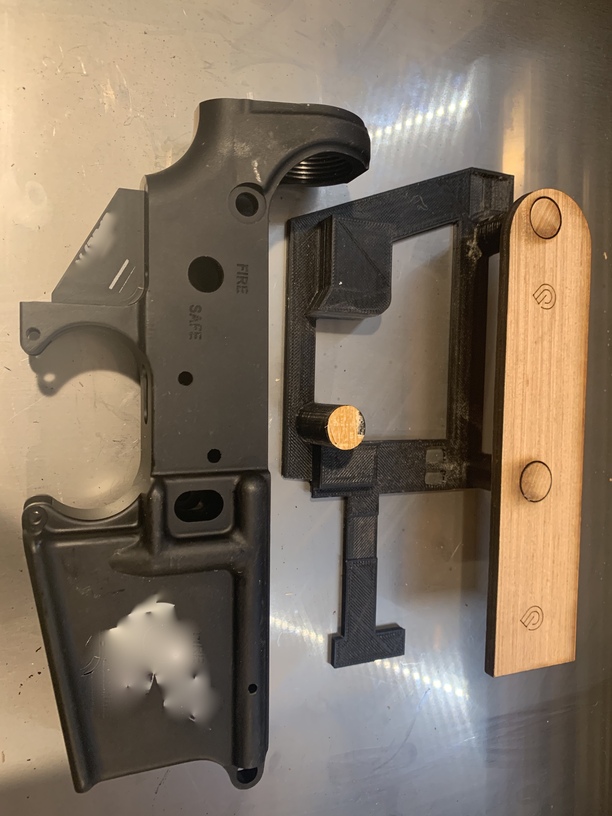
I made a Snapmark jig to do the engrave. The snap marks are at the same height as the area being engraved. It works very well, we did a lot of sample engraves, and a few final engraves as there was an area of the engraving that was difficult to get down to bare metal. We wound up doing 2 lowers, he messed up his Anniversary date. Yup he looked at it 20 times and we did 5 test engraves before moving to the final one.
That jig is fantastic. You could probably sell those. Even people with lasers that don’t use Snapmarks can use a way to pin that specific work piece into place.
(I am un-bent, even if he had no licenses I don’t see why it would not be legal to handle your spouse’s firearm and remove some anodizing. If that kind of customization done in the home requires paperwork, I would be really surprised.)
I had not thought to do 3D printed fixturing for a laser cutter. Certainly for a CNC milling machine, but that’s a cool idea. Now what would be great for mass production is either snapmarks or some mechanical registration into the bed area so it’s always at a fixed position so you can do repeated mass production.
It doesn’t. He wasn’t making any modifications that effected the functionality of the weapon, or size. It would be the same as engraving the wooden stock of a shotgun. You can by weapon parts and construct your own gun without a lic. Great job!!!
If only we had a 0,0 home to go to.
I glued my tray in with a couple of spots of hot melt glue, I can still remove the tray, but it holds it more true, as my tray has some slop in the fit.
Yah, There are snap marks on the jig. They work like magic!
They are at the same height as the area being engraved.
I wish there was a clearer way to see what focus reference is being used, either the height in the saved setting, or the one from the head focus. It would be nice if there was feedback to let you know if the measured distance is different than the measured height, then give you the option to use one or the other if there is a difference.