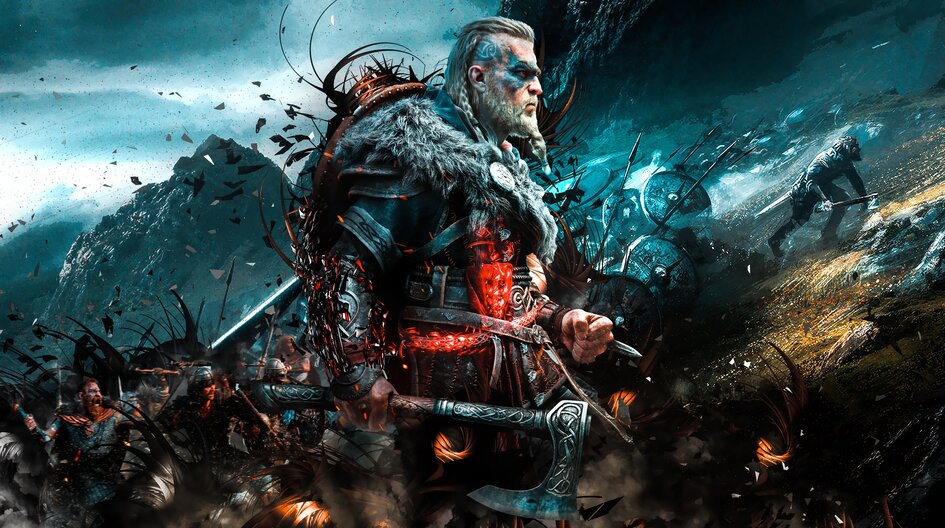
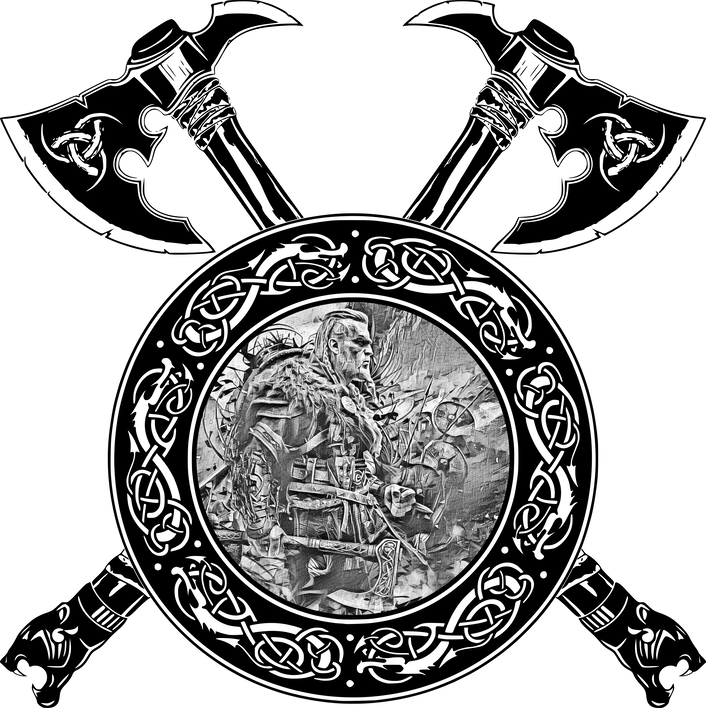
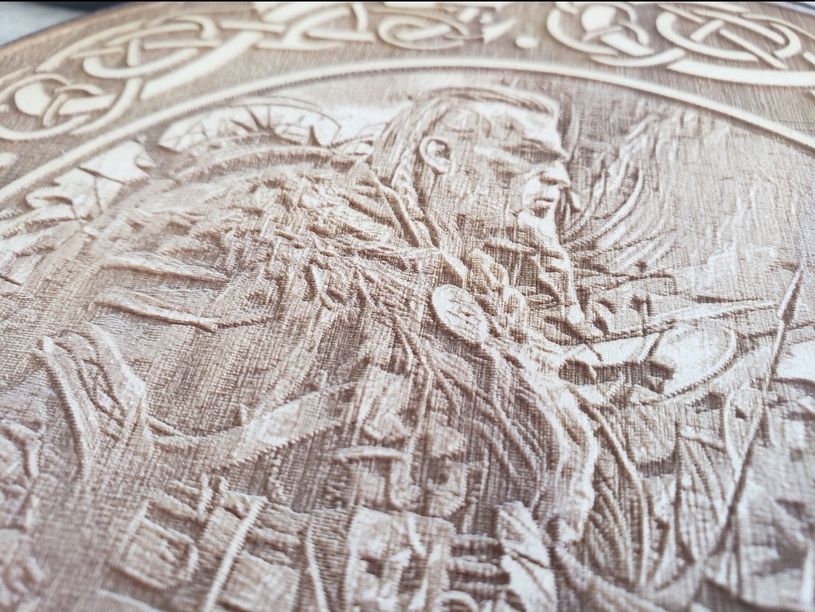
To celebrate the announcement of AC: Valhalla, I binged on the TV show Vikings over the weekend and put this design together for some of my nerdy friends. This was my first time using the bezier tool in inkscape and I wish that I had cut out the mouths on the axe handles as well, but it turned out decent on the first prints.
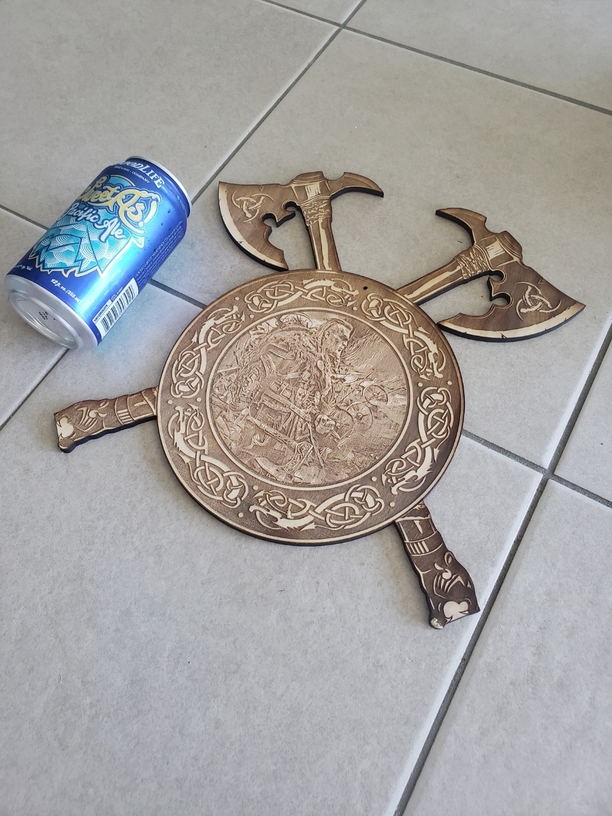
Lasa’d on 1/4" home depot baltic birch @ 1000/100/175lines.
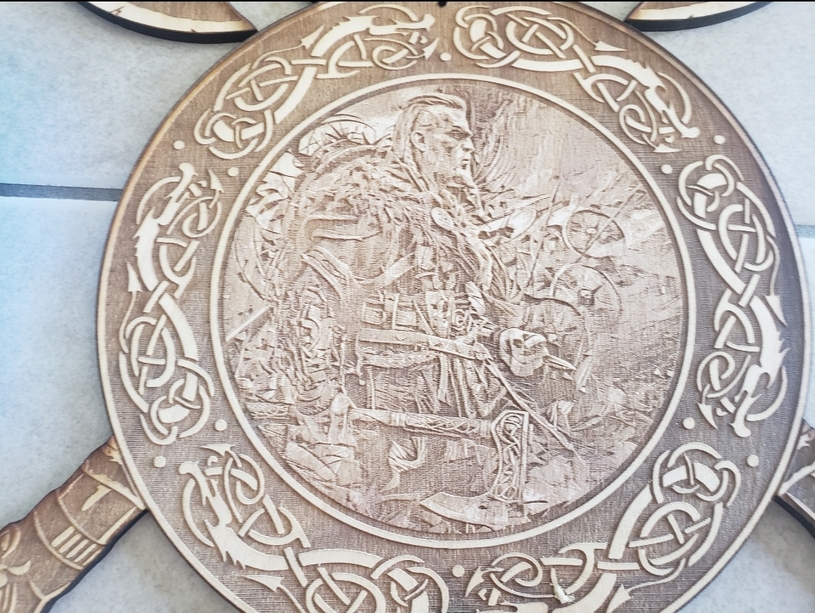
edit: @eflyguy posted an updated version below with the mouths of the axe handles cut out. Thanks Eflyguy!
It only took me about 45 minutes to put it together, and most of that was learning how to use the bezier tool. The shield and axes were just vector images that I found online and then combined together, and the image was released by Ubi and I converted it with Lunapic.
The engraving itself took about 70 minutes with the settings that I used if I remember correctly.
The faster way is to use a fill tool to fill the surrounding whitespace with a different color, perhaps red, then create your cut line by doing a bitmap trace of that shape.
No, I didn’t do that here - it only took 2 minutes to modify the existing path by manipulating nodes…
I watched some youtube videos on the making a cutout with the fill tool, but couldn’t figure out how to make it work. After a couple tries, I just started tracing with the bezier tool.
This is truly an epic piece. I am new to the whole svg, editing scene. I do have a question, if that is the svg file in the link, how do I get it cut and engrave? What I am saying is I noticed there is a blue highlighted line around the image, I assume that is to cut it out, but what about the engraving part? Sorry for sounding stupid here.
Download the modified svg from @eflyguy that was posted a few down from the original and upload it to your account. There’s only two layers in there, and you only have the option to engrave the graphic itself. The other one is the cut line.
If you’re getting a “no artwork” message, move it away from the edges of the print area where the grey shading is.