Whole cake…is it your birthday? Happy-happy! 
4 Likes
Yeah, turned 41.  The next half of my life is starting and in it will be a Glowforge so soon now heh. Thanks
5 Likes
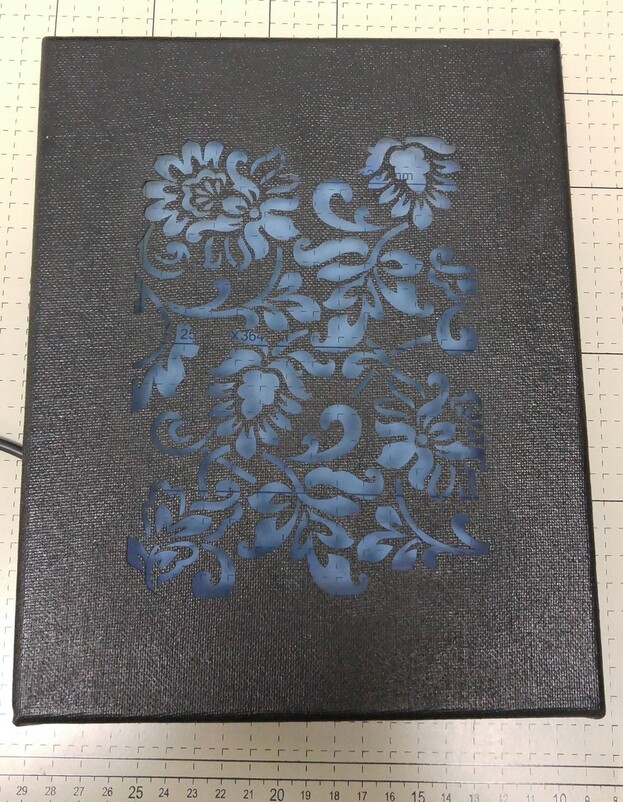
Can you take a shot from the front with the light off to see what it looks like?
The 8 AA battery pack is a solution but a bulky one. You can run 12v strips from 2 AA batteries and a boost converter. Take the output of a 2 AA holder (or even 3 AA batteries for longer run time) and connect to the input of the boost converter. Adjust the boost converter output to 12v. Connect a 12v strip of LEDs and test the 12v output to make sure the load doesn’t cause it to drop.
If you don’t have a multimeter to test for a 12v output attach the LEDs and adjust the boost converter until they reach the required intensity, I have found that most converters’ outputs have been factory set to a low level.
12 Likes
I have so many wall warts, but most of my LED strips and pixels are 5v. Finding color variations that are actually interesting and decent to look at is not easy.
4 Likes
Yes!
1 Like
I did some work for Digi-key saw spools of products like
http://www.digikey.com/product-detail/en/tt-electronics-optek-technology/OVQ12S30W7/365-1504-2-ND/1981531
around the warehouse on tour all the time.
Probably more costly than aliexpress or other import options but maybe they can handle your address needs
3 Likes
Ordered from Amazon today. A strip of 5v white and a roll of multicolor, addressable 12v. I know there are loads of how tos on this. I have four RaspberryPis that I can use to play around with the addressable strip. Will use the white 5v to do individual lamps and such. I like this Instructable to get a taste of what’s possible, but mostly for the forum because it has a neat laser cut acrylic sign to start.
20 Likes
That guitar seemed to have a (what could be) laser cut acrylic panel on the front with the LEDs around it as well.
2 Likes
derailing a bit here. but personal experience and internet browsing leaves me annoyed with all these great prototyping boards and samples but always wires splaying everywhere bare switches and connectors and boards. Seems like a case is always a difficult afterthought.
but I’m sure once we all have glowforges it will be much better!
6 Likes
I agree. It seems like the best examples of wiring and prototyping leave something to be desired on the finishing. The best finished projects are less than helpful in the how to and instruction. I ordered a few USB cords with solderless crimp junctions to see how they work, but I also can solder well enough.
3 Likes
Thanks for the link. Bookmarked it for the next time I manage to pry myself off of this forum.
3 Likes
Utterly lovely!
1 Like
Thanks for the tutorial! I am hoping the Glowforge will arrive in December so I can get started. I may have to create a prototype by hand … thinking of a combination of photo realistic images and etched acrylic or glass for the background.
7 Likes
This is beautiful! What settings did you use to cut it?
That’s amazing what settings did you use to cut the canvas?
1 Like
This is great; I have a bunch of small canvases I have bought to do something similar. Now I will do them sooner rather than later. Thanks for the inspiration.