Hey guys! For the past few days I have not been able to get my auto-alignment to kick in on my pass-through projects. I recalibrated the machine with success, turned the GF, my computer and router off and back on and have had no luck. I read a lot about this when this program was in beta. I seriously need this function as I do mostly big projects.
Any help is greatly appreciated!
Betty
The design is most relevant if the points between are close to vertical and only the Shift+Vertical buttons used to bring down the cut lower you can very nearly align without extra help. A vertical break will stand being a millimeter off in those cases without a working alignment.
2 Likes
I’m sorry that you ran into trouble and your Pro Passthrough print didn’t align correctly. I reviewed the data from the print, and it looks like the material may have moved too far.
Can you try again, and when you’re prompted to move the material, slide it toward the front of your printer so that there are at least 3 inches of the previous print still on the bed. You can lift the lid during this step.
Please let us know if this works to align your print successfully!
1 Like
I tried moving my material so it is half-way up the honeycomb. But it is still not kicking in and then it just times out or freeze’s up.
Thank you so much for performing those troubleshooting steps for us @bettyjeanfred .
Next, will you read the section titled “Things to Watch Out For” on our Pro Passthrough support page, and then run a test print?
Here are the steps for the test:
-
Load a sheet of material into the Pro Passthrough slot and ensure that the portion sticking out of the printer is supported so the material lies flat on the crumb tray inside the printer.
-
Double-check that the material is completely flat against the crumb tray. A quick way to do this is to press gently on the material where it rests on the tray and feel if it moves. If not, you’re good.
-
It can help to use pins to hold the material flat against the tray. For example, a lot of customers use small pieces of scrap to print these pins available in the free laser design section.
-
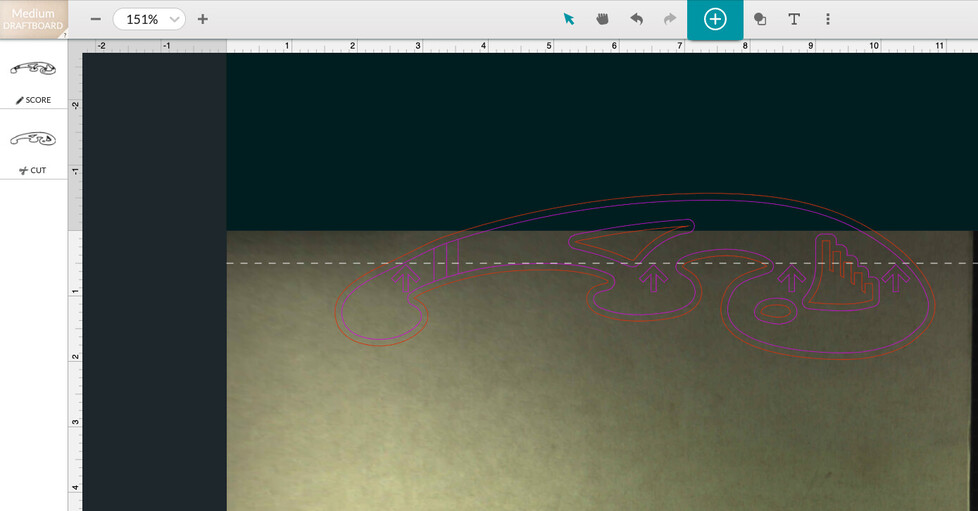
Open the Smooth Curves Stencil from your design library.
-
Turn on the Pro Passthrough feature in the menu bar.
-
Select the entire design, and arrange it so that the dotted line at the top of the work area is at the tips of the arrows in the design
-
Click Print and run the first section of the design.
-
After the first section completes, move your material through the Pro Passthrough slot so the printed area is more than 3 inches away from the front of the Glowforge.
-
Follow the prompts and run the 2nd portion of the test print.
After the test print completes, please send us the following:
- Photos of the front and back of the finished print.
- The date and time you ran the test along with your time zone.
- A photo of the bottom of your print head showing the lens and both windows.
It’s been a little while since we’ve seen any replies on this thread so I’m going to close it. If you still need help with this please either start a new thread or email support@glowforge.com.