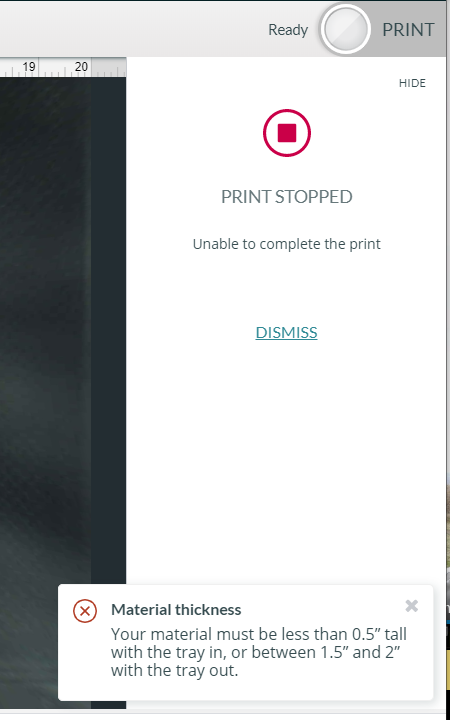
Trying to do any design on papa/card-stock fails with an error that the object must be less than 0.5". I have tried set focus and setting the material height with no change. Only placing the paper on another material to raise the height by about 0.1 to 0.2" works. Is there a way to bypass the auto focus ?
1 Like
Welcome to the forum! Not sure what to tell you as I’ve used card stock many, many times and it works just fine using set focus. A couple of thoughts…are you by any chance using dark colored paper? Because it’s on a dark crumb tray/background it can sometimes confuse the set focus function. Last thought is to use some calipers to determine the exact thickness of the paper and enter it manually.
2 Likes
Thanks for the reply. I have tried gray and white paper with no difference. If I place a small piece of other material (0.15" height) in with the paper and focus on that it will print but not great as it is focused at the wrong height. I see that there is another issue similar to this posted a few days ago as well where paper cutting is not working with the same error I get.
I can try that tomorrow.
I’m sorry you’ve run into trouble with auto-focus. I extracted the logs from around the time of your report to take a closer look. It looks like the red dot which your Glowforge uses to measure the material height might not be reflecting off the material as expected.
Does the paper and card stock you’re trying to print on have a textured or reflective surface?
Also, would you please clean the windows on the bottom of your print head with a Zeiss wipe? If you notice any residue which doesn’t come off with cleaning, please post a picture and we’ll review it and follow up with next steps.
I have tried multiple types of card stock: Black smooth, Gray w/ slight texture, White flat light weight and heavy weight. All the same results. I just cleaned the lens and there was no residue. I tried a medium weight white paper and I get the same error. After it tries to auto focus it says the material must be less than 0.5"… This unit is less than a week old and paper was one of the first items I tried to cut.
Thank you for letting me know what you found when you checked the bottom of your print head. As a next step, would you please run a test print for us on Proofgrade Medium Draftboard using default settings? Here are the steps for the test print:
-
Turn off your Glowforge.
-
Check for small pieces of debris or dust.
-
Check the lower door to make sure it closes all the way. It may require some force to open, but open it, wipe any dust off the edges, and close it all the way.
-
Remove the tray and clean any dust or debris from the surface underneath. Pay careful attention to remove all debris from the four dimples where the tray rests.
-
Check the lid to make sure it closes all the way. Small particles of material, such as dust or debris, can prevent it from closing completely.
-
Check the surface your Glowforge is on to make sure it’s flat. Ensure it is not twisted slightly and that there is no debris propping up one side of the machine.
-
Turn your Glowforge back on.
-
We included an extra piece of Proofgrade Draftboard with your materials shipment for troubleshooting. Place the Proofgrade Draftboard in the center of the bed and print the Gift of Good Measure using the default settings.
-
When the print finishes, leave the lid closed and wait until the fans stop and the picture updates. Without moving your artwork or your material, take a screenshot of the Workspace to show us the difference between the artwork placement and the actual print placement. Make sure to include the rulers in your screenshot and show as much of the bed as possible.
-
Mac: Press Shift-Command-4 and click and drag a box around your image. You’ll find the screenshot file saved on your desktop.
-
Windows: Click on the Start Menu and type “snipping tool”. Open the Snipping Tool > New then click and drag a box around your image. Click the Save icon and name and save your file.
Once the test is complete, please send us the screenshot along with the date and time of the print, and we’ll investigate by extracting the logs from the test.
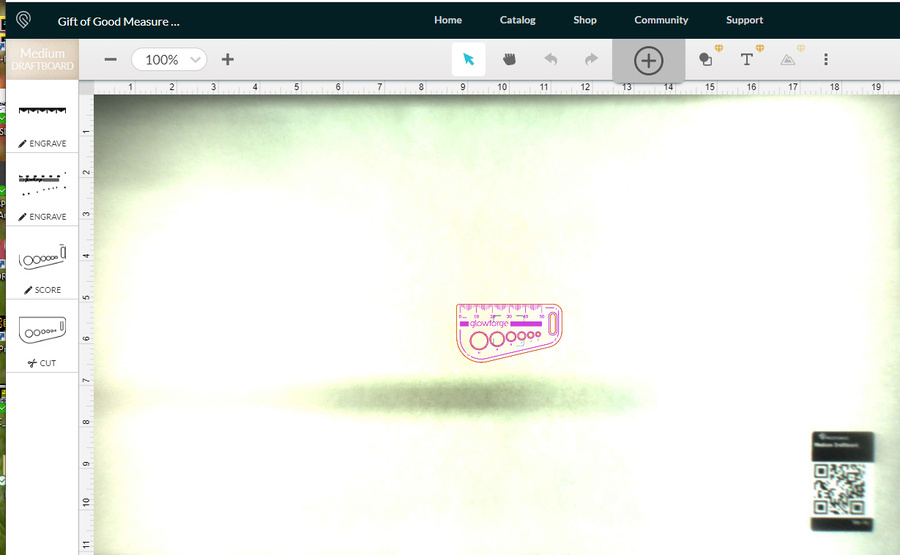
I followed the steps above, there was no debris in the unit. I also checked level with a level and all is good. I started the print at approximately 9:15 AM CST today. I will post the before and after shots below…
Before cutting started:
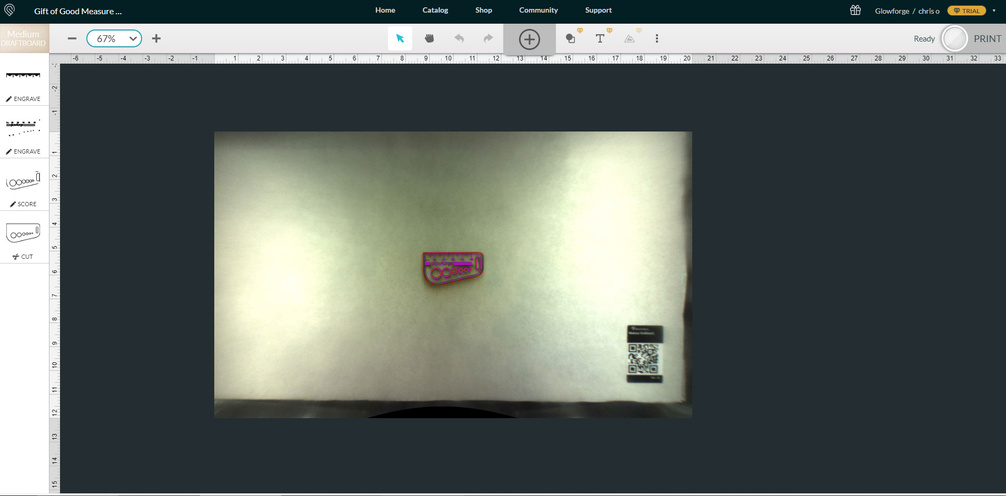
After Cutting:
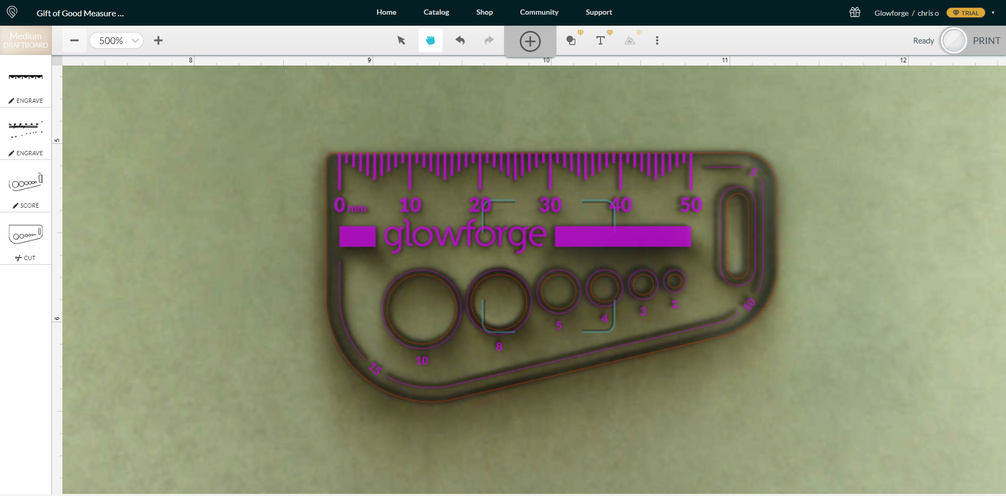
Zoomed in on cut:
Thank you for running the test print and sharing your results. I extracted the logs from the test, and it looks like your unit performed as expected. I’m going to look into this further with our team, and as soon as there’s updated information I’ll reply in this thread.
Will you please let us know if this work-around gets you unblocked from printing while we investigate?
- Leave a small piece of material in the bed, like a small piece of Proofgrade scrap
- Target that higher material with the Set Focus feature
- Note: will introduce an incorrect focus height for the laser
- This incorrect focus height may negatively affect the print results because the laser will be out of focus by the difference between the height of the scrap, and the actual material you’re printing on.
- You can override the incorrect focus height by using the focus height in manual settings
- You may need to run some tests various focus height to find the settings that work best for the material you’re using.
I hope this helps get you back up and printing using your thinner materials for now.
The work around dose appear to work with two caveats, 1) The proof grade material scrap needs to be at least 1.5" or larger on each dimension or the set focus will fail . 2) It is more reliable if closer to the center of the bed. If off in a front corner it fails most times. So this will likely allow me to continue for now with thinner materials.
Thank you for sharing what you found when trying the work around. After further review of your test print, we’ve concluded that your unit was working as expected when printing on Proofgrade materials.
Since this problem is being seen on materials that were purchased from another company, we can’t offer support for prints that don’t come out as expected. Materials may vary widely from piece to piece, even if they’re created by the same manufacturer. I suggest posting for advice in the Beyond the Manual section of our community. Note that advice in this section is unsupported and is not reviewed by Glowforge.
Should this happen with a print on Proofgrade materials, please let us know and we’ll help you right away!