Has any one had issue with a solid hatch in Autocad becoming two cut passes rather than one. I have had no issue with scoring or cutting layers just the engrave.
Have you checked the file in Inkscape or Illustrator to see if the fill is repeated? The other possibility is that you chose a material (like thick acrylic) for deep 3D engrave (which calls for 2 passes) then switched it to maple plywood. But that seems unlikely.
I’m so sorry to hear that you hit a snag with your design. Could you please post the file you are having trouble with? Or if you prefer, you can email it to us at support@glowforge.com
Here is the file I am having trouble with but it seems to do it to any file I send out with an engraving layer. I am using a solid hatch in auto cad to to create the area to engrave.
Candel Holder Ring Type Manger.pdf (49 KB)
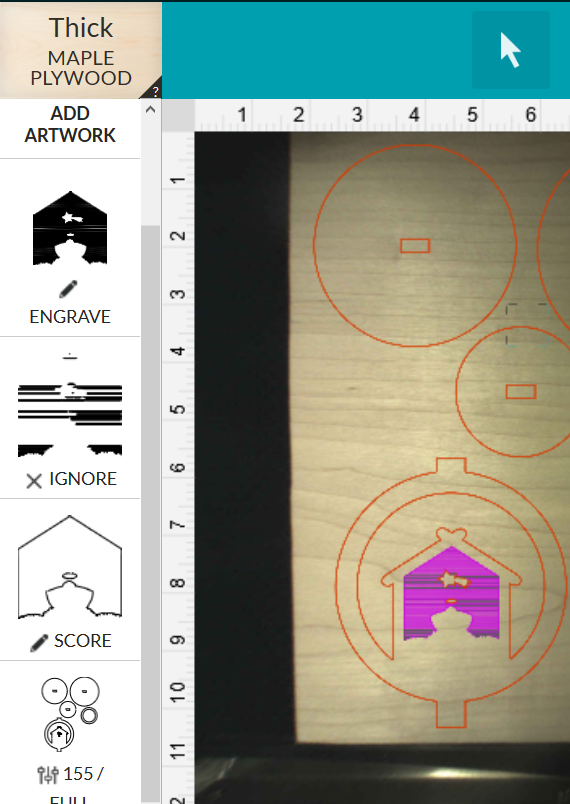
That file contains dozens (perhaps hundreds) of overlapping solid areas of different shapes.
The GF is just following the “instructions” in the file.
@eflyguy, thank you for taking a detailed look at the file!
@jasonacaveny, something you could try with your design would be to open it in either Inkscape or Illustrator and try to remove all of the overlapping fill areas. If that isn’t possible, or is too time consuming, you could also try to convert everything you want to engrave into a bitmap.
In Inkscape you can convert objects into a bitmap by following these steps:
-
Open the file in Inkscape.
-
Go to Edit > Preferences > Bitmaps.
-
Under Create, change the Resolution for Create Bitmap Copy to the resolution of your choice
-
Close the Preferences window.
-
Select your image.
-
Choose Edit > Make a Bitmap Copy.
-
Inkscape will make a bitmap copy on top of the original artwork.
-
Click the top artwork to select it, drag it off of the original artwork, and delete the original artwork. You’ll be left with the bitmap copy.
-
Select File > Save As and save the file as a Plain SVG file.
-
Upload your file to the app and print.
Here are steps for doing the same in Adobe Illustrator:
-
Open the file in Illustrator.
-
Select your image.
-
Go to Object > Rasterize.
-
Select File > Save as and save the file as an SVG.
-
In the SVG Options dialog, under Options, select Embed for Image Location.
-
Upload your file to the app and print.
I hope this helps!
It’s been a little while since I’ve seen any replies on this thread so I’m going to close it. If you still need help with this please either start a new thread or email support@glowforge.com.