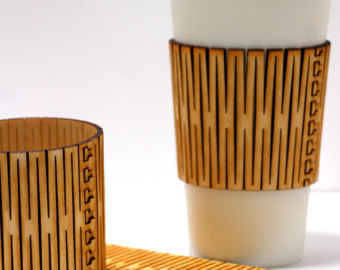
I like to drink hot tea in a glass but I don’t have one of those cool Russian tea cup holders.
So I made a caddy to fit around the hot glass.
I’ve been tinkering around with the most efficient way to design in Inkscape. I know it would help to move to some 3D program, but I can do it fairly quickly now.
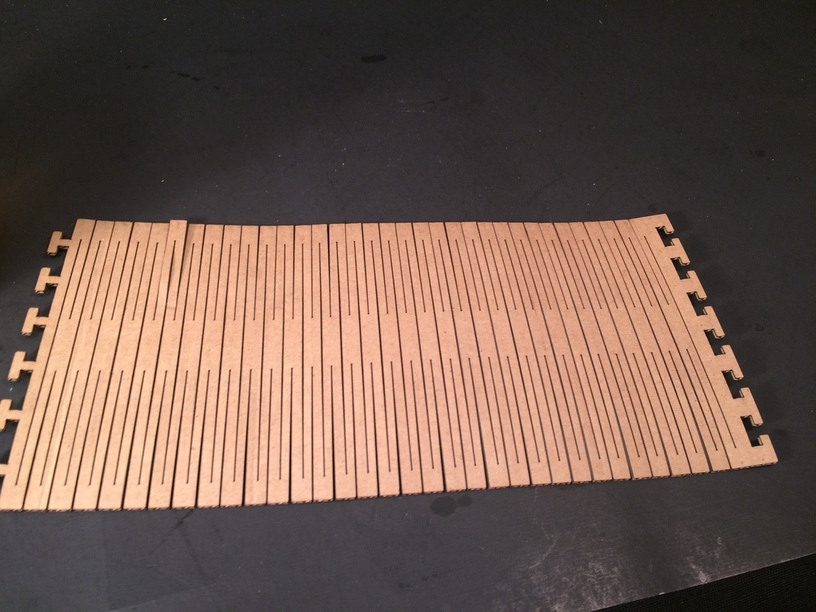
This particular issue was to see how to make slots efficiently in a shape so that the pieces go together with friction fit. Tab box makers figure this all out for you, but if you want to do it manually, you have have to make an allowance for kerf or glue, or make the design so that it holds itself together. With the ProofGrade maple that I have at .130" in thickness, I have found that if I just make a box of that thickness, I can do a boolean operation, a union or difference, to get the slot I needed.
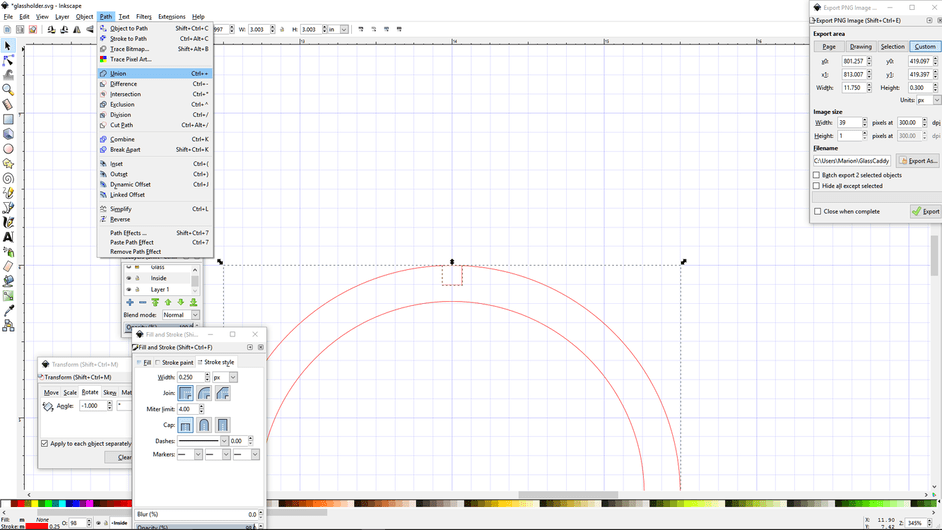
Then this gets the slot I need that is just wide enough for a good friction fit for this application. In the end, I didn’t take into account kerf at all.
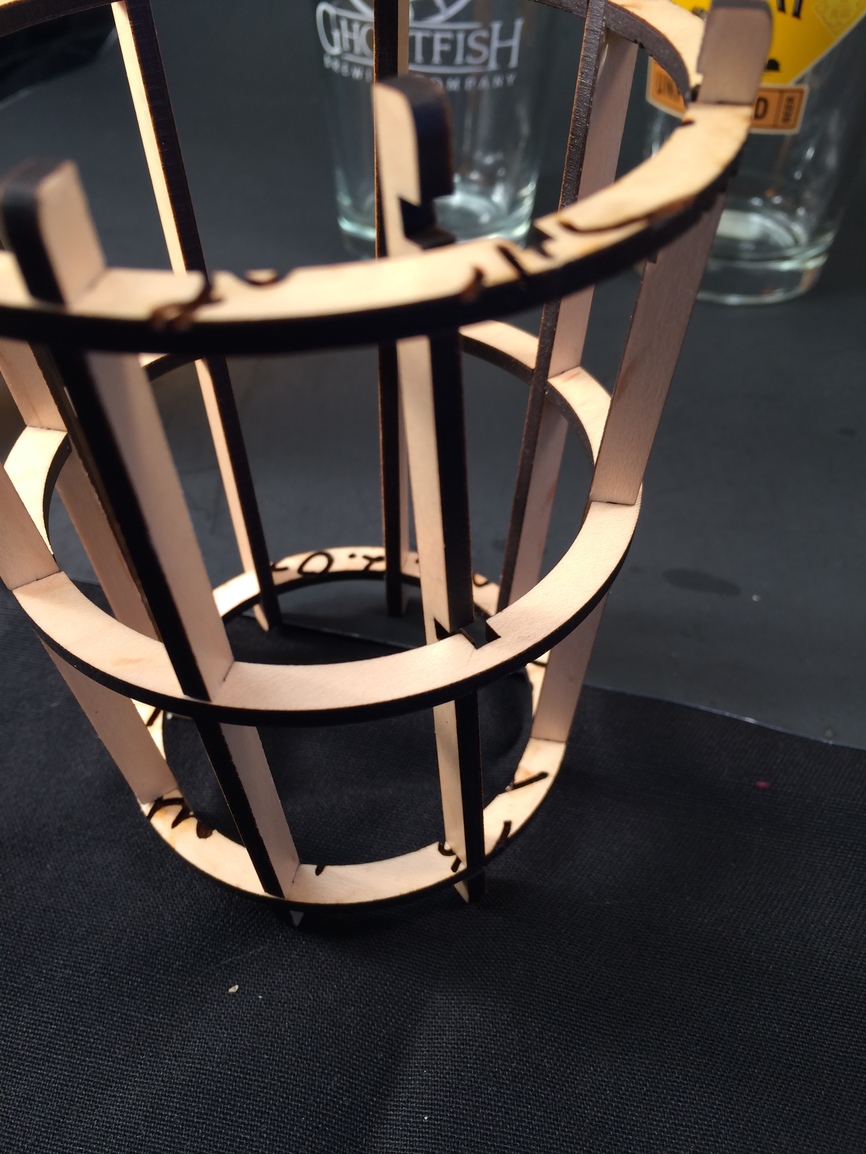
The first iteration had the slots on the outside of the rings. After I got that done and noted that it held together fairly well, but still might come apart if knocked hard. Then it dawned on me that I could just put the slots on the inside of the ring. I only had to mirror the upright slat and then change the chamfer to the other side.
This was a good opportunity to use bits and pieces of ProofGrade I had lying around from other projects.
PNG for inspection:
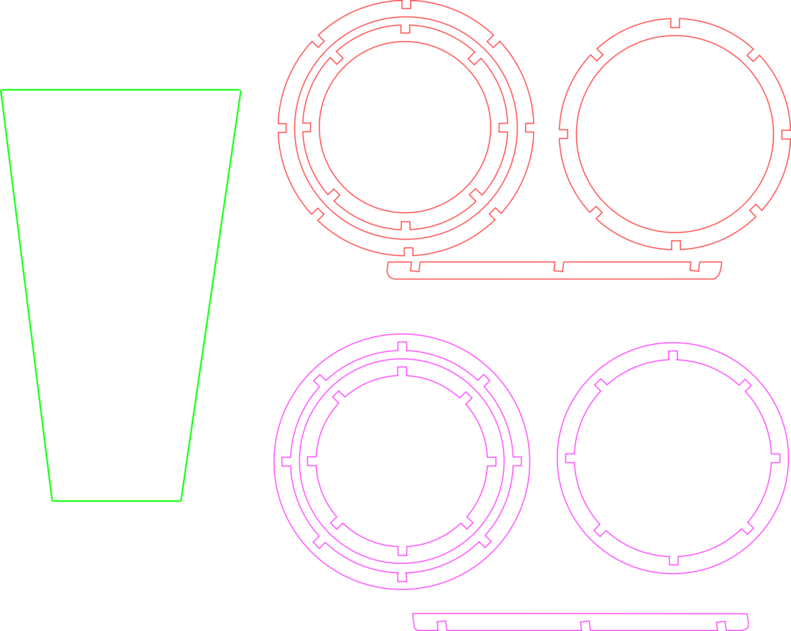
SVG for your own use.

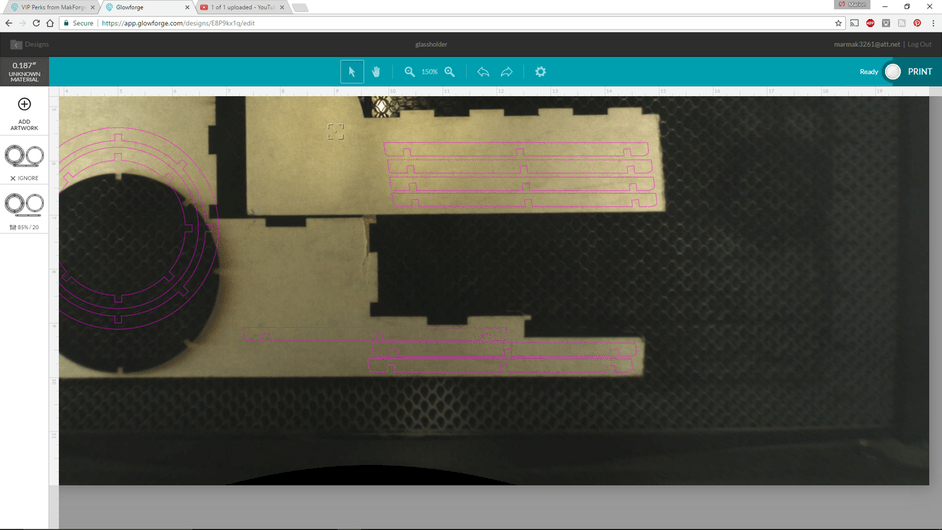
If you have the drawing layed out right, it’s easy enough to ignore or delete what you don’t want to process and place the parts you need to maximize material usage. I just added the normal settings for ProofGrade maple plywood and it worked just fine.

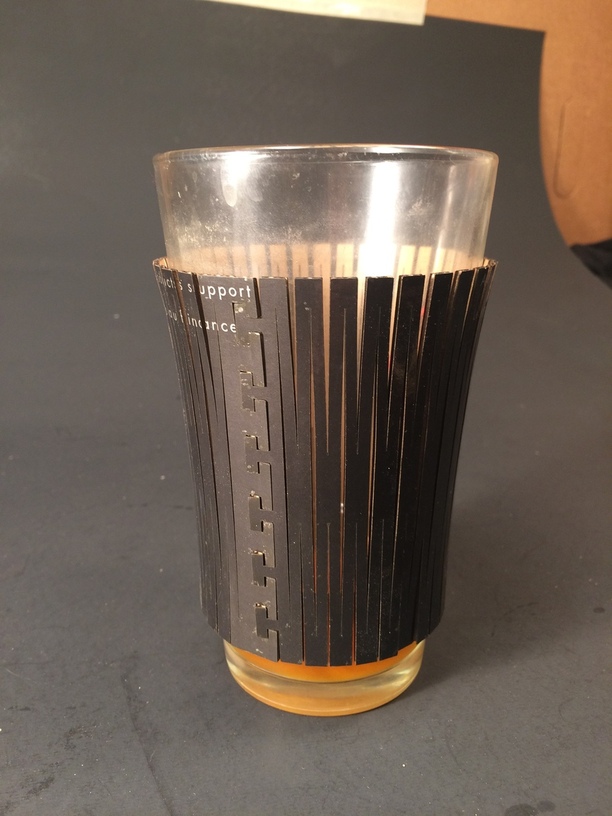
I like to buy these bar glasses when I visit different places as souvenirs. the one in the caddy is our family bar glass that my brother-in-law made for us since a few of us brew and bake a lot.
Not that this design will allow the glass itself to hold the slats in.

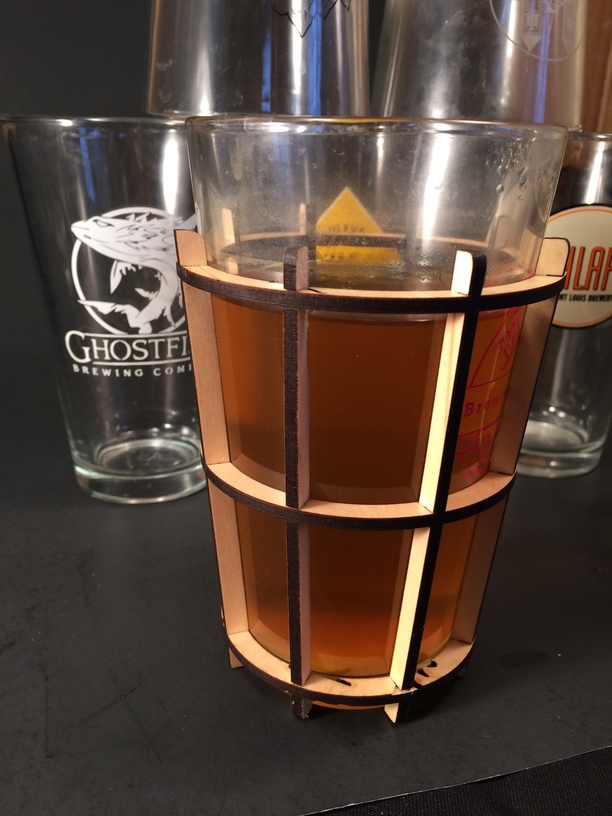
Here is how I started out. It actually did a good job holding together just from friction.
Things I learned: the slope of the glass is 8 degrees.
The holder makes it a bit bulky, but does the job.


 .
.
 - Rich