Okay, bear with me, this is going to sound really, really…stupid.
I love all the stuff everyone’s been sharing, and I would love nothing more than to whip out some awesome construction with the neatest designs and such, but there’s one problem. I’m stupid. Builder stupid. Dumber than a box of leftover draftboard stupid. I was not allowed to take shop class in school, so I lack the basic fundamentals of building. I understand that while there are free box generators out there, and some very useful free designs here, I really want to be able to do this on my own with Illustrator, but I’m quite lost as to where to start. I think it comes down to frustration of not being able to whip out the design that I see in my head, then trying to translate that in a usable design.
I’m not asking for a handout, or for you to do it for me. I just need to be pointed in the direction of a helpful, “Are you totally dumb when it comes to the basics of building” tutorial. You know the one - with sock puppets, or a popup book with those movable tabs, or cave drawings even. I just can’t seem to wrap my head around it, so playing around and figuring it out isn’t really going to work for me. I need honest to goodness instruction.
get on youtube and search for a specific item you are interested in building.
once you get that idea in your head, then you can start sifting through tutorials etc. on illustrator to cause what is IN your head to NOT be in your head and be in your computer.
I use inkscape. and every once in a while I have to search for how to do something specific. For example. One of my nephews is a huge star wars fan. I was making edge lit signs for all of my nieces and nephews. I needed to make his name like the crawling text in the opening of the movie.
did a search and BOOM there it was step by step instructions.
Would you use a hacksaw and a claw hammer to build a chair? (the answer is no) So don’t try to use illustrator to design complex 3d things. I mean I totally respect those who can but your life will be so much easier if you choose the right tool for the job.
Check out OnShape and Fusion 360.
The fact that you’re trying to learn puts you leaps and bounds beyond a lot of people, so pat yourself on the back for that Sadly I don’t use Illustrator, but there are lots of tutorials on here. This one specifically might get you going in the right direction:
Good luck - and feel free to come back here with “I got to here and then got stuck” questions - the Illustrator peeps will help you out
Check your local library and see if it gives you access to the Lynda.com training courses (mine does). There is a course on there called “Laser Cutting: Design for Fabrication,” which might be what you are looking for. She uses Illustrator and Photoshop. Here is a course description:
Find out how to design files for laser cutting, the growing technique used in manufacturing and modeling to create precise sheet parts and surface designs, both 2D and 3D. In this course, learn how to format design files for laser manufacturing. Get an overview of laser cutting terminology, machine settings, and the basics of laser safety. Learn which materials are best suited for laser cutting and which materials are unsafe to cut. The course also covers various project types, including interlocking parts for 3D designs, paper folding, engraved work, and architectural models.
Like I said, I totally respect those who can. Then again, I’ve seen art “masterpieces” done in ms paint. Doesn’t mean that I could feel good about recommending it.
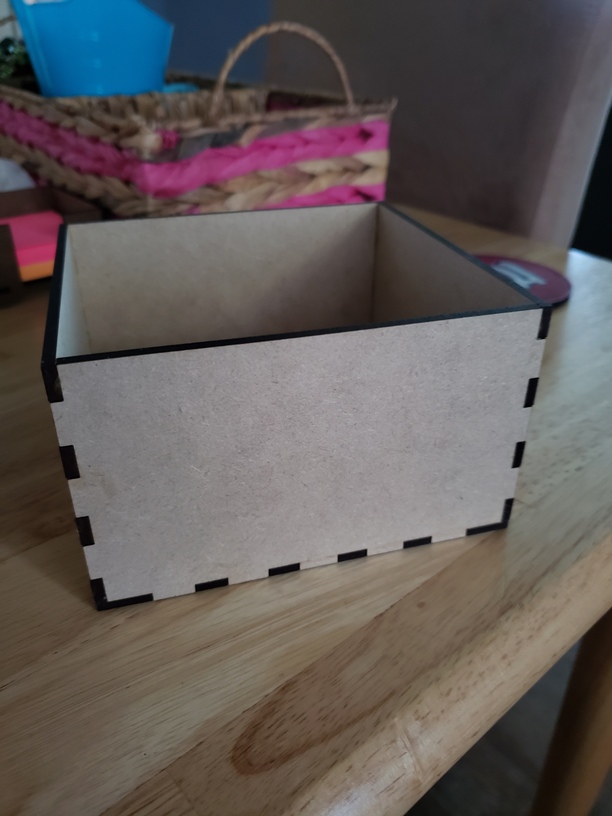
Okay so here’s where I am. I found a tutorial for adding finger joints using Inkscape, and I was able to translate that into Illustrator. This is the box I created, nothing fancy:
I did run into a tiny snag. The sides fit together perfectly, but the base wasn’t fitting quite right (it was close though). It all boils down to mathematics - I didn’t take into consideration the dimension the sides would become AFTER I added the tabs (rookie mistake), which made the base too small, but only for the two outside pieces. It was supposed to be a 5in x 5in box, but it came out as a 5in x 5.25in box. Oops!
Oh I’ve done this so many times. There is an extension in Inkscape that makes boxes and you have the choice of entering inner dimensions or outer dimensions and I have forgotten which I picked before SO friggin’ frequently!
Teach yourself and make notes from all that is noted here and you will have insight into what is needed, Then you can be the hero that has the perfect Tutorial
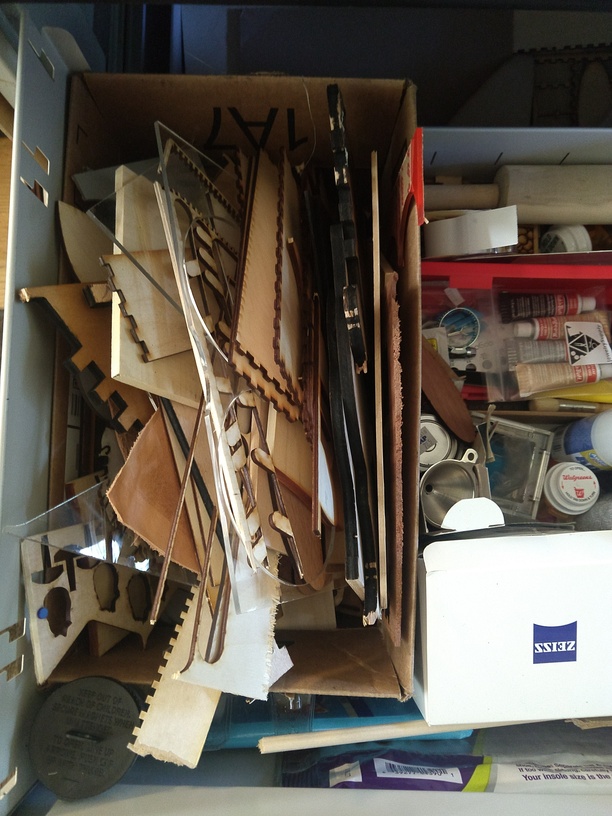
but if we didn’t have that pile we wouldn’t have the odd piece we need at just that right size some day in the future. ya just have to think of it as precision stockpiling.
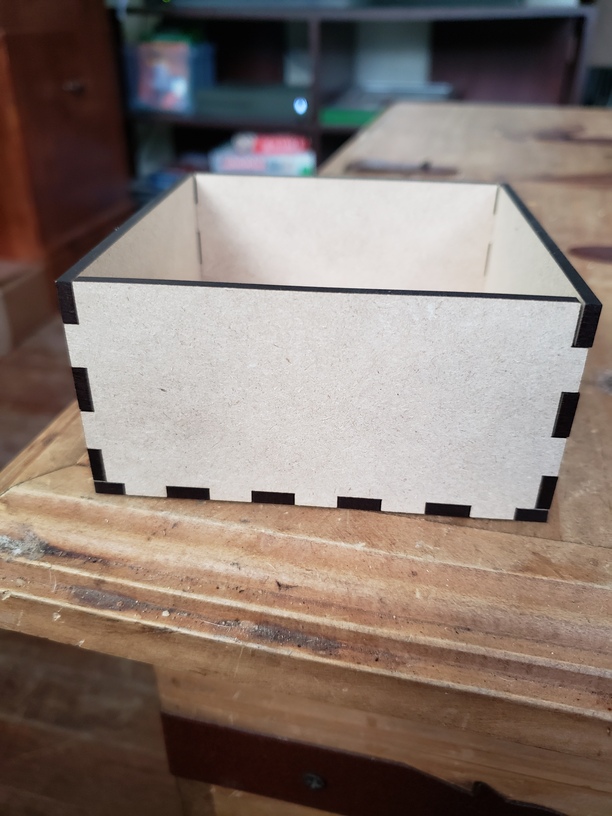
The kerf is a little bit off - I gave it a 0.03in variance but the joints are a bit loose. My next step is doing a kerf test to find a good solid fit - I don’t want to glue anything if I can help it!
Hi, did you say 0.030" offset for kerf? And still loose? hmm that sounds way too wide for kerf. Even on thick draftboard my kerf is about .005". Are your cuts coming out 1/16th" wide?