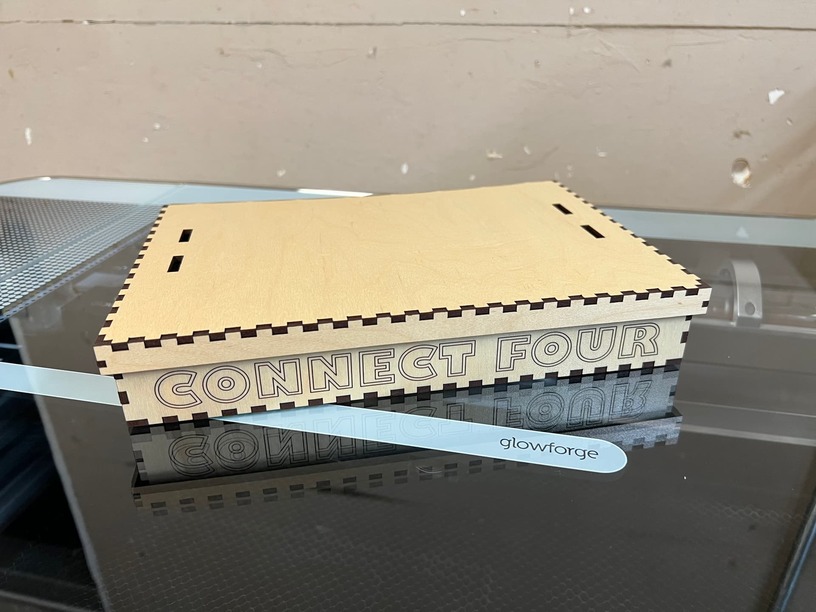
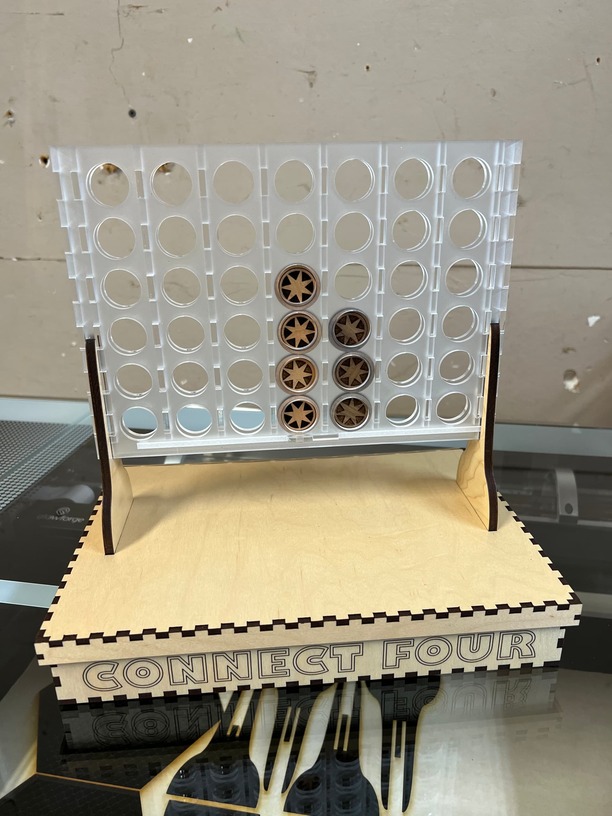
My daughter has been having loads of fun at her after-school program playing Connect Four against her teachers. We didn’t have a set at home… but why spend a few bucks on a quick trip to the store for one when you can spend several times more and a few late nights handcrafting your own?
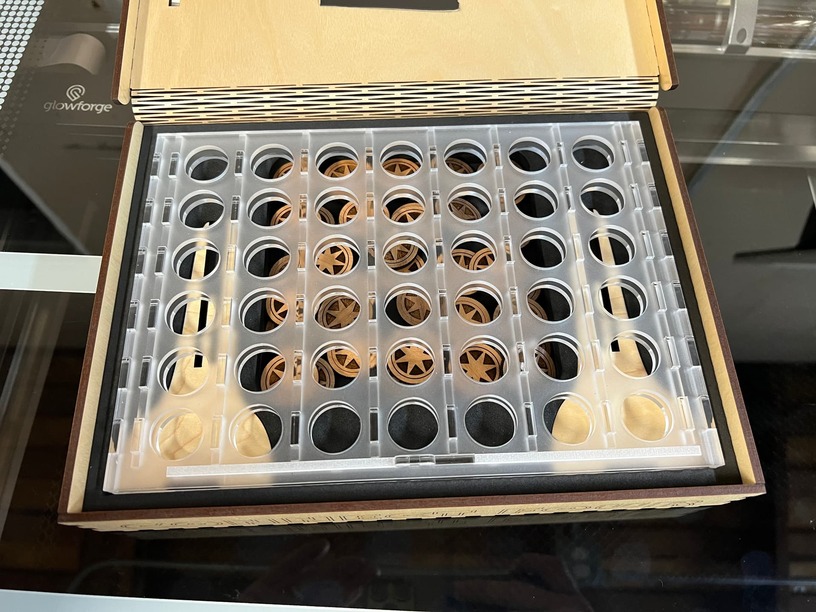
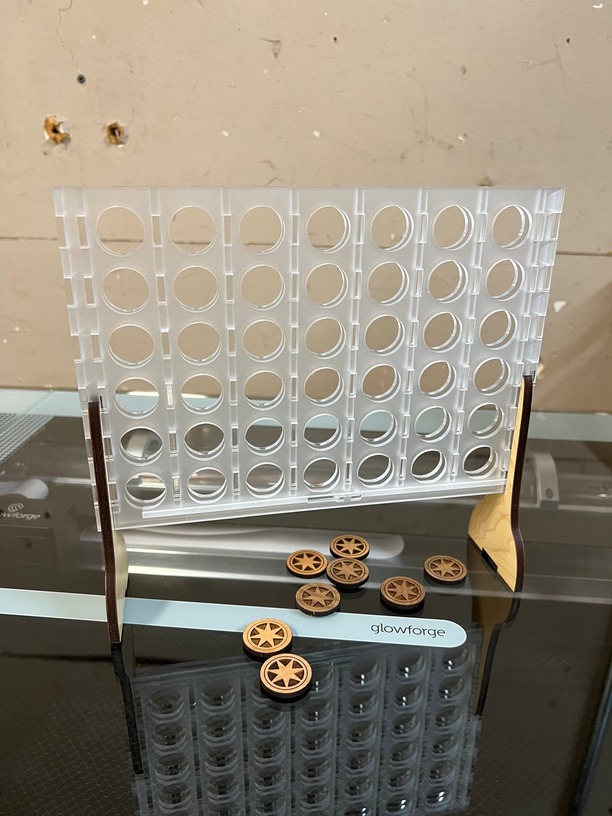
I made the columns a tiny bit wide, figuring the pieces would need space to slide easily. But probably too much, because they t do to settle a bit and don’t line up with the windows. If I ever do another one I can probably shave a mm or two off each.
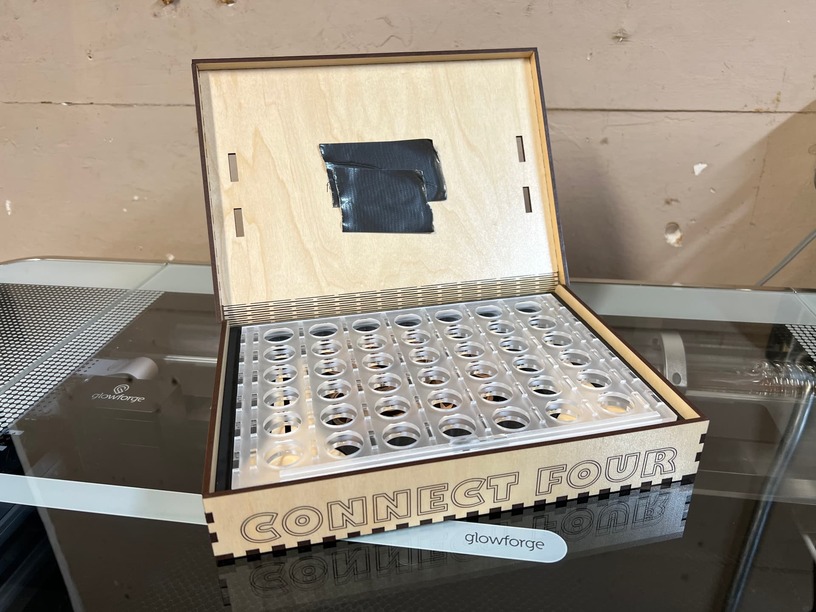
The box inserts are EVA craft foam, cut per settings found elsewhere on these forums. (Saved settings from an earlier project, so I don’t recall the original post. Sorry!)
I generated a boxes.py design for interior dimensions just barely smaller than the foam. (And the rather wide kerf from cutting the foam.) So they stay in pretty securely without glue. Equal compression in both directions mostly keeps the, from buckling.
I started this with the main body of the board being frosted acrylic. Then my GF died partway through cutting the only sheet I had of that material. Once I had a replacement GF (thanks support team!), I used test scores on the (many) circular cutout scrap pieces to align the already cut parts and complete the design. I wasn’t sure that would work out well enough to be usable, but that sheet would have been scrap anyway… but it worked, and finished the cut close enough to spec that I couldn’t tell the difference.
Unfortunately there were issues with the spec. I’d planned to use frosted acrylic for the faces and clear for the side walls (and internal walls between columns). But I didn’t account for the ~0.2 mm difference in thickness between the two materials. And trying to force the joints together cracked the faces. And frosted has been out of stock for weeks.
Turns out TAP Plastics “90% light transmission” acrylic is a pretty close match for frosted. And with both faces and walls in the same material, the fit is much better. I also tweaked the design a bit, so the interior wall joints fit snugly but not tightly.
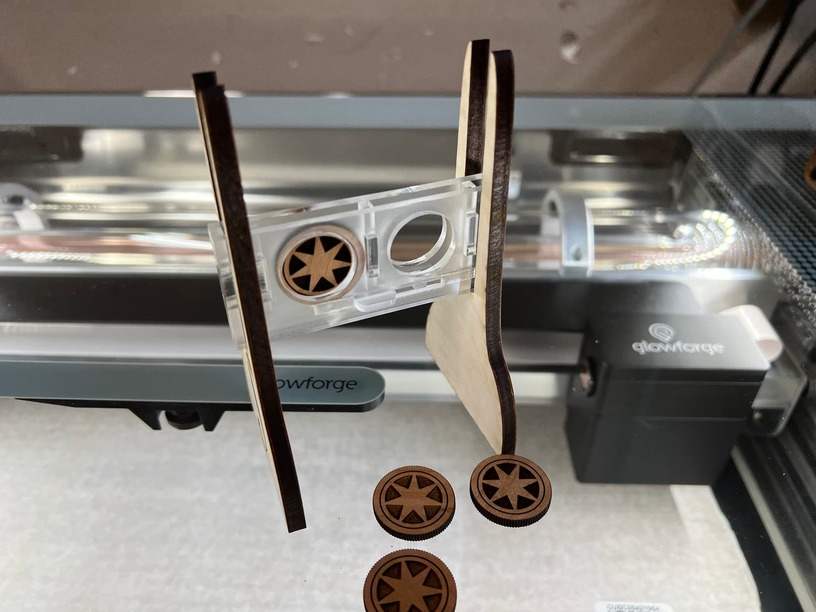
The slide mechanism was fun to design. (And the reason for prototyping.) The faces of the board have long channels, engraved with custom settings for extra depth. That way there’s just enough room for the sliding piece to have some rigid structure while still having holes in it that are as wide as the gap between faces.
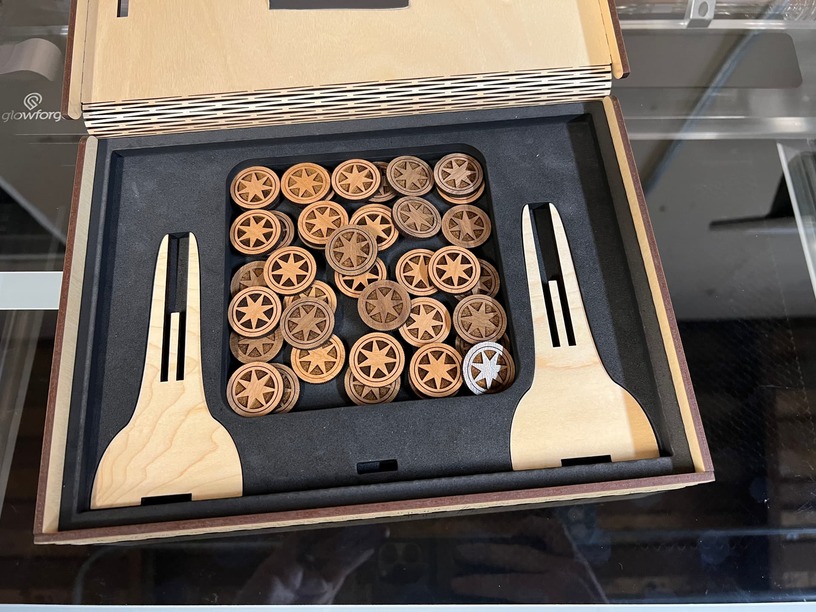
I’m glad I made a second “connect one” prototype after switching materials, since my custom engrave for acrylic didn’t work the same on the TAP acrylic. But it worked after some more experimental tweaking of engrave settings.
Love this! I keep getting a suggestion to buy an acrylic Connect 4 on facebook, it’s about $200 so I have thought about making one too! Love your design and use of the box lid!


 frosted acrylic. Then my GF died partway through cutting the only sheet I had of that material. Once I had a replacement GF (thanks support team!), I used test scores on the (many) circular cutout scrap pieces to align the already cut parts and complete the design. I wasn’t sure that would work out well enough to be usable, but that sheet would have been scrap anyway… but it worked, and finished the cut close enough to spec that I couldn’t tell the difference.