I was thinking a frame cut from 1/4" ply, pinned to the bed.
How hard is it to flex that printed piece? Just wondering about the forces involved,
I was thinking a frame cut from 1/4" ply, pinned to the bed.
How hard is it to flex that printed piece? Just wondering about the forces involved,
I started to do that with a piece of card stock, held down around the edges by my smaller magnets but then quickly realilzed that it was difficult to align my design file over it accurately because I couldn’t see the edges of the metal sheet itself. Otherwise, seems like a great idea…thank you.
I’d have to get that sheet of Ti into the frame exactly right, otherwise the same problem…not being able to see the edges to align everything. The sheet is fairly flexible by hand…it’s not very thick.
This is a piece I ended up using for testing…it’s a wavy mess from all the various places the laser beam hit it.
I do think you and @dklgood are on to a good idea though…so I may give a wood frame a try. Thank you
Make the frame two layers of 1/8, then - one cut slightly smaller than the other, then glue together aligned. Shim the back of the material with card stock or similar so it sits against the front layer.
Exactly like an actual picture frame, come to think of it.
That sounds good, thank you. When I did this engrave, I laid the sheet of Ti on a piece of cardstock…just because. My son-in-law wondered if having something underneath the metal might have caused some of the problems I encountered…like having to do with heat distribution…?
I doubt it. Many thin materials warp when engraved.
OK…thanks so much. I’m going to see where I can go with the frame idea.
I wonder if there would be some way to attach the Ti to the frame to hold it with some tension, like stretching a canvas or a silk screen.
I have no sense of the material to know what would work mechanically. Like: staple, then cut off the perforated portion later? Some kind of clamping mechanism? Use an actual stretcher frame or embroidery frame and cut off the bent parts after?
Appreciate your input…and I get where you’re going with that. I can’t cut the Ti myself. I ordered it over the phone (no online ordering) to the exact dimension I needed. I just made a frame for it out of draftboard…glued it up and it’s drying. Have to order a new piece of Ti…and when it arrives, it will not be warped so I can put it into the frame, put a backing on it (perhaps the cut out piece of DB) and maybe tape it on so it can be removed after lasering. All this thinking makes my brain hurt!
Stay tuned!
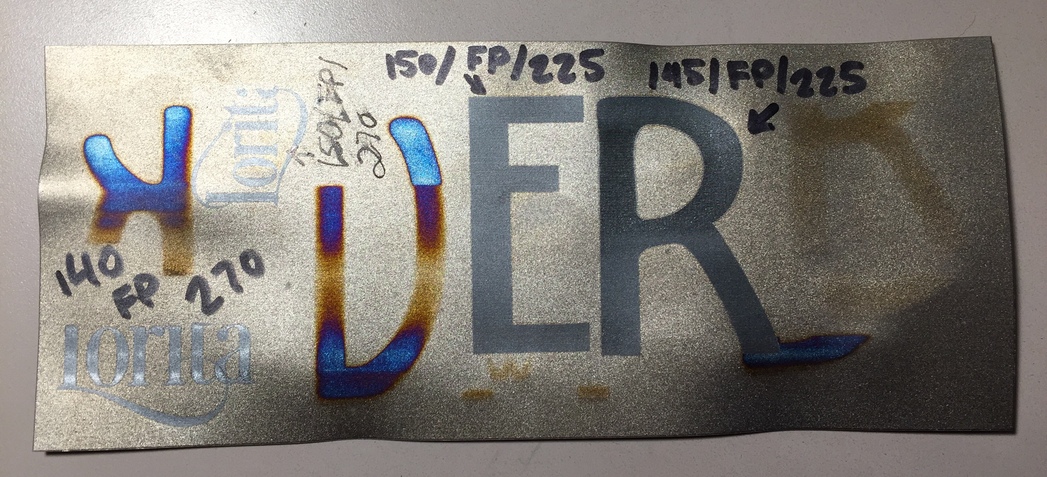
Cool experiments! In that test where you got the nice gold, blue, and purple… the increase to 270 LPI would deposit more heat. Closing in on the sweet spot there looks like. There is also that sweet purple outline to the blue, great effect!
Between focus, power, speed, and resolution there is a lot of possibilities to play with!
You may be able to tap that piece flat with a mallet or some soft blow besides a metal hammer so you don’t get any tool marks on it.
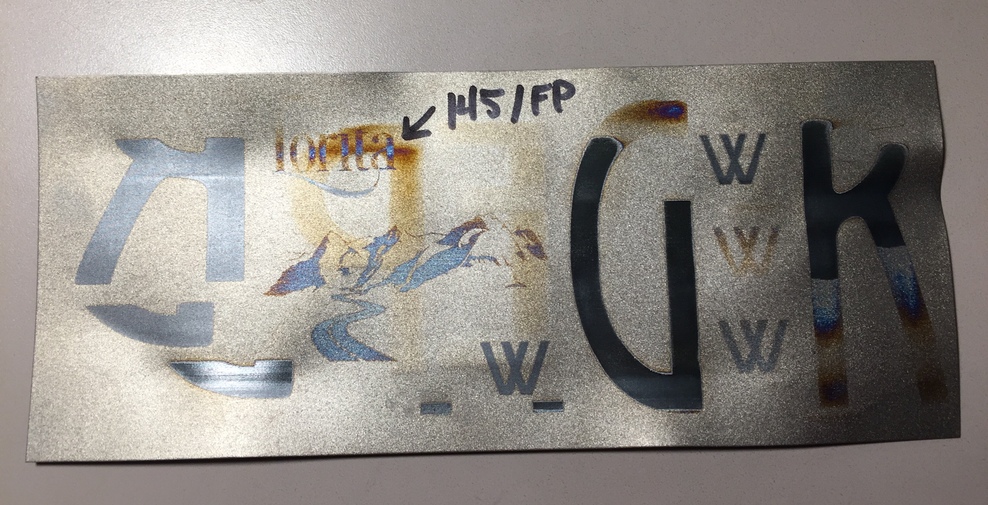
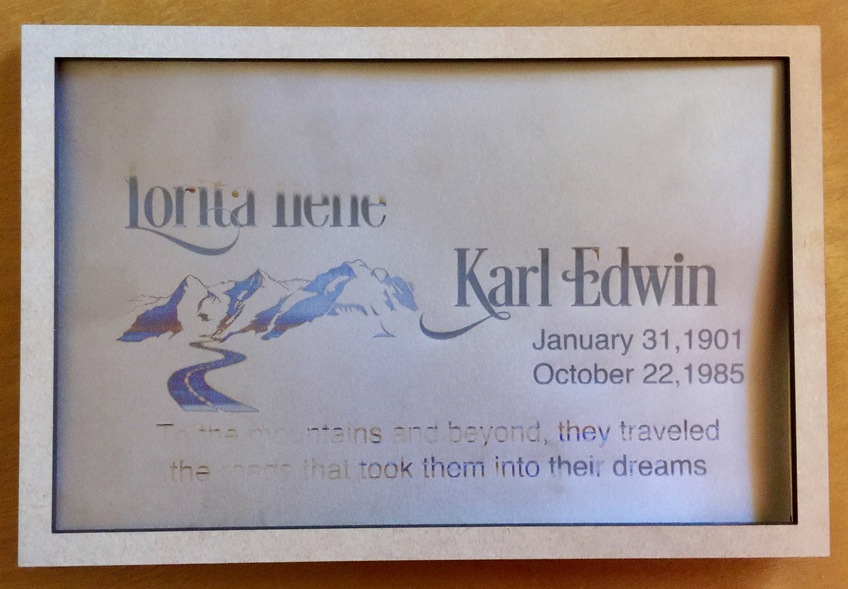
Sort of made me laugh…that ‘great effect’ is actually the back side of the piece…it’s the reverse side of those large black letters in the second photo on the right side…which the laser didn’t even completely finish. I would love to get those colors, but it’s all a crap shoot. So far, the image of the mountains is the only thing that comes out with color. I found that the image and the smaller texts do just great at 270 LPI, but the big letters have to be at 225.
I bought a nylon hammer to use to form the Ti into the basalt basin, but won’t bother trying to flatten that test piece…it’s too far gone.
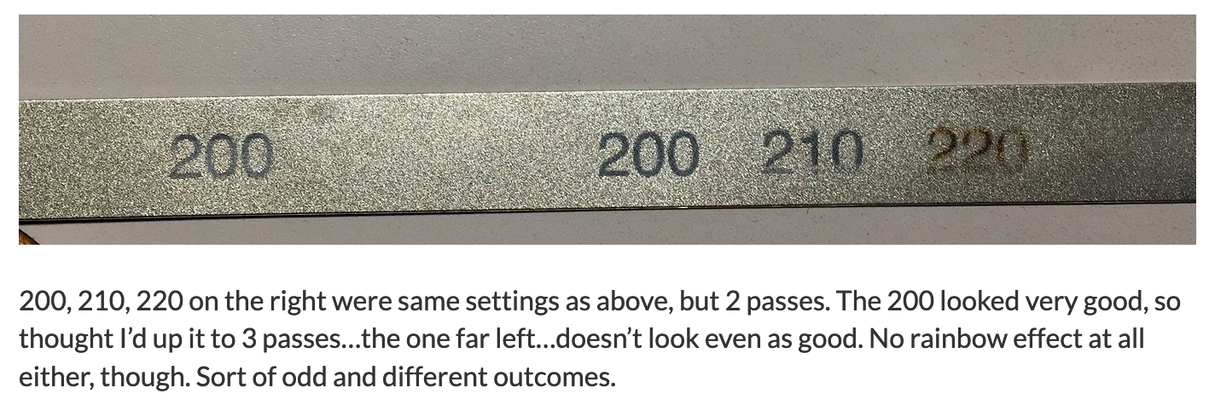
Multiple passes should help with the heat dissipation.
You’ve got the back side of this one to test with.
Yes…I’ll do more testing. I did do multiple passes previously…mentioned further up in this thread…from 16 days ago…several photos of my tests.
Maybe higher speed, full power, multiple passes? My brain is frying!
Yup, I remember - but nothing warped during that test.
If you could find settings that give the same nice engrave as the piece that did warp using multiple passes, that might prevent it from wanting to warp.
Shame you can’t have a lot at your disposal to try it on. If you haven’t ordered the replacement yet, perhaps you could ask if they have scraps you could use?
(probably not, I expect it would be recycled given its cost.)
I will ask, with no expectations. I did have to purchase an entire 6 x 12 sheet and they were kind enough to cut the two pieces I needed at no extra charge. They did ask if I wanted the remaining scraps…which I did…and which I used for the testing
Exactly what I was thinking. With the titanium sheet in the inner frame it can be held tightly to the bed with the outer frame using honeycomb pins. Along with multiple runs for various sections along with some time in between sections to cool down it should work out.
I would probably add a crosspiece in the top piece of the template frame that runs along the midline between the end of the road and the quote running along the bottom. There’s enough room for a qtr inch or so piece I think. That will help hold down any middle area warping.
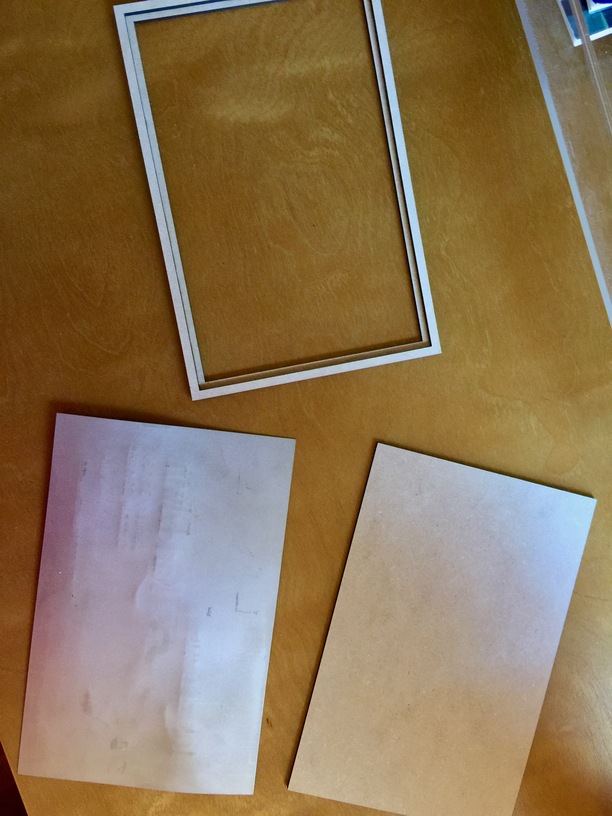
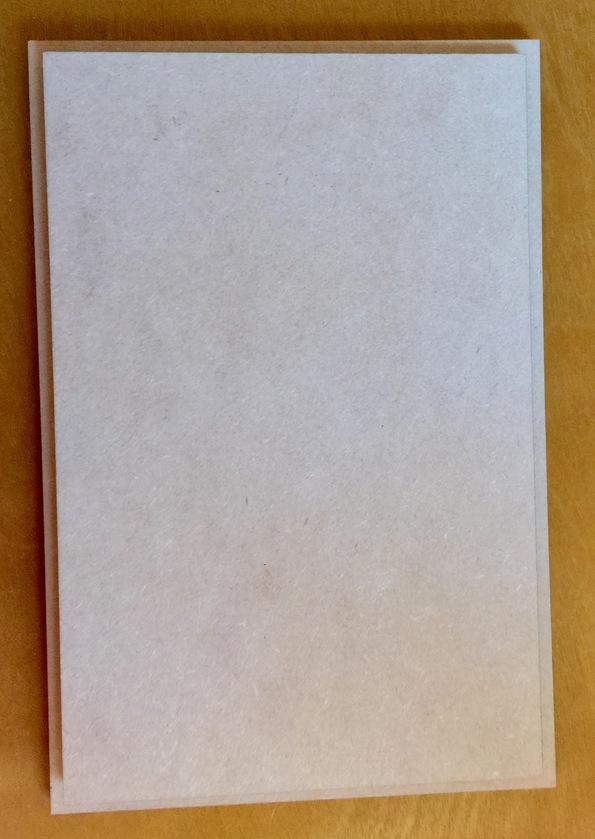
Here’s what I made yesterday. The two pieces glued together (upper), the Ti (lower left) and one of the pieces that was cut out from making the frame (lower right)
(This is all just staged right now and not really assembled)
I put the Ti face down inside the frame (this is the bent up one)
then figured I could just place the cut out piece back inside over the Ti and fasten …tape…it down somehow
Then hold the whole thing down with honeycomb pins. It leaves exposed the exact dimension I need for my file.
Does anyone think there would be an issue having the solid piece on the underside?
I think you are on the right track. I think doing this, along with your idea of engraving in sections or doing multiple passes at low lpi, is going to work. Fingers crossed.
Thank you…your feedback is invaluable. I made every single section of text a different color so I can do them at a slower pace and pick and choose the order and the settings.