Hi again everyone!
I have another project just finished and ready to share. This one took some time, so I’m really very happy that it is now finished. Just in time to take to the Oregon Eclipse Festival for the next 9 days! I’m going to use it as a camp totem or something so we can find our site (and others can find us) when night falls.
Ok, so I have wanted to make a light installation art piece like this for quite some time. I’ve had many ideas and drawings for concept wall led light art pieces, and decided to give it a go. I’ve had this particular design concept in my head and sketchbook for a few years now. To give some credit (and avoid any negative blowback), I found this maker on etsy about 6 months ago who created very similar works to this. It looks like he is no longer making them or selling them now though?
Anyhow, let’s get to it! ![]()
Like the title says, I wanted to make the biggest piece I could and utilize the 19.5" of cutting space. So, I created this in pieces and joined things together. ![]()
Used: ![]() medium maple ply,
medium maple ply, ![]() medium frosted acrylic, and a 16.4’ strip of SMD 5050 LED lights with power cord and remote control.
medium frosted acrylic, and a 16.4’ strip of SMD 5050 LED lights with power cord and remote control.
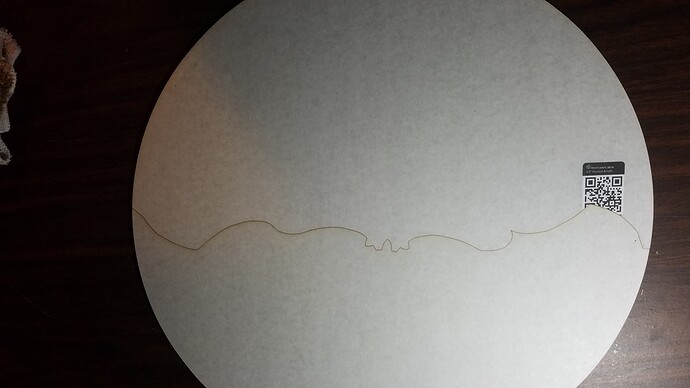
First, I designed the file in Illustrator within a 19.5" x 11" rectangle artboard, so that when the .svg is opened in the ![]() app, the largest pieces would be placed perfectly edge to edge in the printable area. The piece is diameter 19.5", so the larger pieces (front panel, frosted acrylic panel, and back panel) are split in 2. The back panel is joined together straight across the middle and used wood glue. The acrylic piece is cut so that the joined edge line is ‘hidden’ behind the front art panel.
app, the largest pieces would be placed perfectly edge to edge in the printable area. The piece is diameter 19.5", so the larger pieces (front panel, frosted acrylic panel, and back panel) are split in 2. The back panel is joined together straight across the middle and used wood glue. The acrylic piece is cut so that the joined edge line is ‘hidden’ behind the front art panel.
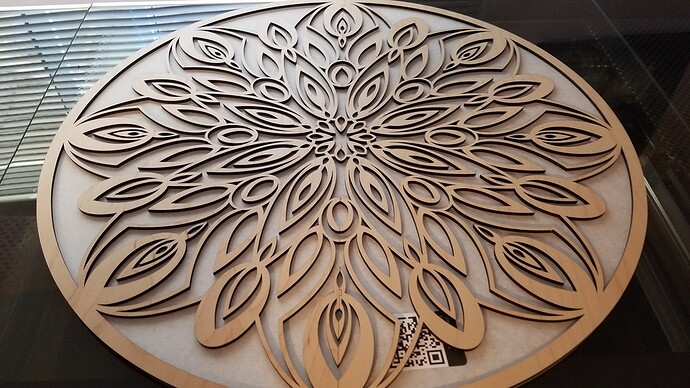
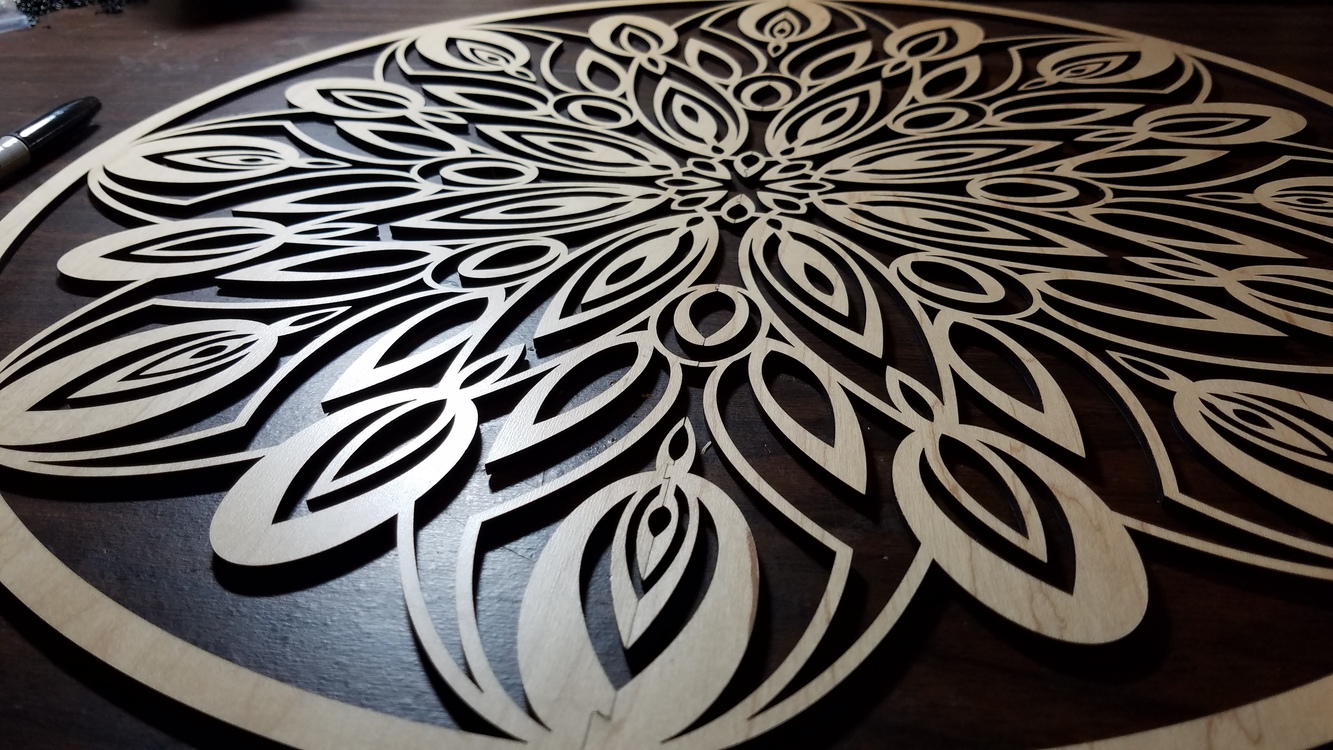
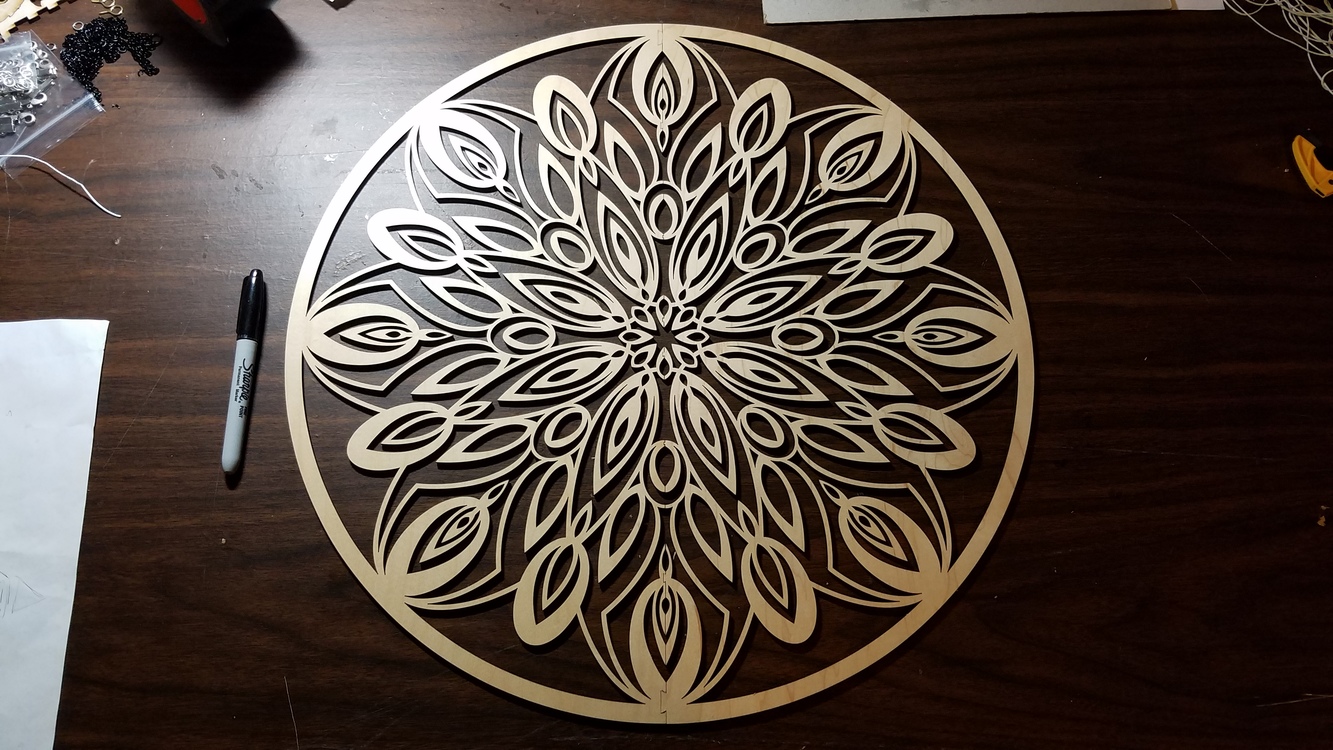
Front cut panel joined (2 pieces) with wood glue
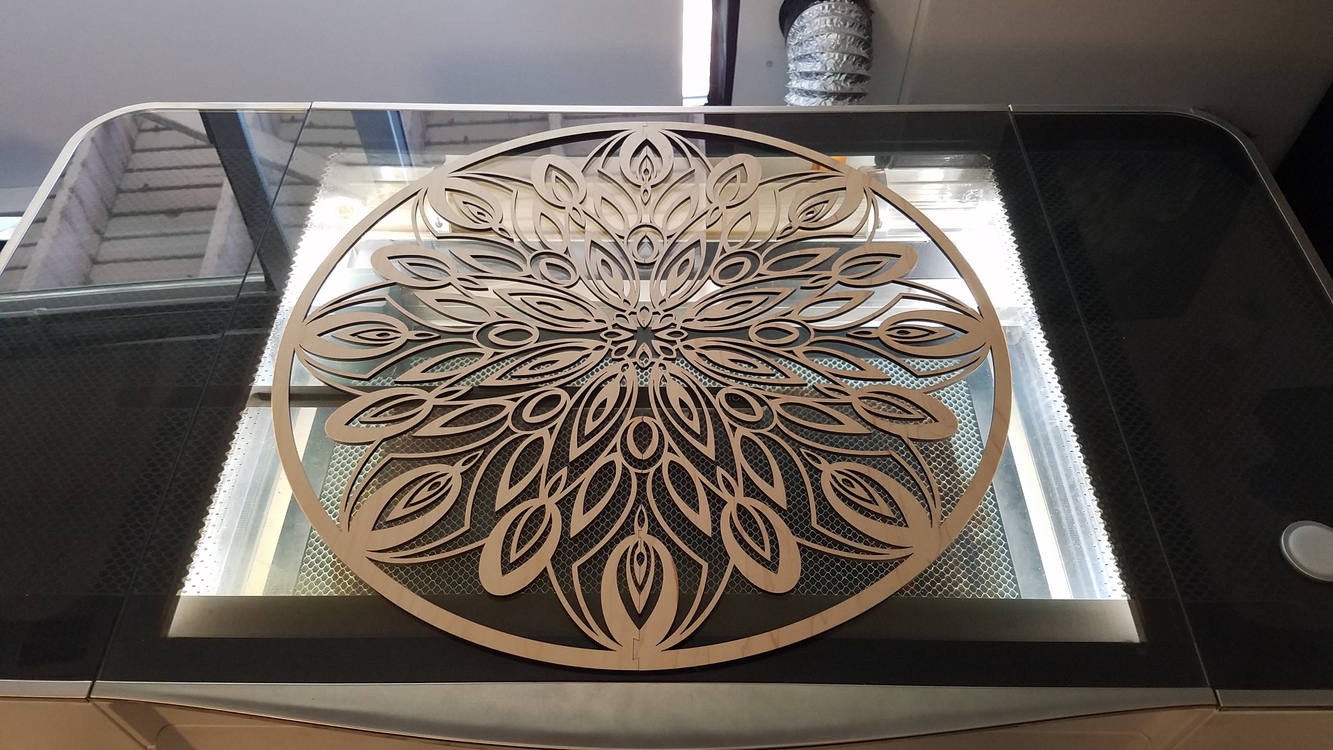
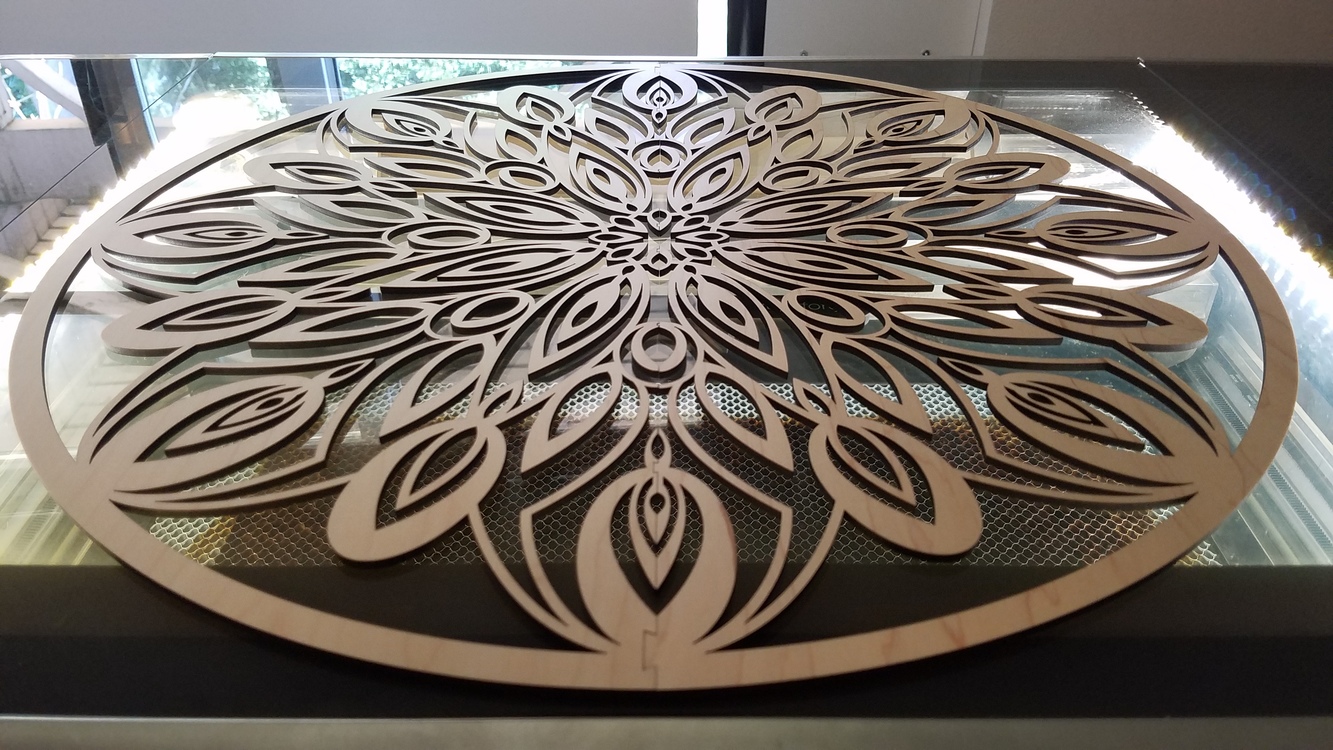
Acrylic panel joined (2 pieces) with super glue.
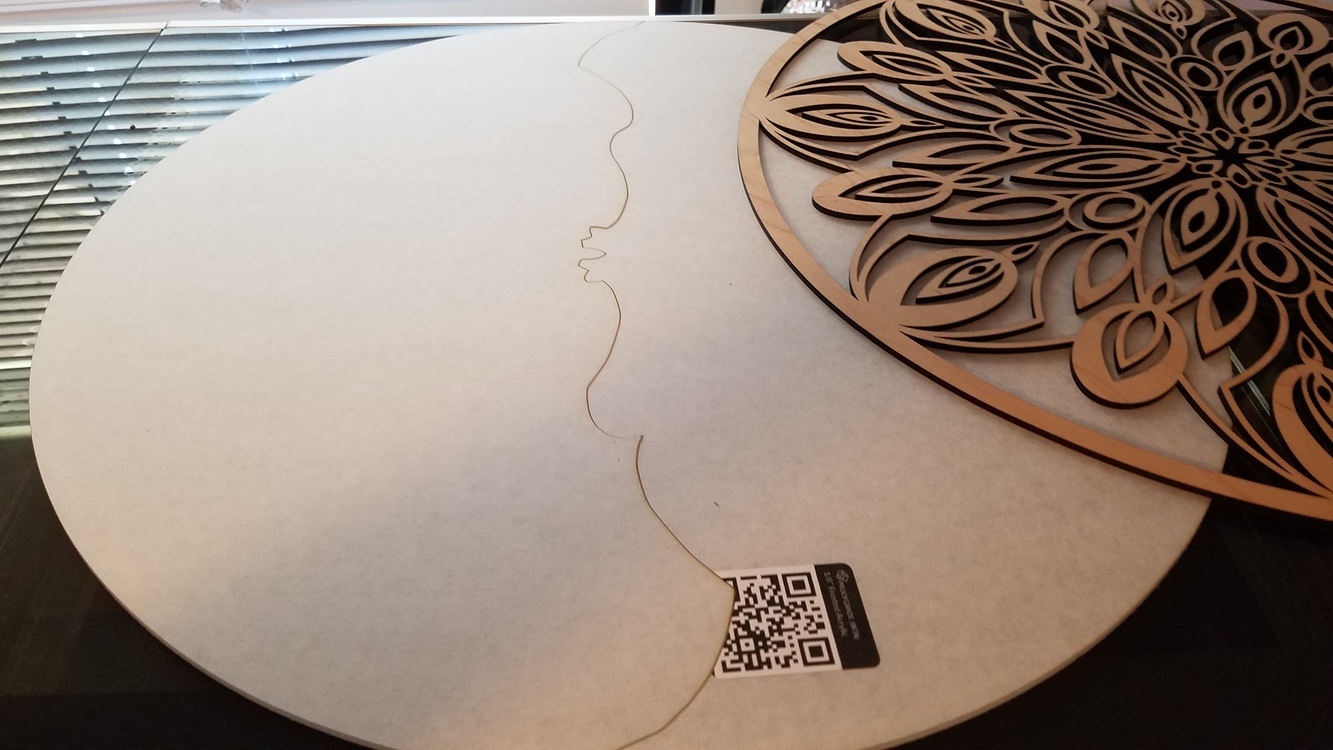
Front and Acrylic together (hiding the joined edge of the acrylic)
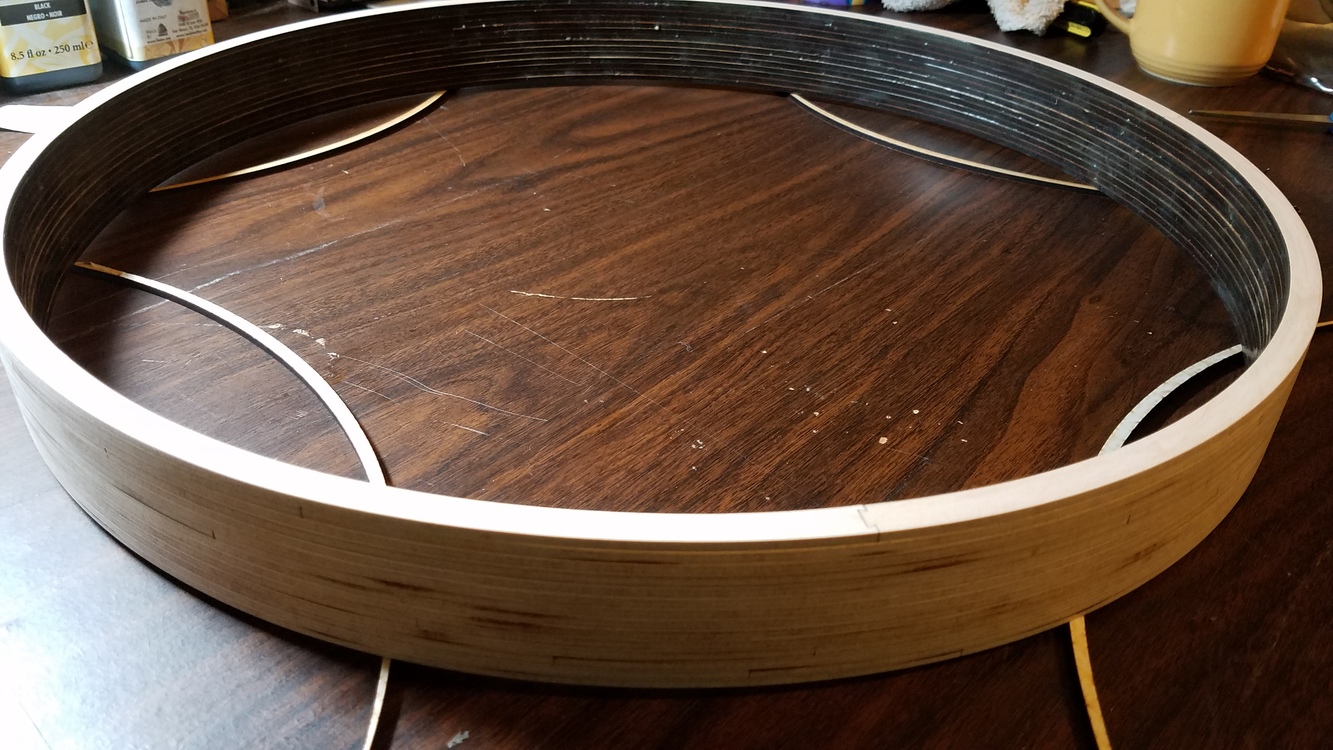
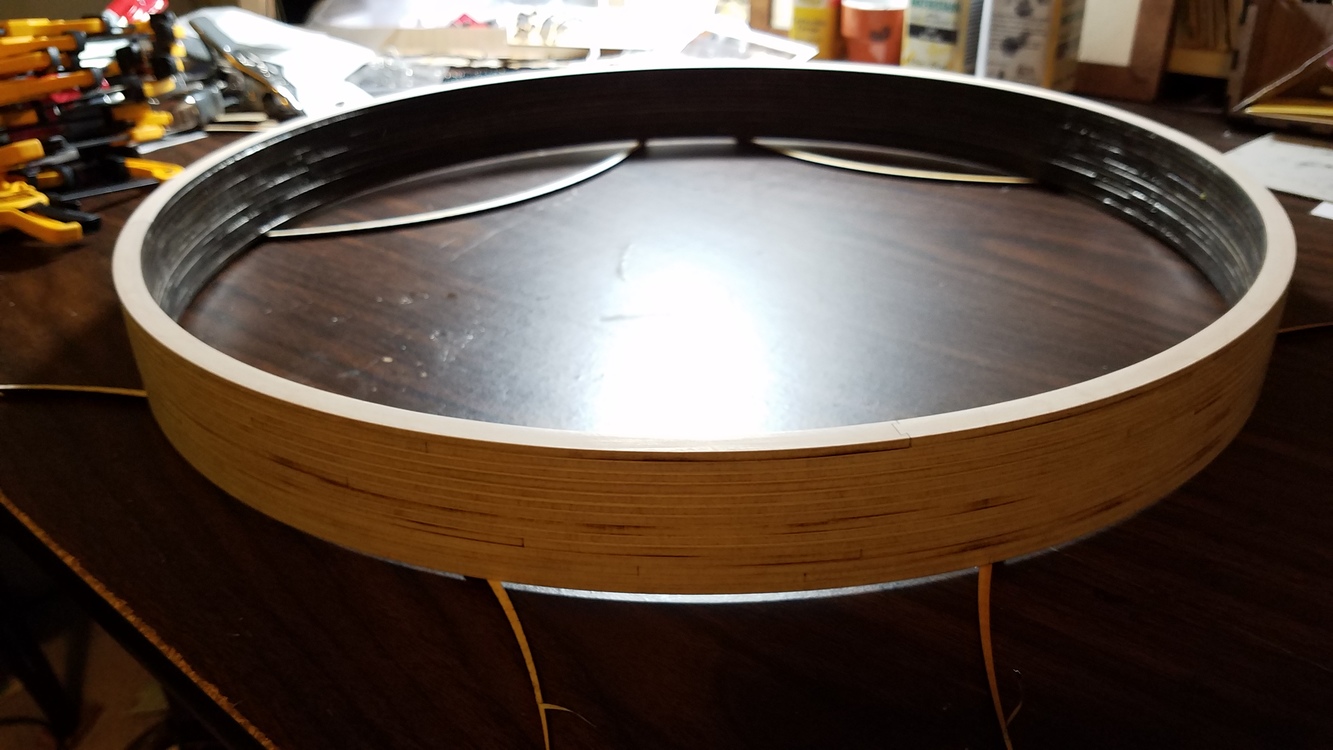
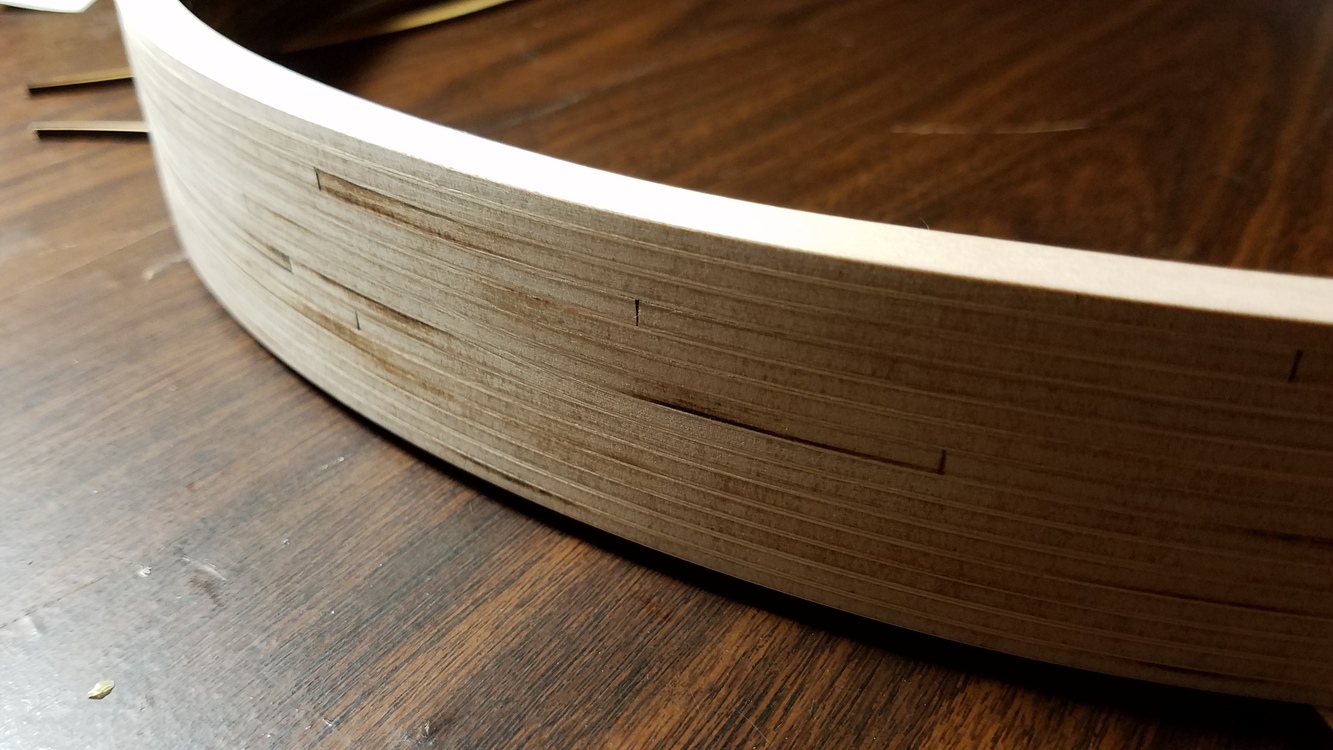
The circular frame is 14 layers ply. Each layer is 4 pieces joined together. I could have done each layer as 2 pieces, but would have wasted many extra pieces of material. ![]() I was able to get 3.5 layers from one piece of material by cutting it this way. Used clamps and Titebond glue to build it up layer by layer. This part took the longest as i had to always wait for the glue to dry overnight (24 hours) for each layer. But, it was worth it. It’s strong and held the shape almost perfect by the time I was finished with the process of construction.
I was able to get 3.5 layers from one piece of material by cutting it this way. Used clamps and Titebond glue to build it up layer by layer. This part took the longest as i had to always wait for the glue to dry overnight (24 hours) for each layer. But, it was worth it. It’s strong and held the shape almost perfect by the time I was finished with the process of construction.
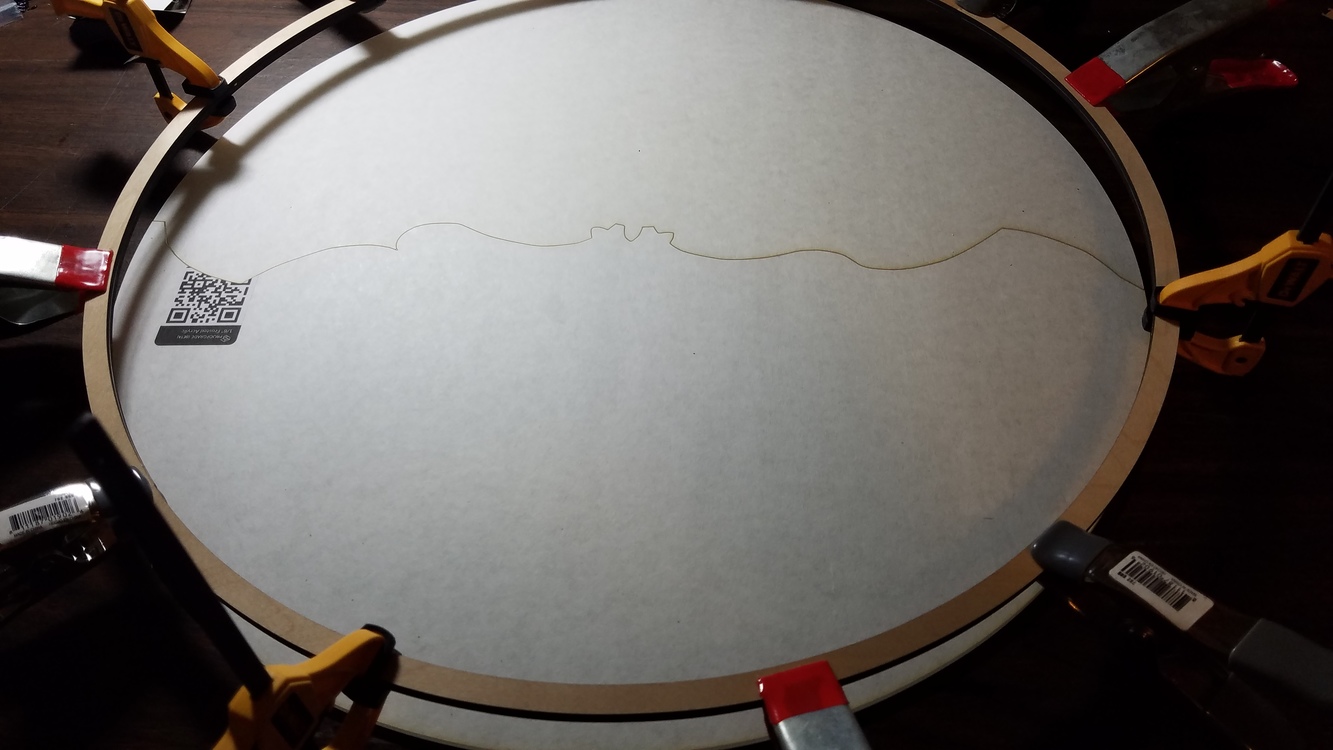
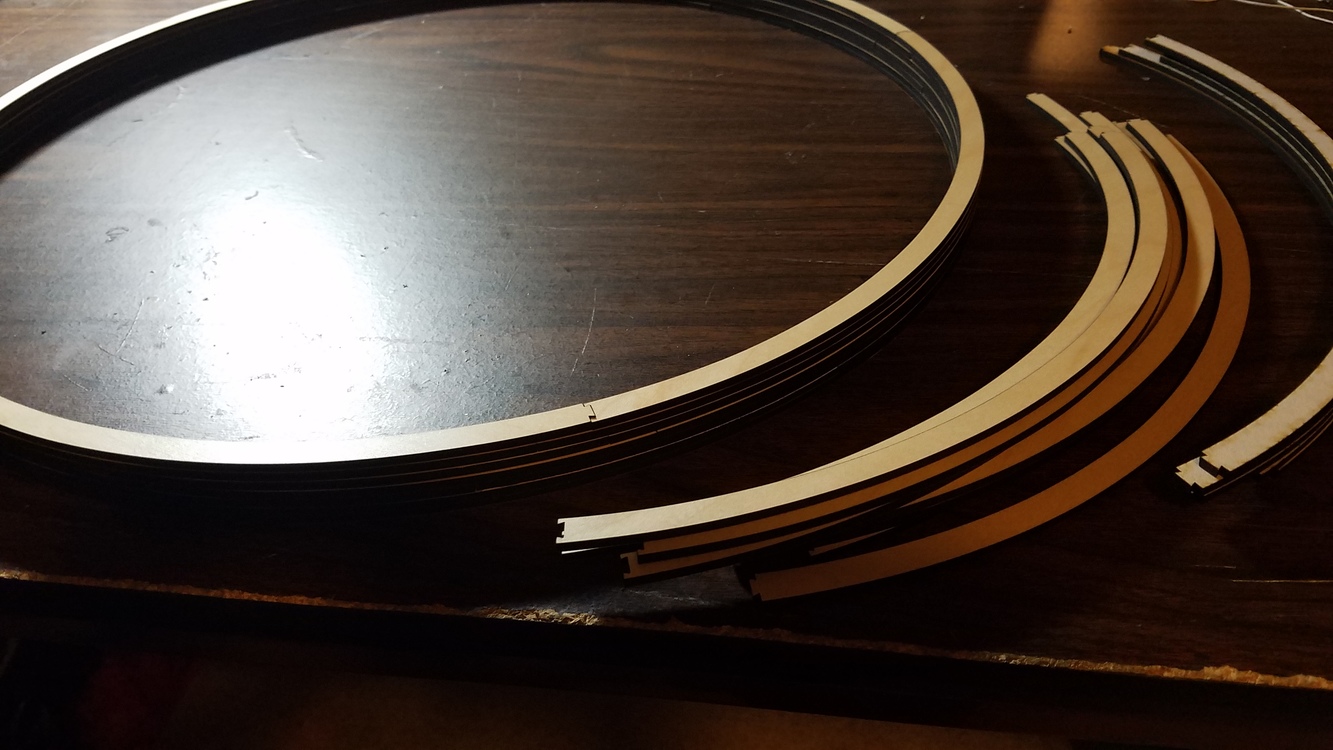
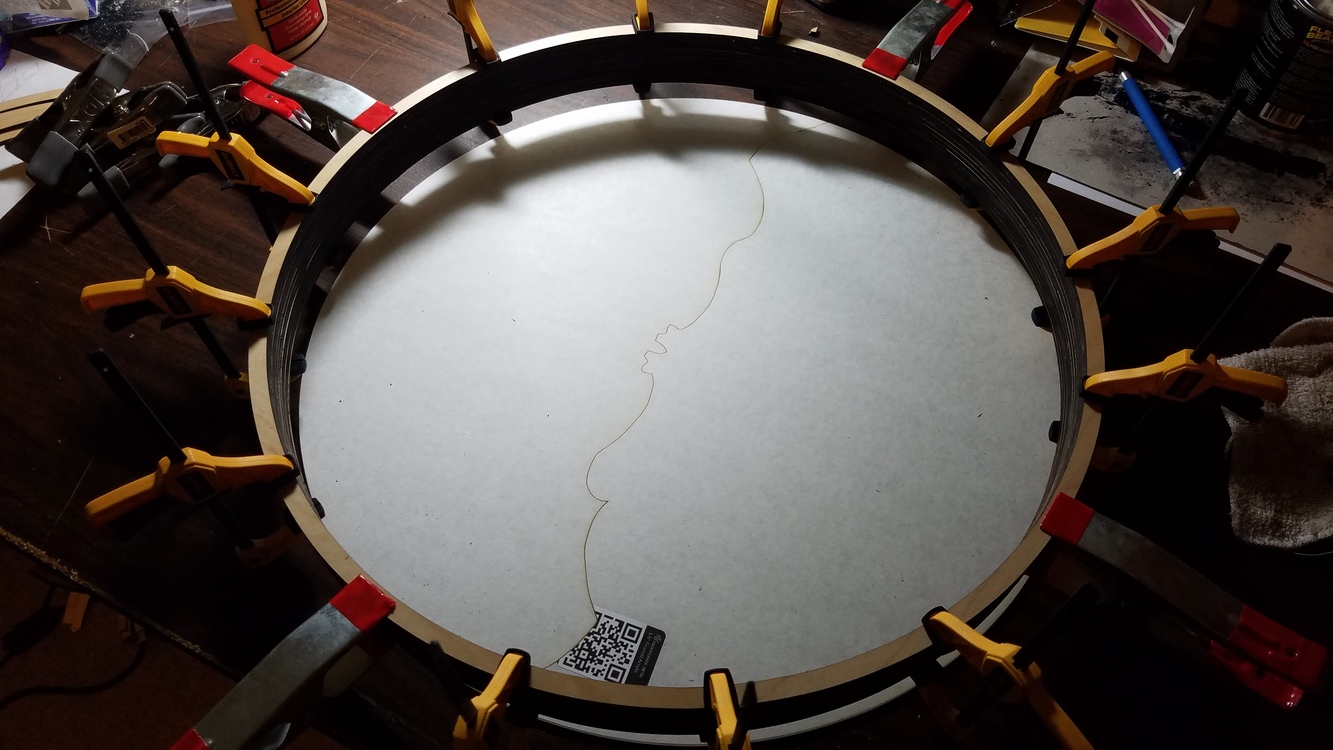
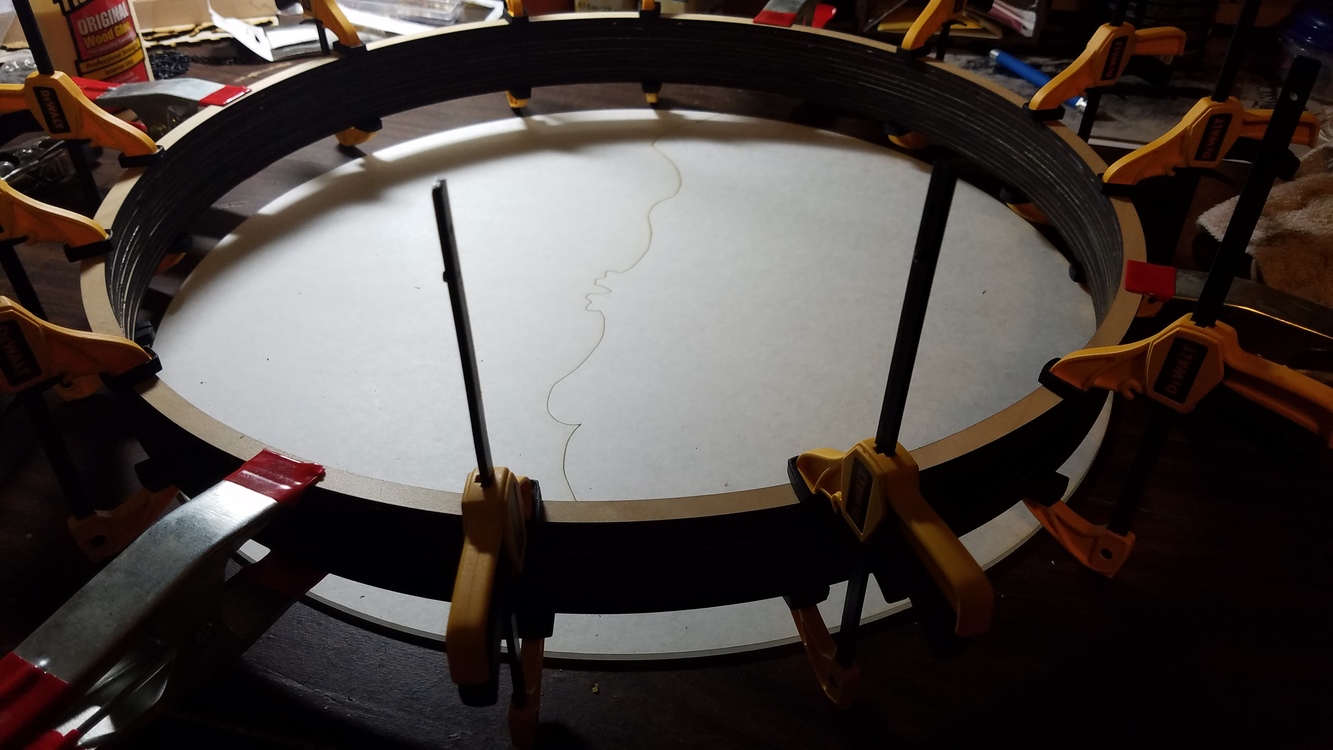
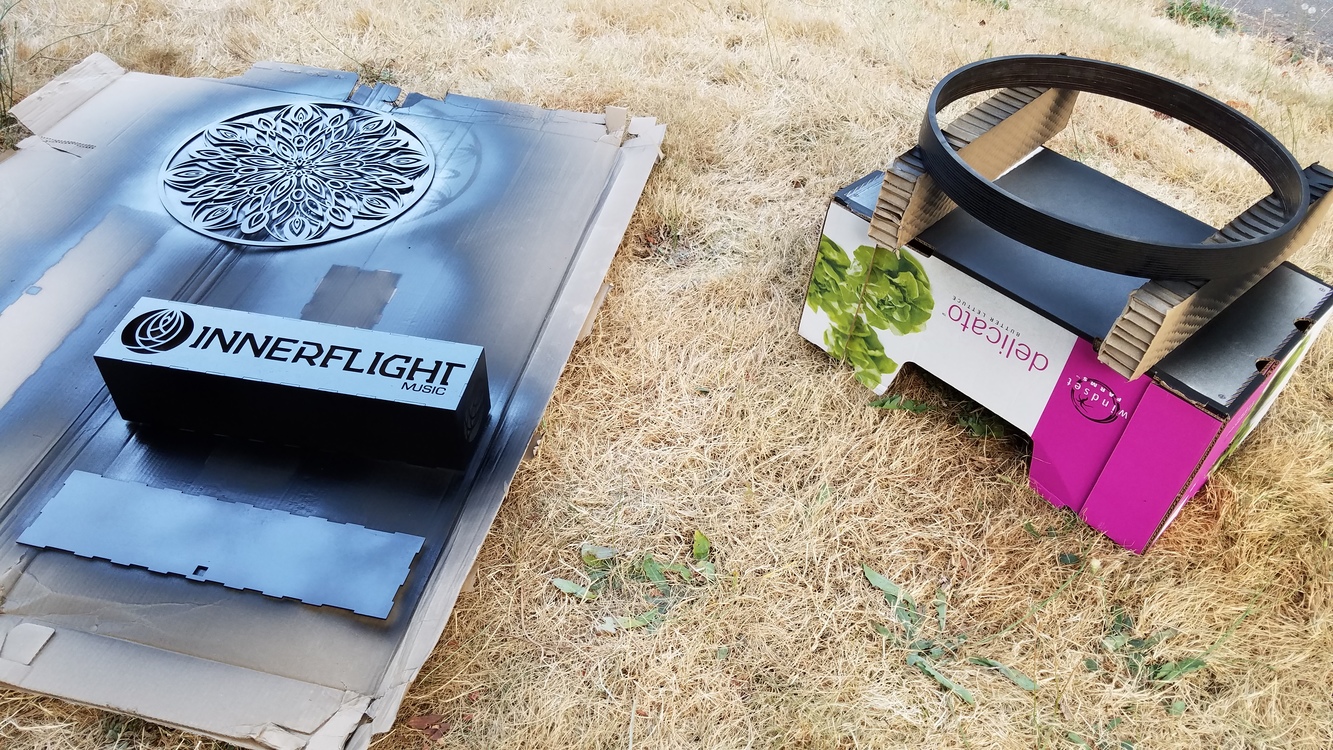
Sanded the edges of the frame down to make it all ‘perfectly’ even and remove any excess glue. Then spray-painted it and the front cut piece a matte black.
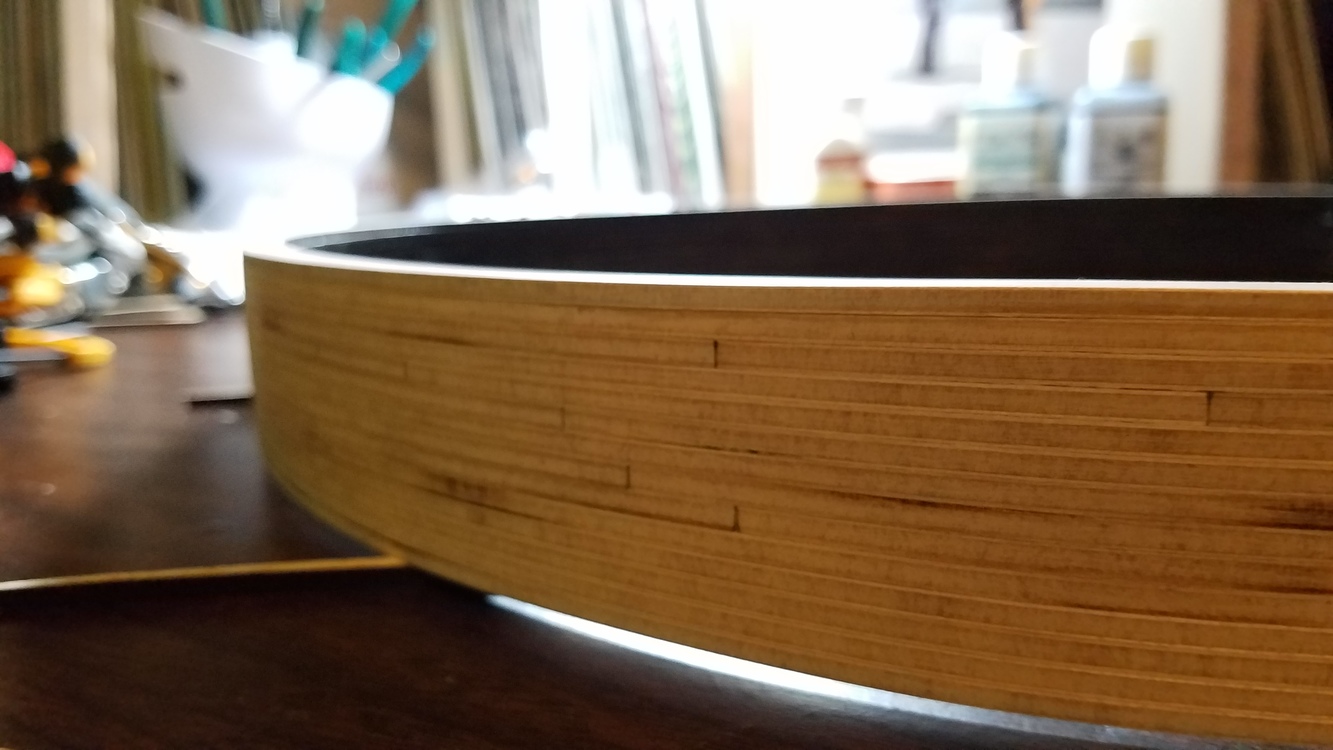
After a few coats of paint and drying time, it was finally time for me to begin assembly and finish it off with the lights! ![]()
Again I used super glue to VERY carefully attach the front cut panel to the acrylic, making sure (as best that I could) to conceal the joint edge of the acrylic pieces beneath the front panel. It isn’t ‘perfect’, but i think it worked out pretty well! ![]()
Pics from before back panel was added…
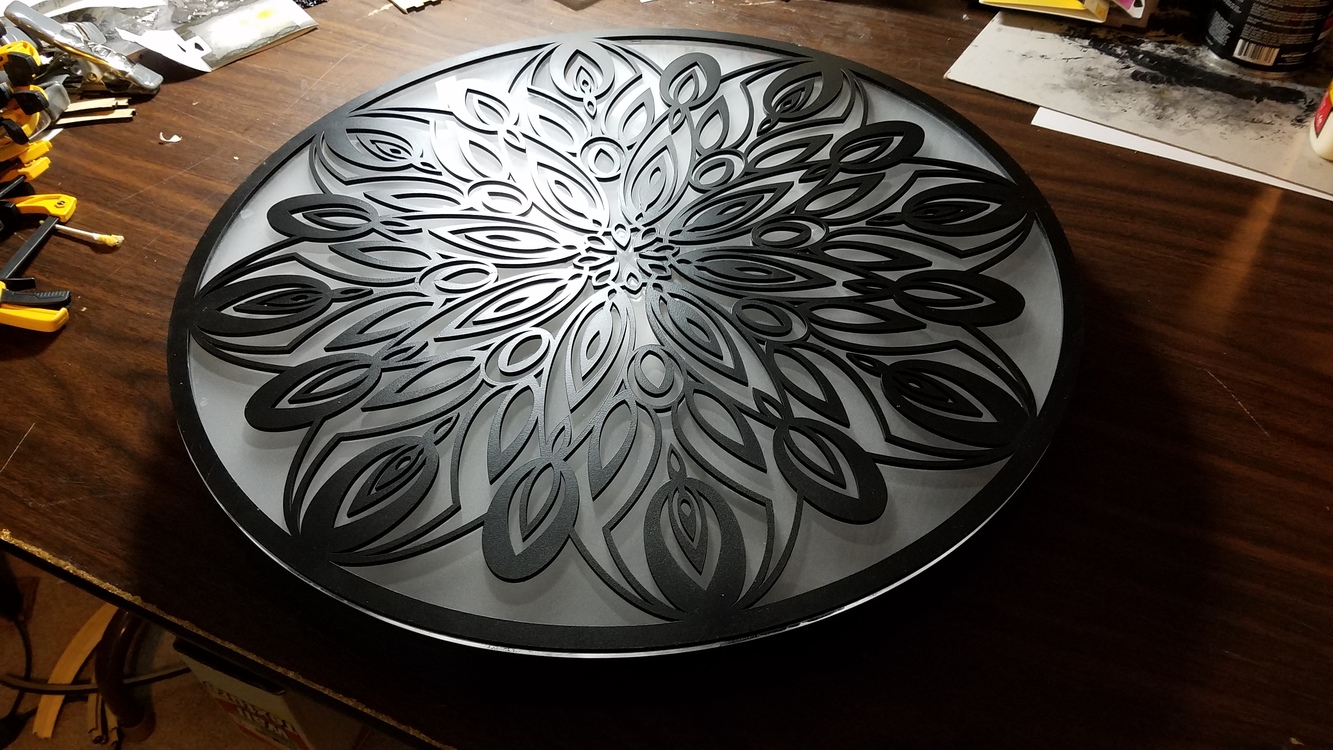
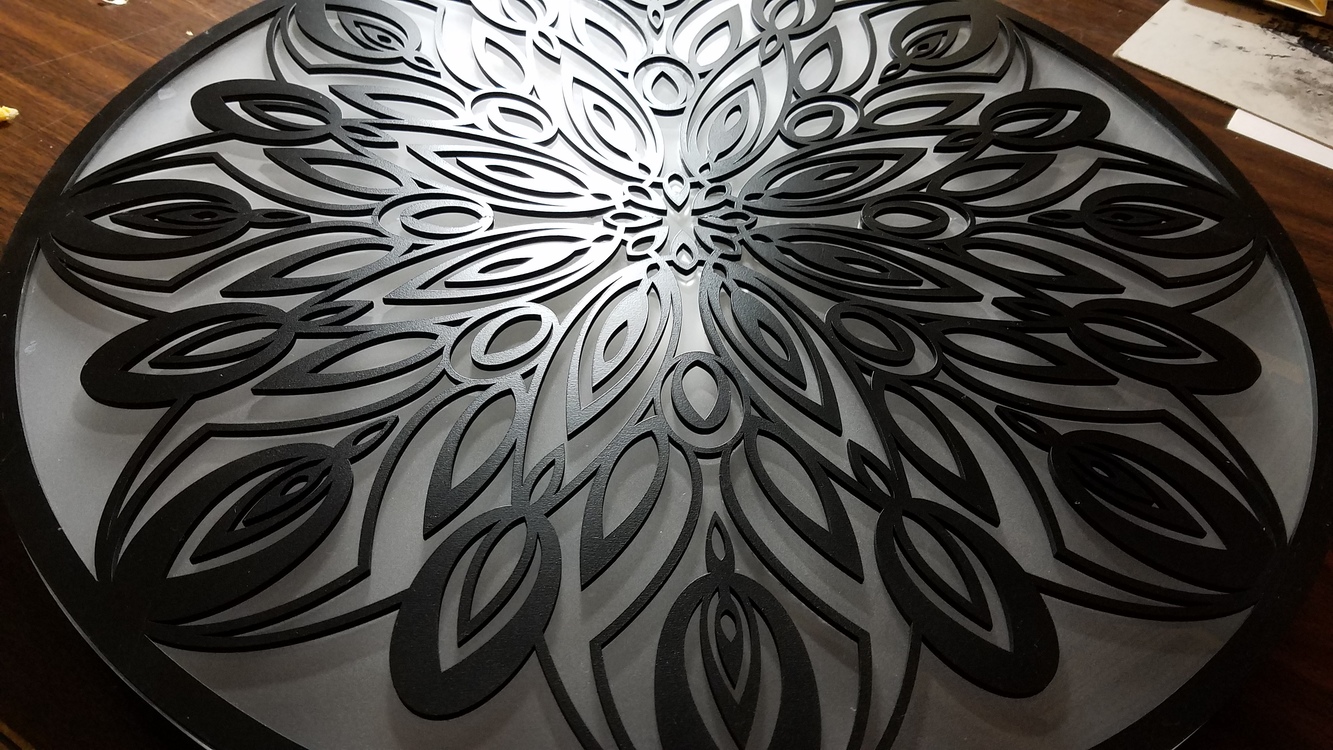
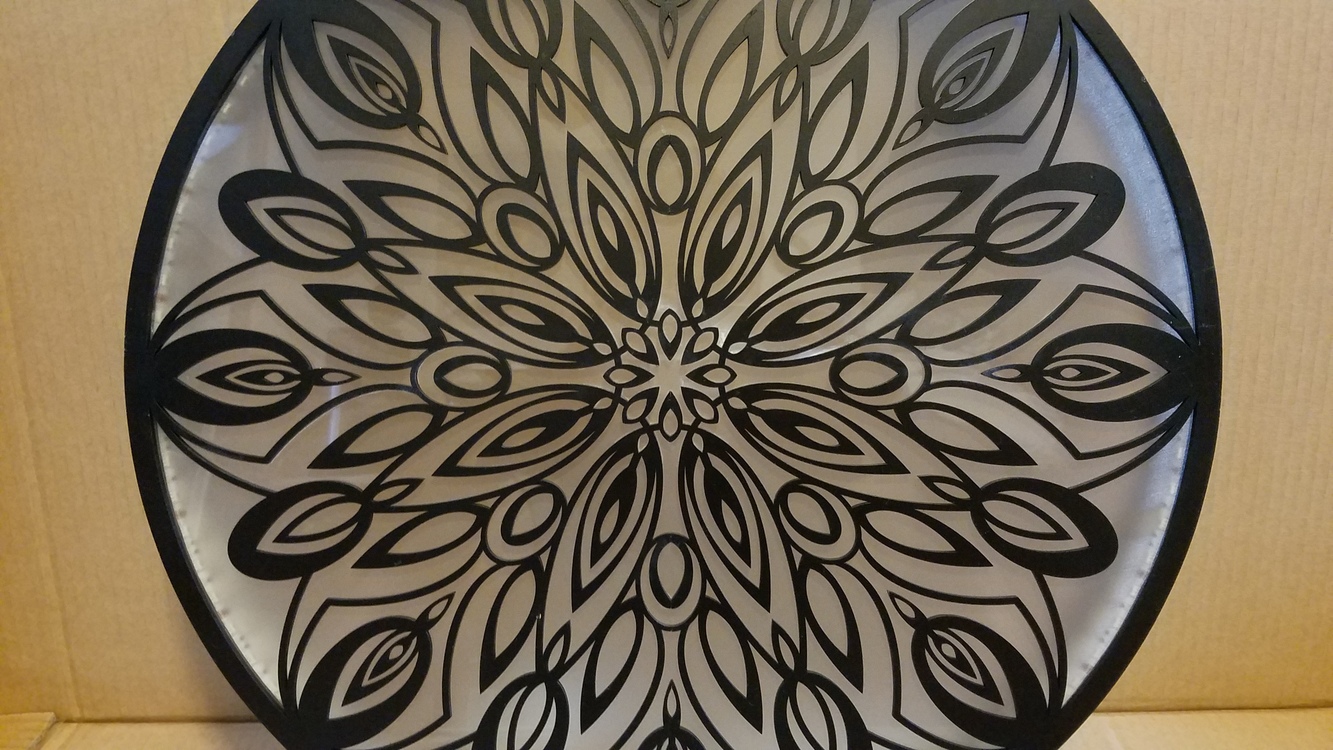
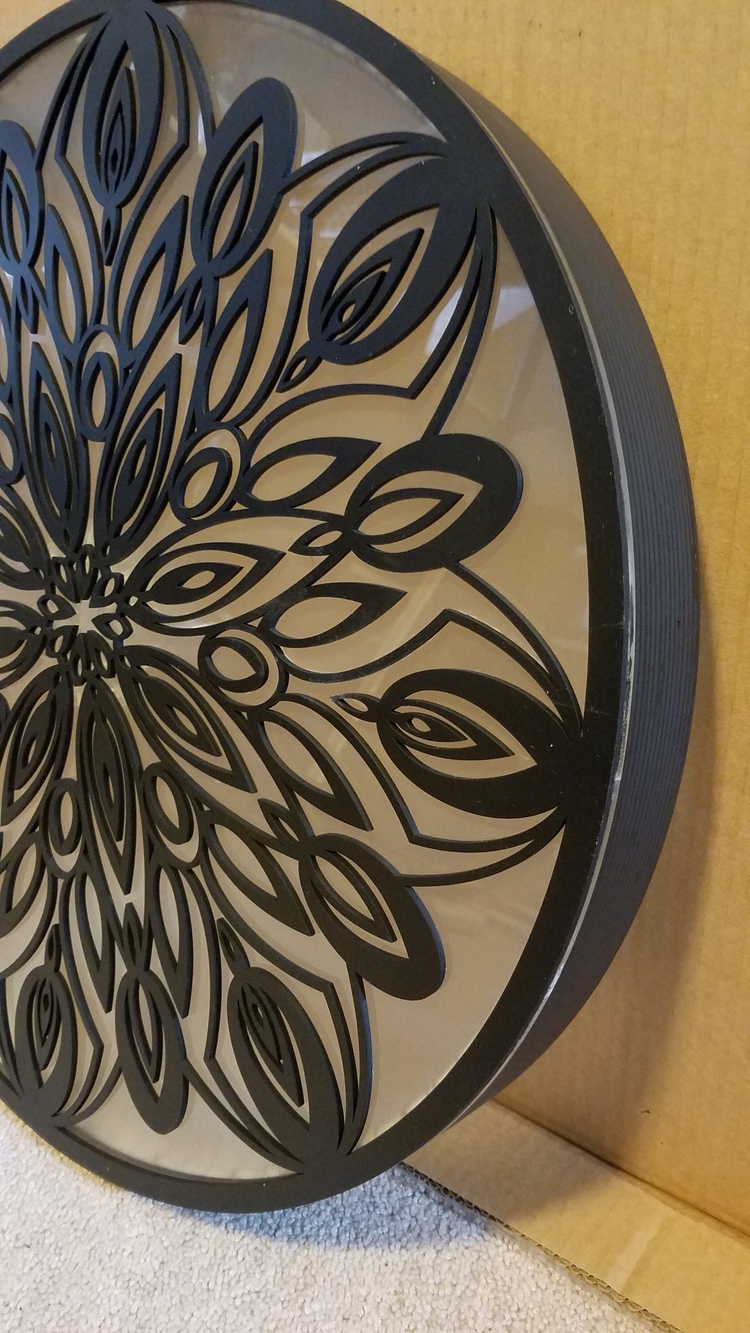
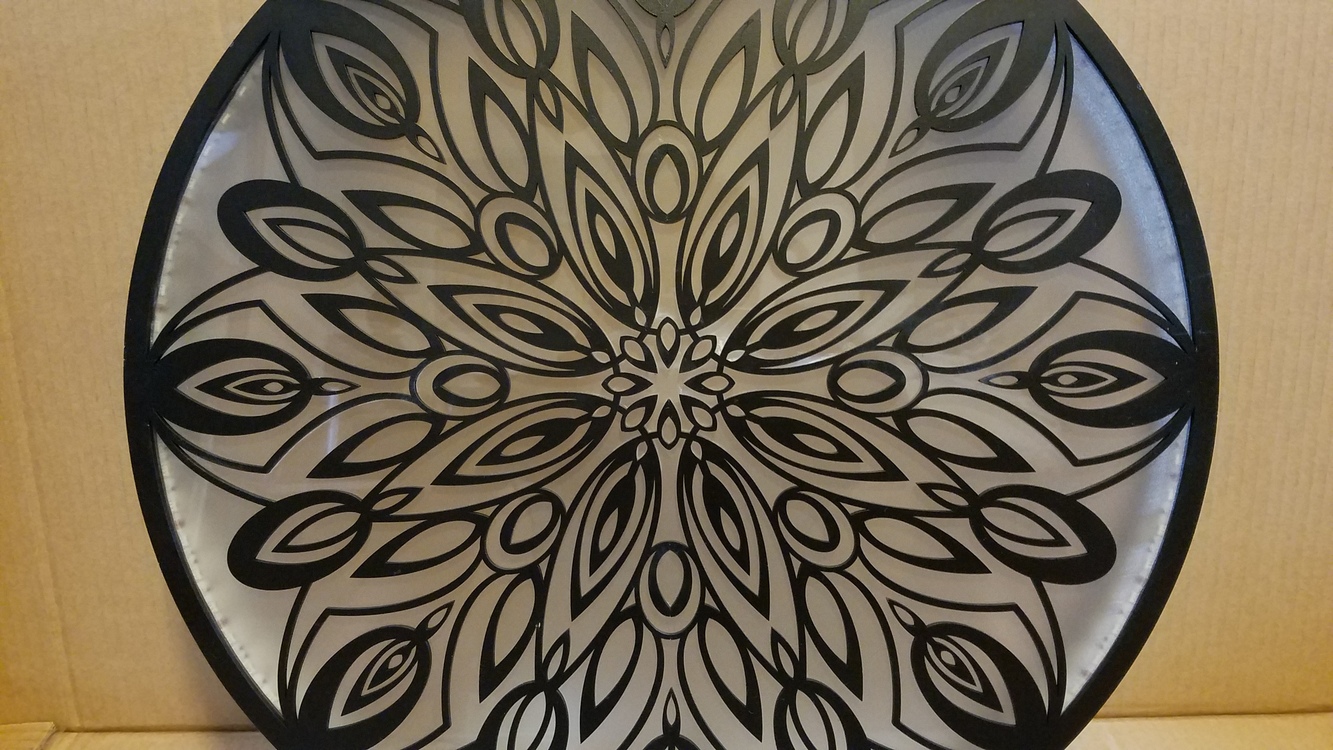
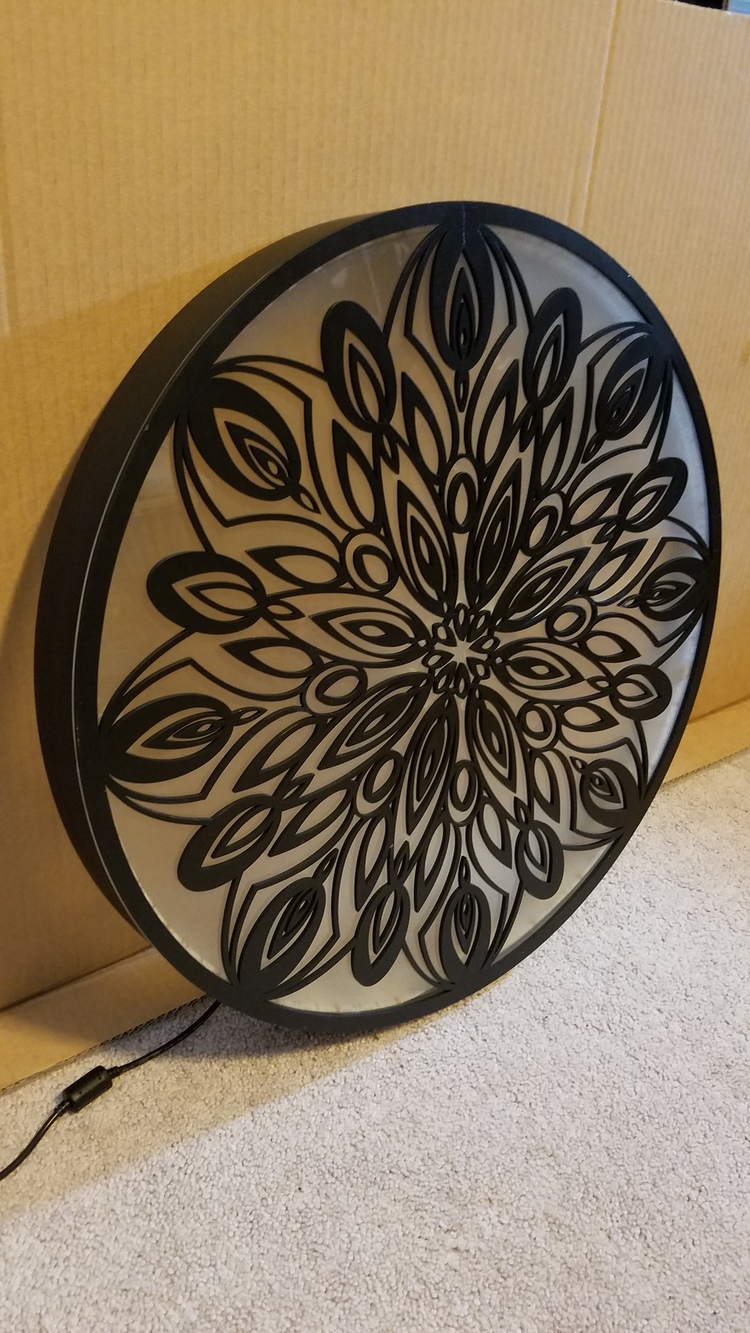
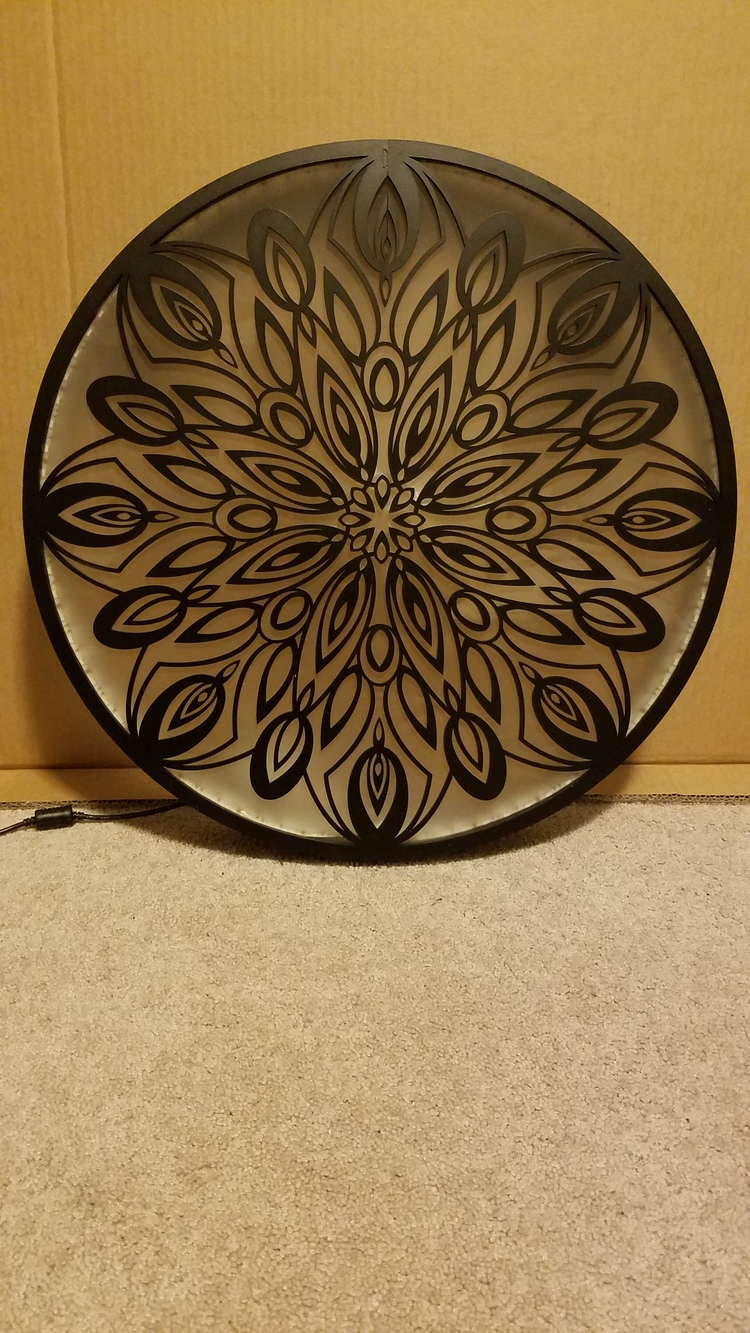
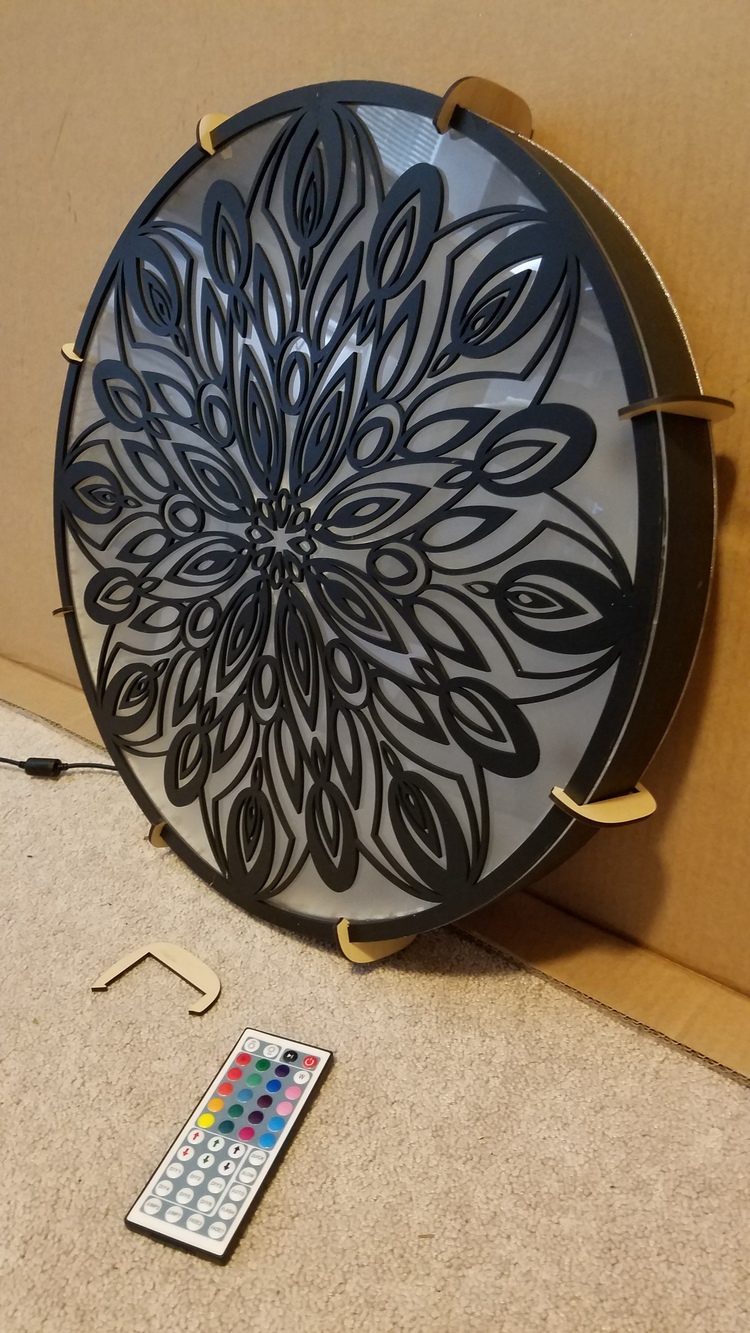
I decided not to affix the back panel permanently, so I made some sized ‘clamps’ to hold it all together. I also devised and created a ‘brace’ to go in the center to help hold the front panels flat and give it all strength and support.
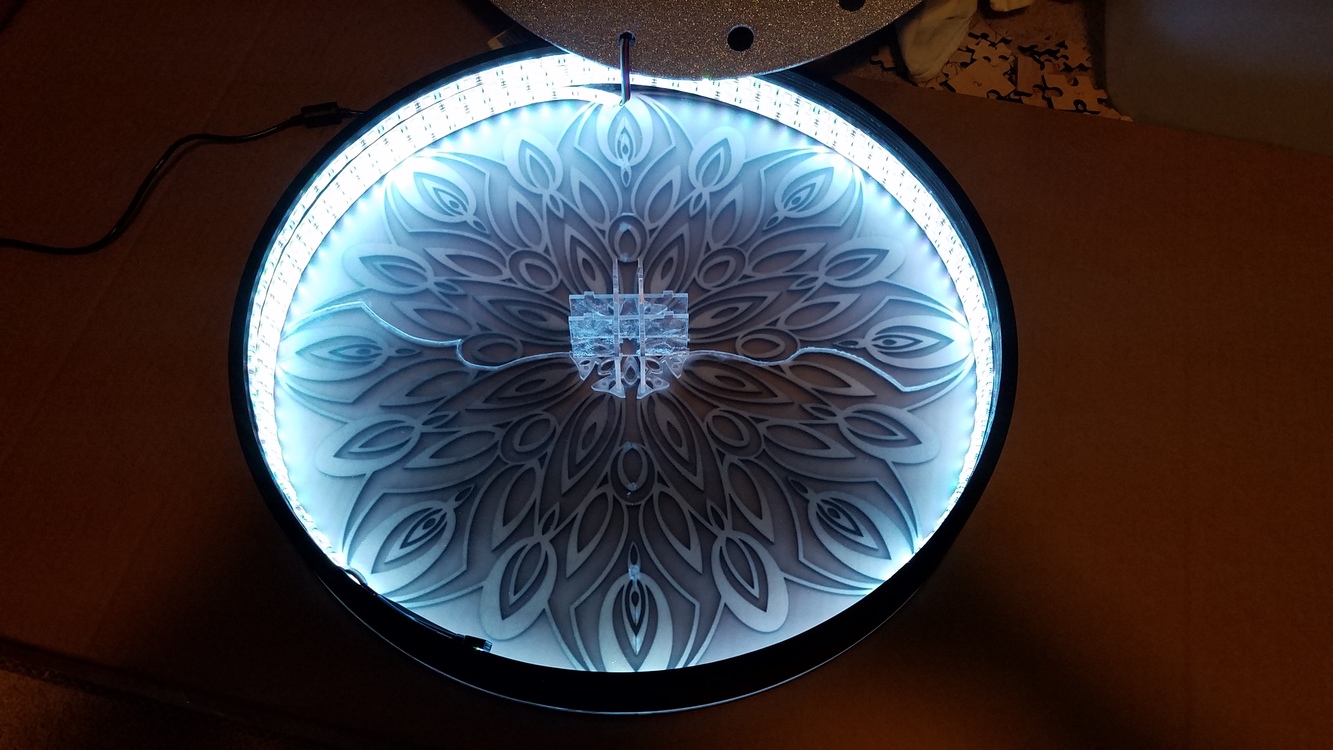
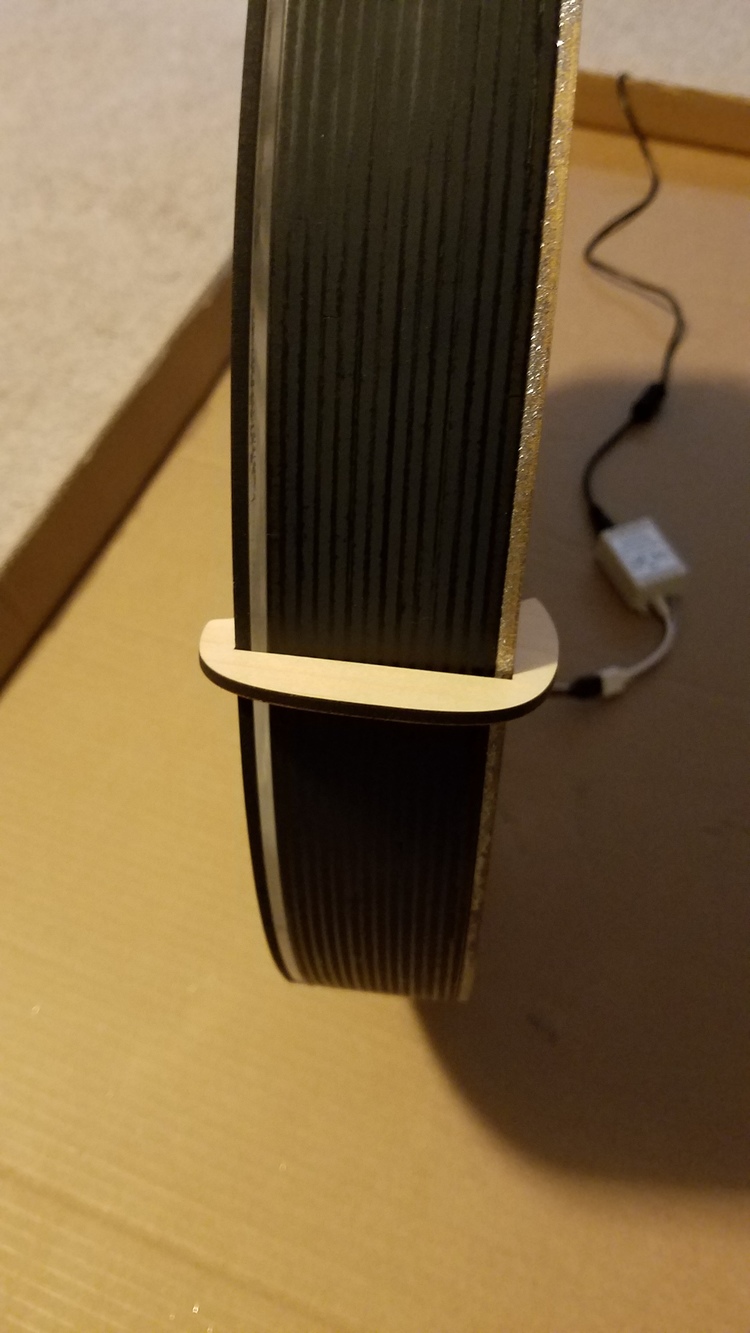
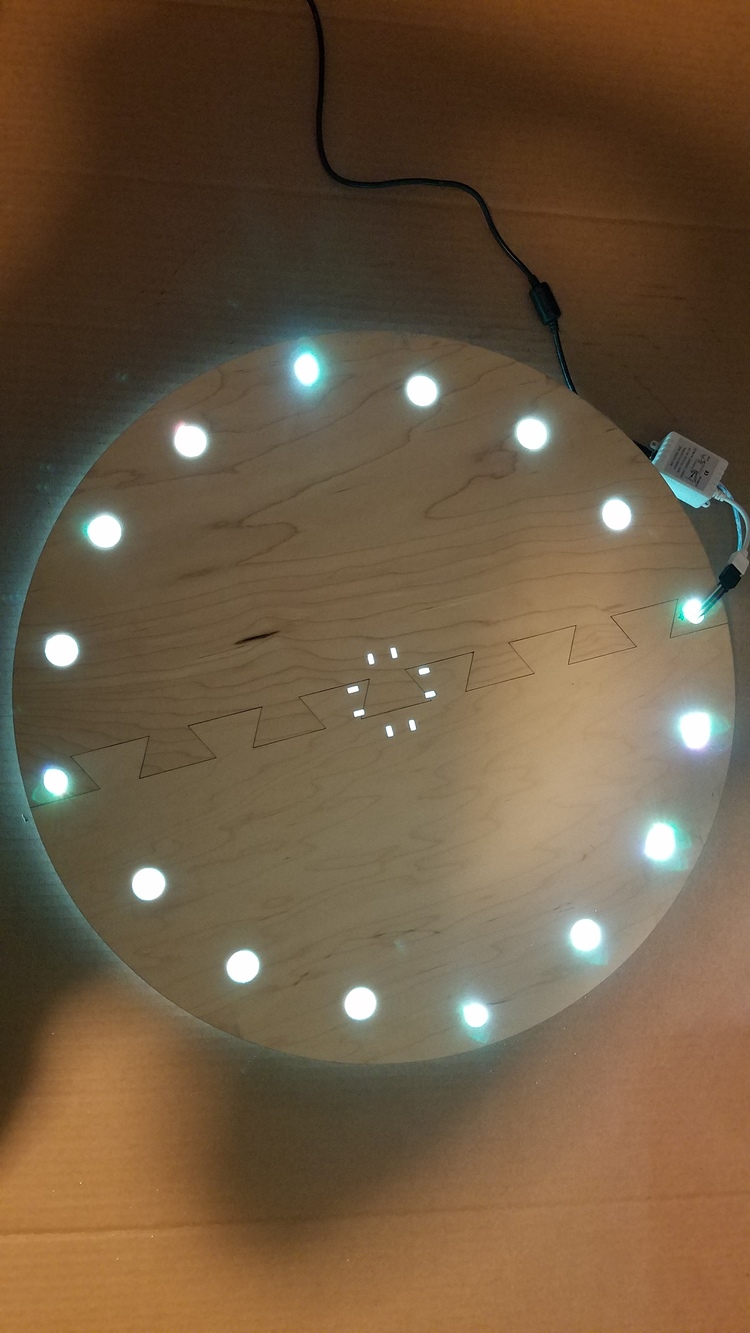
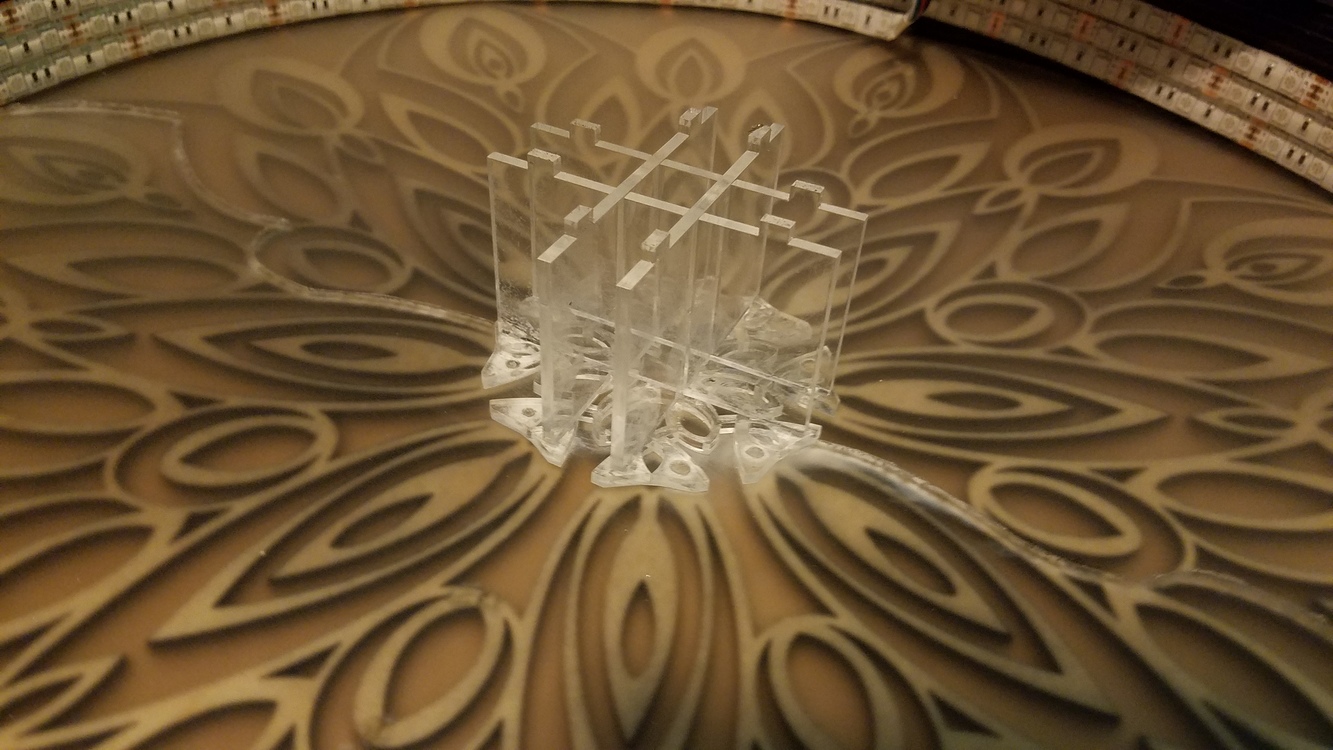
Added the lights (wrapped around the edges in 3 rows, affixed with the double sided tape it came with, and used additional super glue to make sure it stayed flush and stuck around the sides.
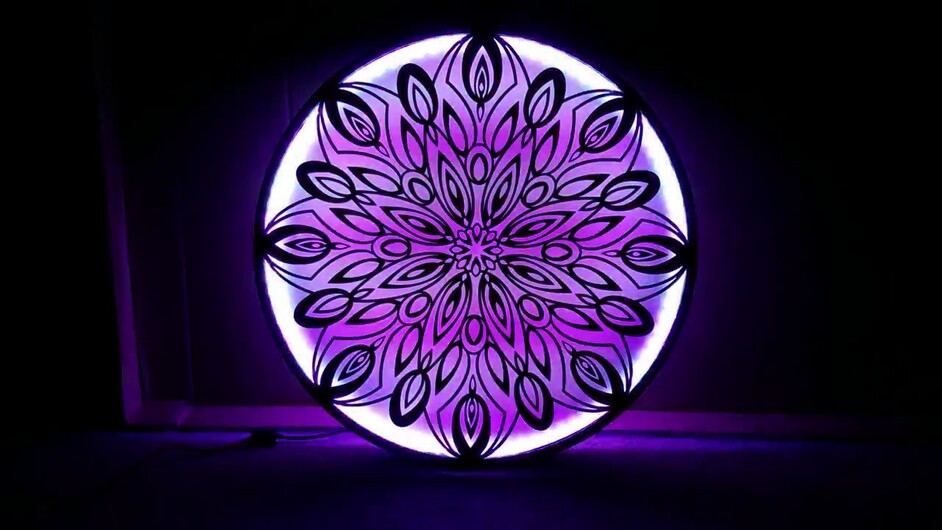
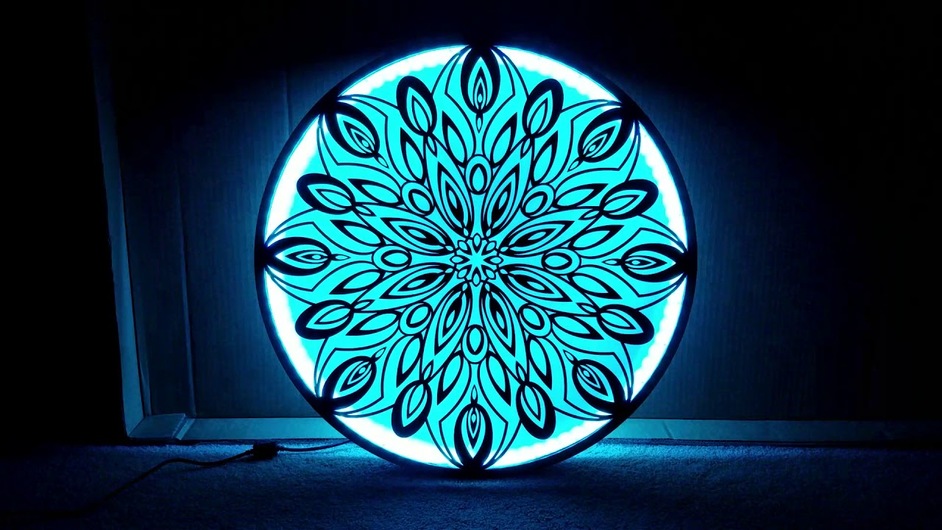
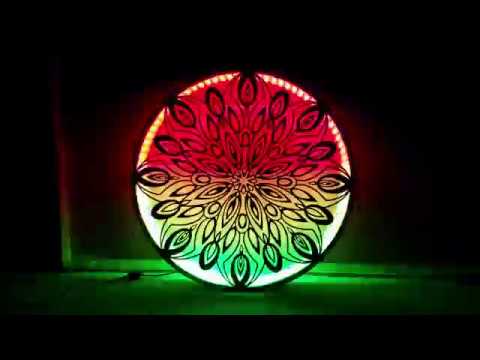
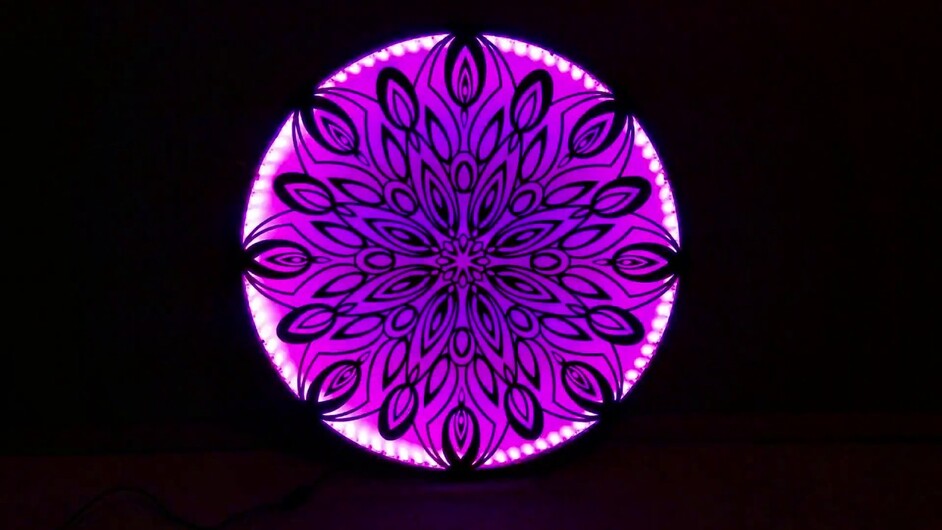
And here’s a bunch of pics of it lit!
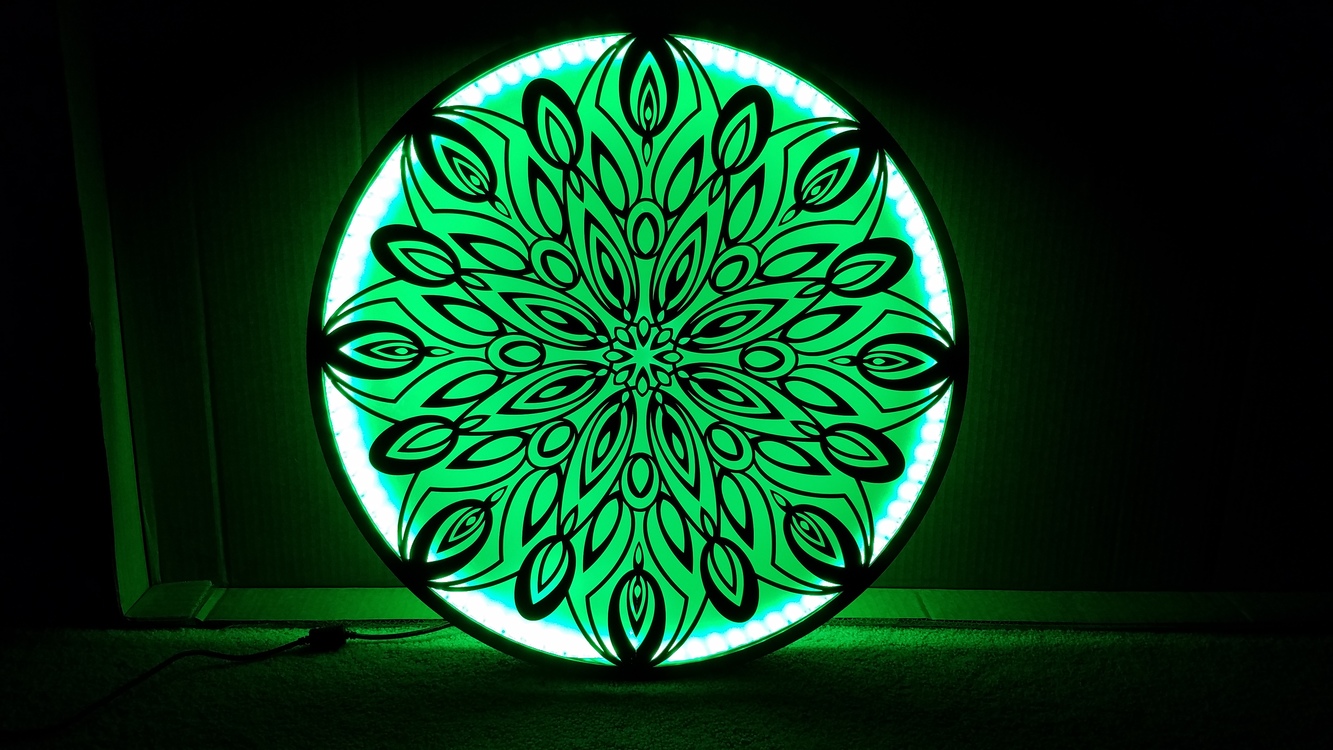
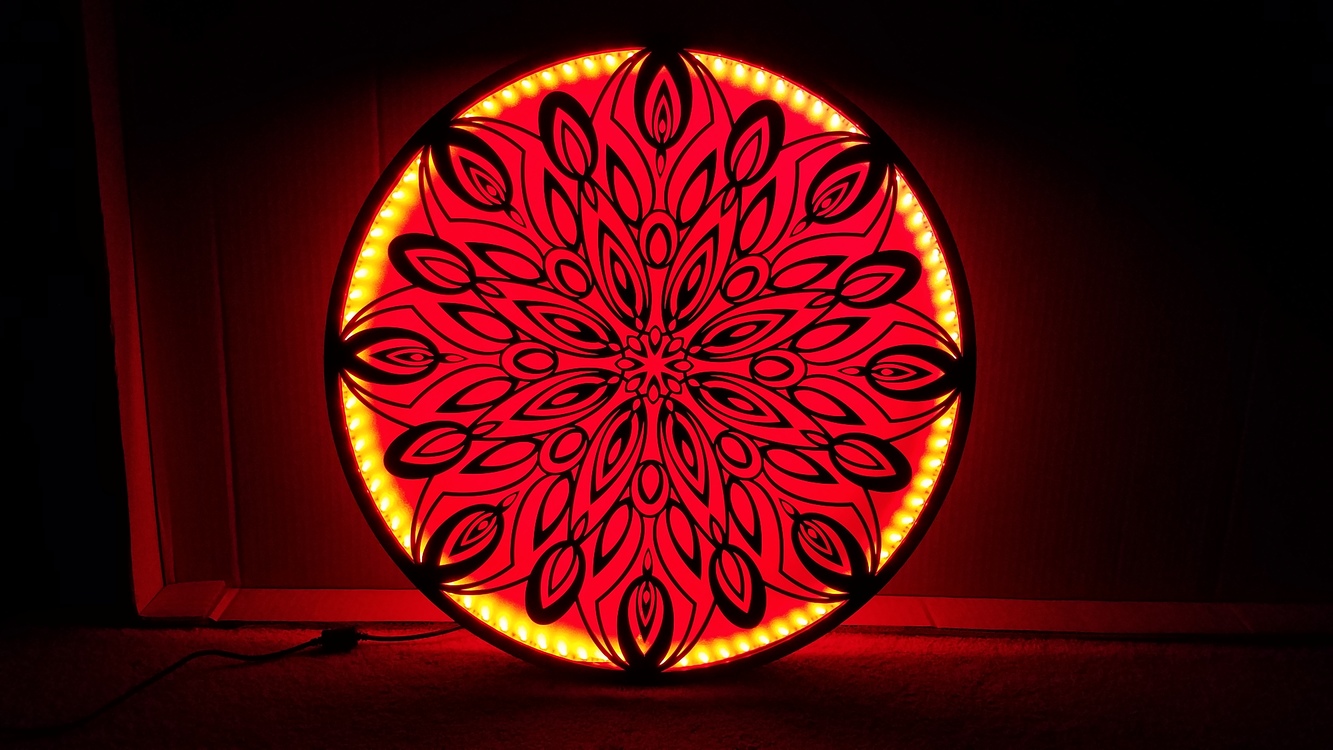
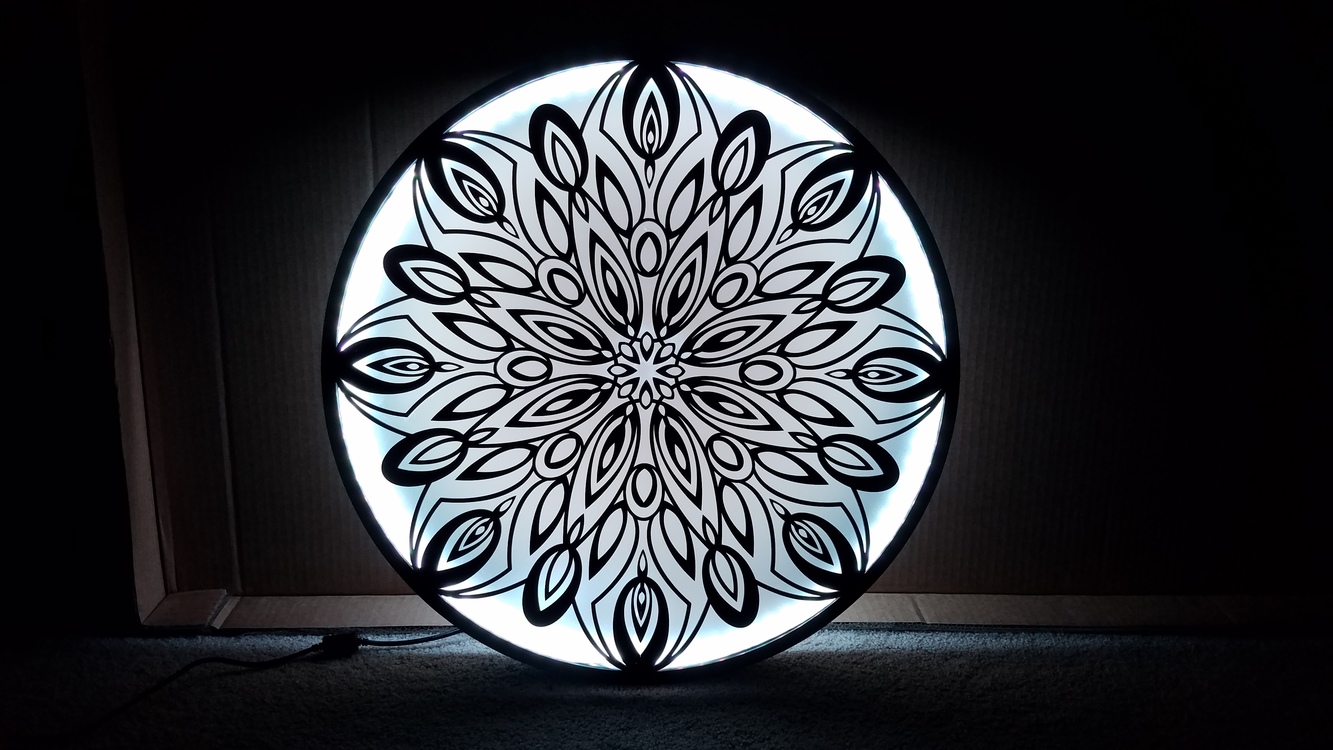
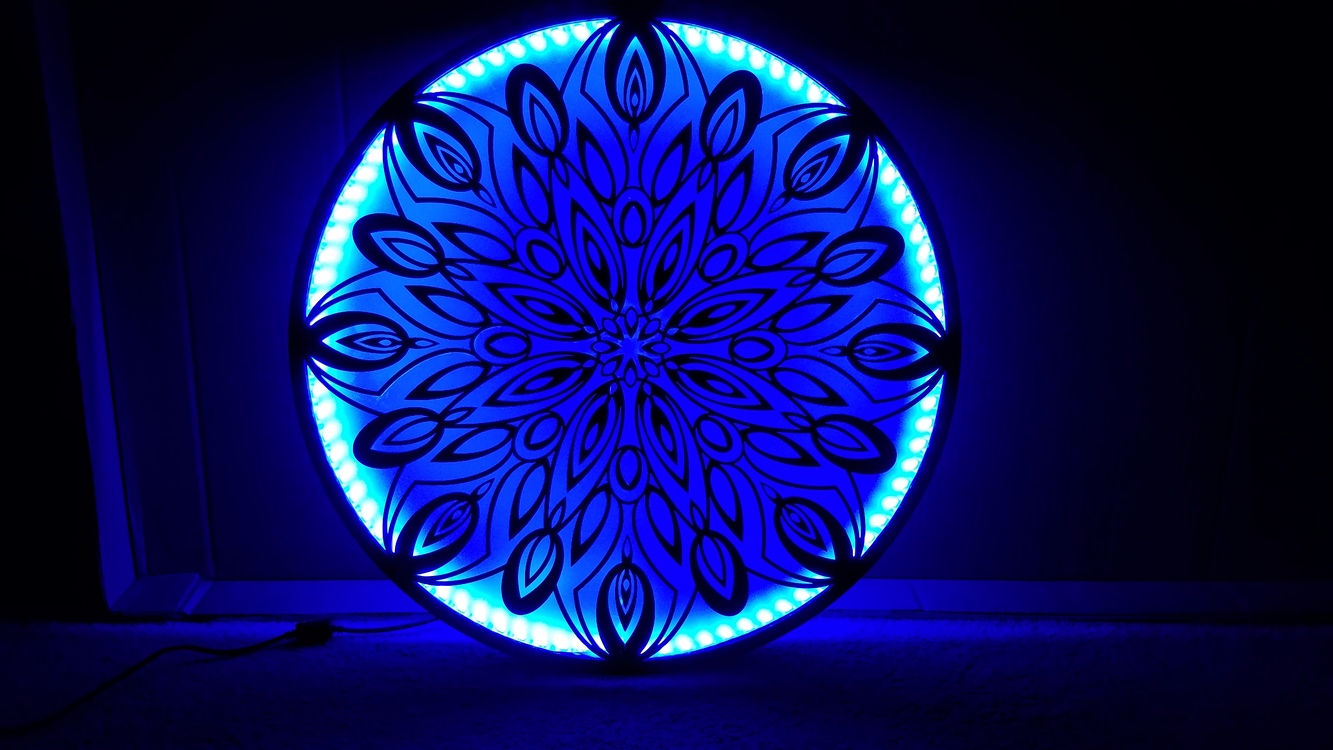
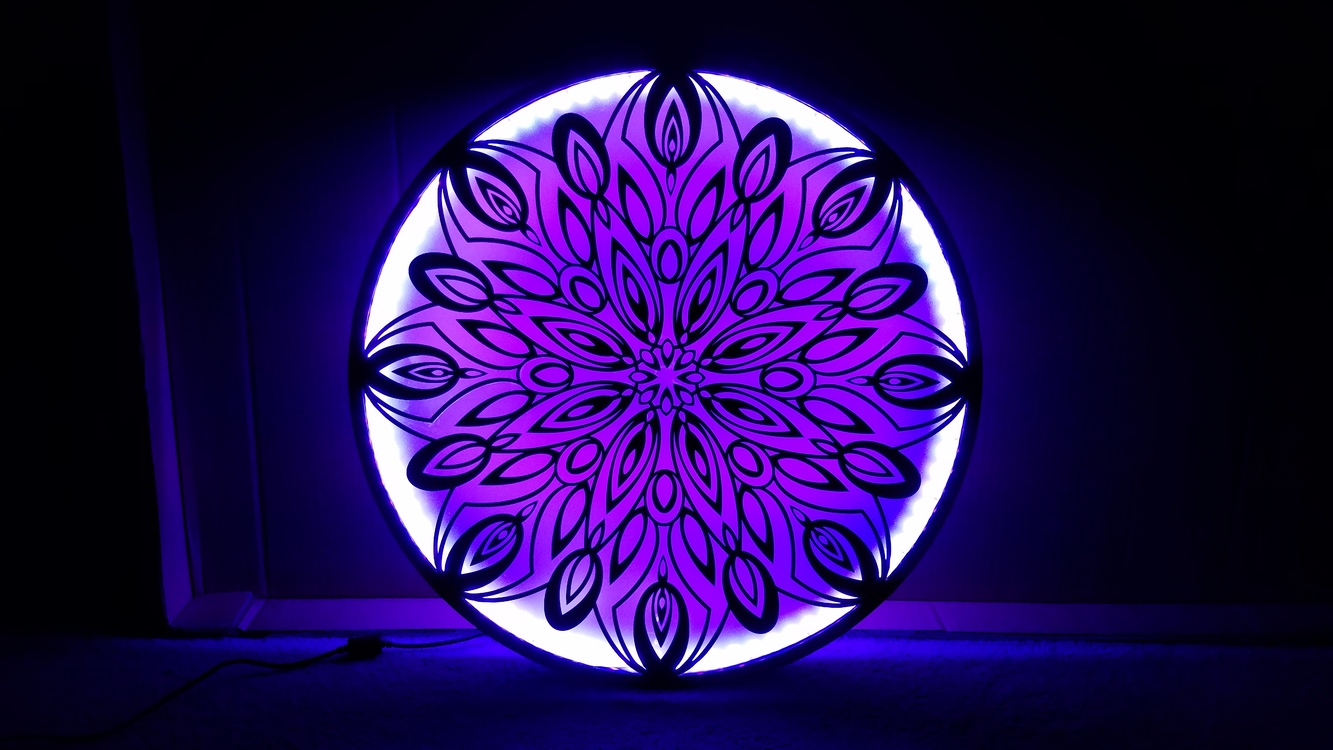
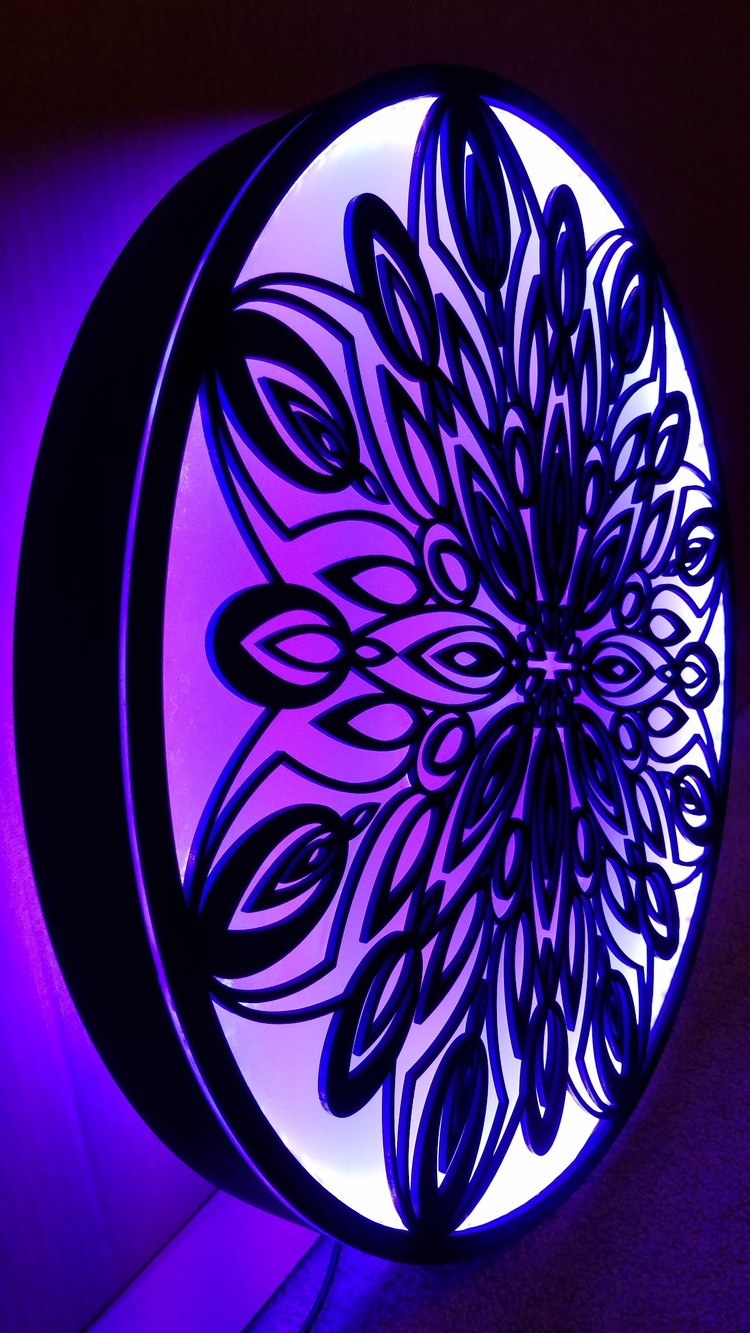
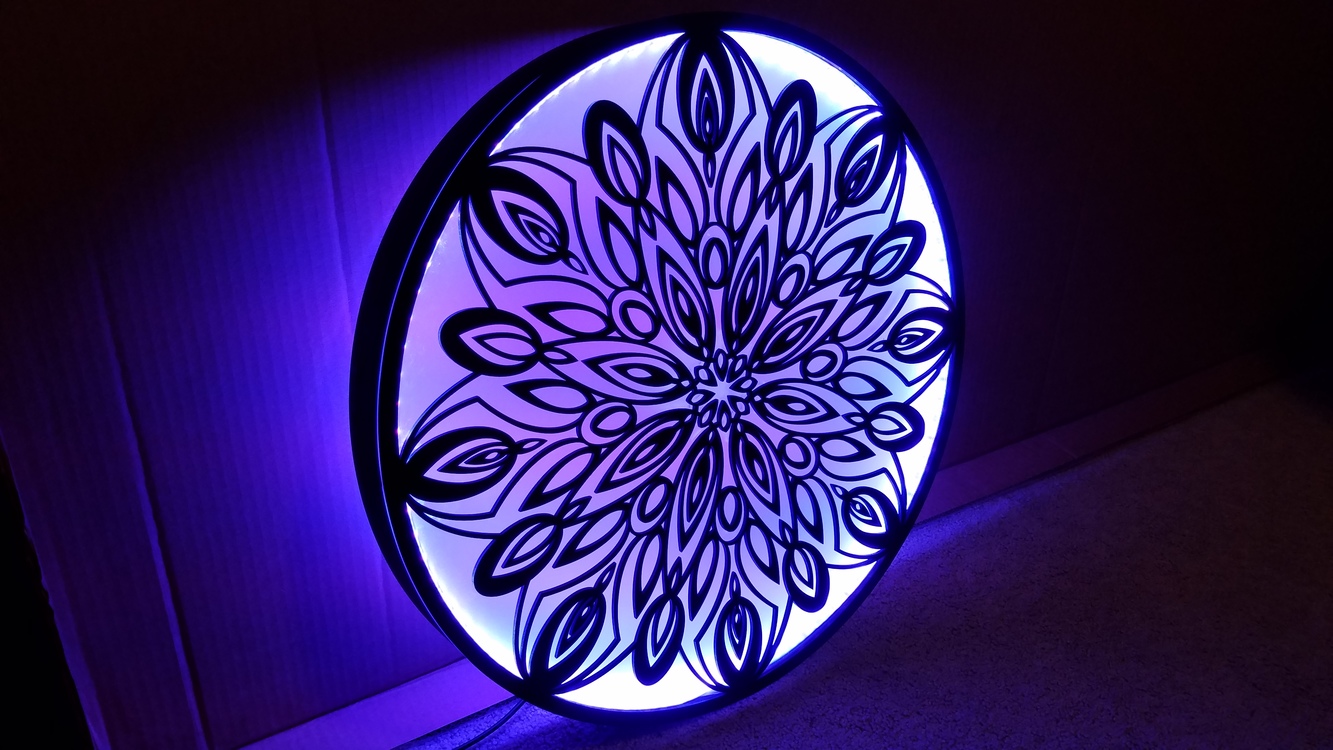
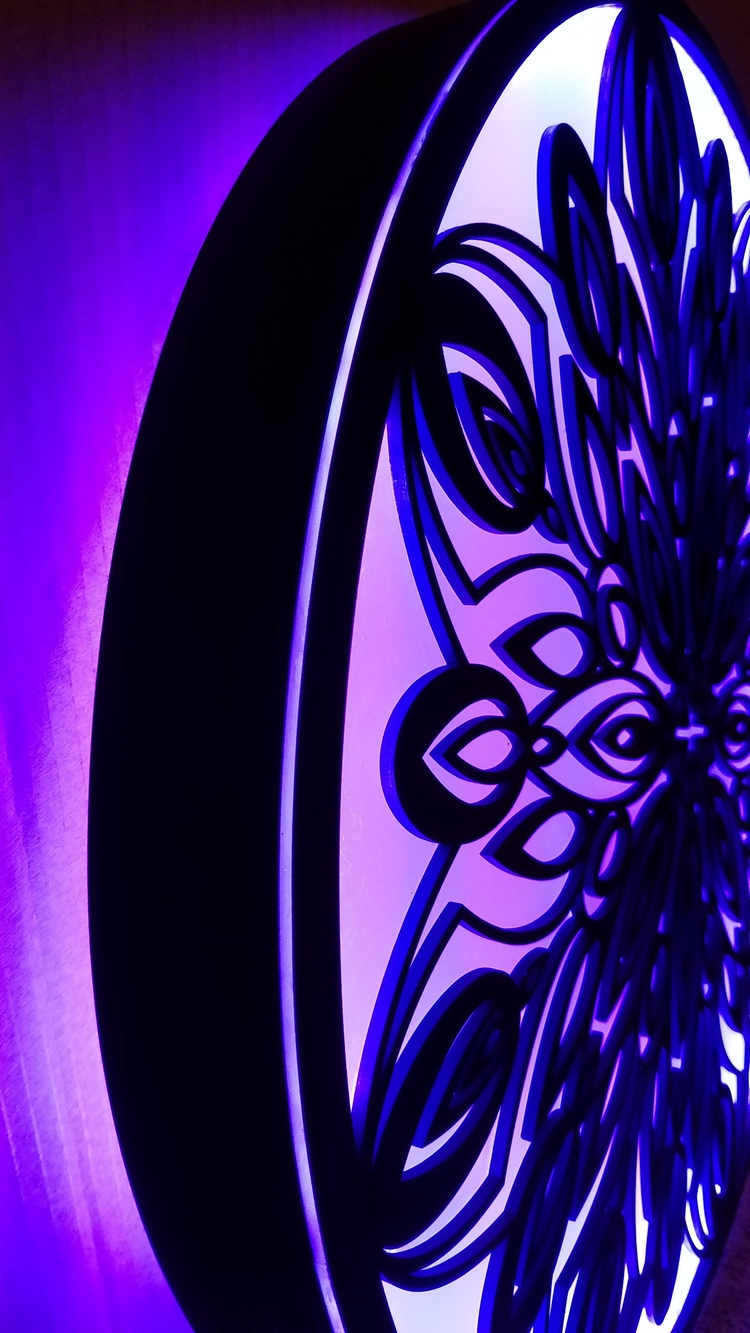
Here’s the final piece. ![]()
No time to spray the clamps black right now, as we’re leaving tomorrow and packing and preparing today and tonight.
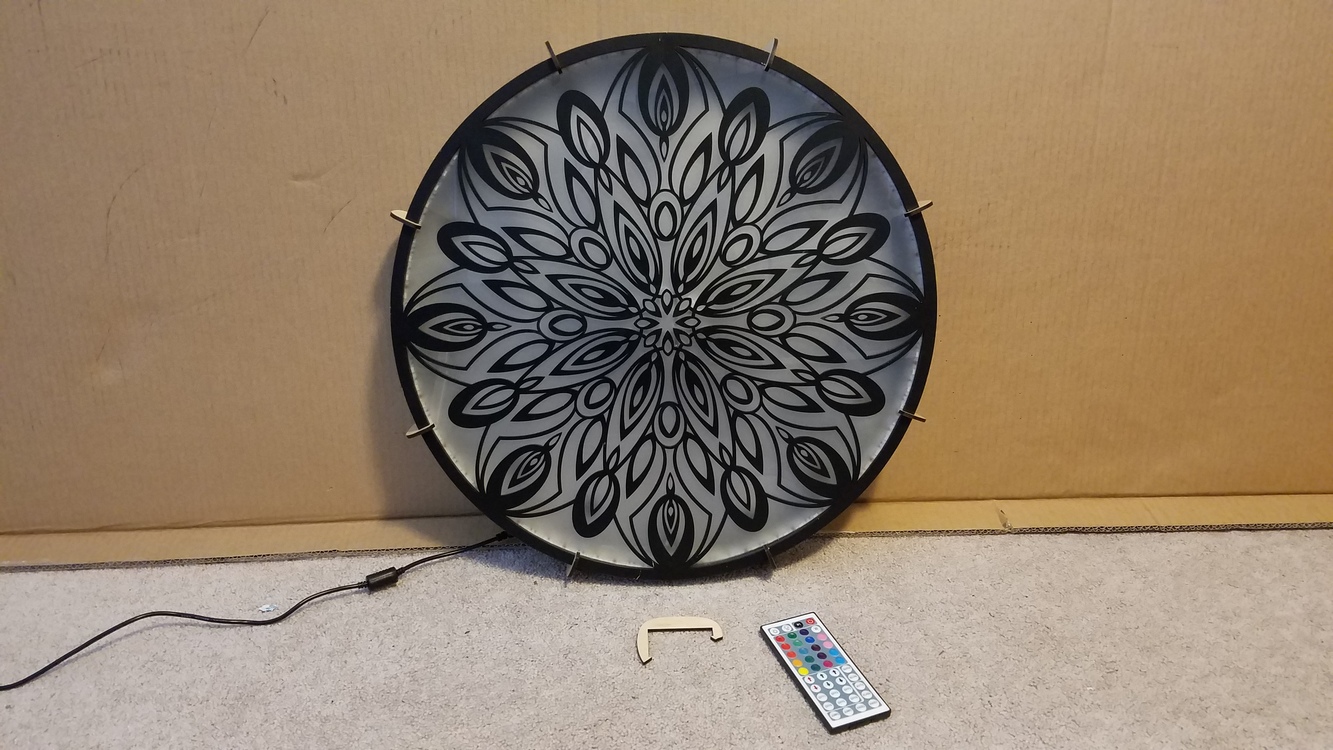
And some videos of the lights in action! ![]()
01
02
03
04
Ok, well that’s about it. I have a lot to do, but wanted to post this before I leave and go off grid for a while. Thanks for reading this far and checking this project out. <3
![]()
![]()
![]()
![]()
![]()
- R
