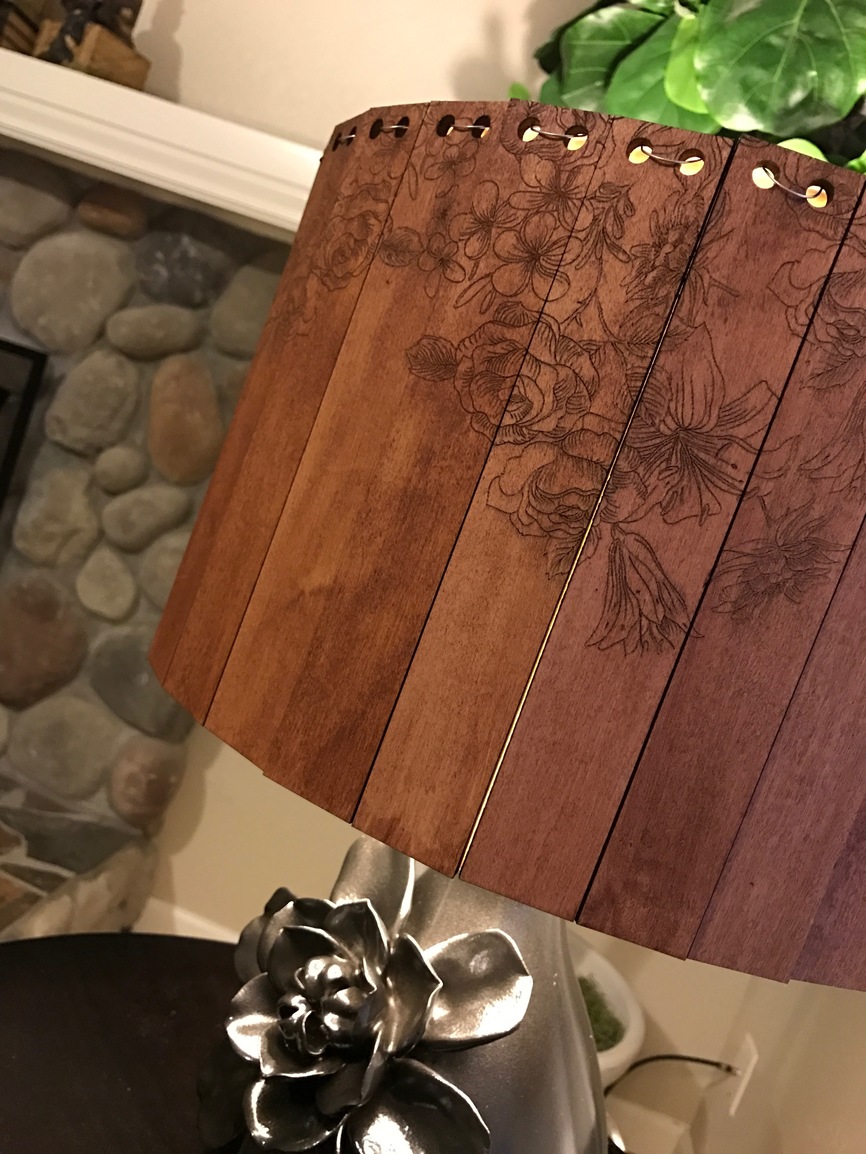
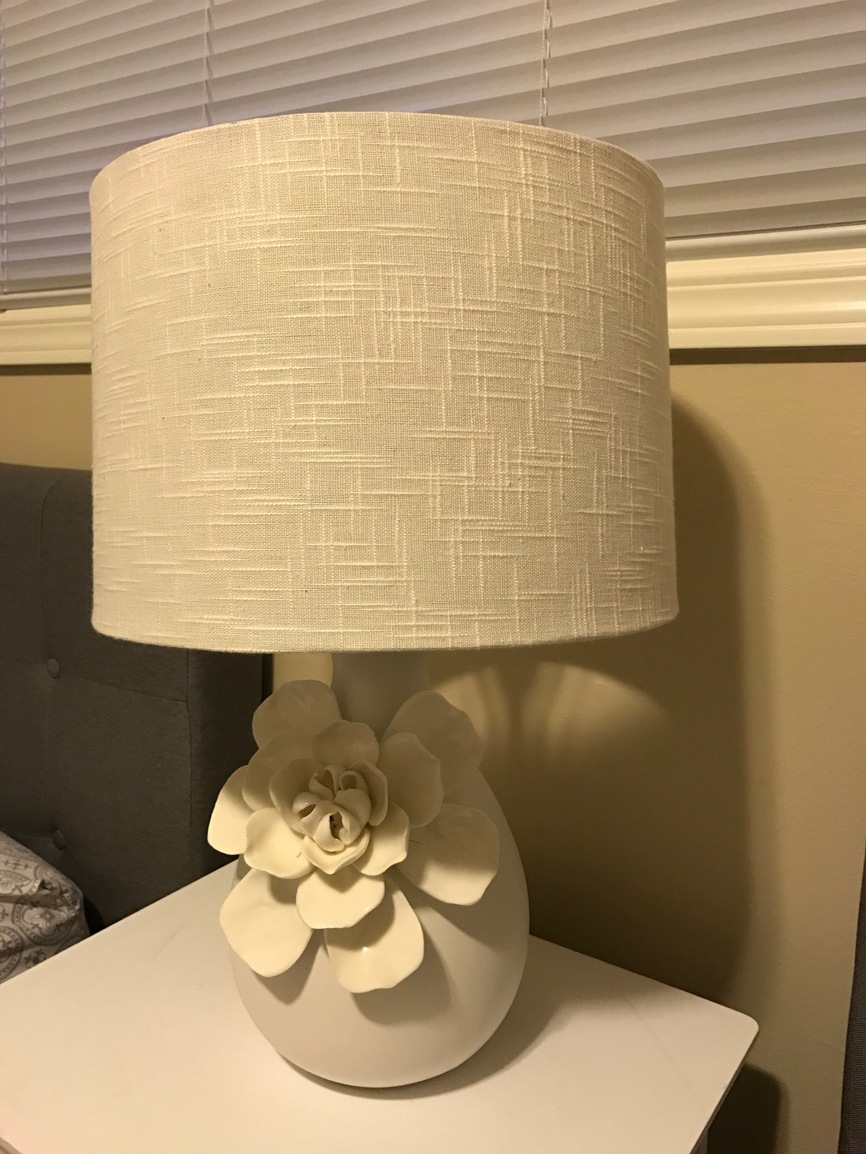
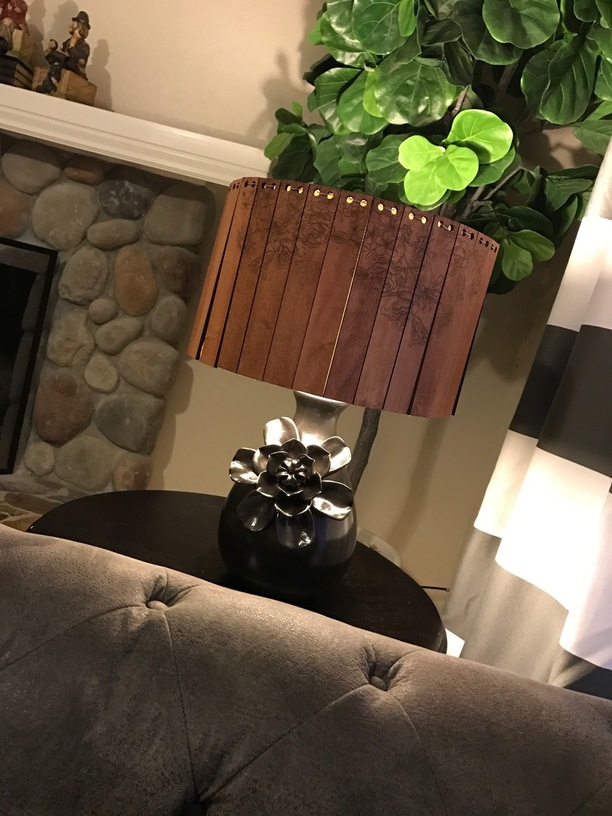
This project started out as an outdoor rustic chandelier that would have hung over our non existent outdoor dining table … as planned it would have been 3 tiers of slats attached to a tomato cage. To say the idea got lost in translation would be an understatement but in the end … I have a repurposed lamp with a really cool lamp shade!
As an owner of two mid-century homes, seeing this sort of stuff makes me really excited to get my hands on a laser - whether it’s a GF or if I decide to move to something else. From the old comes the new with a fresh breath of life & style. Very cool! Nice job!!!
THANKS! One of the ideas in my “hopper” is exactly what you did with the engraving across the slats.
(shoot, can’t ask you some specific questions about the technique…)
Pre-release folks: Have you tried this (engraving across multiple slats), would you be interested in trying something like this out? I’d like to try and work with someone to give this a go.
Not sure that’s a GF specific thing. This is one of my exercises in my Laser Design class. I have them take a photo and engrave it on a set of tongue depressors. Then they have a simple puzzle they can take home
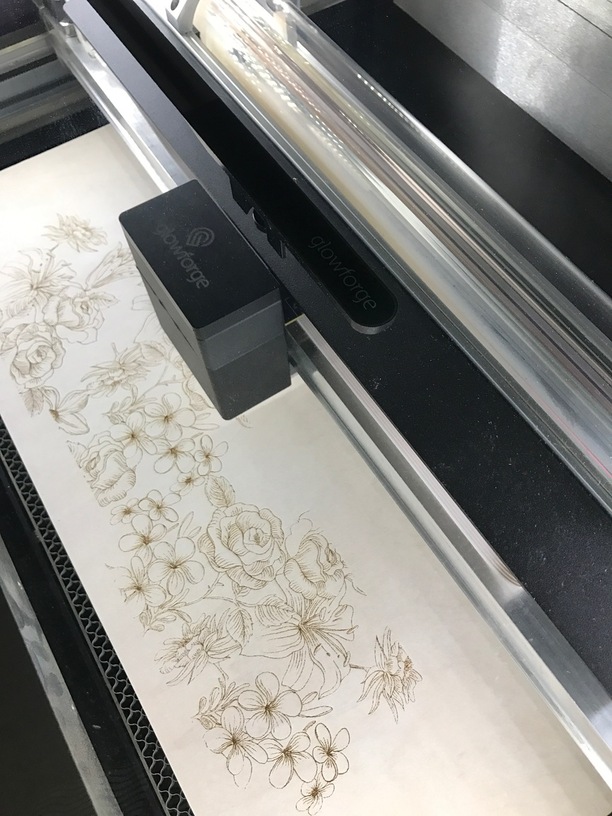
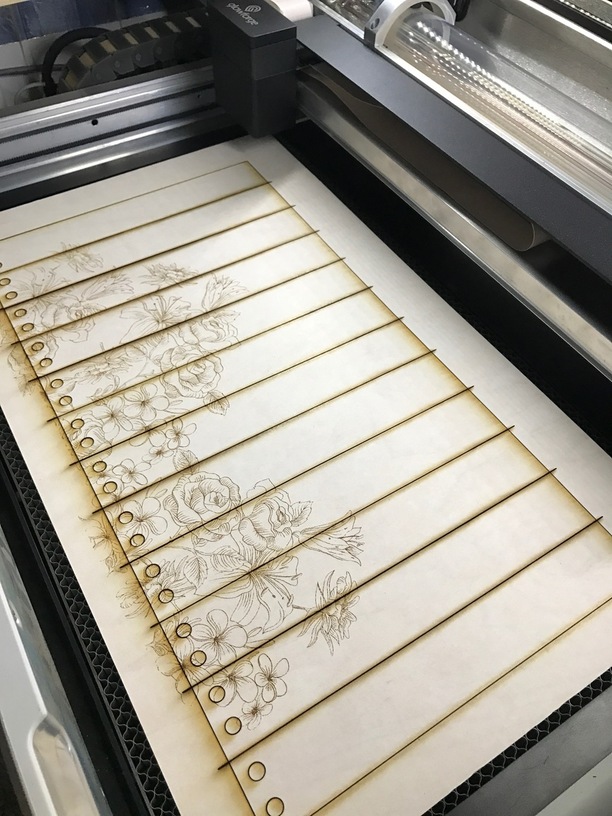
We run a strip or two of painters tape across the backs before putting them in the laser so they don’t move around. Other than that, there’s no special manipulation or anything (except photo prep).
huh. One of the things that I make a lot are wooden slat mugs (number of slats with the appropriate angles on the edges glued together into a ring with a bottom and handle). I was hoping to engrave images around the mug on multiple slats.
This gets tricky when I will need to tape them together on one side to do the engraving and then tape on the other side to do the glue-up.
I was certainly hoping that I could just engrave a single image across the multiple faces, and not have to “slice” it up in a program, engrave on each piece individually and then hope it all fits “perfectly”. Sounds like I can tape one side, engrave the whole image at once, Tape second side, remove the tape from the first side, glue-up, and continue on.
Would you recommend filling the shallow engravings with a resin and then seal with a lacquer, or would the lacquer be enough on its own?
Yeah we just treat it as if the 8 or 10 slats were just 1 bigger piece of wood. Technically we lose a few pixels in crossing the slat borders because they may have the tiniest gap between slats. Nothing noticeable though.
For sealing your engraves I’d think it would depend on your care instructions for the mugs - if they’re going to get handwashed I’d probably go with a resin fill just because I’d be worried lacquer wouldn’t hold up. But I’m not a mug maker
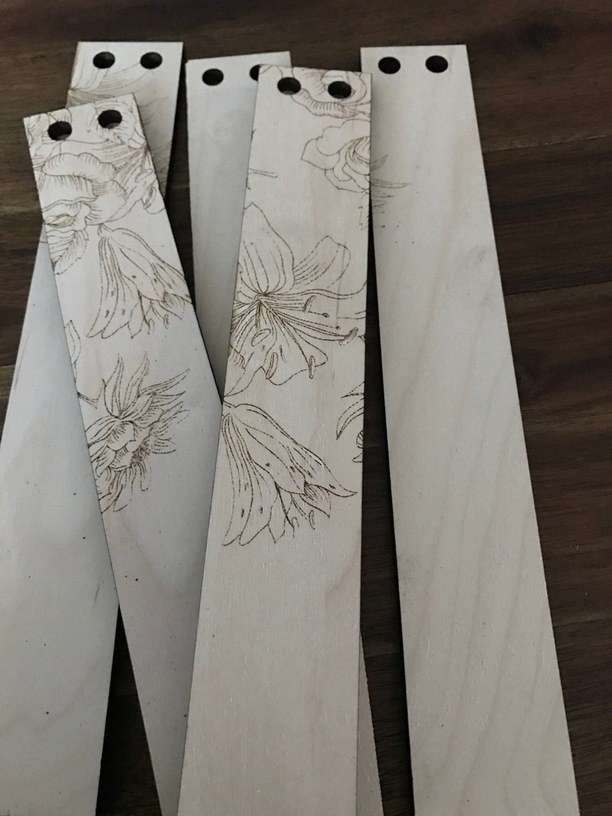
I could possibly be the LEAST technical of any beta or pre release users and leave the technical to @chadmart1076 … I find the simplest process to an end result and go for it so while I’m sure the project could have gotten super technical that’s not me … I etched, cut, stained, and looped wire through to hang the pieces around the shade …
[quote=“jamesdhatch, post:16, topic:5888, full:true”]
Yeah we just treat it as if the 8 or 10 slats were just 1 bigger piece of wood. Technically we lose a few pixels in crossing the slat borders because they may have the tiniest gap between slats. Nothing noticeable though.[/quote]
That is essentially how I did my Trip-Tychs project. The only difference is I allowed a half inch overlap in where I cut the photos to account for the framing. (The diptychs were more than 50" across so half an inch wasn’t much.)
 What a bright idea! (Ba-dump-dump!)