Hello again everyone,
Guess what!
You’re right!
I have another hanging planter concept project to share. ![]()
I’m kind of on a roll with these things now I suppose, and even have some others that I’m still working on as I continue to try out and test new ideas as they come to me. It’s all new territory for me, designing 3D objects with Illustrator in 2D vector plans, but I’m having pretty good luck so far!
Anyhow, I’m really happy with how these turned out. As usual, there’s loads of pics below!
If you haven’t seen the last 2 planter concepts I’ve shared as Beta Projects, then check em out here and here. I’ve already gone into some of the details of how I made them, sealed them, etc. so I won’t go through that all over again on this one. ![]()
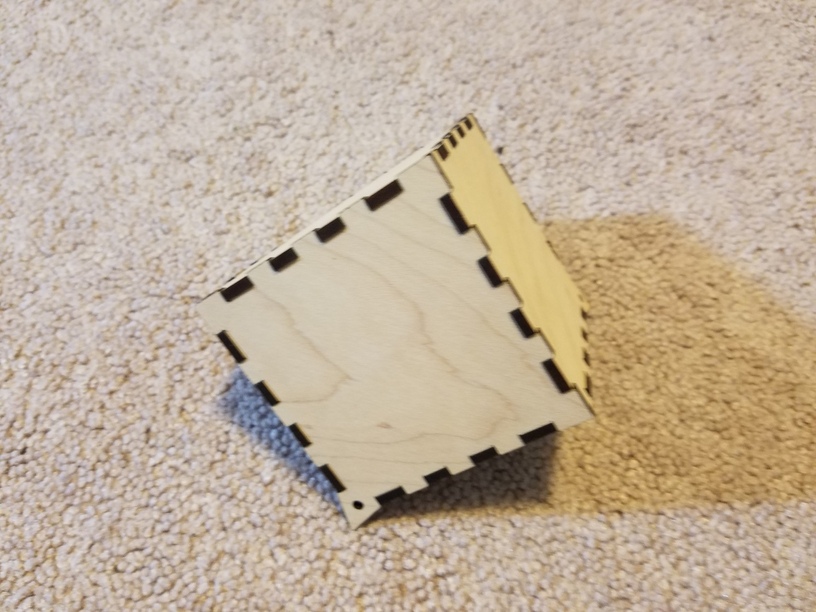
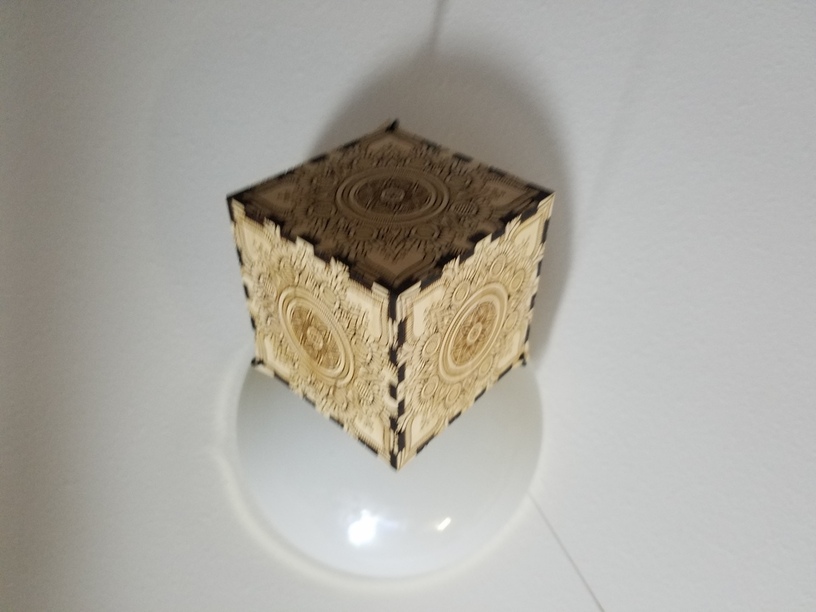
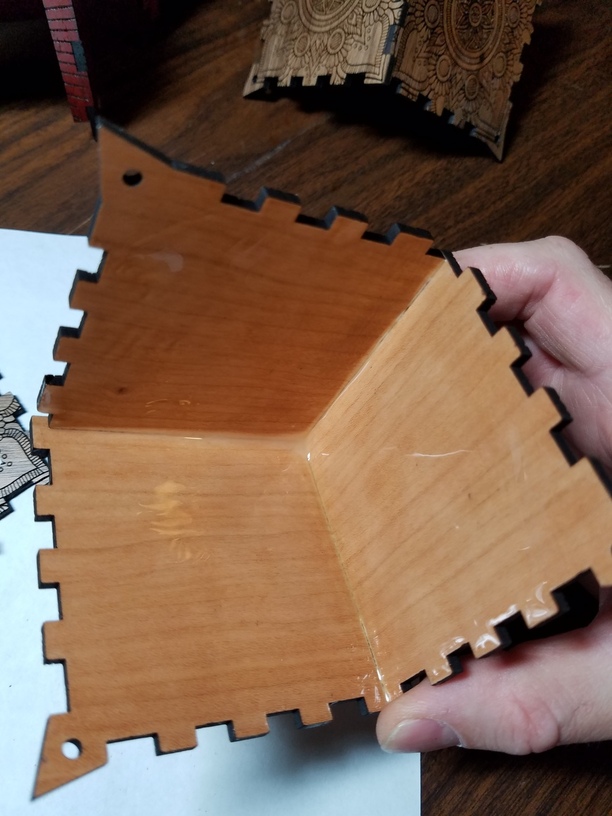
Once again, using what I learned with making finger jointed boxes, I came up with the idea to make a ‘half-box’, a 3 sided pyramid, or what I now know is called a Hemicube.
I was holding one of the first boxes I made, and kind of spinning it in my hand on one of the corner points. I took that box apart to see it with only 3 of the sides attached to each other. In my minds eye I could picture hanging it from the points of the top of each of the 3 sides. Hard to describe i guess, so have a look below.
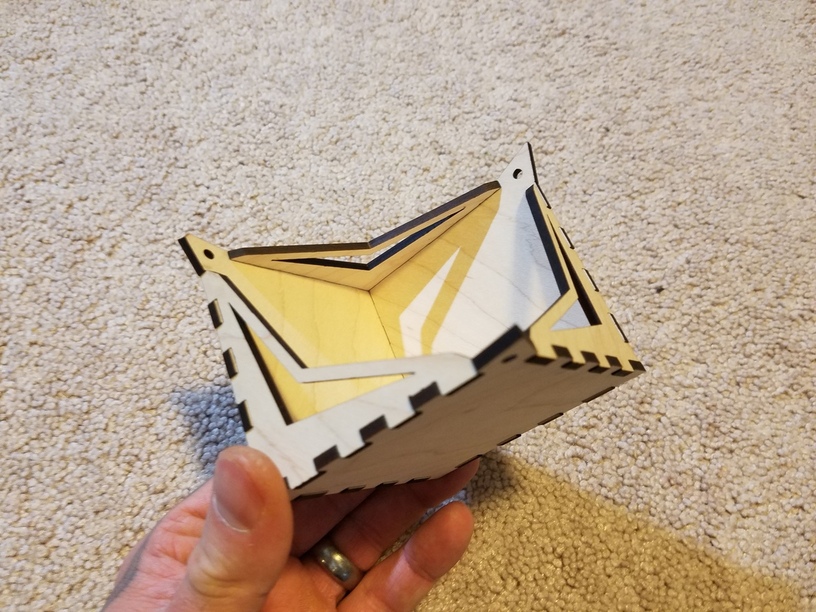
Ok, so here’s the first try… I designed the other 3 sides to be ‘edges’ to still have the function as a container and cut it out. Hard to conceptualize every detail in my head and work out joinery issues using Illustrator, but this first test was all I needed as a proof of concept (even though it didn’t exactly fit together because of some design errors. This one is done using some unfinished ![]() hardwood.
hardwood.
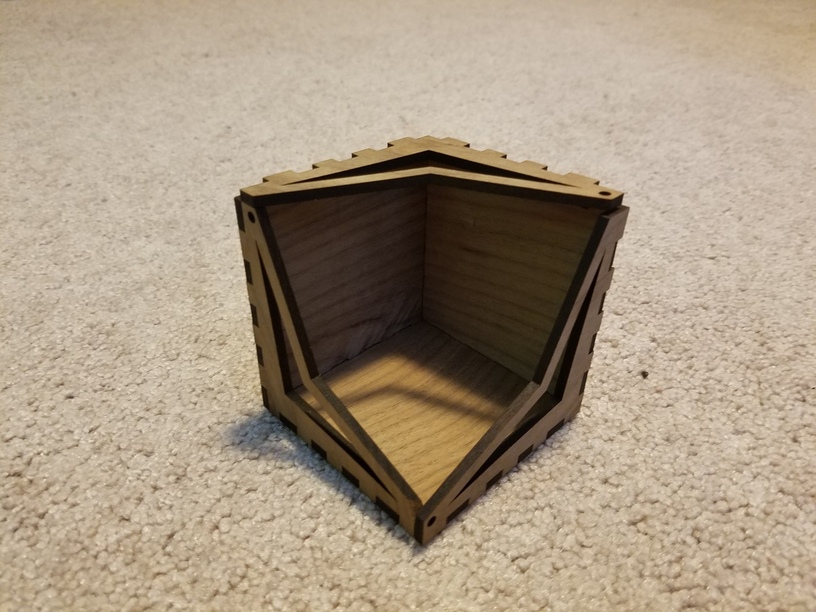
As you can see, designing a 3D idea is difficult to do in a 2D space, and I didn’t exactly anticipate how it would fit together.
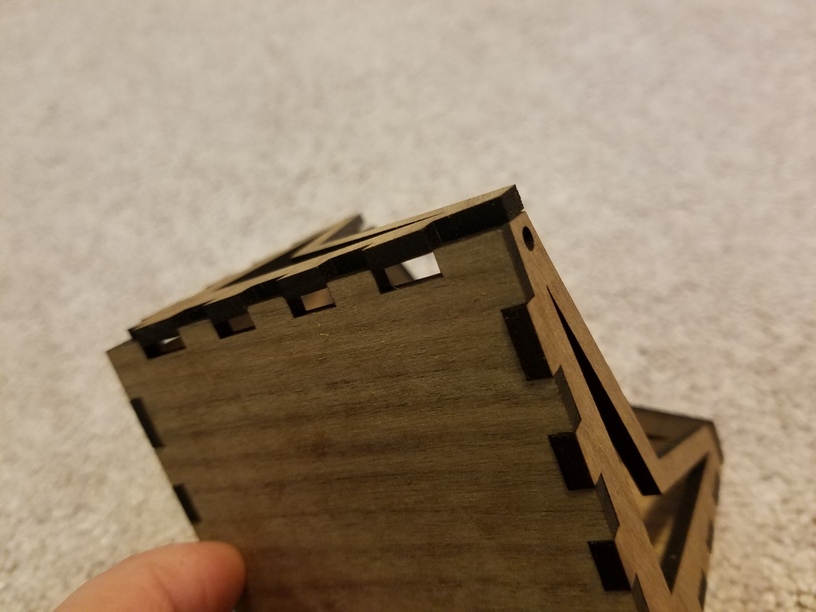
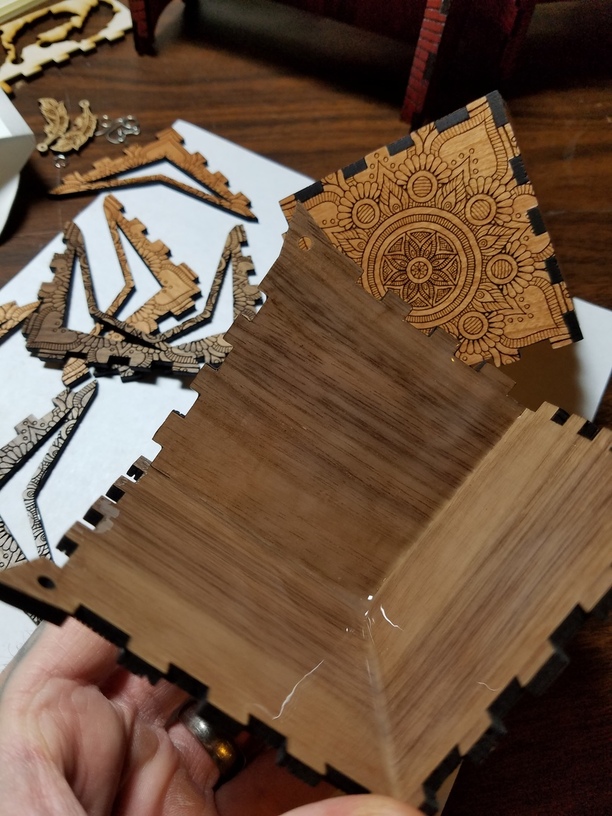
But, I used this trial and error test to finalize the next iteration in which I added a bit more style to the hanging points as well. I also had to adjust the kerf of the design to work with the finished ![]() plywood I decided to use to make them now.
plywood I decided to use to make them now.
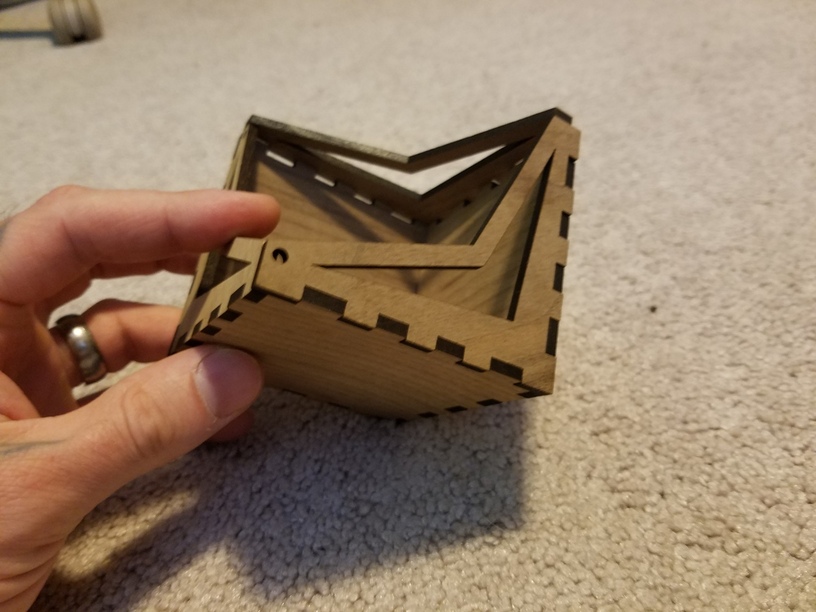
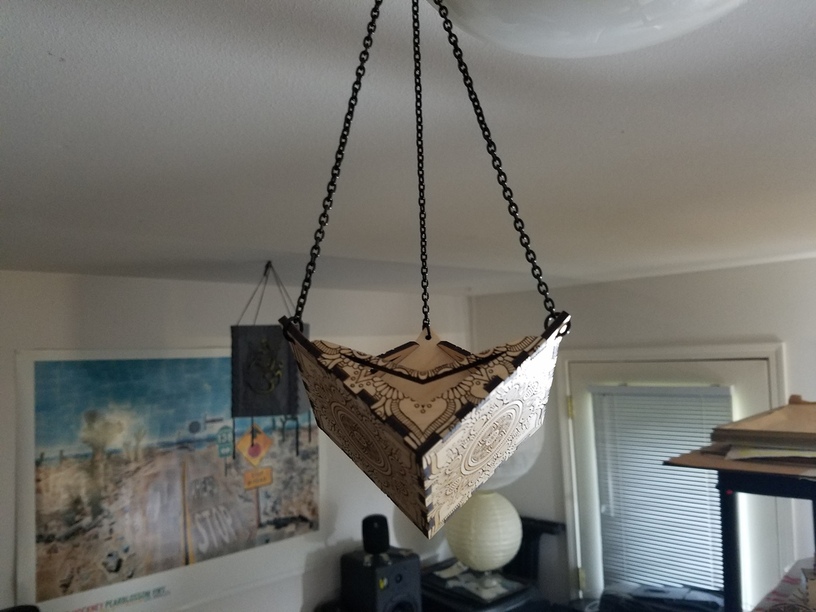
So here’s the next version using the ![]() maple ply. It fit together perfectly.
maple ply. It fit together perfectly. ![]()
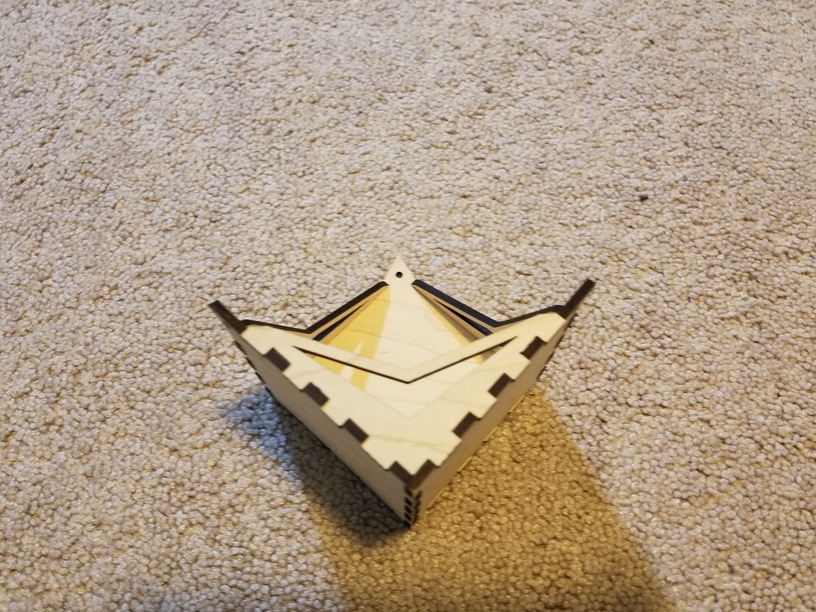
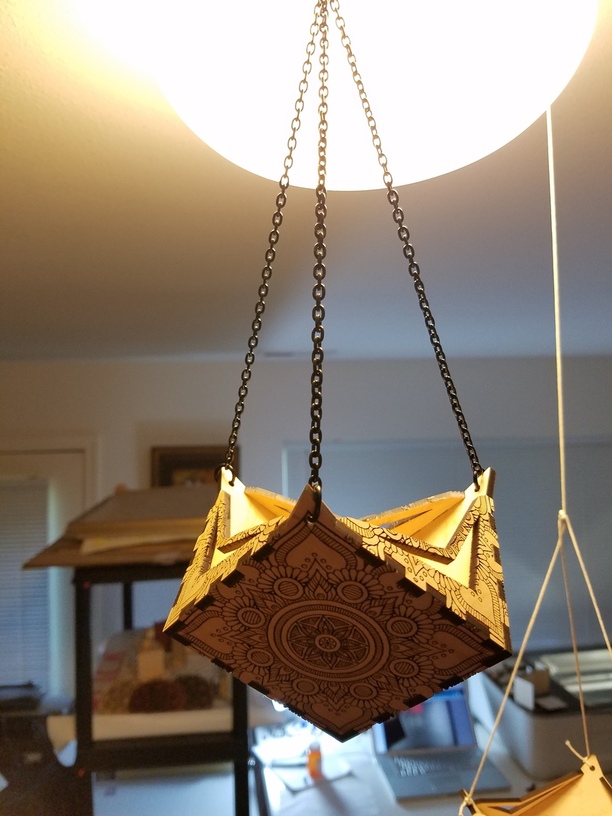
Next, I tested how I pictured it would hang at the 3 ‘corner’ points coming together into one using some string…
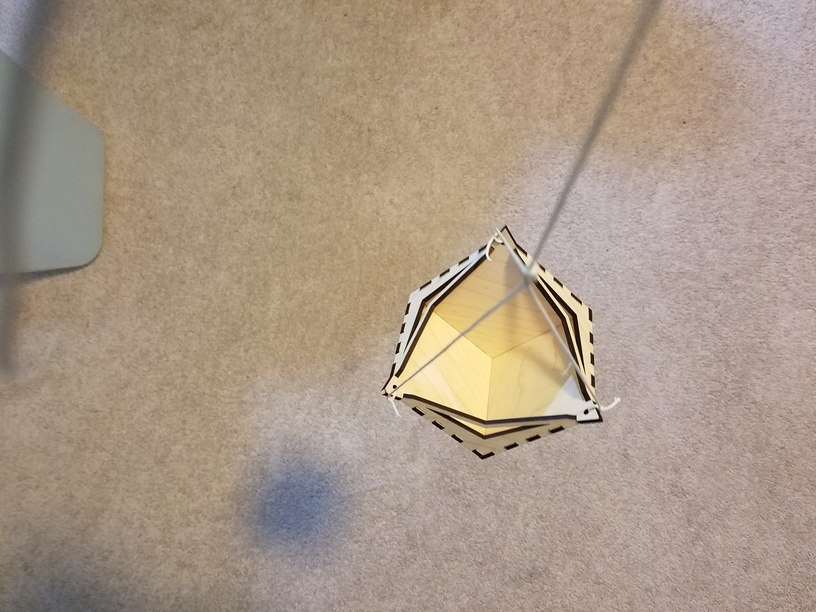
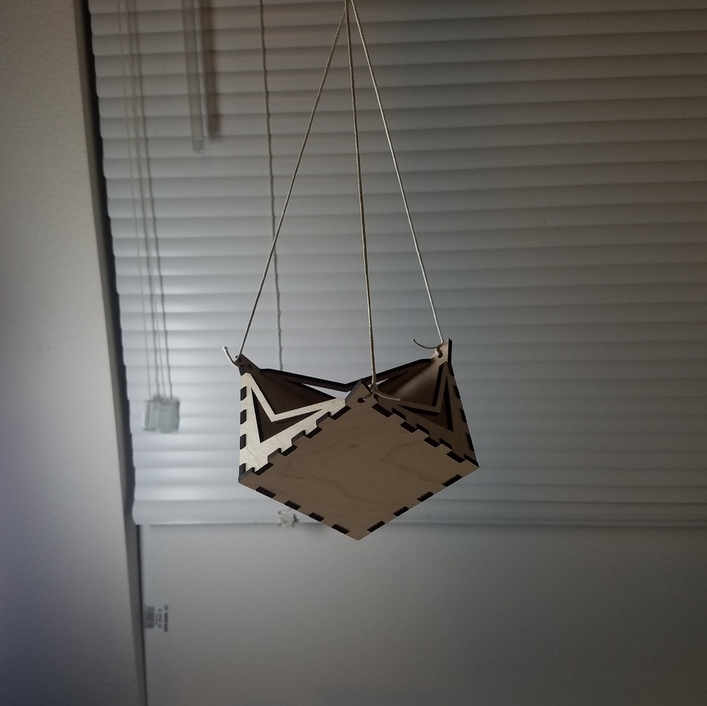
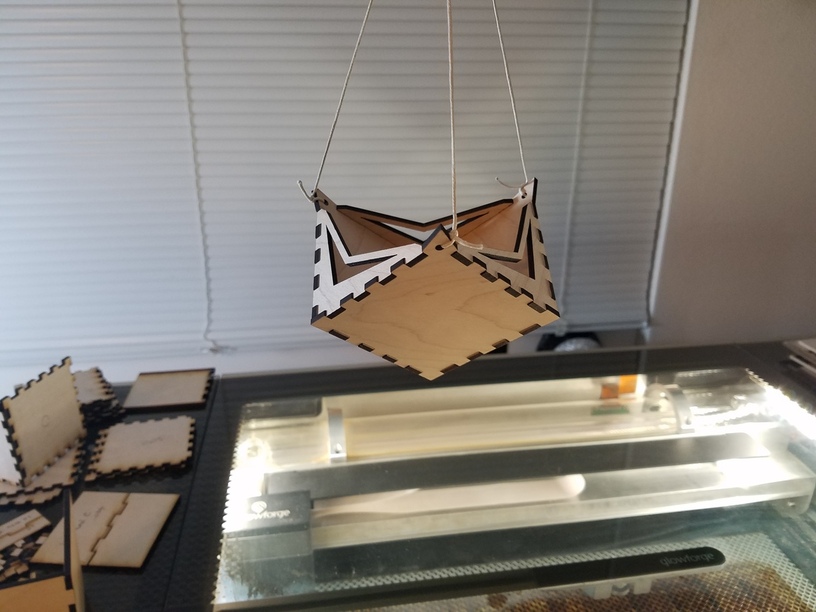
Lookin’ good so far!
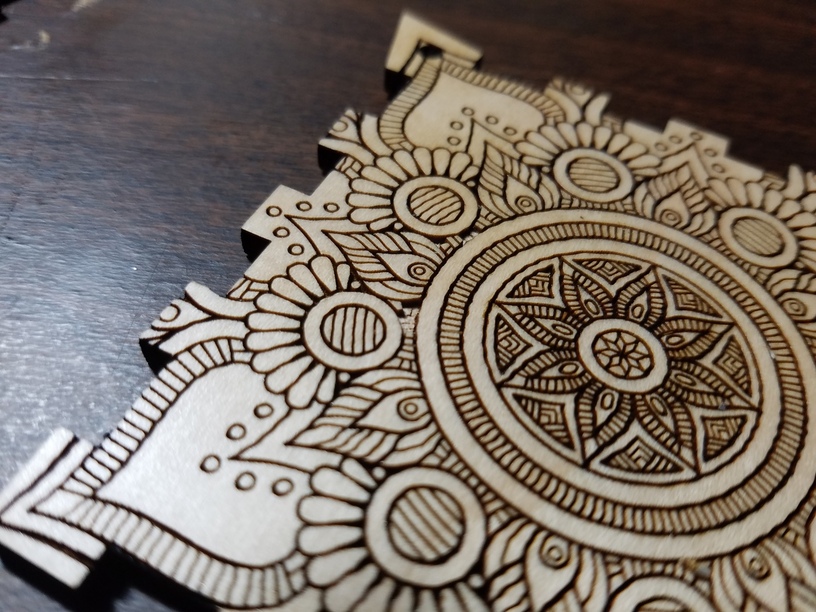
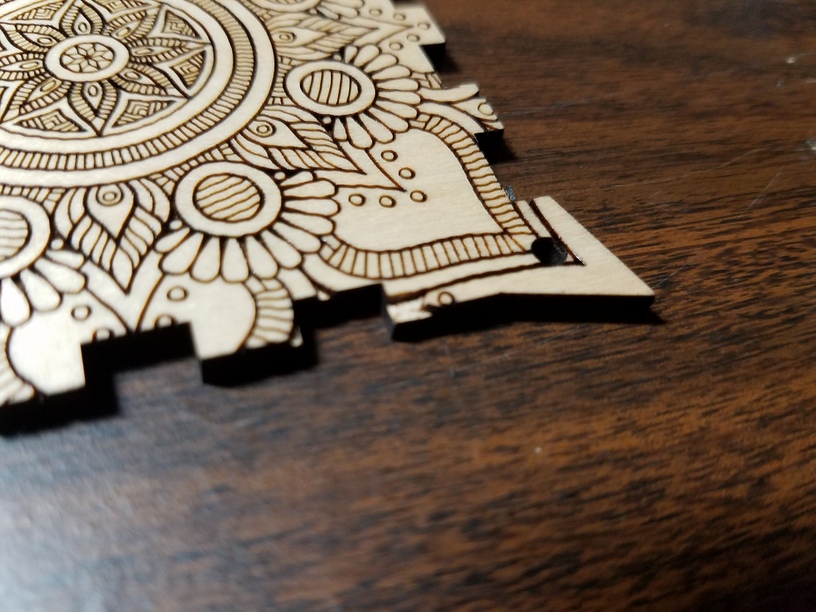
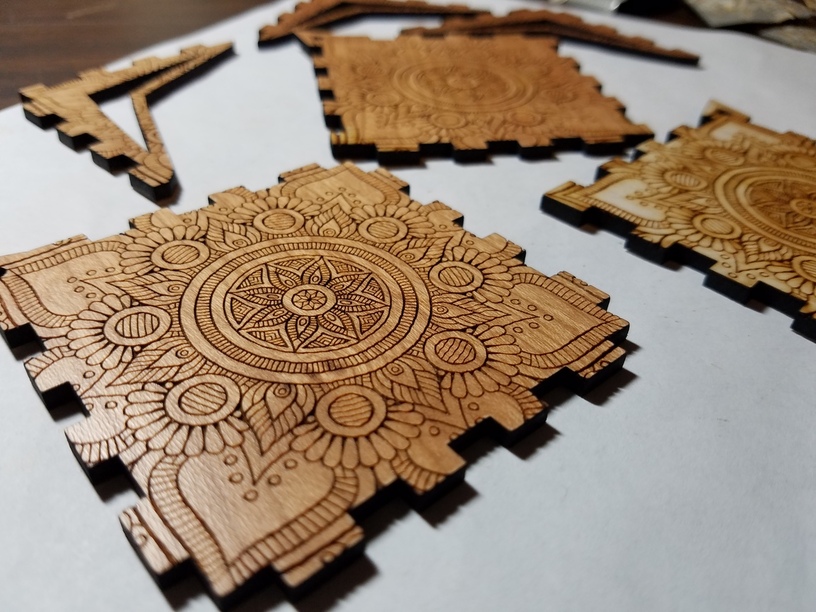
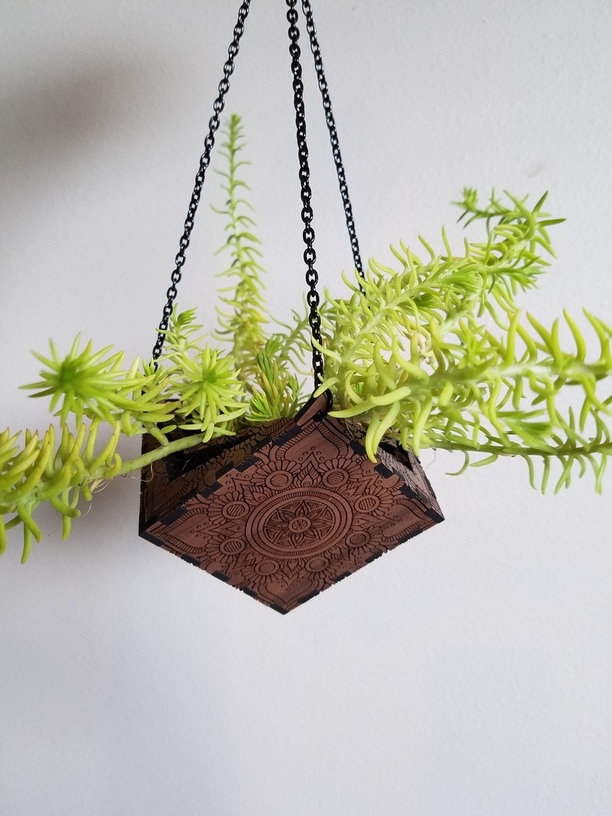
I really was happy that the idea worked and I could hang it from the 3 points and keep it level, but it seemed a bit plain, so I found and reworked a pattern that I thought would fit nice and symmetrically on the sides to really take it to the next level as an engraving. I made one from each of the plywood types I have: maple, cherry, and walnut.
Here’s a bunch of pics…
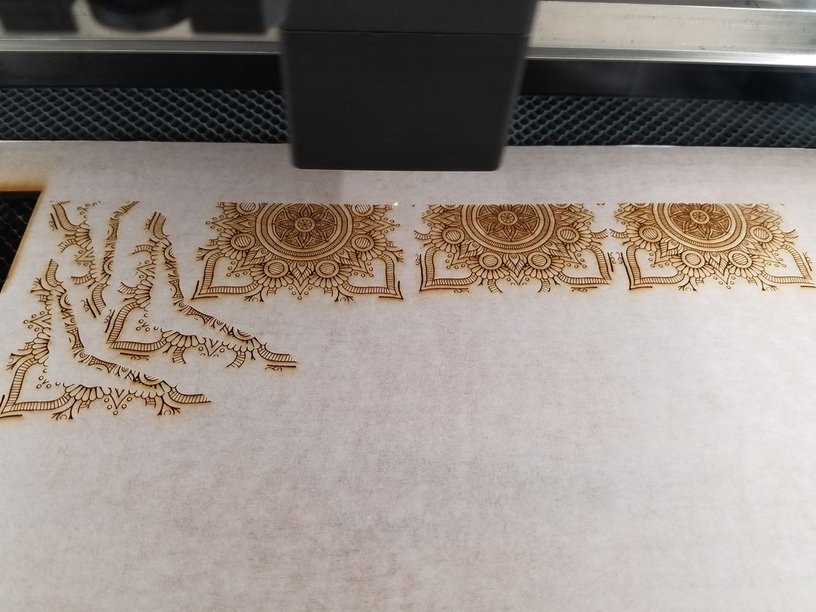
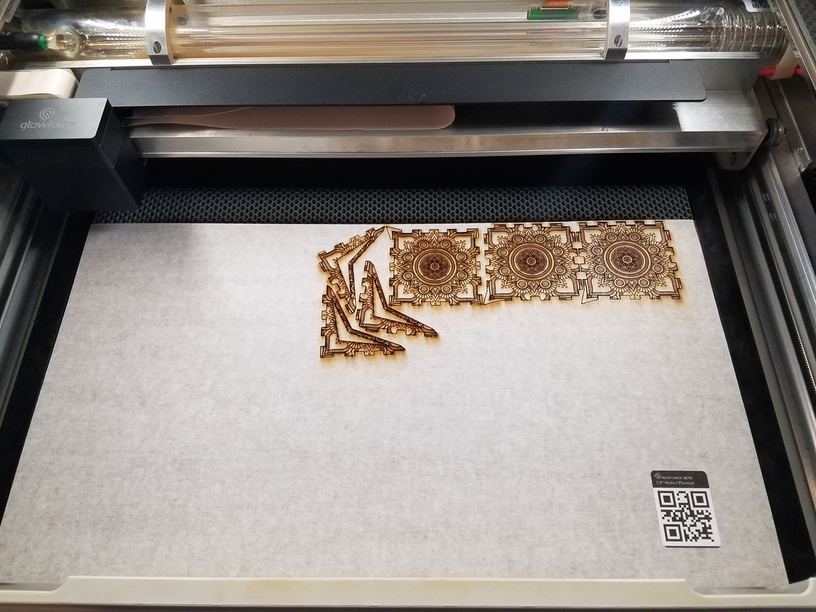
First one just cut on a scrap piece of finished ![]() maple plywood.
maple plywood.
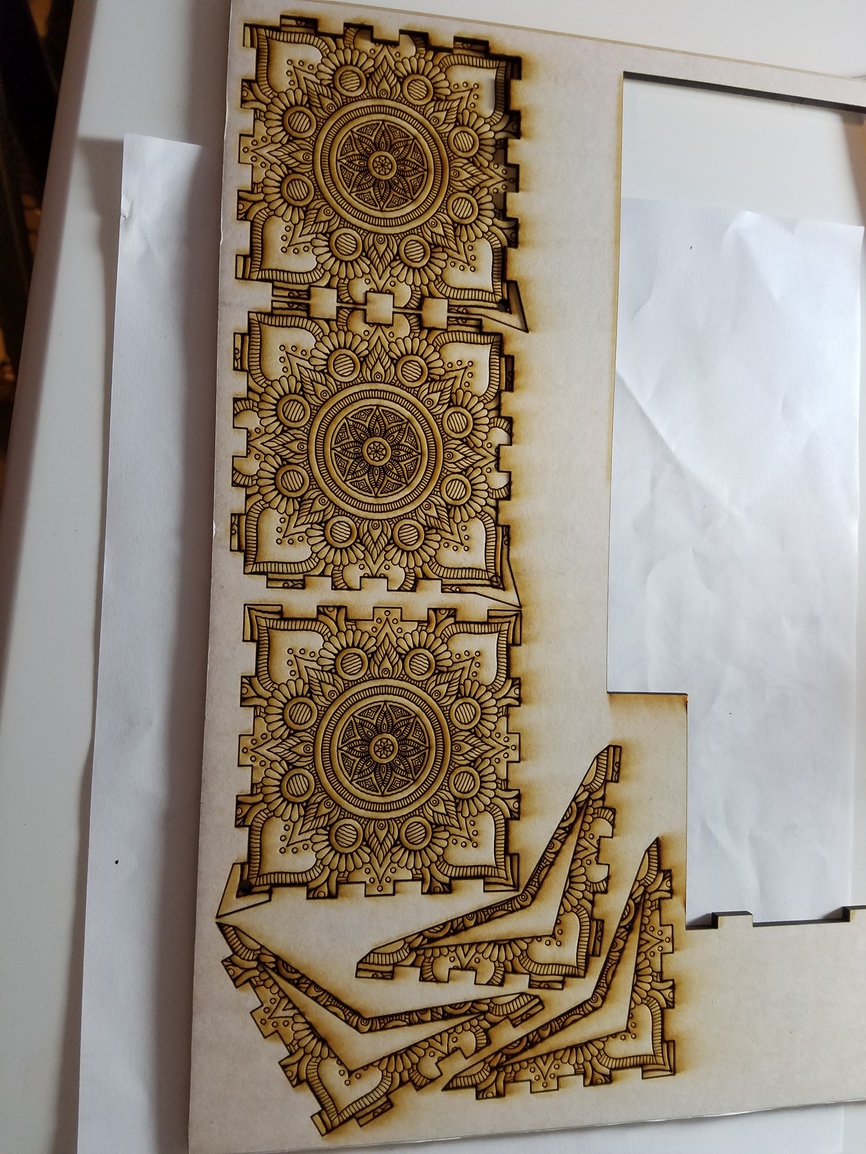
Close up shots with masking on still.
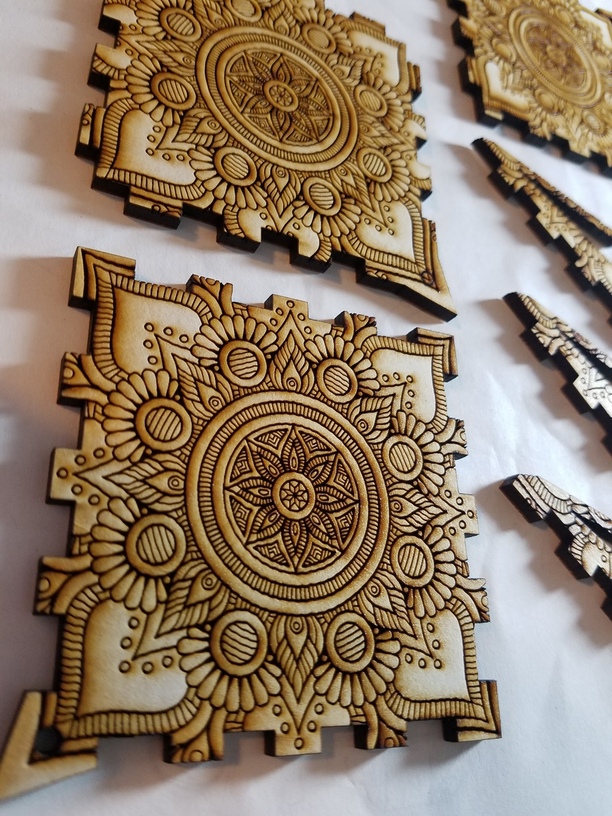
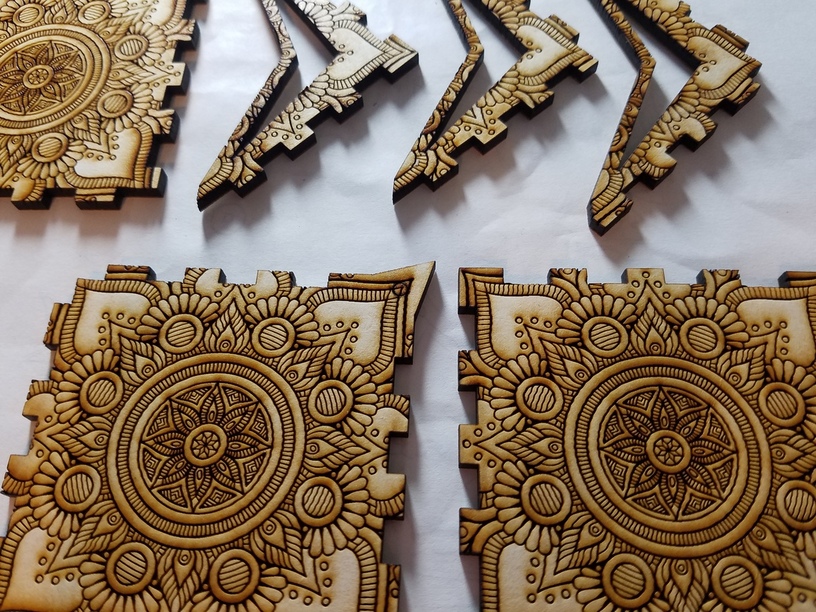
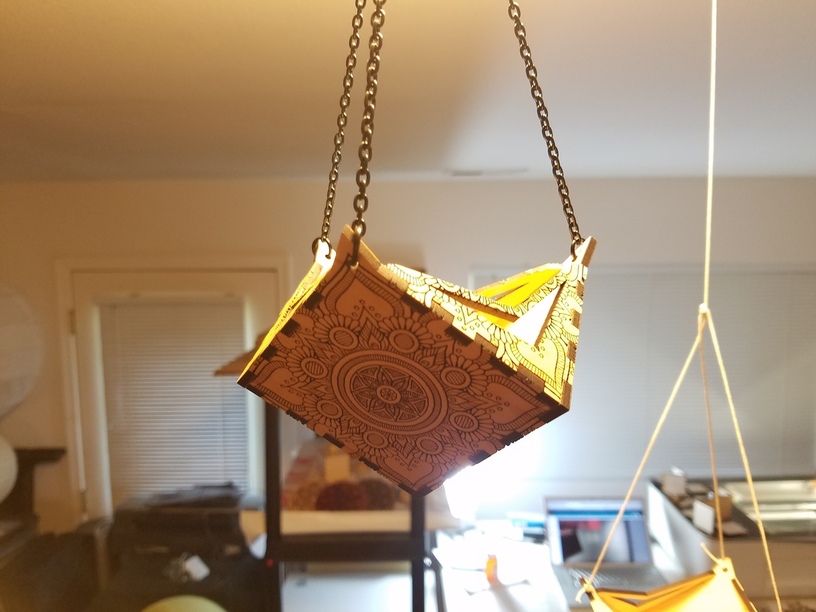
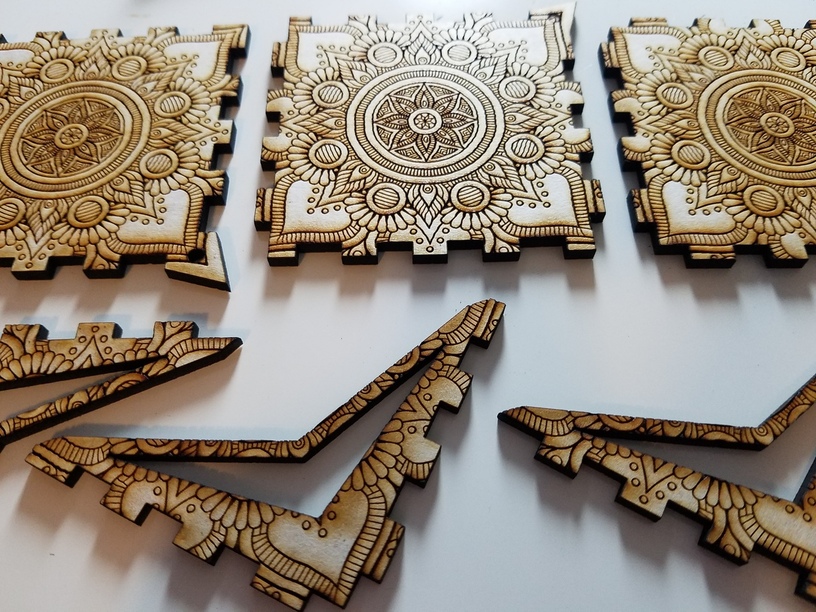
Taking the masking off. The engrave detail looks fantastic just using the ‘dark’ preset. I was going for high contrast and it worked just as I wanted it to. ![]()
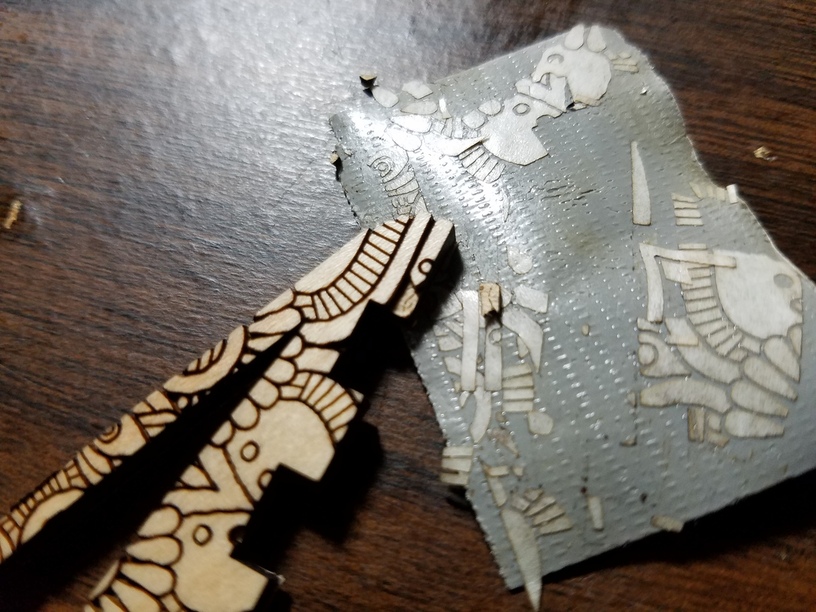
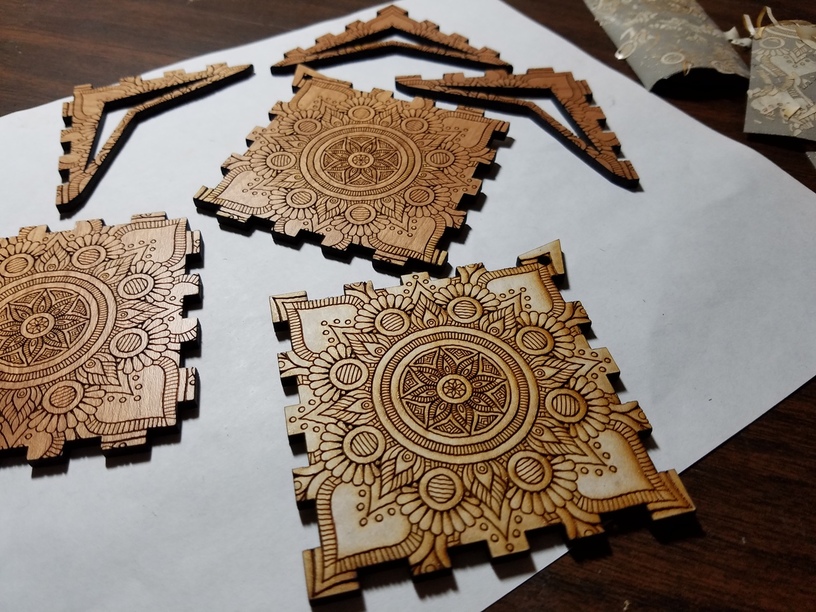
Unfortunately, I realized that when I was using gorilla tape to remove the masking, it actually took off a few tiny pieces of a layer of the plywood that the engraving ‘weakened’ I guess, so I had to be much more careful on the next 2 after I realized it was happening with this one. ![]()
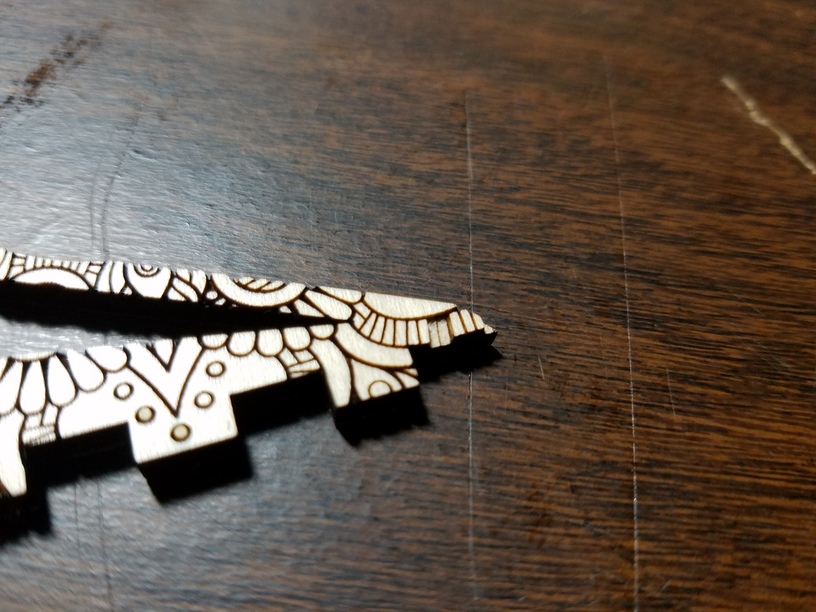
You can see a little piece stuck to the tape in this pic below, and a couple hard to notice spots on the next 2 pics where there are little pieces missing too. No big deal really, since they are teeny tiny little pieces that you would only notice if looking very closely, but something to keep in mind.
I used the same chain and jump rings as I had before to put this first one together and hang it. Kinda tough to get a good picture with the angles of the sides and lighting and stuff, but here it is…
And so then I made the cherry and walnut versions…
Engraved first.
Cut second.
6 pieces with masking on still
In process of removing the masking from the cherry…
Sealant applied and dried for 24 hours on the cherry.
Same for the walnut.
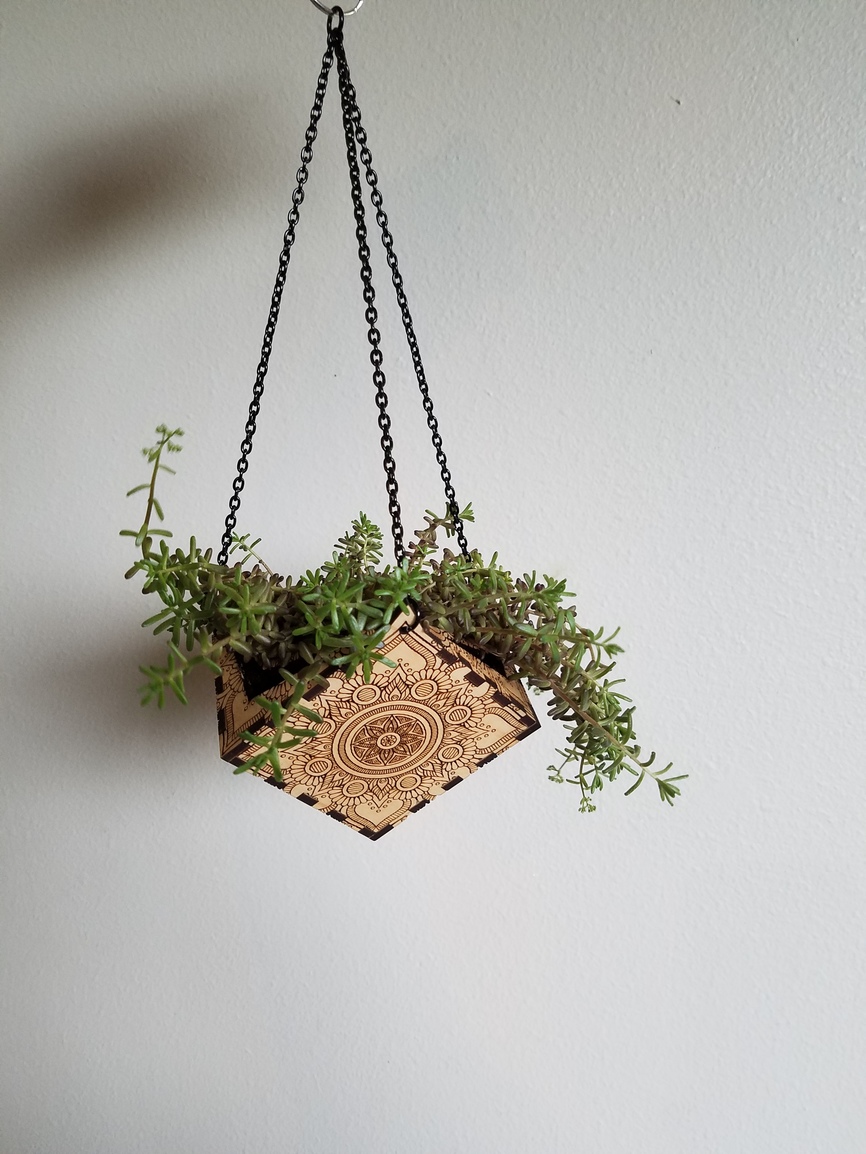
All 3 hanging together finished and ready to be planted.
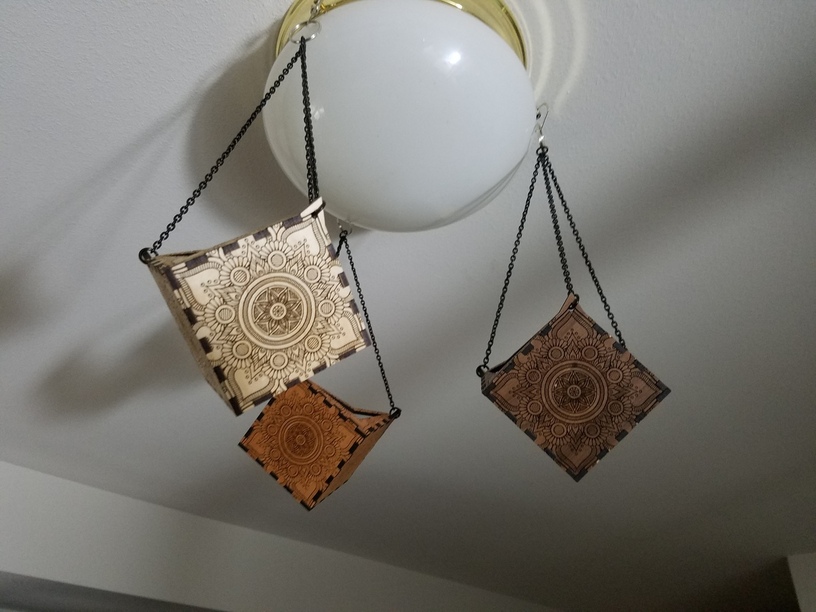
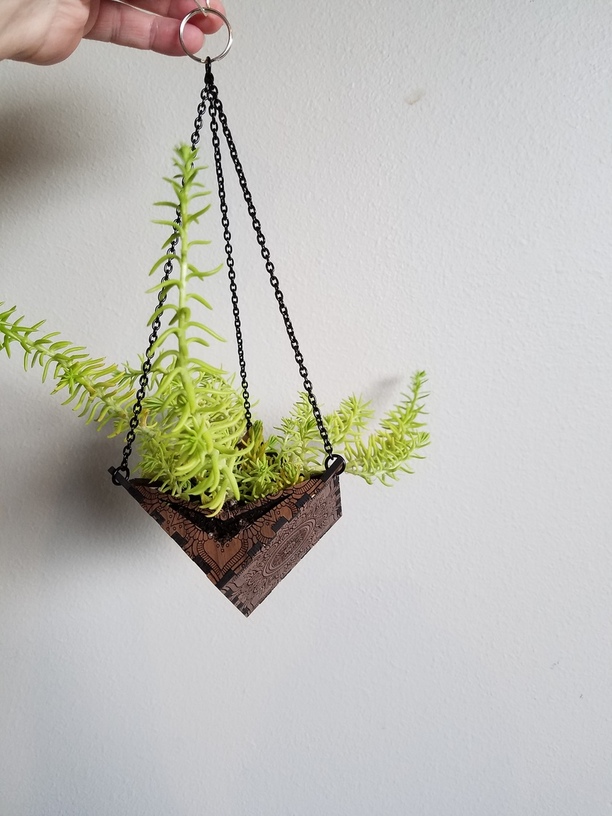
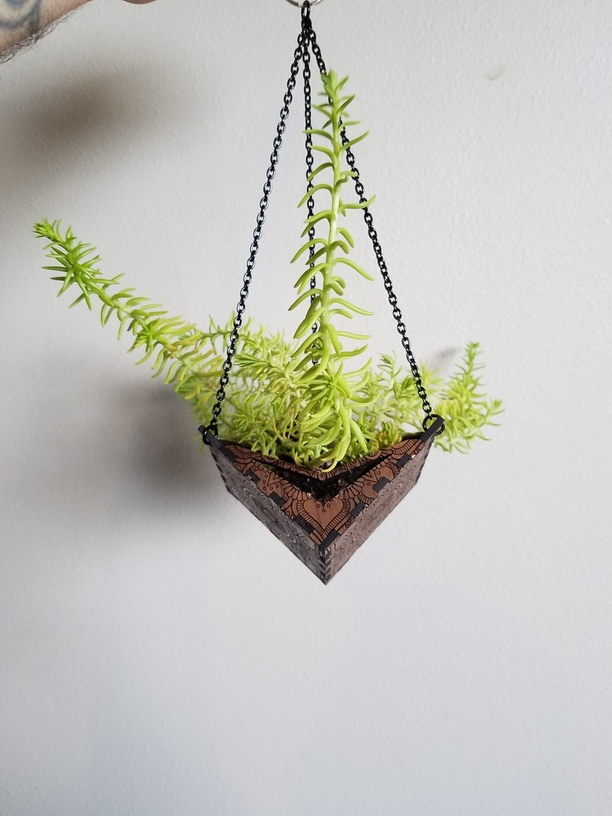
And then planted. Hard to take some good pics when backlit in front of the window hanging (see below), so hopefully these look ok. I’m just holding them in front of a wall to get a few good shots…
Maple
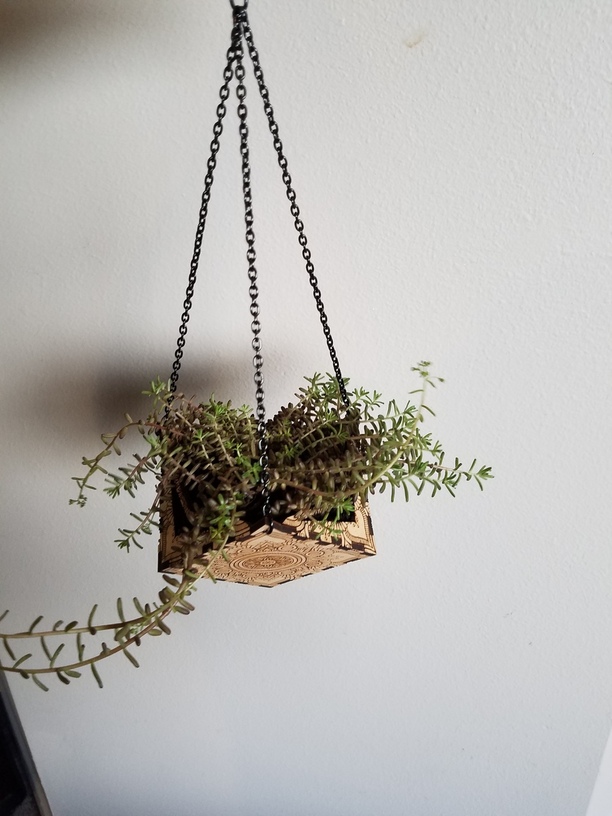
Cherry
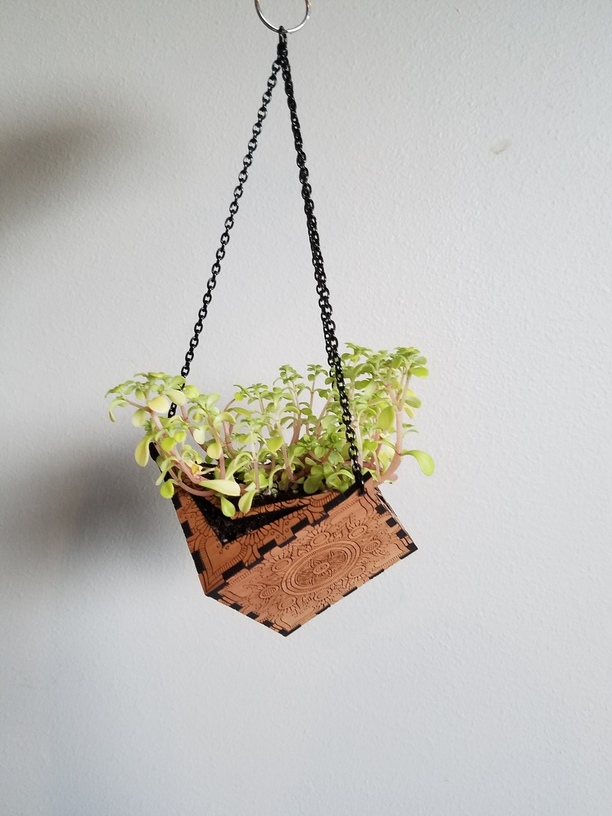

Walnut
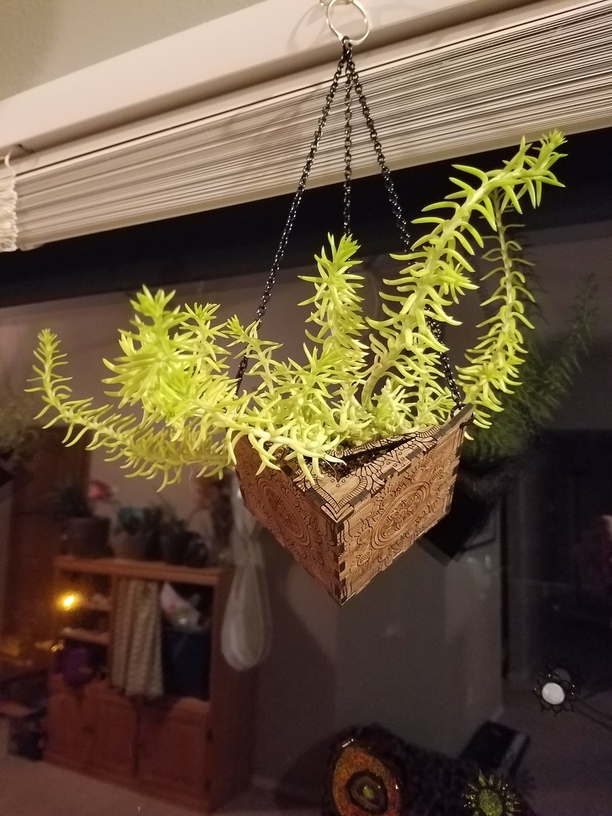
Some shots hanging in place by the window. Like I mentioned above, the backlighting from the window makes the shots difficult…

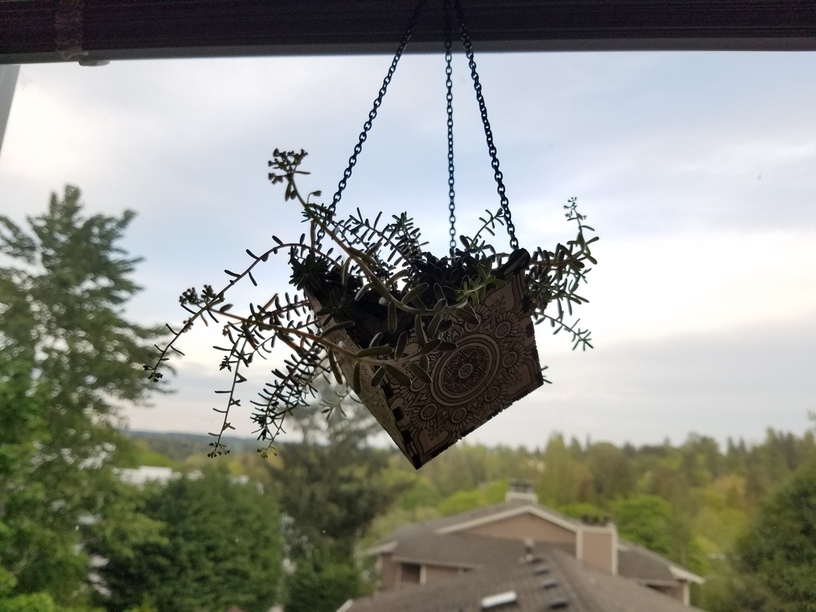
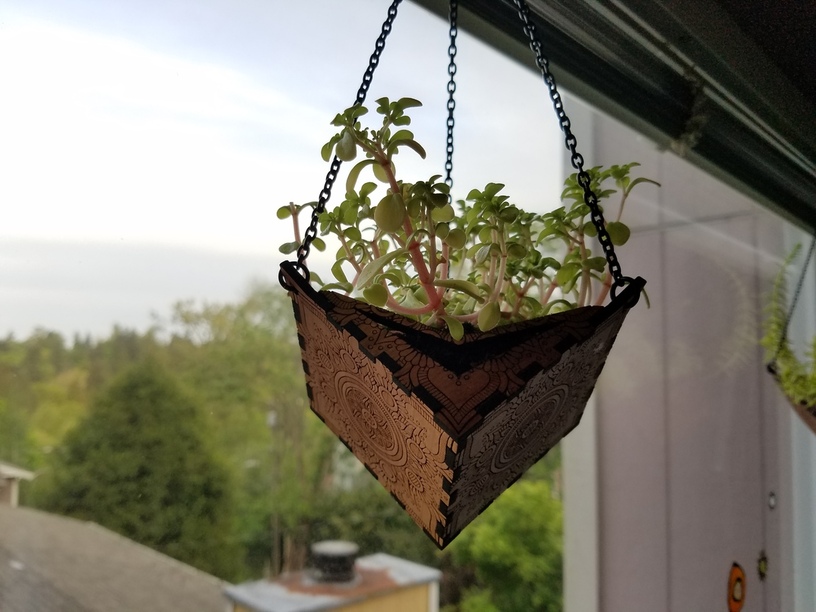
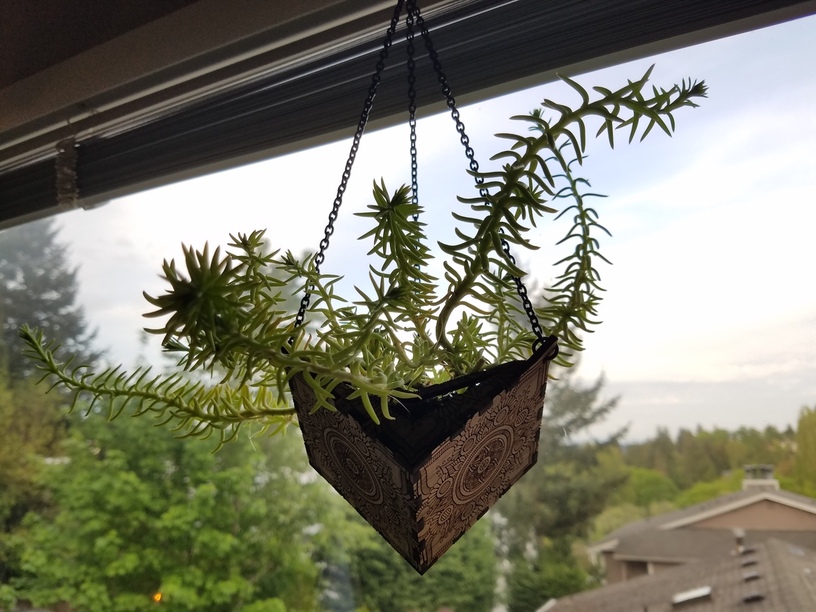
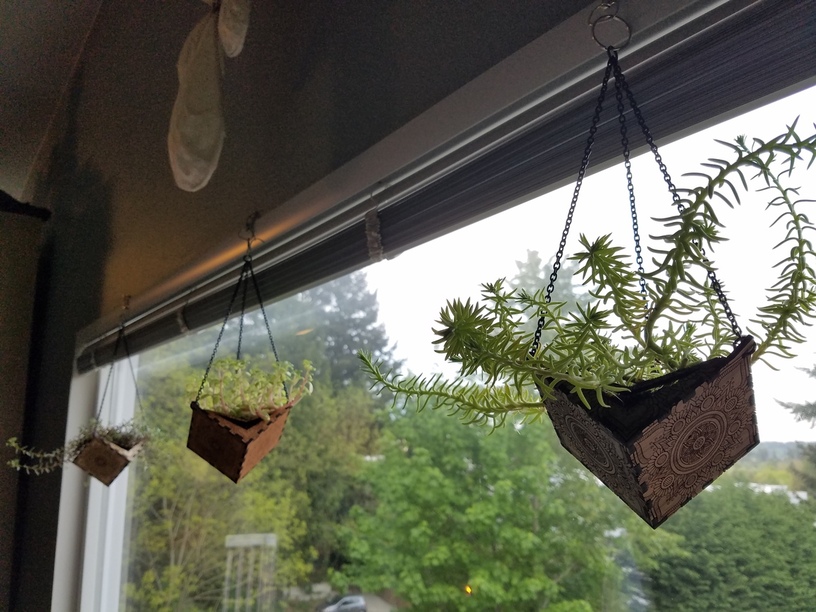
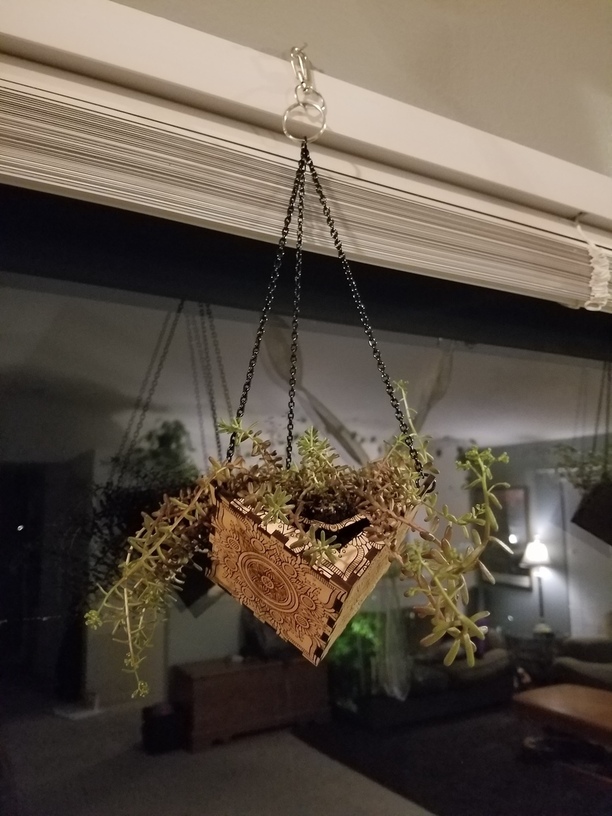
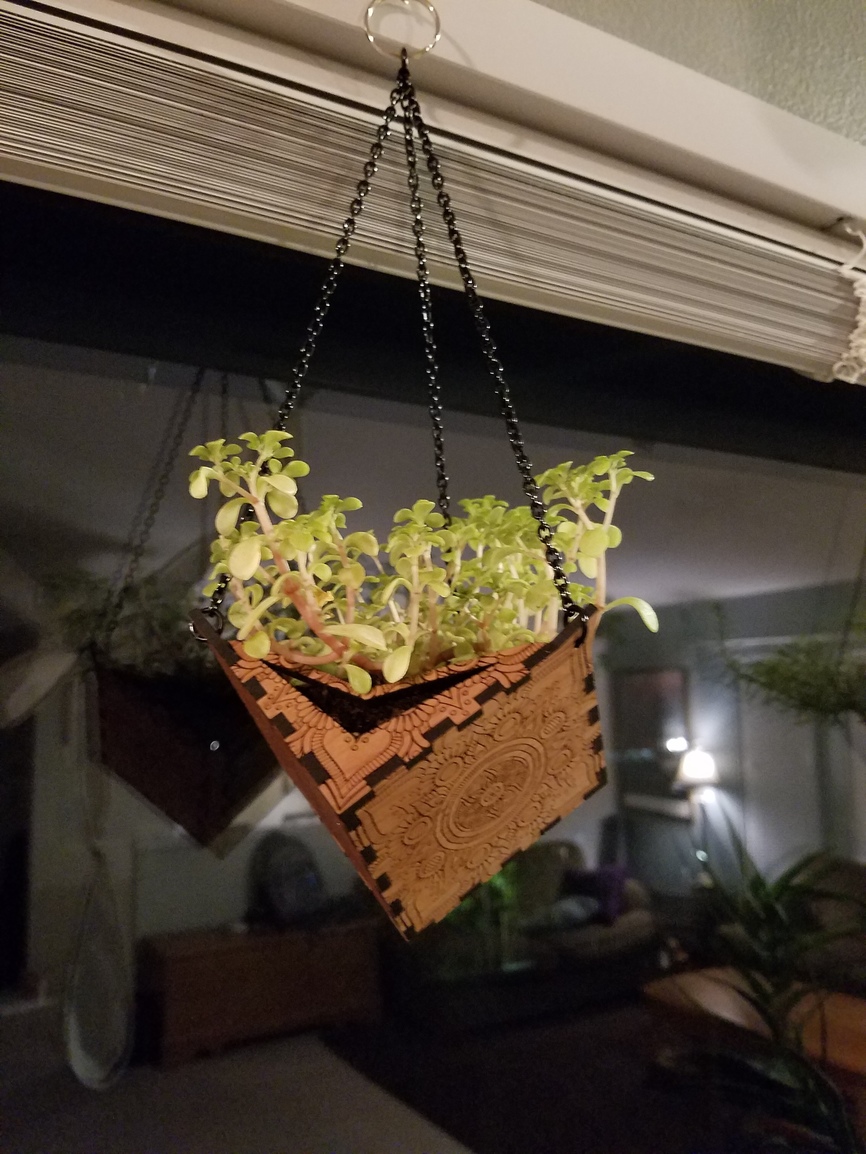
And I took a few more at night to try and get better shots, but then you get the interior room reflections in the glass… oh well.
And there you have it. ![]()
As always, thanks for reading this far and checking this project out!
![]()
![]()
![]()
![]()
![]()
-R


