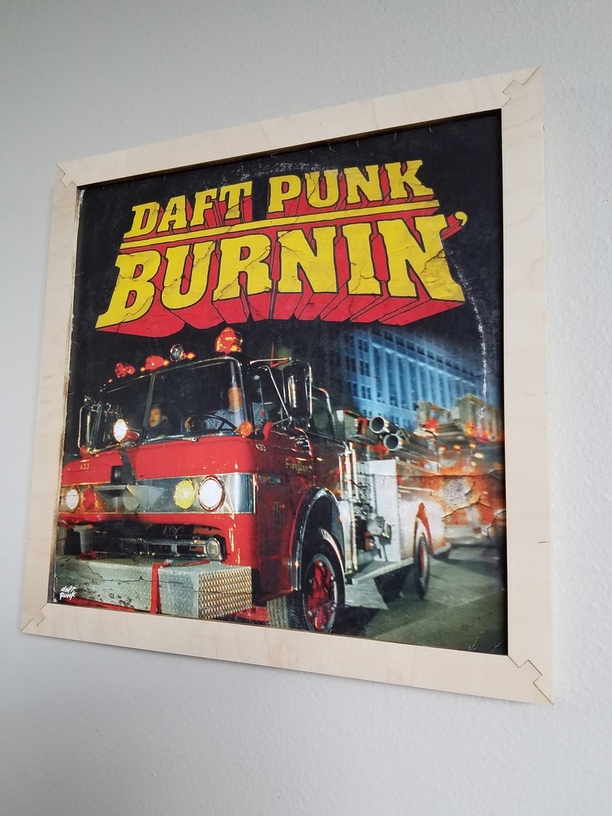
For the past week or so I’ve been working on a project to design and build wall frames that will hold some of my favorite 12" vinyl records to display. I love and miss the days of actual album art, and since the 2500+ records I have are all on a shelf (and rarely if ever get played anymore), I wanted to be able to enjoy and see them in a better way. ![]()
![]()
![]()
Also they needed to be easily removed, so there is a slot opening at the top to insert it, and an opening at the bottom to stick a finger in to raise the record out high enough to grab it from the top.
I’ve been wanting to do this for a while, and refuse to buy premade ones from Ikea or Urban Outfitters that I’ve seen out there. I found a concept design to get some proper dimensions that worked, and revised/reworked it to create a version of my own that I could cut with the GF and assemble and finish myself. ![]()
I don’t have/use a CAD type of 3D program yet, so it took a little trial and error to get the file design to work just right using Illustrator. I used 1/4" plywood for all of these so far.
First version simply had 45° angles at the corners and was tricky to line up and then glue/clamp. Had to be very careful not to slightly bump or slide the layers too much when assembling and putting the clamps on.
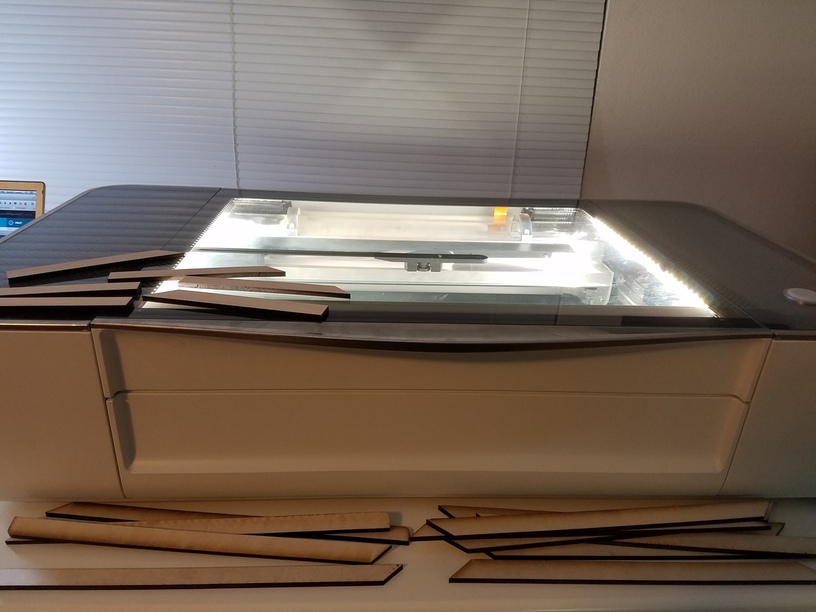
First version pieces just cut…
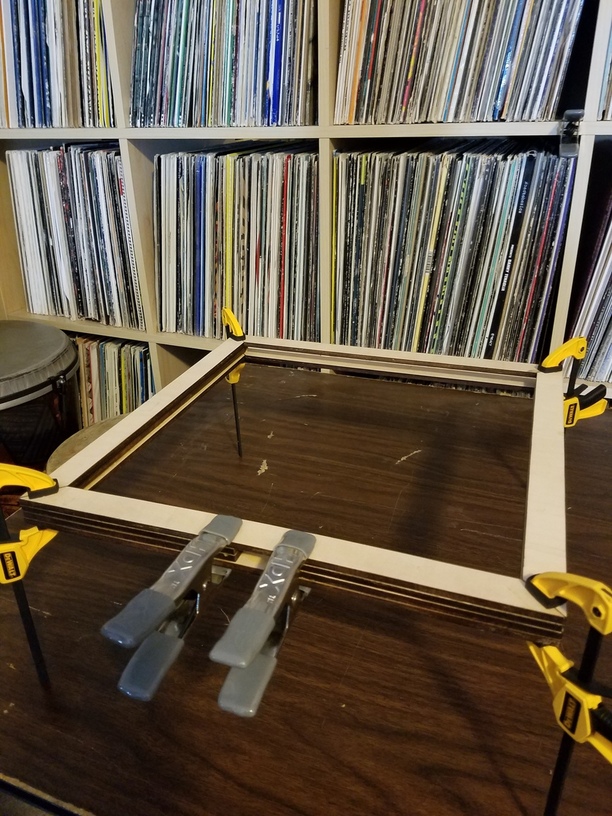
First version clamped and glued for 24 hours.
Sanding and finishing to remove excess glue and make the edges flush.
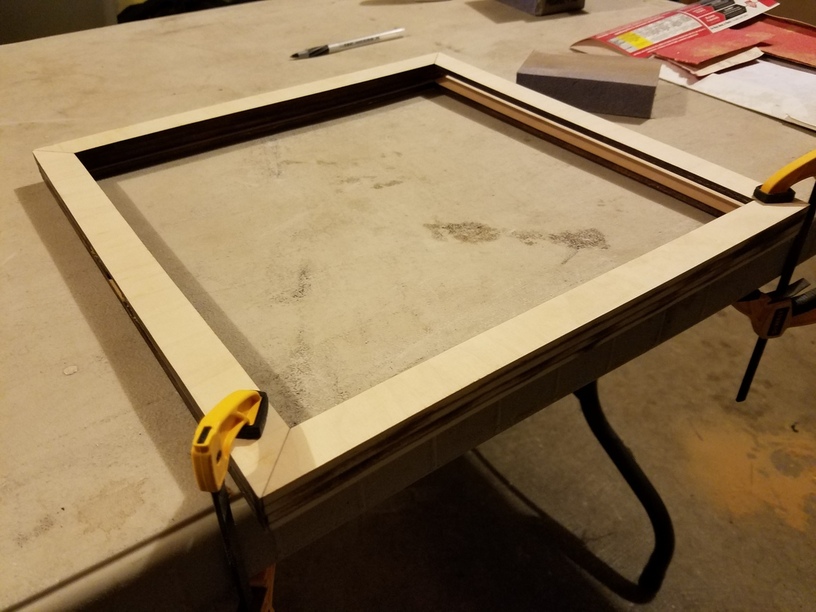
Sanded and looking pretty sharp!
Testing it out with a record in it…

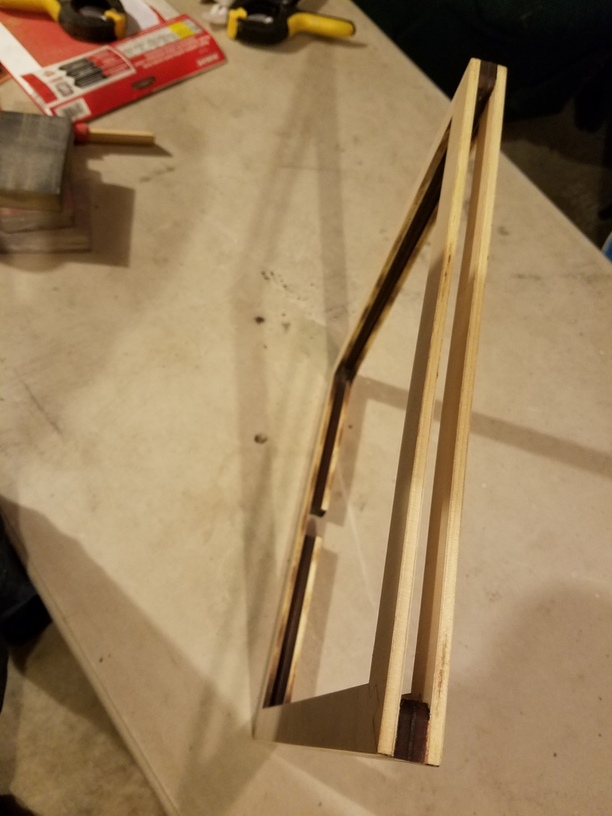
Slot on top
Opening on the bottom

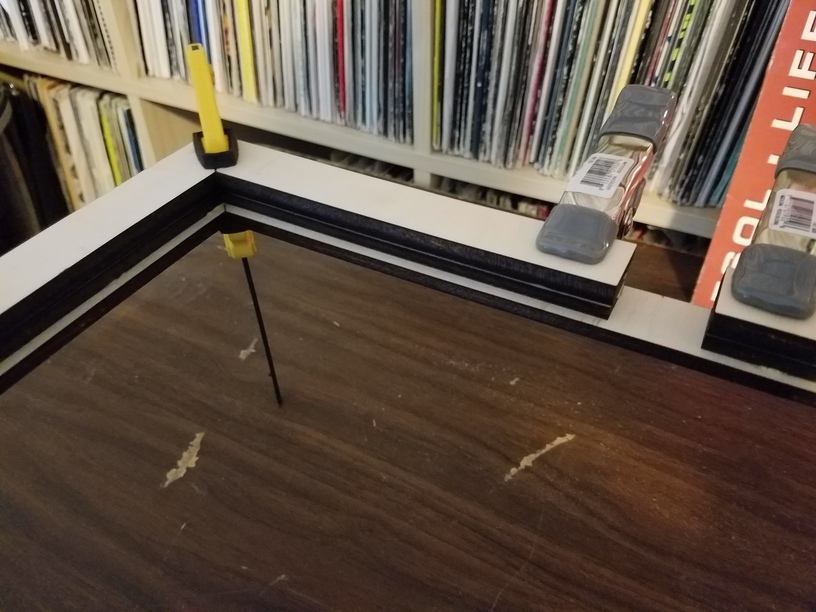
Design flaw. I couldn’t even fit my pinkie finger in to lift the record from the bottom, so I had to use a pen to get it out. I want them to be hung on the wall and to not have to fully remove the frame to turn it upside down and get the record.

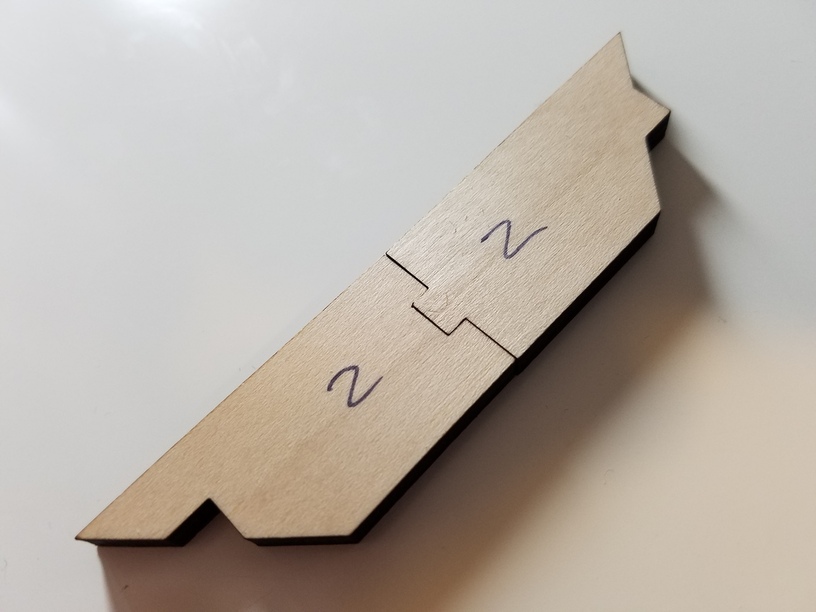
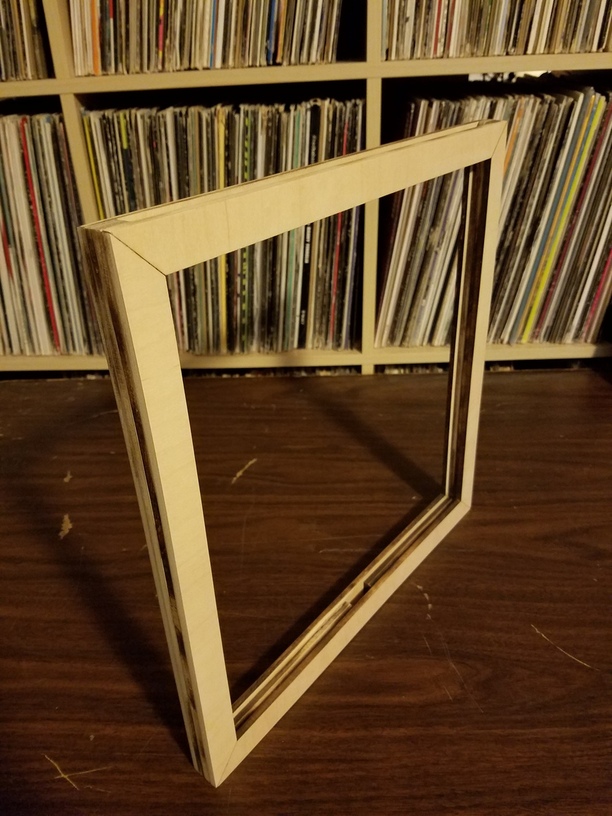
2nd version I made the frame pieces line up a little better with a simple ‘zig-zag’ in the 45° angle, and I also removed the back little piece at the bottom so I could easily raise the record with just a finger to remove it. The frame was a little easier to line up and assemble, but this still wasn’t perfect and the pieces ‘drifted’ slightly while I glued and clamped it all up to dry.
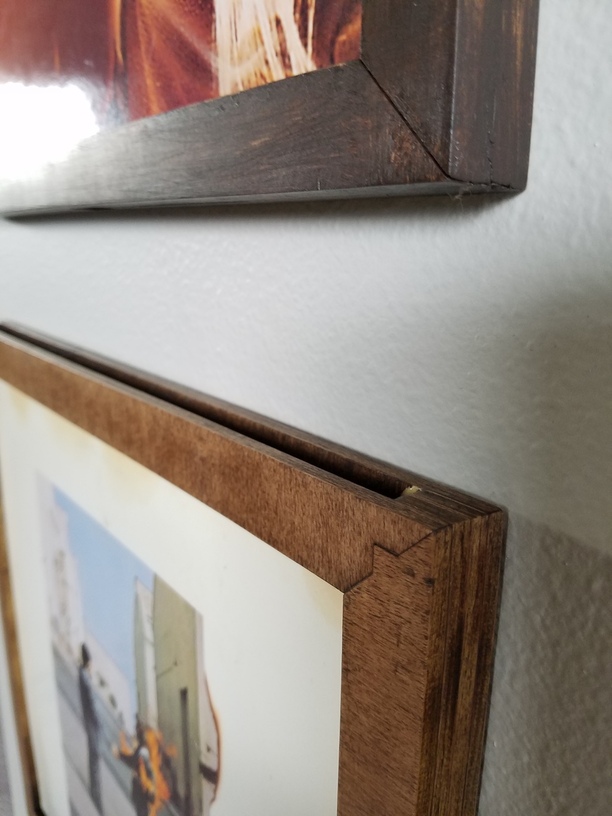
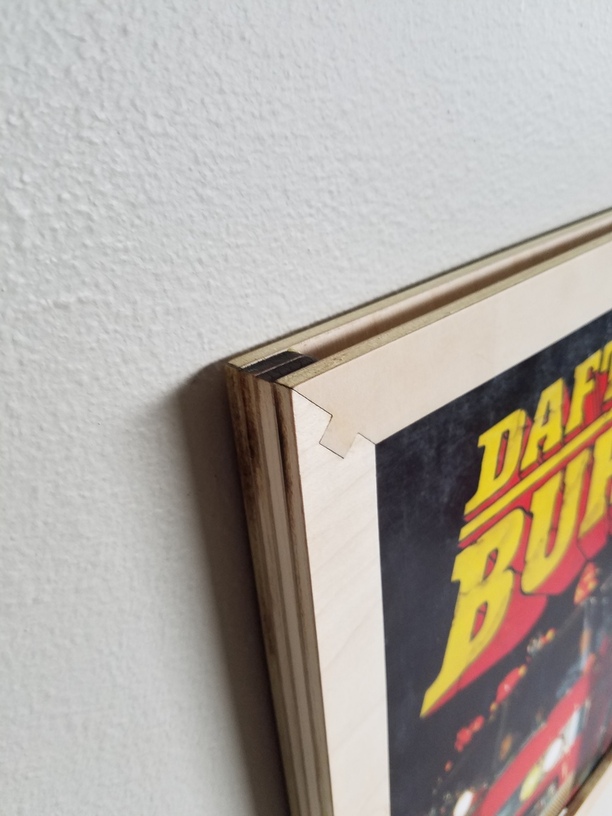
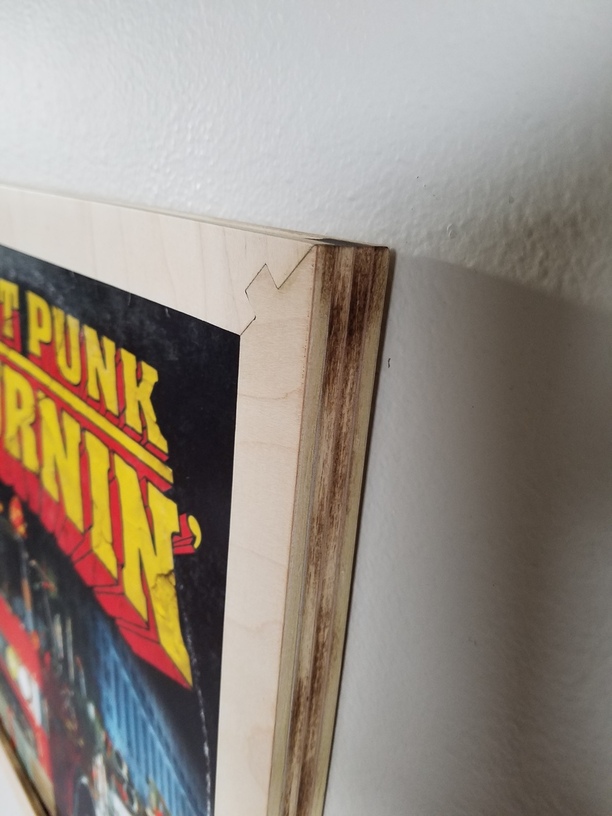
I now realize that I need to make an actual joint . This is something I’ve never done before (as I have never used or designed for a laser cutter!) and with a few tests I got it figured out. I’ve also never really built/designed something like this using joints before. It’s just a learning process, and really wasn’t that difficult to figure out and make work. ![]()
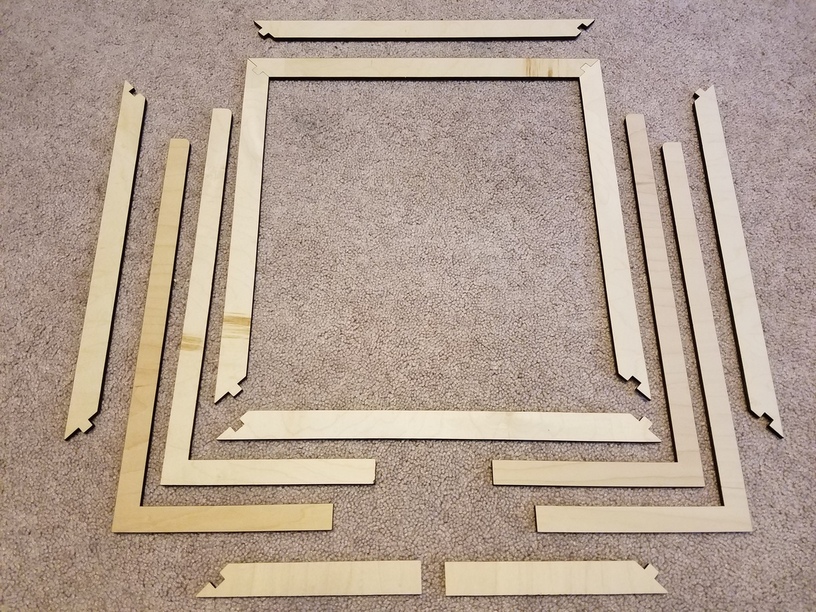
On the 3rd version the new joints were slightly off by a .01 overcompensation mistake (that I fixed now), but I had already cut the pieces out and didn’t want to throw it out, so I used a file to remove the necessary amount to make it work. Some of the joints were a bit too loose, but I’m glad I was able to salvage the pieces to make it work. ![]()
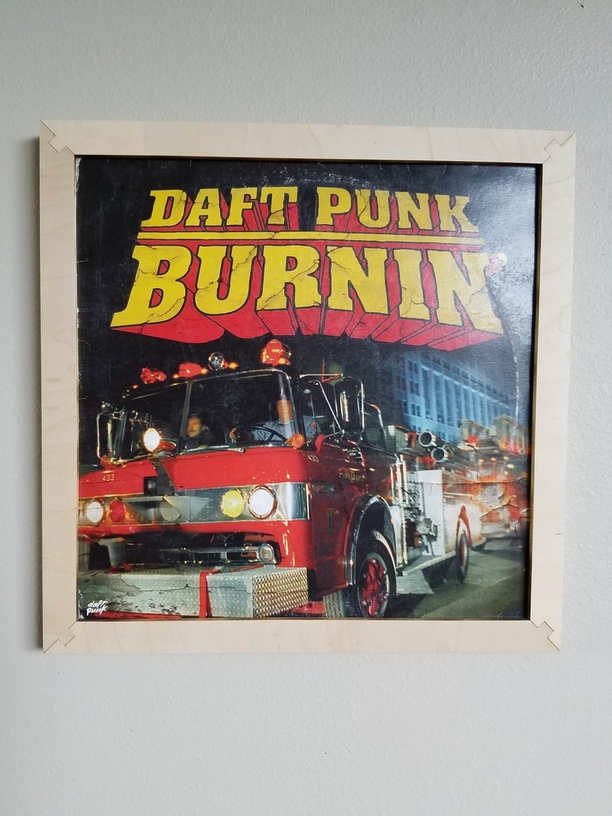
I also chose to cut the 4 ‘inner’ layers out with solid corners instead of joints to make the lining up easier and more stable when gluing/clamping.
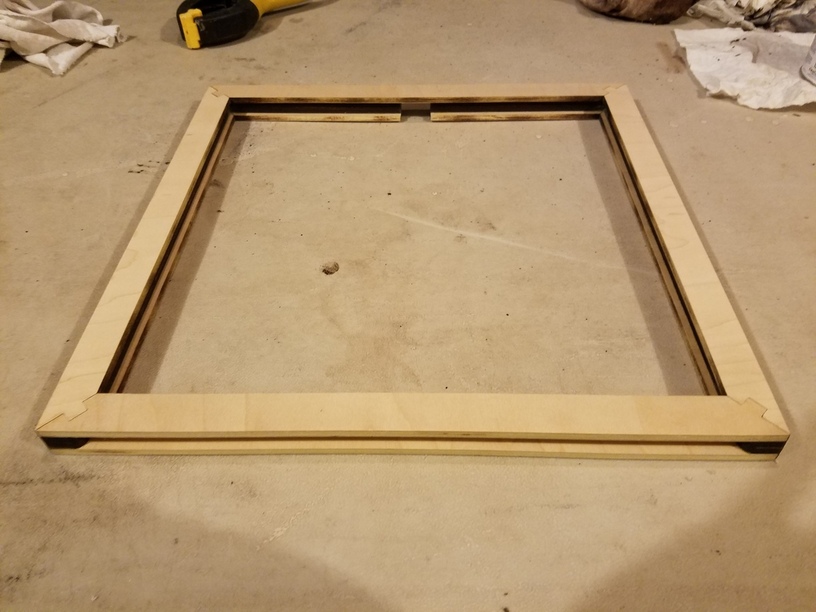
3rd iteration cut pieces laid out (before filing).
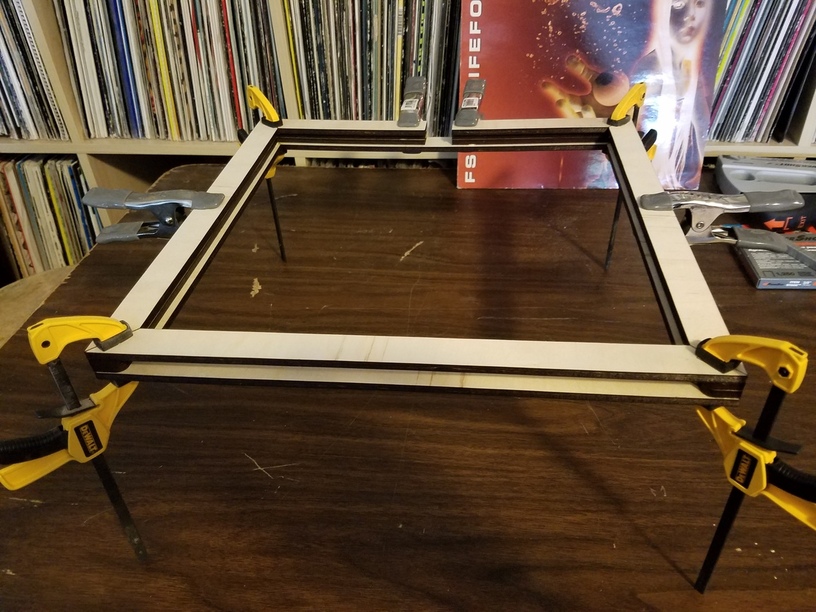
Glued and clamped.
The new opening at the bottom.
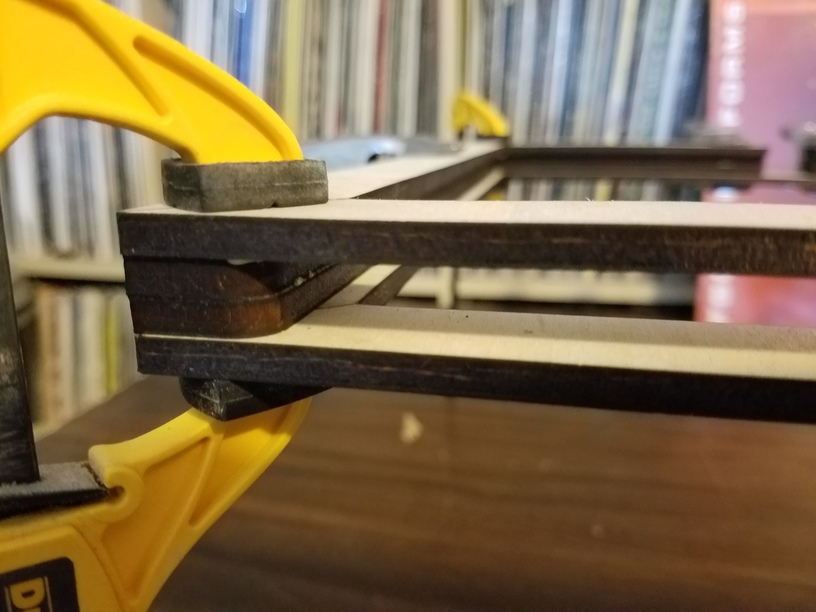
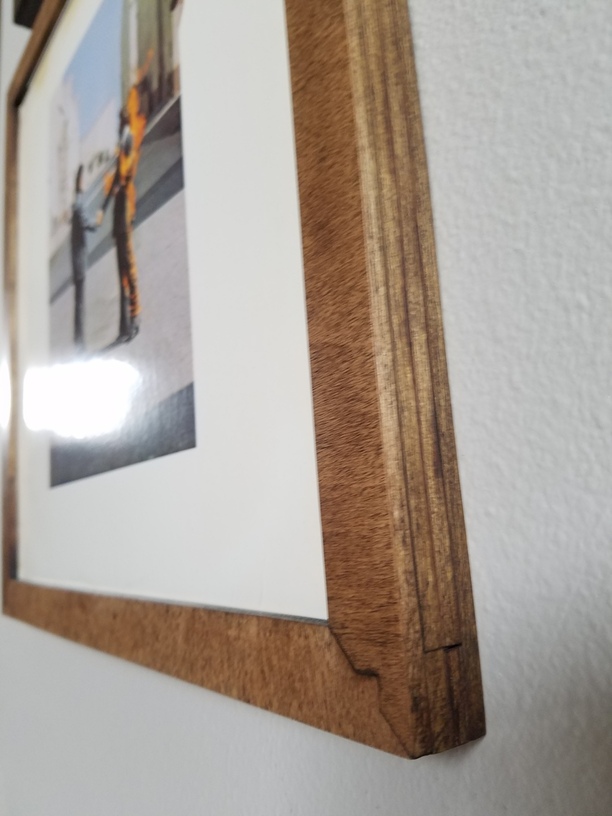
Detail shot of the top corner.
Sanded and ready for the next step.
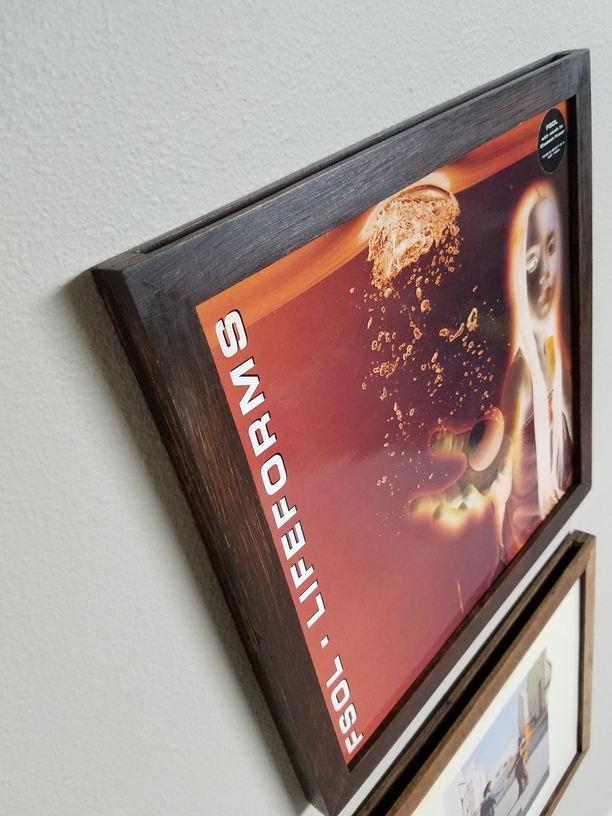
Ok, so I tried to use stain on the first 2 and having never attempted it before, I wasn’t too stoked on the final results. It’s messy, and kind of a pain to do. I love the look of having the wood grain on a frame, but it really showed the sanding marks (guess I did kind of a rush job even though it felt very smooth to the touch), and there are certainly little marks and spots where the stain was either too light or too dark and just didn’t look as perfect as I wished it would have. Gonna have to practice it a bit more for future projects. I’m learning and definitely don’t consider myself a ‘woodworker’, so this whole project has been a good process of discovery and trial/error with mixed results. Overall they turned out OK but not great, so I plan on just using spray paint to finish the other 2 I have right now. On the first one I treated the stain as paint and didn’t realize I needed to wipe it off after 5 minutes or so, and because I was doing it so slowly and carefully at first it was drying and was just a mess to try and fix, so I hung it and let it dry for about 6-7 days. It was still pretty sticky so i used a rag after staining the 2nd one and wiping it (correct method, but still messy to me and not perfect in my eyes) and got it to a usable finish. Don’t judge me! ![]()
1st and 2nd versions hanging to dry.

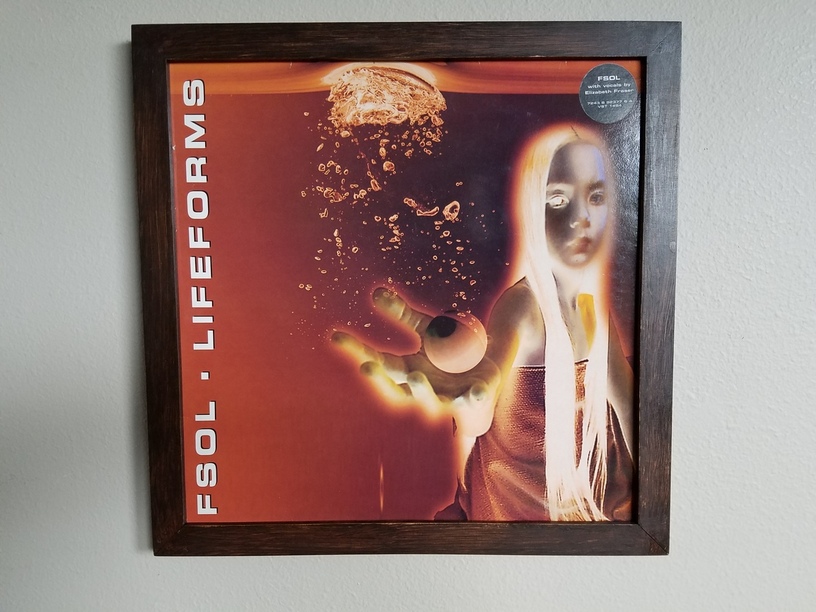
1st version finished and hanging test.
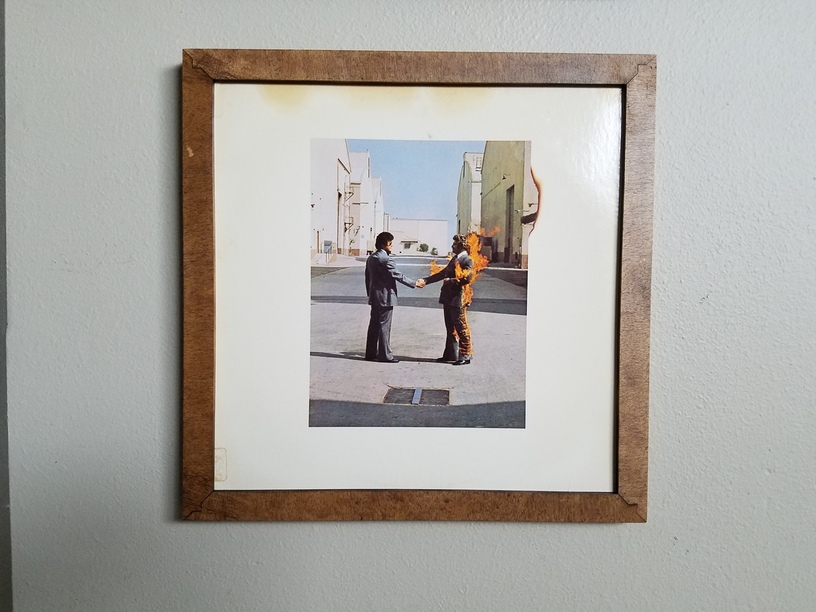
2nd version finished and hanging test.
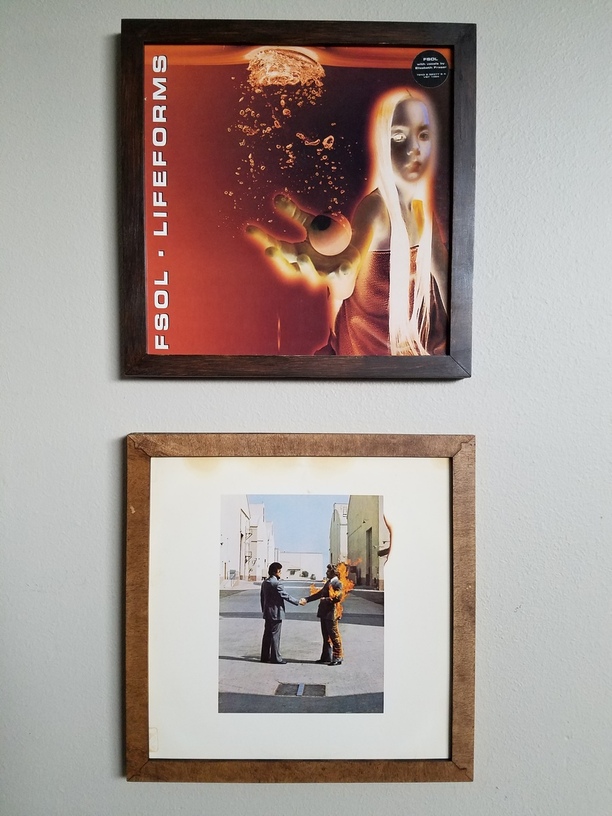
Both together.
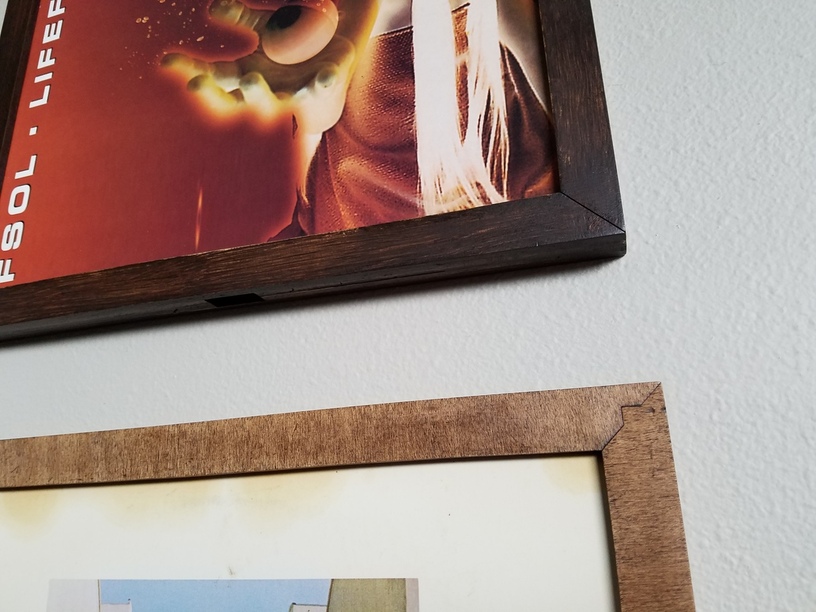
Some detail close-up shots…
Overall, I admit they look OK with the stain, and maybe I’m being a bit too critical, but I’m kind of a perfectionist. I am indifferent with the final results of the stain, and now I know what to do better next time! ![]()
I am very pleased with the overall result of the project though and will post finished versions of 3 and 4 after I try painting them to update this thread! I just wanted to share the progress.
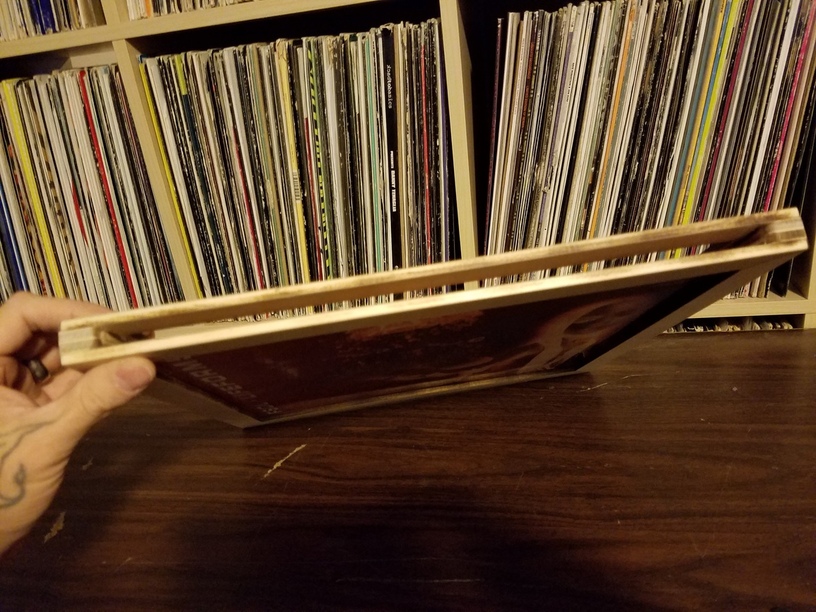
3rd version (filed joints) fully sanded but without paint, and pretty tight looking with a record to test.
Thanks for reading this far and checking it all out! ![]()


 Thanks


