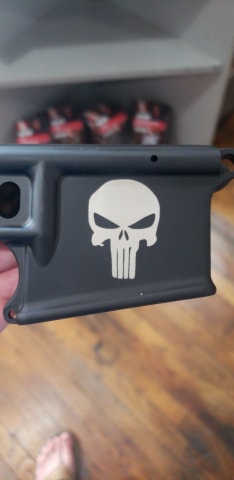
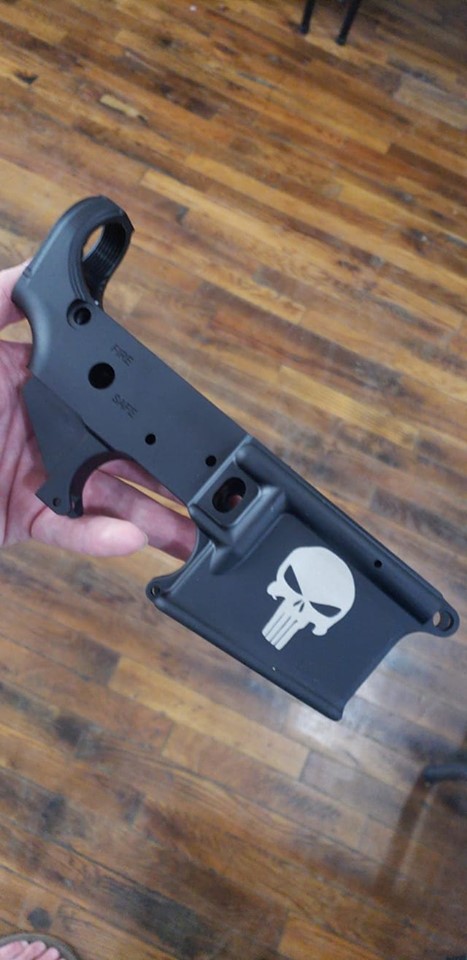
I have a gun part a friend wants me to test on and see if I can etch it or remove the black covering the aluminum. Its black hard coat anodized aluminum has anyone done this and if so what is the best settings?
1 Like
Dis you search for “anodized settings” or “engraving aluminum settings”?
I’m not sure anyone specifically called out “hard coat anodizing”, but I’m not sure if that refers to a specific type of anodization.
There are lots of anodized aluminum engraving success stories on the forum, a little searching will find what you’re looking for.
1 Like
You can’t remove the anodizing to my knowledge. The laser ablates the dye that is added after the anodize is completed, but leaves the anodized coating in place. I think you will need a higher power laser than 45 W to remove the anodize layer.
If you just want to mark the part, you can use the laser to selectively ablate the dye to reveal the silver aluminum.
the anodizing on gun parts is typically much thicker than what you would find on anodized aluminum blanks ( like dog tags or business cards). Expect to use multiple passes.
We had a coating at Beechcraft for aluminum parts used in the airplanes. It was applied by the chrome division, since it was a similar process as chrome plating.
It made those aluminum parts incredibly hard, while still maintaining the light weight needed for aircraft.
If this is the same process, you would have to grind it off to get to the aluminum underneath. A file on it was like trying to file a coke bottle.
Worth sticking it under a laser I suppose, to see how it reacts, but if it is the same process, I am willing to bet it will not damage it.
Keep us informed. I, for one, would be interested if it can be marked.
1 Like
I bet this is just a thick hard anodize. I have seen hard anodize parts that feel the same way with a file, you have to really push hard to get the teeth to bite. If it is anodize, the dye should ablate.
It might also be an electroless nickel though they usually don’t like putting that on aluminum because the softer substrate can cause the plating to crack under stress.
This is what I wanted to do sorry I didnt properly state it I just want to show silver.
Look for the settings others have used for the aluminum plates as your start point.
It’s called “Engrave” in the user interface no matter what material you’re working with, so don’t worry about it! 
You can’t remove the anodizing to my knowledge. The laser ablates the dye that is added after the anodize is completed, but leaves the anodized coating in place.
Anodization is increasing the thickness of an oxide layer. If you add dye, it gets colored too. So I think when you blast it with a laser you are removing the oxide layer.
In this closeup of some engraved anodized Aluminum, you can see that material is actually being removed, it’s not just recoloring the anodization. If you run your fingernail across the letters, you can feel the ridge.

I guess it depends on the settings: https://www.ulsinc.com/materials/anodized-aluminum
Huh. Doesn’t seem to be what happened with my parts. I will have to put some engraved Aluminum under a scope and check it more carefully!
One of my friends needed to do something similar - what settings did you end up using?
Full, 200, … I set it to 3 passes because I was not sure if it was going to go through. It would have probably been fine at 1 pass 2 to make sure it was 100 percent clear.
1 Like
This turned out great. Im actually looking to do the same exact thing on the same part.
full power, 200 LPI with 3 passes were your settings?
I’ll be engraving an American Flag so I need the detail of the stars to be crisp
The 200 is likely the Speed. Use the highest LPI on coated aluminum and you can leave it at one pass. (Gives better results to use High LPI on coated metals.)
2 Likes
Hi I am following up on this post that was entered a few years ago. While setting up the unit I attempted to mark a couple of items I had with me. One was a flashlight with type 2 anodize, the most common which has a thin layer and is only for corrosion protection. The other item was a wallet which has type 3 hard coat anodize, a much thicker harder coating which provides corrosion and abrasion resistance.
The flashlight marking showed up even though I left the setting on wood. The wallet marking did not show up while using full power and a much slower, finer lined setting. Also the marking would not locate correctly on the wallet, it was off to the side by more than 1/2".
Has anyone else attempted hard coat. Have you had similar problems?
Can anyone verify if marking on type 2 anodize works well? That is the most critical question as there is actual work planned for the machine with parts that have this type of anodize.
Thanks.
The 1/2" offset was most likely because the automatic material height sensor did not measure the height of the wallet correctly. The red laser dot probably did not measure off of the wallet. So the view in the user interface could easily have been 1/2" off of intended placement without correct height measurement.
2 Likes
I think you are experiencing a focus issue with the wallet. How thick is the wallet? Was the surface to be engraved within the 1/2" focus range of the Glowforge? Did you use the set focus tool before placing your artwork. The Glowforge engraves pretty well on all of the anodized aluminum that I have tried, but I am not clear about hard coat.
Can you supply a photo of the wallet and the settings you tried?
1 Like