Since I get inspired to do this every couple of years, so I wanted to show a cheap, fast, and easy way to accomplish a cool bokeh effect. Note: this assumes you consider a $2500 laser and 10 cents worth of material cheap.
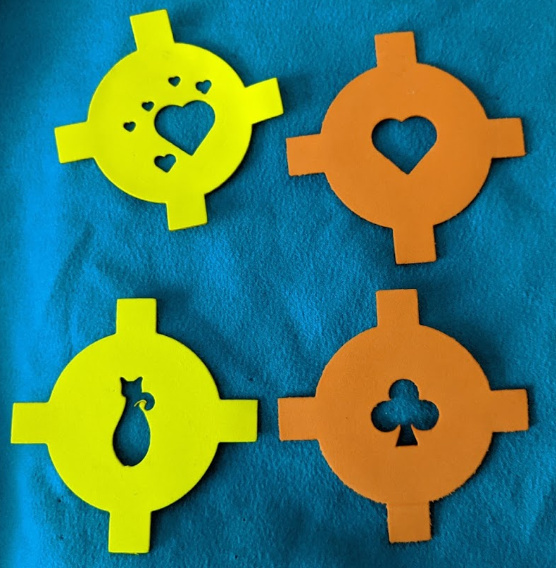
Here are the filters:
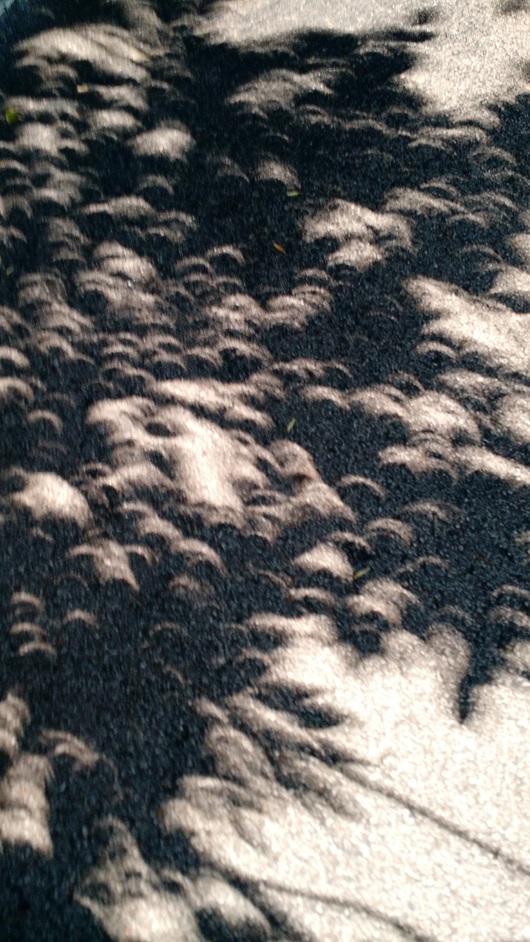
Thrilling, right? This is what they do.
Hearts (top right):

Clover - Clubs (bottom right):

Cats (bottom left):

You might have noted that I missed weeding a bit of the cat’s tail. It shows in the photo above. Oops.
Multiple hearts (top left):

How to make your own:
Lenses generally come marked with the filter size on the lens. On my “nifty 50” it looks like this:
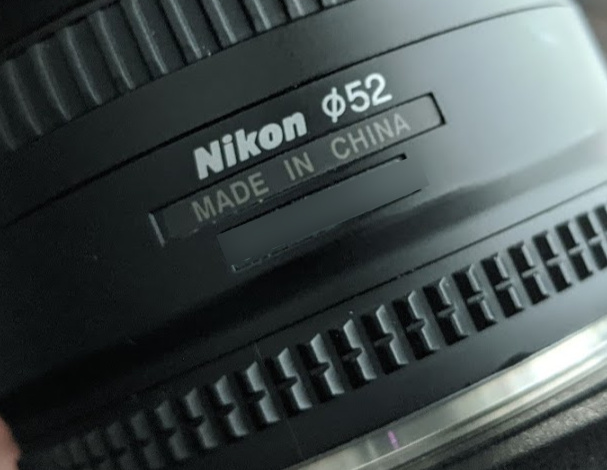
The dimension is in mm.
In Adobe Illustrator:
- I created a circle 52mm in diameter.
- I then added a couple of rectangles to make tabs. The size is unimportant, but mine were sized to give me roughly 1/4 inch tabs. I made 4 tabs because I’m lazy. You can have as many or as few tabs as you desire.
- Then I “united” the shapes. This gave me the filter sized to my lens with tabs included to aid in removal.
- Finally, add any shape you’d like. Feel free to experiment. Note the filter with multiple hearts.
- Cut time was only 25 seconds for 2 filters.
I made the filter outlines a different color than the shapes I was cutting out so that I could control the cutting order in the GFUI. That is totally your choice. I’ve given up on predicting the motion planning that happens during “processing” before the button glows ready.
The material I chose was “play foam” that is available everywhere. You can get roughly 50 sheets for $5.00 so experimenting is cheap and easy. The color of the foam doesn’t matter based on my use over the years. I used to use manila folders to make my filters. I’ve also used construction paper and cardboard. I like the foam the best.
These filters are handy since you can carry them in your pocket and they weigh next to nothing. If they get dirty they clean easily in the sink with a bit of soap and water. If they get lost it will probably take you longer to find your file than it does to cut out a replacement.
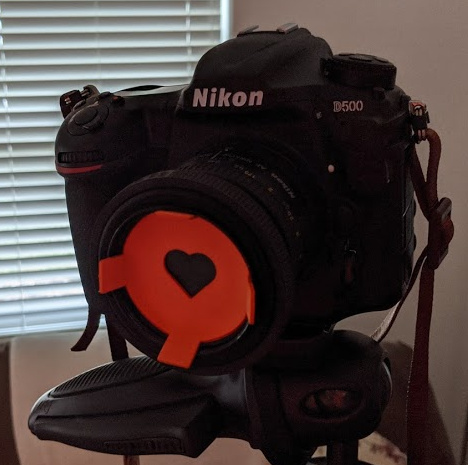
This is what the filter looks like fitted to the lens for use.
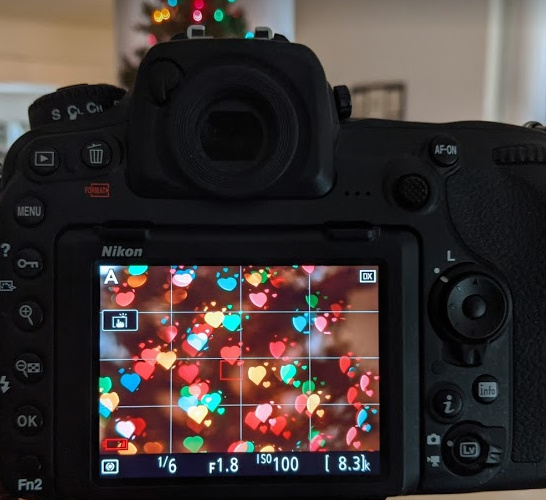
Remember, this is taking the “out of focus” lights and applying the shape cut into your filter to them as you capture the light in the camera. I used aperture mode set to f/1.8 and manually defocused the lens to capture the images shown. A tripod is handy, and live view on the newer cameras makes this dead simple to see what you’re getting.
If you’ve read this far, here is a file for your efforts: Bokeh Filter 52mm.zip (622.5 KB) . The ZIP file has both an AI and SVG file embedded, or just grab the SVG below.

Have fun!


 )
)