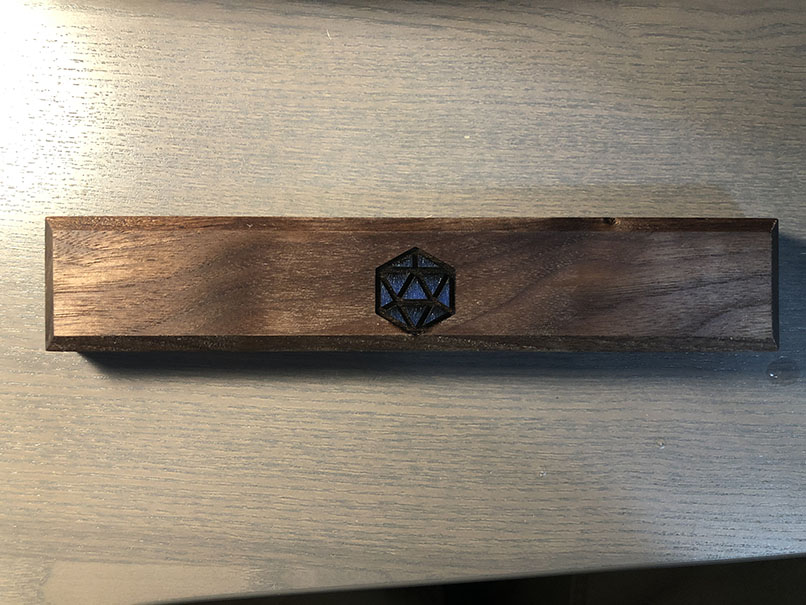
I suspect you are running into a problem because the material that you are trying to engrave stands up much thicker than the board that you drew the outline on.
That object (lid or whatever it is) is very thick. When you create an outline to align with instead of cutting a hole in it to drop the object into, the difference in height between the top of the object and the flat plane that the measurement was taken on creates a large variance in the focal point for the engrave. (Because the auto-focus is probably not landing on that skinny little lid. It’s a red targeting laser dot that falls slightly above and to the left of the actual center laser.)
That sounds awfully complex doesn’t it…
What has to happen is that the auto-measurements taken by the machine have to land on one single flat surface. There are three measurements that get taken automatically, and if part of the job is higher or lower when the measurements are taken, it will throw off the alignment for placement and focal point for the engrave.
So you have a couple of choices:
-
One (better) is to create a jig out of a material that is approximately the same thickness as that lid.
-
You would put the jig material on the bed, pin it down, cut out the rectangle, then remove the center cut.
-
Then you drop the lid into the hole, run the Engrave part of the job, and everything will land where it is supposed to. What you are shooting for is a level surface between the jig and the engraved surface of the lid.
That’s not as hard as it sounds…you can prop a sheet of cardboard up on some scrap wood at the outside edges to raise it up, tape everything down, and then just cut the hole in the cardboard.
As long as you do not shift the jig or the design, you can drop one lid after another into the hole for engraving.
If you need to make different jigs, you can create a Frame shaped rim of wood to whatever thickness you need, and just tape a fresh sheet of cardboard on top for any new shapes. Always tape the jig down to the bed…masking tape works great.
The second option is to just do an override, and use only the camera with visual alignment. But you have to manually over-ride the thickness values in a couple of places, and given the shape of the object you are trying to engrave there, it might not work.
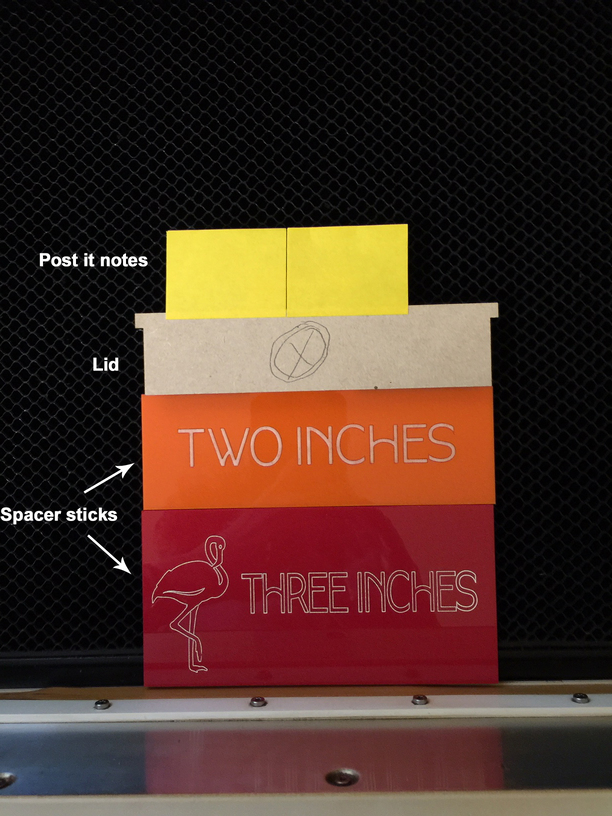
- First you place the lid on the bed, immediately underneath the lid camera on the machine. Do not use Set Focus.
- Use spacer sticks to make sure that you have placed the lid square relative to the front of the machine. (Brace something against the front door that you know is square…I cut rectangles from scraps that I use to square things up…you can stack them against the front of the machine until you can place the lid under the lid camera…about 5 inches will do it.)
- Open the file and click on Unknown Material button, and enter the Use Uncertified Material value equal to the thickness of the lid measured with calipers. (If it’s too thick for the bed, over 0.5 inch, you will need to remove the tray and prop it up into the correct range.)
- Then you will zoom in where you want to place the design and place it.
- Then you will over-ride the Focal Point height in the Engrave operation to be the same height as the thickness of the lid. If you don’t enter the same thickness in this location in the Manual settings, the Auto-focus settings will take over and the alignment will be off. Enter your Engrave speed and power settings as well while you are in there.
This last bit I’m not sure about…there is still a scanned reading taken by the Glowforge right before the Print starts, and given the shape of what you are trying to engrave on (skinny with sharp drop off near the scan point)…the scanning measurement might not land on the material. What I don’t know is whether that will override the placement or not. It might be ignored if a Detected reading is not obtained.
It might be worth one try. But honestly the jig is probably the best bet.
That particular shape would be tough to pull off.