Has anyone used clips to secure their draftboard? I purchased some and received it lately and it isn’t flat. If so, where should one clip to make sure it doesn’t interfere with this process?
The machine can’t reach to the edges of the material, so clips or magnets at the edges shouldn’t be an issue.
I went through many of the posts in the original CC thread after having my camera calibration fail twice. I used brand new Medium Draftboard each time and also unplugged my GF for over a minute. I cleared my browser cache, closed unrelated services, and extra browser tabs.
At the end of the calibration, I get a popup in the lower right corner of the window that says that no improvements could be made. The larger text in the web page itself said that calibration failed because the process was interrupted. This happens after all of the measurements are complete and the app in the cloud is crunching numbers.
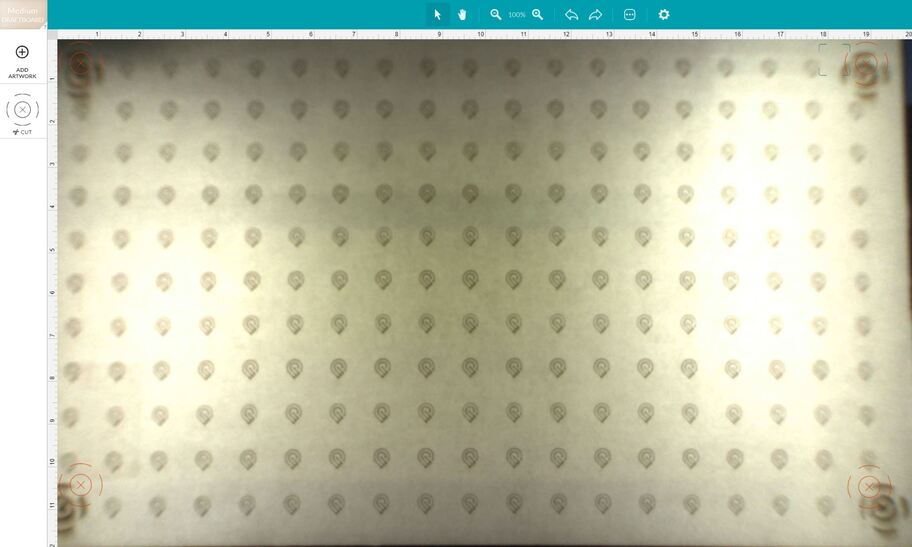
I thought maybe this really just meant my GF is calibrated fine, so I continued to print precision-preview.svg and I got the following results. I’d say my GF is way, way out.
I’ll continue to read the posts here. I know there are some instructions to remove the laser module and clean some lenses, but I wanted to get my results posted and bang out some cuts before I do that.
Everyone talks about “remasking” the board, but what are you using to perform this remasking? 
You’re the first person I have seen here that has the exact same messages that I’m seeing on my machine. I haven’t gotten it to work yet… 
Thanks for the link. Transfer paper isn’t exactly cheap, either! Wow.
I ended up using a sheet of cardboard from a shipping box.
It’s well worth it. You’ll need it frequently, if you use any non-PG materials.
2 Likes
Did it work well enough for you? Hopefully, someone from GF support will respond with some additional suggestions. I’d love to get the results I see from the rest of the users here.
It worked fine. I had to run the process many times because of network issues that only surfaced during the calibration process, no issues before or since. I have masking, but the cardboard is free.
If you want support to chime in, you’ll need to start a new thread (or send an email). They don’t typically monitor existing discussions.
Thanks, yes I saw @dan’s post that recommending contacting support or posting again in Support.
What I think would be nice is to have a way to skip the marking step, so that if there’s a failure, users can perform lens cleaning, etc. and then reuse the draftboard that was already marked.
I used the Maple plywood for calibration and after used it for bed pins.
If I were to guess, the process is to place a mark on the board in a “known” location then once all the marks are done they are “read” to see where the mark actually landed and then that data is used to figure out the offset from where the mark was thought to be to where it was actually on the image captured. Moving the board or putting an old marked one it the would not work since the machine would not have a reference of where it thought it was placing the mark…
1 Like
My suggestion is made under the assumption that the board isn’t moved. If I literally just marked a brand new piece of draftboard and the calibration failed, I want more of a “retry” operation, and not a “start all over” operation.
1 Like
Got it, so in the case of a network failure trying to send the images ect to allow that to retry. I was thinking of the board re-use case starting the initial process.
1 Like
It wouldn’t matter if you kept a previously marked board on-hand to re-calibrate. It uses the camera in the head to accurately determine where it needs to be to line up to the marks it’s seen on the lid camera, then calculate the alignment from there.
You could throw the sheet in and just perform that part of the process occasionally. It doesn’t need to be recreated every time.
Well, I had to get some cuts done, but I unfortunately misplaced my lens removal tool, so I have to wait for the replacement to arrive. I ended up just using my existing markings to know where the physical boundaries are, and then did a low power pass on my cuts to make sure I could squeeze everything in. It’s a little more time consuming, but totally doable until I can figure out how to get my GF to calibrate.
Sorry - I meant, they could change the process so you could use a previously marked board. Just re-use it if it needed to be run again, instead of having to make a new one. The absolute position of the marks isn’t critical, it’s only to align the head camera to the lid camera for material positioning. Nothing we can do about it except ask for changes.
Did you have to tell the machine how thick it was? I believe that is very important.