I just ran the calibration process and couldn’t be happier. My machine was never very far off to begin with but now it’s almost perfect!
That was the top left corner. Used to be about 1/4” off there.
Thanks @dan and GF crew!!
I just ran the calibration process and couldn’t be happier. My machine was never very far off to begin with but now it’s almost perfect!
Thanks @dan and GF crew!!
I had the calibration fail twice but I noticed when it happened to me there was sunlight shining in through the window into my Glowforge. After the second fail, I laid a towel over the lid of the machine and it did the calibration fine that time. I’ve heard that excessive light shining in can mess it up.
You are absolutely right. I was driving nuts calibrating my machine and received “The process was interrupted, so no changes were made to your calibration.” all the time (4 times in total). I have closed the blinds, and succeeded. I guess most people, who do not succeed, operate their machine next to a window (due to the fume hose). I have also powered off my LED lighting in the room in order to avoid any further interference.
Based on the feedback from this thread, we’ve added instructions to make sure there isn’t direct light hitting the bed. THANK YOU for the feedback and advice! It’s made things better for everyone!
Glad I could help. Now we need some better ways of cleaning the exhaust fan, could you guys have came up with a worse design? If a person were to cut the honeycomb away that’s in front of the fan looking from the back, would that affect the warranty?
Not great, but I think it was worse when I did the ruler.
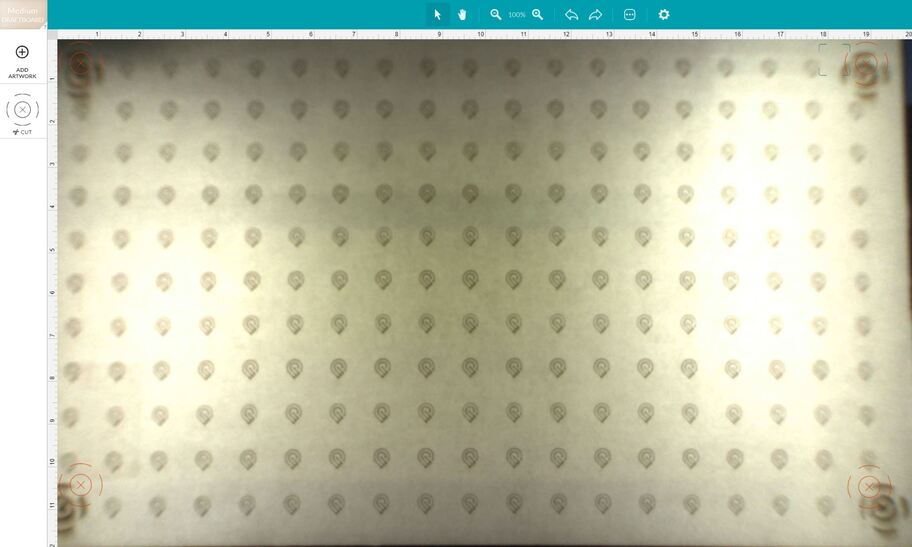
On a similar note, should the corners be as blurry as they are? I have a feeling it’s the reason why it couldn’t identify the proof grade draftboard I used to make the ruler last night.
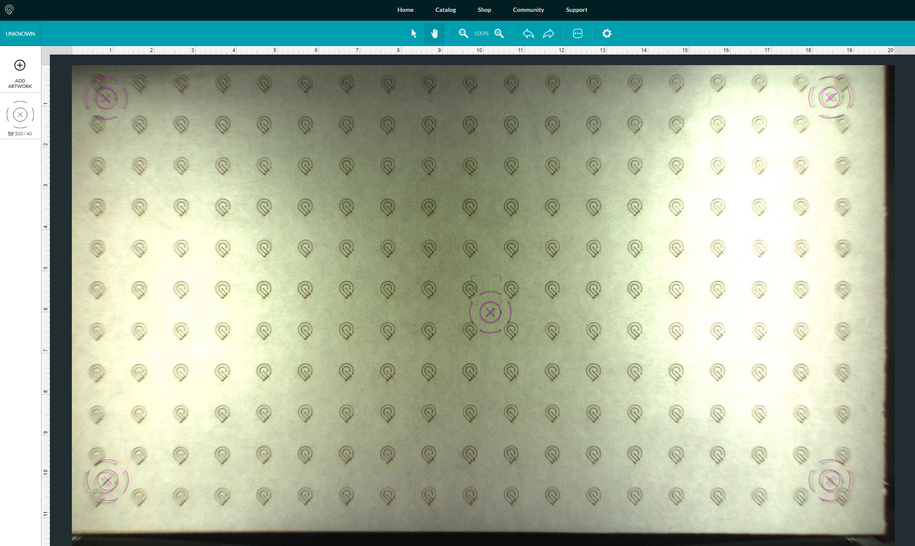
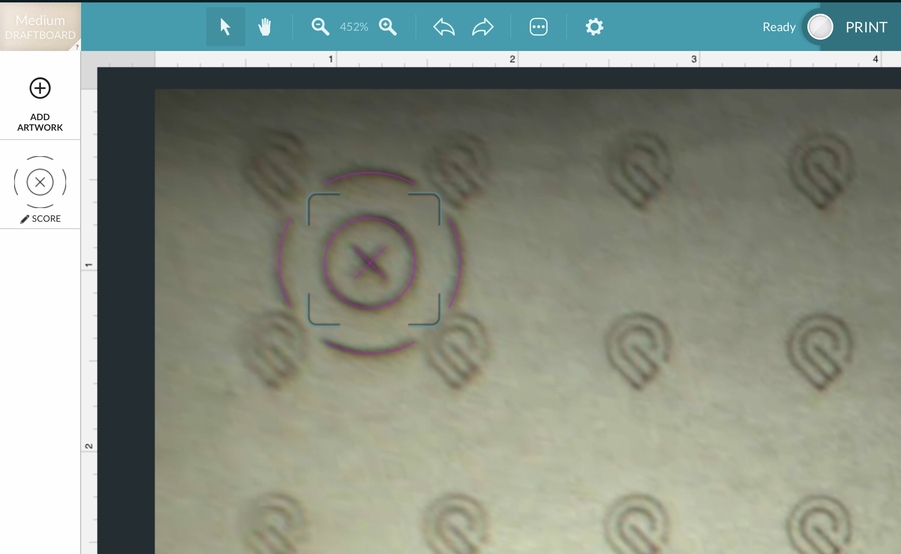
So, the one screenshot: I see your set focus is in the very center and the center alignment mark appears to be dead on.
The way it works is set focus measures at a pretty specific area and that’s where the calibration is going to be as good as it gets.
A number of variables can alter the accuracy of the overlay as you get away from the set focus area. Crumbtray manufacturing tolerances, crumbtrays that have been used a lot and may have a bit of deformity, machine levelness/flatness, case being twisted slightly, material warp, etc.
I would run a few more tests. Put the target at top left, set focus on the top left and see how close the alignment mark is. Repeat for the LL, LR, and TR with set focus in each of those areas.
I tried 3 times and get the error at the last step.
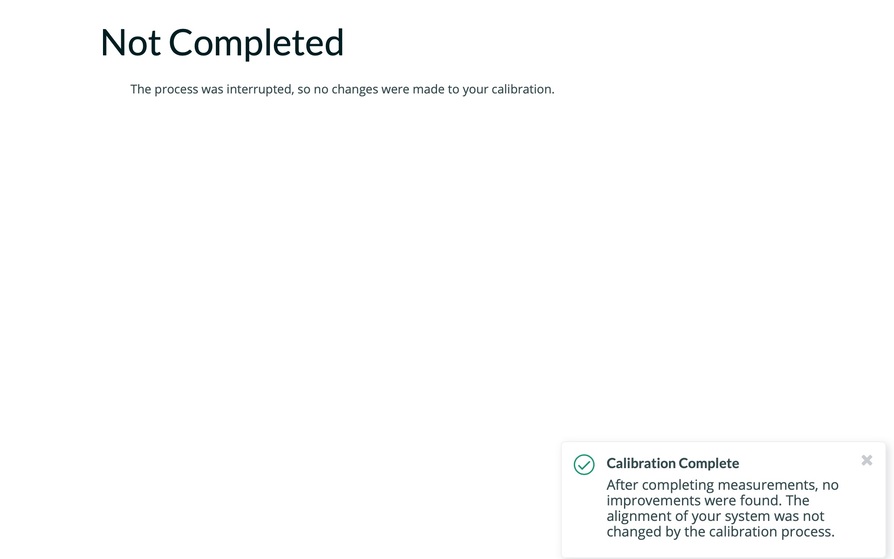
“Not Completed. The process was interrupted, so no changes were made to your calibration.”
But the popup at the bottom of the screen states: " Calibration Complete. After completing measurements, no improvements were found. The alignment of your system was not changed by the calibration process."
Error image screen shot attached.
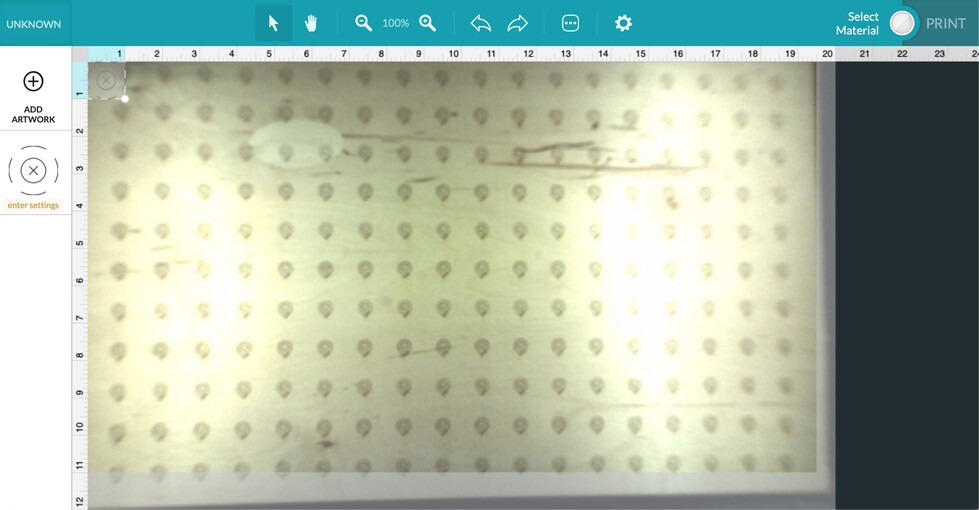
Camera image after the last calib attempt also attached. This last one was a non-proof plywood. Previous were PG medium draft as specified.
Anyone encountered this error and been able to resolve?
From your pics, it looks like you have something more going on. Was the material flat? Is it up on a rail? Is one side of the crumbtray not in the divots? Is the lid closing properly?
You should probably open a separate ticket in problems and support to get that addressed.
Material is flat.
Not up on a rail.
Crumbtray is properly placed in the divots.
Lid closes properly.
Projects cut fine. It is just the camera is way off. It has been that way for a while and we’ve just been working with it as is and giving enough spacing on the sides to make sure it cuts inside.
Yeah, I’d definitely open a support case. See how the bottom of the material “raises” as it goes from left to right / and also the icons it prints look askew? The camera isn’t seeing things right for one reason or another.
Also, it looks like you might have some really strong overhead lights going into the machine. That could cause the lid images to be over exposed and maybe problems with the calibration test.
Ok. Will raise a support case and see how it goes. Thanks for your reply.
OK I finally got around to trying the camera calibration. I have had my basic for just about 2 years with very few issues. My alignment is pretty good and I have got used to where I should place my image to get it to cut where I want, but I thought I could get better. My router is within 10 feet of the Glowforge and I have never had a wifi connection problem. I have now tried to do the calibration 6 times and each times it starts, scores all the symbols, head returns to home, says it’s taking a picture and then after a few minutes tells me it has lost the wifi connection, session expires, restarts and all is fine. Any other ideas on what I should try to get past this step? Yes I have also tried using my phone as a hot spot with the same result.
UPDATE: So I decided to try it one more time with a different phone and hotspot and this time it worked! Calibrated and alignment is almost perfect! Thank you Glowforge team!
Pretty much my experience. I have Gb internet but the GF would not move past the post-print portion, I had to set up a new wifi router just to complete the process. No issues with existing wifi before or since the calibration.
Has anyone used clips to secure their draftboard? I purchased some and received it lately and it isn’t flat. If so, where should one clip to make sure it doesn’t interfere with this process?
The machine can’t reach to the edges of the material, so clips or magnets at the edges shouldn’t be an issue.
I went through many of the posts in the original CC thread after having my camera calibration fail twice. I used brand new Medium Draftboard each time and also unplugged my GF for over a minute. I cleared my browser cache, closed unrelated services, and extra browser tabs.
At the end of the calibration, I get a popup in the lower right corner of the window that says that no improvements could be made. The larger text in the web page itself said that calibration failed because the process was interrupted. This happens after all of the measurements are complete and the app in the cloud is crunching numbers.
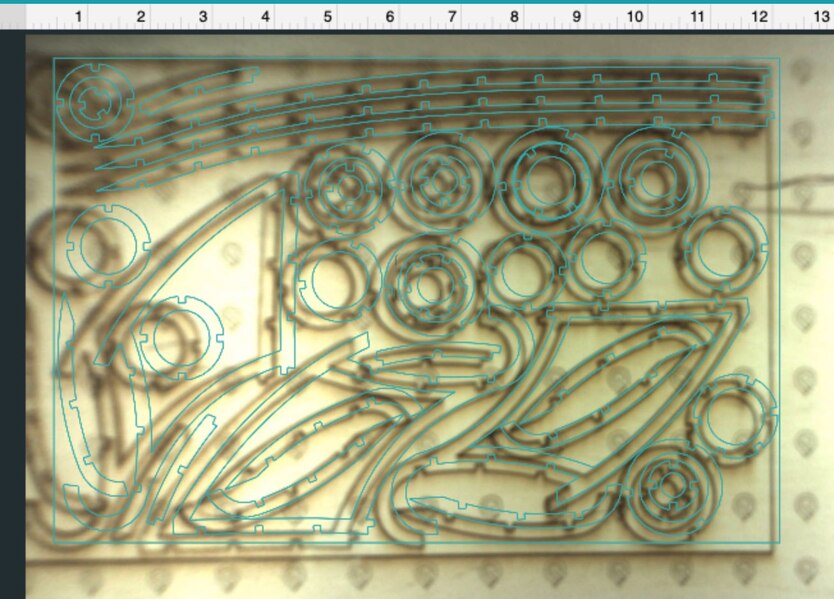
I thought maybe this really just meant my GF is calibrated fine, so I continued to print precision-preview.svg and I got the following results. I’d say my GF is way, way out.
I’ll continue to read the posts here. I know there are some instructions to remove the laser module and clean some lenses, but I wanted to get my results posted and bang out some cuts before I do that.
Everyone talks about “remasking” the board, but what are you using to perform this remasking? 
You’re the first person I have seen here that has the exact same messages that I’m seeing on my machine. I haven’t gotten it to work yet…