Well I cleaned off all lenses including the two lenses you mentioned (Thanks). Cleaned the machine again, remasked the board, pinned it level (as far as I can tell), I turned off overhead lights, and did another calibration. It is very close in the middle but way off consistent with my previous pictures in corners. I must be missing something, otherwise I hope someone from support can look at my logs or revert me back to prior to Sunday when I did the calibration.
Just ran Calibration - worked like a charm!!! SOOO HAPPY
2 Likes
Some fixes went in this morning that might help, if you want to give it another try?
2 Likes
I just want to give the Glowforge support team a shout out. I tried out this calibration process today and for the first time ever, I have perfect alignment. Thank you for working so hard to get this calibration thing going. You guys are constantly improving our machines and I know you put up with a lot of frustrated people (me included!). Round of applause for the glowforge team. This is going to make today’s work a piece of cake!
6 Likes
Thanks Dan and Glowforge Team, I will try again this weekend.
my alignment was pretty bad prior to using this process. I ran the Alignment then performed the test happy to find it perfect after running the process!

6 Likes
Hi Dan, The fixes from 5d ago made a huge improvement. I only had time for a quick calibration using a board I have remasked several times… but everything is better than I have ever had. Perfectly spot on under the focus spot! Thanks to you and the team for all the work!!! Can’t wait to try a more thorough recalibration.
7 Likes
Ran the calibration last weekend and got great results. Previously was 1/8 - 1/4" off at the corners. Now within 1/32". The camera is now usable in positioning stock. Ran many cuts and the aligned very well.
6 Likes
Wow! @dan thank you!!! This worked absolute wonders on my unit. I had been incredibly frustrated that I had a unit that was a long way out of alignment but the recommended solution of shipping back to GF wasn’t a reasonable option because I live in Australia  . Really excellent result. Thank you to the whole team! Excited to be able to use the trace feature with my son now too.
7 Likes
![]()
![]()
![]()
![]()
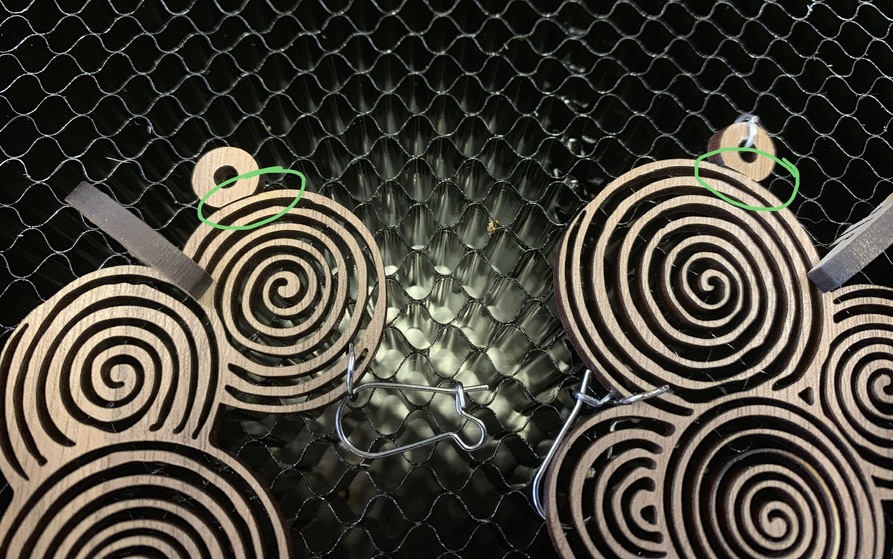
My alignment wasn’t terrible out of the box but I would never have attempted something like this before: decided I didn’t need these extra loops but didn’t feel like recutting the pieces. Eyeballed pieces relatively straight on bed and loaded up two wee little curved cut lines.
Perfection.
13 Likes
I just performed the calibration on my machine and while the location of items in the center of the bed has always been really close, the edges are now in line with the level of accuracy that I expected when I first got the GF. This has been a tremendous help for trying to utilize every inch of material that I have in my drops bin. Thank you, GF!
6 Likes
Hi there! I just ran the calibration, and it looks like the alignment is much improved - but the camera focus is still too blurry to recognize a Proofgrade sticker.
(The Calibration run as instructed with no sticker showing) I have cleaned the camera lens, the crumb tray, and restarted. I’m a bit of a beginner, so help is appreciated!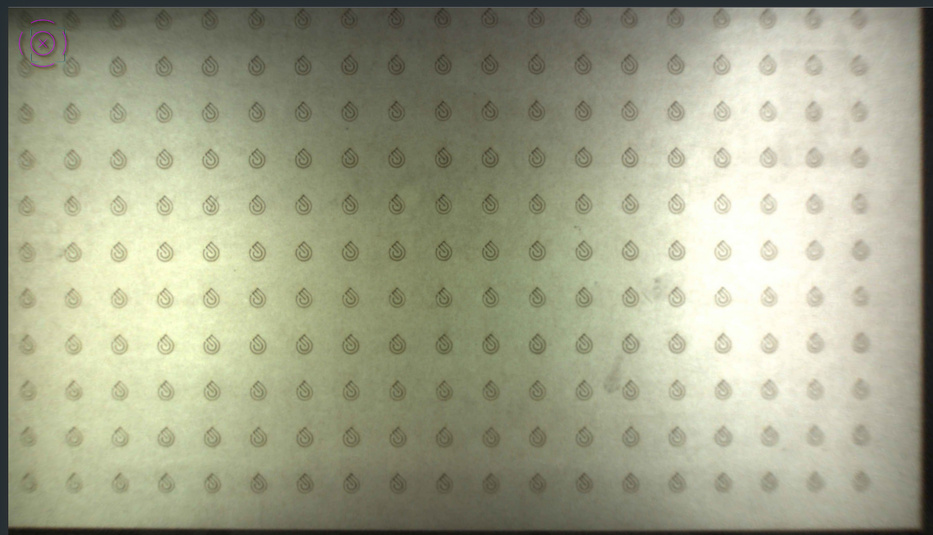
1 Like
They stick the stickers at the very edge so that folks don’t have to pull them off if they need to do an engrave, but the lid camera can have trouble seeing it out at the far edges of the bed due to fisheye effect.
You can try turning it around so the sticker is in the upper lefthand corner (the machine can read it upside down) or you can just click the Unknown Materials button on top of the left column and use the Search button to select the correct material. When you click on the material, all of the settings information will be loaded into the correct slots for you, just as if it read the sticker.
4 Likes
Thank you! I figured manually selecting was okay, but I’m glad to have it verified Testing some glass engraving today!
1 Like
Just wanted to say thanks to @dan and team for implementing this feature. The calibration process greatly improved the alignment on my machine, right out to the edges. Good job!
1 Like
I’m pretty late to the calibration party, and having an issue.
Four tries in and the same issue every time. I get through the pattern step, covering the entire test board with symbols, it takes a picture, and then says it will start the measurement step. It hits the board with the red lasers and … then the whole process fails, saying the WiFi dropped. Fails are the same point every time.
Tried rebooting the Forge and retrying… same
Tried turning off the Forge, turning off the router, waiting, turning the router back on and then turning the Forge back on and retrying… same.
The wifi seems to be fine in all other cases. I’ve never had a failed print and my laptop shows a strong signal. The Calibration process is the only time it’s ever complained.
I’m 3 sheets of draft board in (one burned on both sides) and I don’t know what to do.
I definitely need some calibration: recent cuts are well over 1/4 inch off out by the edges.
Any help is appreciated.
1 Like
I’m sorry to hear that! Since you’re more than 1/4" off, please email support so they can help.
1 Like
Thanks @dan! I did enter a Troubleshooting topic in that Group, so I’m hoping they will ping back there. Is Email a better idea? I just know we shouldn’t do both.
1 Like
![]()
![]() (going for a self-headslap there) I can’t believe that didn’t occur to me two or three draftboards ago.
(going for a self-headslap there) I can’t believe that didn’t occur to me two or three draftboards ago.
4 Likes