Hello! I am so excited to get my Glowforge working to my expectations. So far, I haven’t had much luck with two major issues. 1) Camera won’t read the QR code and is out of focus; and 2) the laser just won’t make it all the way through the material I’m trying to cut. I read several similar threads and am not sure exactly what is causing my issue here. I have completely cleaned all the lenses, the mirror and the crumb tray. I used the provided lens tool and the Zeiss wipes (I got my Glowforge a little over a week ago). I unboxed and assembled/set up per all the instructions and was very excited to do my initial cuts. However, on each of my projects, I have had to sand the back of the pieces to get the edges to release since the laser didn’t cut all the way through.
I read about people doing double cuts and various other tricks, but sanding to preserve the piece and not burn the wood/draftboard made the most sense to me to do. The front side of the pieces is remarkable and the cuts are very crisp. However, there are only a few little dots and maybe a faint line or two when I turn the items over.
Also, I have had to select from the drop down what kind of PG material it is. I did try to adjust the settings to have the cut go a bit deeper on the PG Walnut. This was with the Walnut Hardwood sample I got in my kit. It is masked so I thought, perhaps the masking tape is causing a small increment of height that is causing it to not complete the cuts. This turned out not to be any different than my other cuts. I even used a Vernier to get my material height to assure that it was accurate. And after that, still having the same issues.
I made sure the crumb tray divots are clean. I cleaned it out. I cleaned the lens. The window on the side and the mirror. I just can’t figure out what else to do at this point.
I read about warpage so I have tried magnets, I have tried holding it down with the edge of another piece of material, etc… all the helpful things I read on here. But none of that seemed to help either. It’s SO close to cutting through but it just isn’t doing it.
Also, it is taking quite a bit of “breaks” to cool down. I’m in South Carolina but I operate this unit from my very comfortably air-conditioned home. We are usually around 74 degrees inside here and it has a small fan (toward the end of the hose) that blows the exhaust outdoors. So I’m not sure if that is normal or should also be a concern.
Can someone help me here or contact me and see if we can’t get this thing figured out? I’m so eager to use it and have it do what I assign it to on the first-pass.
Sounds like some of the problems you might be having are due to warping in the wood - it doesn’t take much to keep a spot from cutting completely through.
If you have strong magnets they can help, but I have better luck using these Honeycomb Bed Hold Down Pins, since I live in a very humid area, and these tend to hold the material down better when it’s warped.
The other thing that you can do is slow down the cutting speed in the Manual settings by about 5-10 points. That should finish the cut completely, even if you have up to a mm of warp in certain sections of the board.
It’s a bit tedious to reset them manually, but not difficult - they give us little sliders to use in the Manual settings. When you have a Proofgrade material specified and switch to Manual, the Proofgrade settings are already loaded into the slots, all you have to do is tweak them.
Good job on reading the forums and already doing pretty much everything we would otherwise tell you to do. Looks like you’ve gone through the steps to eliminate dirty lenses, warpage, material height errors…at the moment I can’t think of anything you’ve missed!
Hopefully your work will pay off by helping to get you a resolution sooner than later!
Thank you - I will create the pins and see if they make a difference. Who knew humidity could be such an annoying factor. Haha. I’ll also try slowing the cutting speed. Again, thank you for your help!
Thank you! I really am so excited to get it working on all these great ideas I have! I didn’t want to post anything until I tried everything I could think of/read about. Let’s hope it is a simple fix someone can put their finger on soon.
I’m so sorry you’re prints are coming out as expected, especially on a new unit!
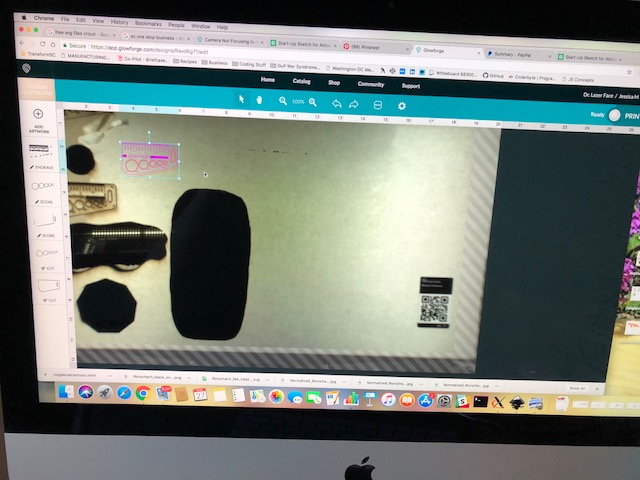
Regarding the QR codes :
Can you give that another try, and let us know if you’re still seeing the same issue?
Regarding the cut through issue:
To cut successfully, there are three important things to check. First, your material must lie flat. This requires a clean, properly installed crumb tray and flat materials. Second, there must be no obstructions, dirt, or damage preventing the laser light from reaching your material. Third, your design must be set up properly - for example, with lines that are fully on the material and that are set to cut. It’s hard to know which issue might be affecting your print, but if you follow the instructions in the cut-through troubleshooter, we’ll be able to get to the bottom of it.
It sounds like you’ve taken care of all of that already. Added here for completeness.
Once you’ve inspected and cleaned, please try another print. We included an extra piece of Proofgrade Draftboard with your materials shipment for troubleshooting. Please print the Gift of Good Measure on that Proofgrade Draftboard and let me know the result. If it doesn’t print well, please let me know the date and time of your print and send photos of the front and back of the print.
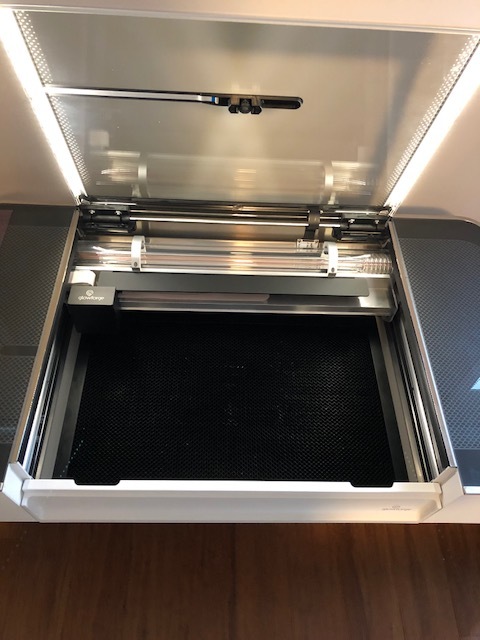
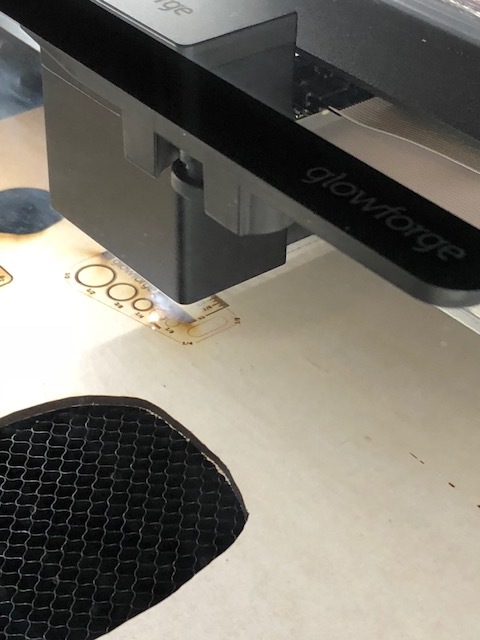
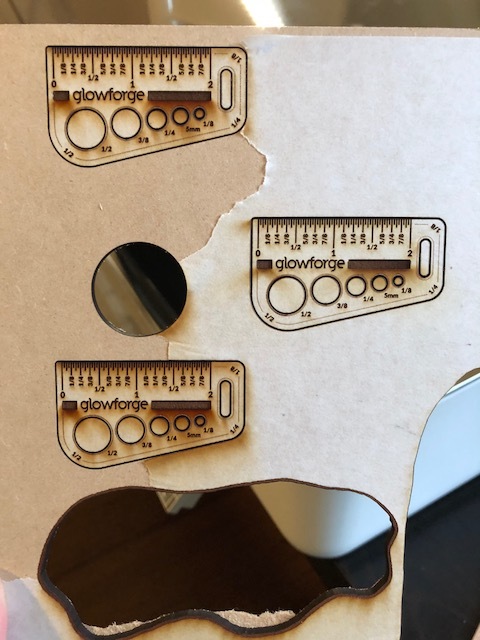
I finally had some time to do the cuts you requested. I printed this today (August 27) at around 7:35pm. Here are the pictures from the setup, to the cooling screen (it always needs to cool before it gets started - not sure if that is normal) and the the final result.
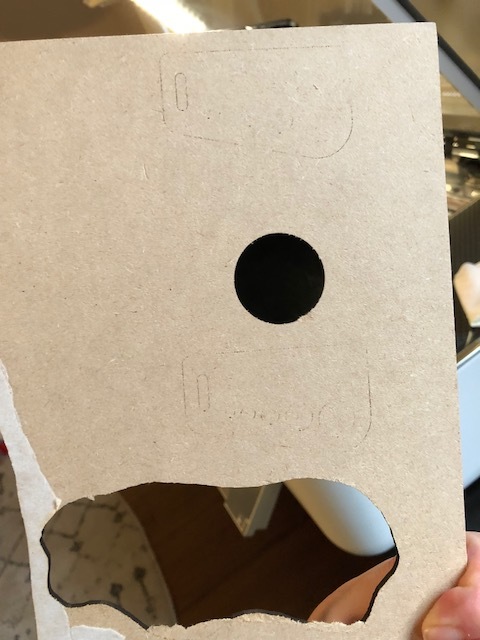
I cleaned it all out and this time it did recognize the PG material so I left the settings as auto-programmed. You can see the different levels of where it isn’t cutting. The cut on the farthest right (when looking from the front) is the one I just did and it does not go through the back at all. The other cuts were from my initial try to see what was going on (before a thorough cleaning.
The last pic below shows the breakout from other things I have tried to print when trying to manually adjust the settings. It did not work when I tried to manipulate it to see if I could get a better mix of settings. The hexagon at the very bottom had to be sanded on the back to get it to release from the board. But I don’t have time to sand each piece like that when the tool is made to cut. Just have to figure out how to get it to cut.
I hope the pics help troubleshoot and I’m happy to try anything to get my Glowforge working. It etches like a champ but just can’t make it all the way through. Thank you for all your support!
Thank you so much for completing the tests and providing all the photos.
Unfortunately, it looks like these cut through issues are caused by a problem that we can’t resolve remotely. I want you to have a reliable unit, so I’m recommending we replace this one. I’ll be in touch via email to sort out the details. I’m so sorry about the bad news.