My GF has been working fine but today it really messed up something.
I had an issue in which the camera is not reading the top 1" of the material.
I recalibrated the camera after I ran the small precision test and it actually improved the calibration, so that’s not the problem.
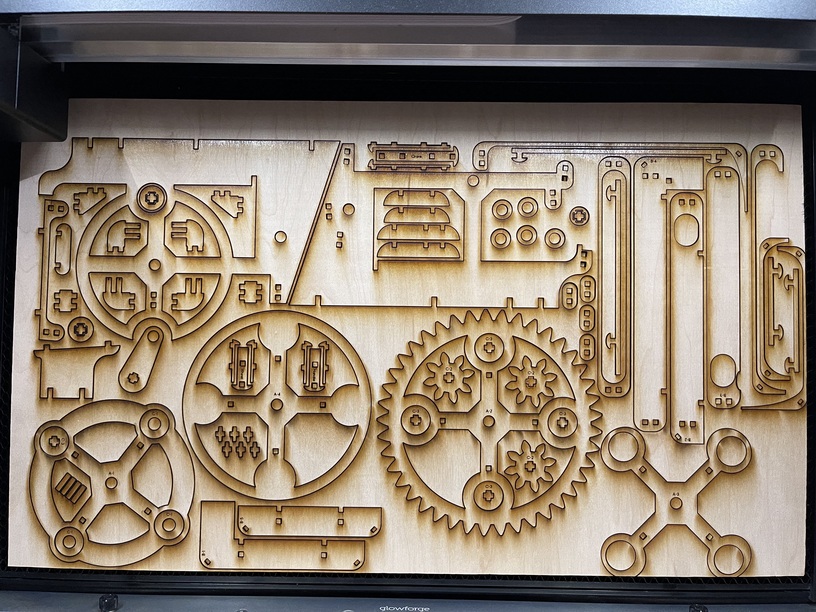
The problem is that when I laid out the print (marble run from the catalog), it moved the design down and to the right. Making it come out of the material. It looked fine and centered when I initially uploaded it into the interface but upon printing, it was not where it should have been.
Your material should be pushed down and to the right as far as you can, with the front door closed, to get the best use of your material. The camera will not see an entire sheet of Proofgrade at any time or in any position. The cutting area on the laser is less than a full sheet of Proofgrade. The margin left will depend on your settings since the settings change the speed of the head and more margin may be needed to allow the head to accelerate and brake at the end of each pass.
You should also use the Set Focus function before you place your artwork for the best results.
Error of up to 1/4 is within design specifications for the Glowforge and you will need to plan for this. It will be highest at the edges of the working area due to the design of the camera.
The camera does not show a full sheet of Proofgrade material on any Glowforge. You won’t see the top or left edges.
Your work area is approximately 11"x19.5" while the wood is 12x20".
If you look at where the print head sits in its home position, all the way back and left of the case, it can’t reach the top 1" of your wood which goes further back than that. The camera reflects that.
There’s actually another 6" of space beyond where the print head can go because the laser tube is in the way. You can fit up to an 18" deep sheet into the machine but won’t be able to see more than the bottom 11" of it.
To avoid printing past the bottom of your sheet, push it forward enough to completely cover the honeycomb area of the tray and that black line under it.
Yes Just cover up the prior marks with a layer or two of masking. Or use anything 12x20 that’s very flat. Even a clean sheet of light colored cardboard will work.
Ok, I will try this next time. When I set it up before pushing the button, the artwork was within the boundaries of the wood, but then after it started printing it printed it in a different place. That’s why I thought I might need to recalibrate it.
Hello @vyacosta - I’m sorry to hear you’ve hit a bit of a snag with your printing, thanks for reaching out.
Others have offered some great tips such as when to use set focus and how to position your material to get the most out of, this is great advice!
I extracted the logs from this print and it does appear that when the print was started the design was just ever so slightly out of position, so while the print does appear to align with where the design was ultimately placed, that placement offset appears to be where this result came from.
If you happen to see that your prints are not aligning at all with where the design was placed please let us know, and it’d be very helpful to share a screenshot of the post print image you see on your screen that shows the mismatch!
I’m not going to close this quite yet just in case you have any other concerns - please let us know!
Ok, I’m going to try the set focus thing like everyone suggested and then move my material down a bit more. Somehow it is comforting to know that it was user error and not something wrong with the machine.
Also, a bit creepy that y’all can see everything I do. It’s like skynet.
Hello @vyacosta, its been a few days since we heard from you, so I wanted to check in. Were you able to try using Set Focus? Have your prints been turning out better?
@vyacosta, If the coasters are all the same material, thickness, and placed close together in the print bed, you could use Set Focus on just one of the coasters and it should work fine. You just want to make sure that when you use Set Focus, that you place the focus area on the material, so it’s not near an edge. Then watch to make sure the red dot actually hits the material.
Please let us know if you have any other questions. Thank you!
It’s been a little while since I’ve seen any replies on this thread so I’m going to close it. If you still need help with this please either start a new thread or email support@glowforge.com.