My camera seems severely off. I’ve tried rebooted it a couple times I logged out of the account then logged back in. Is there anything I’m missing?
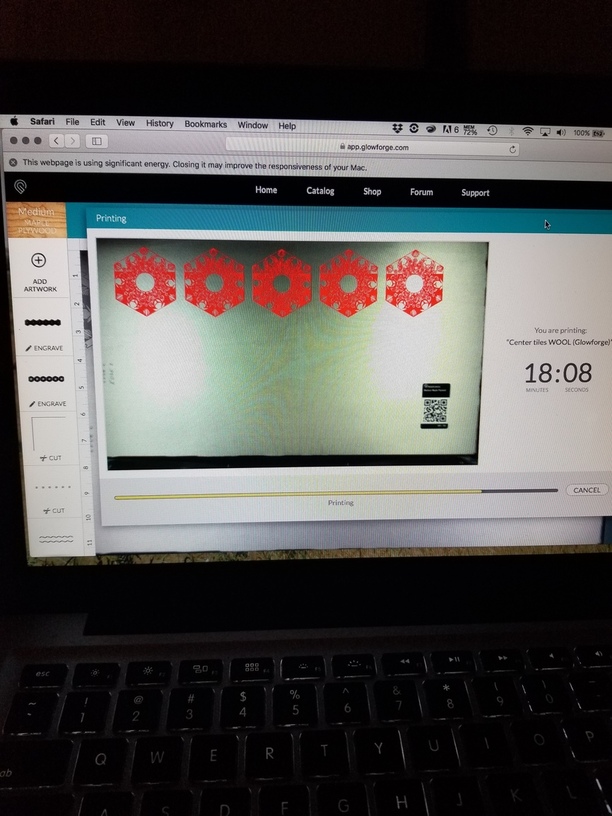
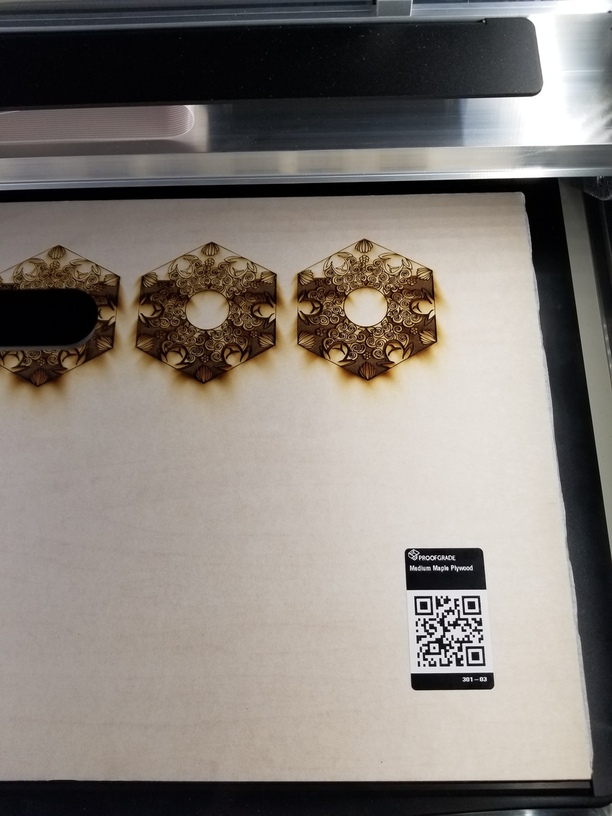
What’s way off? the image from the GFUI looks pretty close to the image of the actual cut. Not clear what you’re objecting to…
1 Like
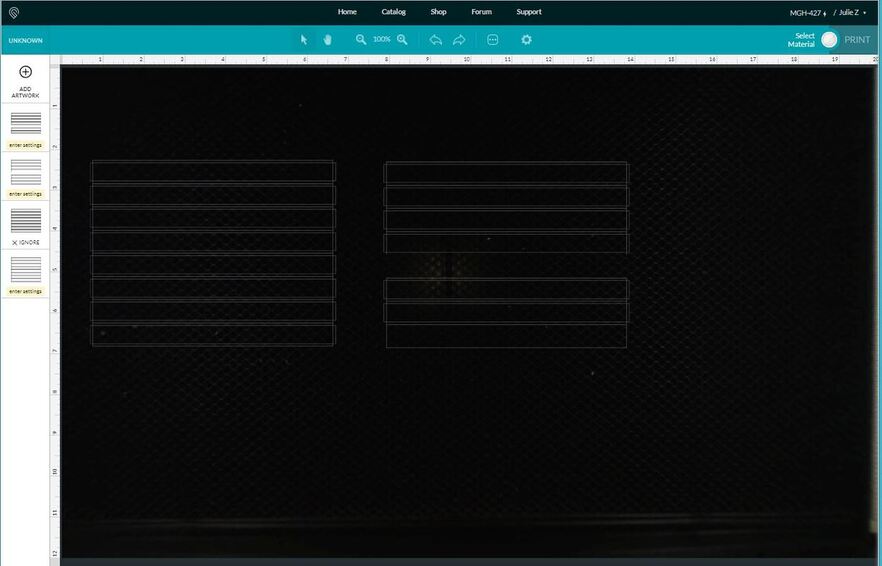
That’s how it’s supposed to look. The onscreen image only shows the part of the bed that can be used for cutting.
At 100% zoom level you can see the whole cutting area on the screen:
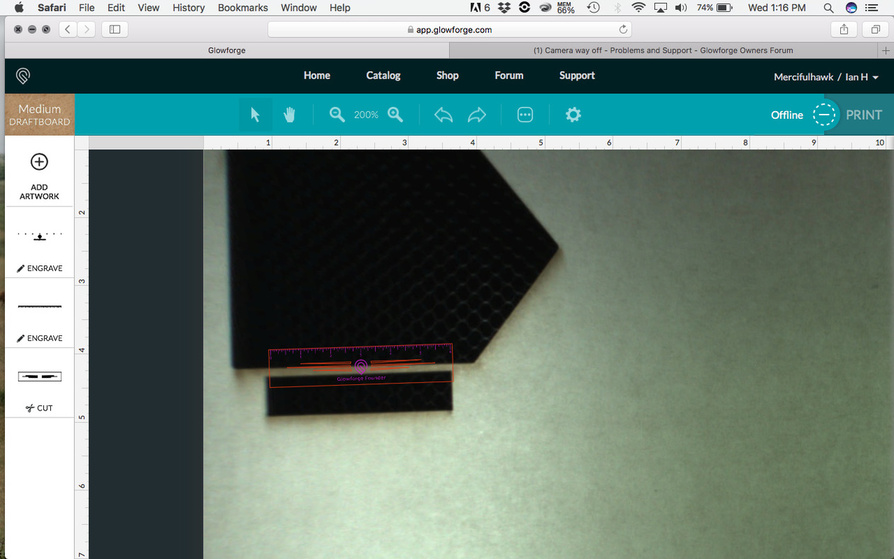
But when you zoom in, you can only see a part of the image up close:
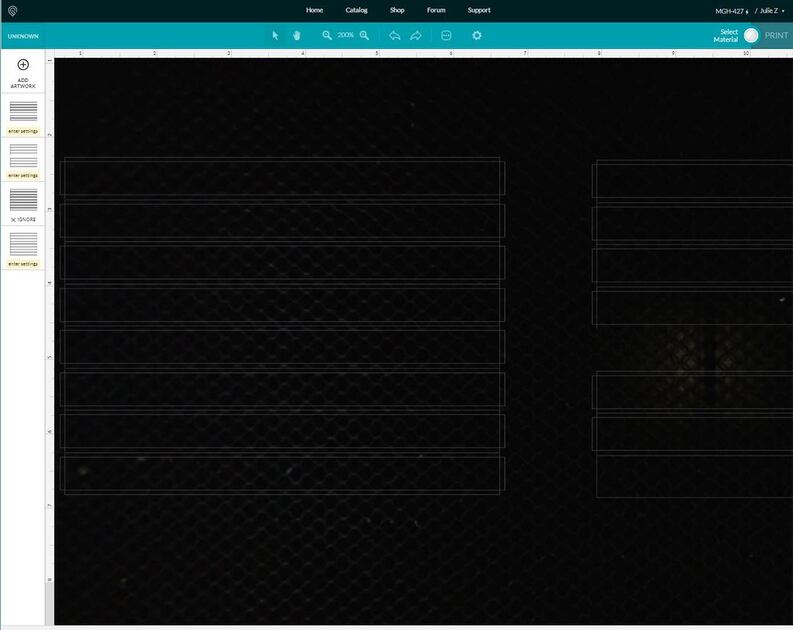
If you want to move the view while you are zoomed in, hold down the S̶H̶I̶F̶T̶ ̶k̶e̶y̶ Spacebar and drag the screen around.
1 Like
Spacebar ![]()
3 Likes
Dammit!  …Yes, the Spacebar.
2 Likes
I’d give that more likes if I could! 
3 Likes
Jules! Thanks for always responding to these questions!
First it seems like the camera is out of focus, the writing on the QR is blurred. Second I can see the right bottom edge of the wood but never the the top left. Then when I was done printing yesterday the red overlaid image was off from the original, meaning I couldn’t dial in where the cuts were landing to save the most amount of wood
1 Like
Yep, sounds like your GF is working normally  (have to zoom out to see the entire bed) Images do not line up with the cuts.
Yeah, what you are seeing is the cutting area. It’s currently 19.5 inches x 11 inches, and that leftmost inch of material can’t be reached by the head right now - the head needs room to decelerate from engraving operations. (They’re working on enlarging that through software changes.)
The closer you place your design to being under the lid camera, the better the placement is going to be for the actual cut. At the outer edges of the bed, the fisheye effect from the camera tends to make the placement be off by up to 1/4". Glowforge has an algorithm to correct for fisheye distortion, and they’re improving that as well, but it’s very important that if you are not using Proofgrade material that has a QR code, or one entered in the Unknown Materials button, that you measure the thickness of the material with a set of calipers and enter that value into the Unknown Materials slot in the left column BEFORE you try to place your material. That number (in inches) is used in that algorithm to adjust the placement view.
The outer edges of the bed are usually going to look a little blurry, again due to that fisheye effect. The camera can see it just fine, you don’t need to worry about it being able to read the codes most of the time. (Sometimes they get a bit of glare and can’t read it…you can just click the Unknown Materials button and a menu will pop out with all the Proofgrade settings.)
2 Likes
Chuckle! I know the initial instinct is to try to place as close as you can to a previous cut to save material, but that can be perilous right now.
Eventually it’s going to improve a lot (and I know that because with the PRU machine, it got better over time as they gathered metric usage information on the machine) but for now, give yourself a little leeway when you’re placing your designs. Or test on cheap plywood from the hardware store. Just remember to enter the correct thickness.
Guessing that you are trying to show that the zero point of the ruler is no where near the top left of the bed image? That is normal.
Assuming you weren’t trying to show the design offset from the cut. Your GF is off line so the image is not valid. And pretty sure you didn’t try to cut in the open space on the material. Up to about 1/4" off after a cut or engrave is currently within the known accuracy at this time. The company keeps saying that will improve with updates on their end.
If you place a rectangle around your design and run a cut at the very lightest settings you will see where the cut will land and with a bit of Kentucky windage you can move your design the distance and direction it needs to go and if necessary another test with that rectangle to make sure you have it
When the laser hits a corner it lingers for just a bit and thus the corners will be visible even if the rest is not. I consider this the only time that is a good thing.
2 Likes
You may also want to use a different browser. Glowforge seems to have more problems with Safari than Chrome.
Thanks for the help in this thread, all! @mercifulhawk, I’m sorry to hear you ran into trouble. The software on your Glowforge is responsible for ensuring that the print lands on the material in the same place as the preview. When you’re done with a print, let a new image load. If the print appears on screen far from where it was supposed to go, you may have an alignment problem.
Most alignment problems come from the material being closer or farther from the camera than expected. While the software is still improving, you can take these steps for the most accurate alignment results:
- Use Proofgrade™ materials.
- If you don’t use Proofgrade materials, use a precision set of calipers to measure your material, and enter the thickness in the “uncertified materials” dialog.
- Use material that is not warped or tilted.
- Place your design near the center of the bed.
- Clean the area underneath your crumb tray, particularly the four indentations on the floor.
- Reboot the machine. Alignment can drift over time, particularly if you bump the head of your Glowforge while removing material.
Should you finish all of these steps, and find that you have an alignment error of more than 1/4", please contact us so we can investigate.
It’s been a little while since I’ve heard back from you. I hope that’s because everything worked out! If not, just let me know and we’ll get it solved.
It’s been a little while since I’ve seen any replies on this thread so I’m going to close it. If you still need help with this please either start a new thread or email support@glowforge.com.