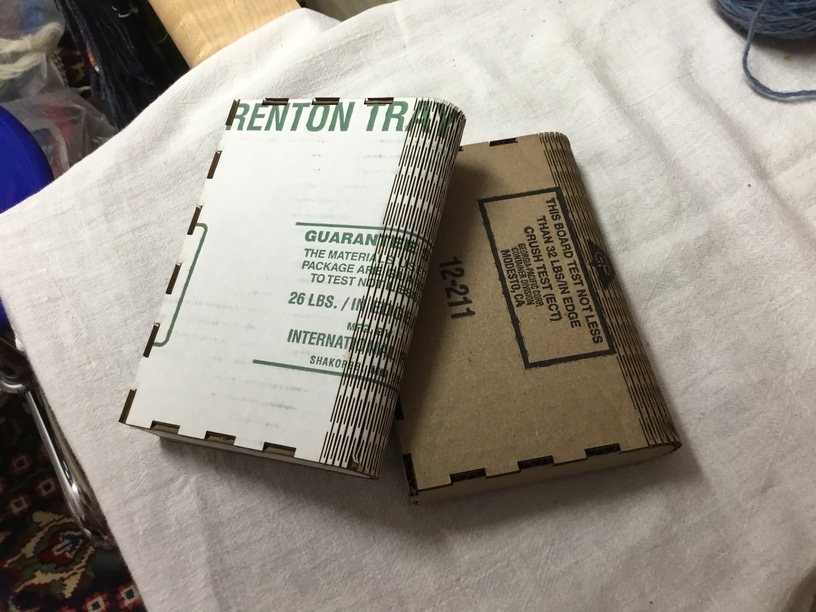
I found a living-hinge box at the thrift store, and brought it home to study it. I decided to try my hand at making such a box. After a few prototypes with non-PG ply, I decided to eat up some cheap material instead. My choice was to use a cardboard box I got from the grocery store (a box of canned veggies).
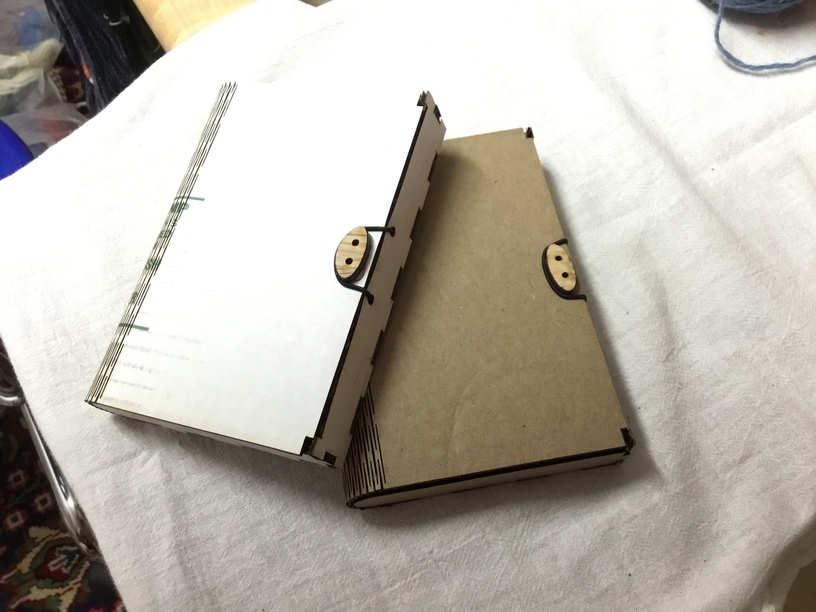
The design works perfectly with my cardboard (0.125"), cuts in about 5 minutes, and I hot-glue in a minute. My final outer dimensions = 5-1/2" tall x 4" wide x 7/8" thick.
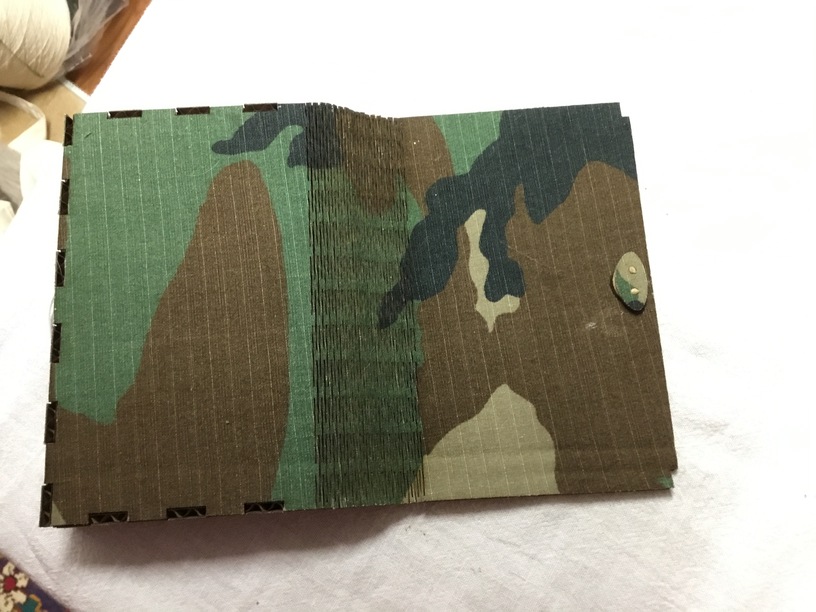
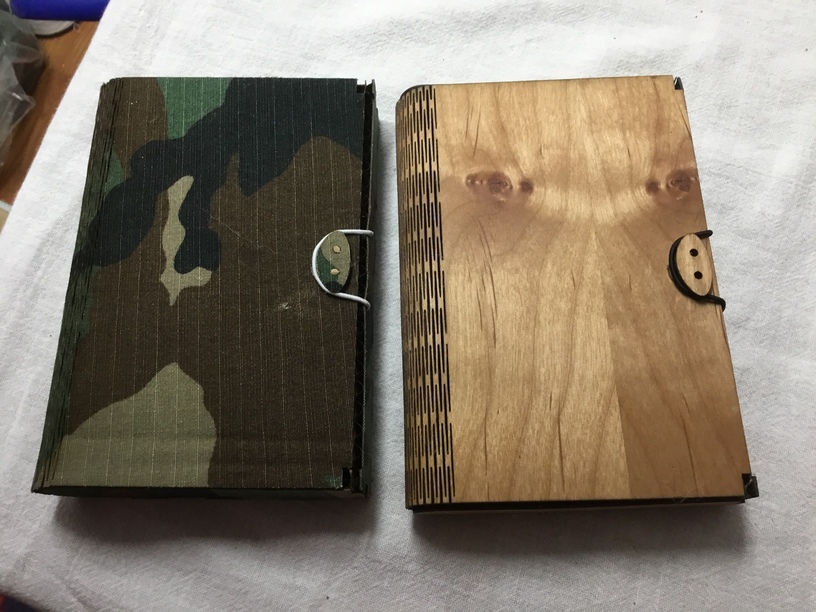
Please note that the top and bottom panels have design lines in them that should be set to Ignore. There are two ‘closing tabs’–chose the one you want to use, you don’t need both. (Photos show difference.)
Originally I designed the hinge for wood that was having trouble bending. It might be too much of a good thing for cardboard. It’s very compliant, so gentle handling is best. You see in the last photo I have the elastic cord taped in–at this point I was not sure how long I wanted the loop to be.
The two holes in the closing tabs and the top of the box are for alignment and strength if you feel you need it. Round wooden toothpicks, 0.08" diameter, will fit; trim to fit or use as design elements.
I have been playing with printing a colorful pattern on heavy cardboard and then cutting out the box A light score would suffice, so I had not been thinking living hinge, but that sets some ideas as well. even just a series of scores would work for cardboard.
An artist friend who sells a lot of her stuff in Japan mentioned the need for a quality “presentation box” that I would have thought of as a piece of art in itself, but she had said that none of her work would sell if the box was not a part of it, and the quality of the box needed to reflect what was inside.
I’m right there with it when cutting. Either my settings are really great, or I’ve got some superior cardboard…very little residue on the down-side surface. I am going to redo the hinge though, it’s too flexible. The thinner cardboard doesn’t need as much.
@rbtdanforth I’m going to experiment with adhering cloth to the ‘outer’ surface and cutting as one. Then you have a decorated, reinforced box with clean edges. If it works, let your friend know. I understand the outer wrapping/box is a major part of a gift–the pleasure involved with admiring and opening a beautiful object.
It was some years ago She was doing small porcelain vases and having someone hand build wooden boxes for them that were quite gorgeous in their own right. She was more than ten years older than me at the time so probably no longer throwing pots.
I haven’t tried the cloth cover yet, but I did use wood veneer over cardboard. Came out much better than expected. [I’ll bet the cardboard design would work well with decoupage.]
@cynd11 I’m using cardboard that’s on the thinner side. The underside of my living hinge has a little smoke stain and the grime from the honeycomb, but no crisping. There are some robust shipping boxes that would probably light off easier.

 A light score would suffice, so I had not been thinking living hinge, but that sets some ideas as well. even just a series of scores would work for cardboard.